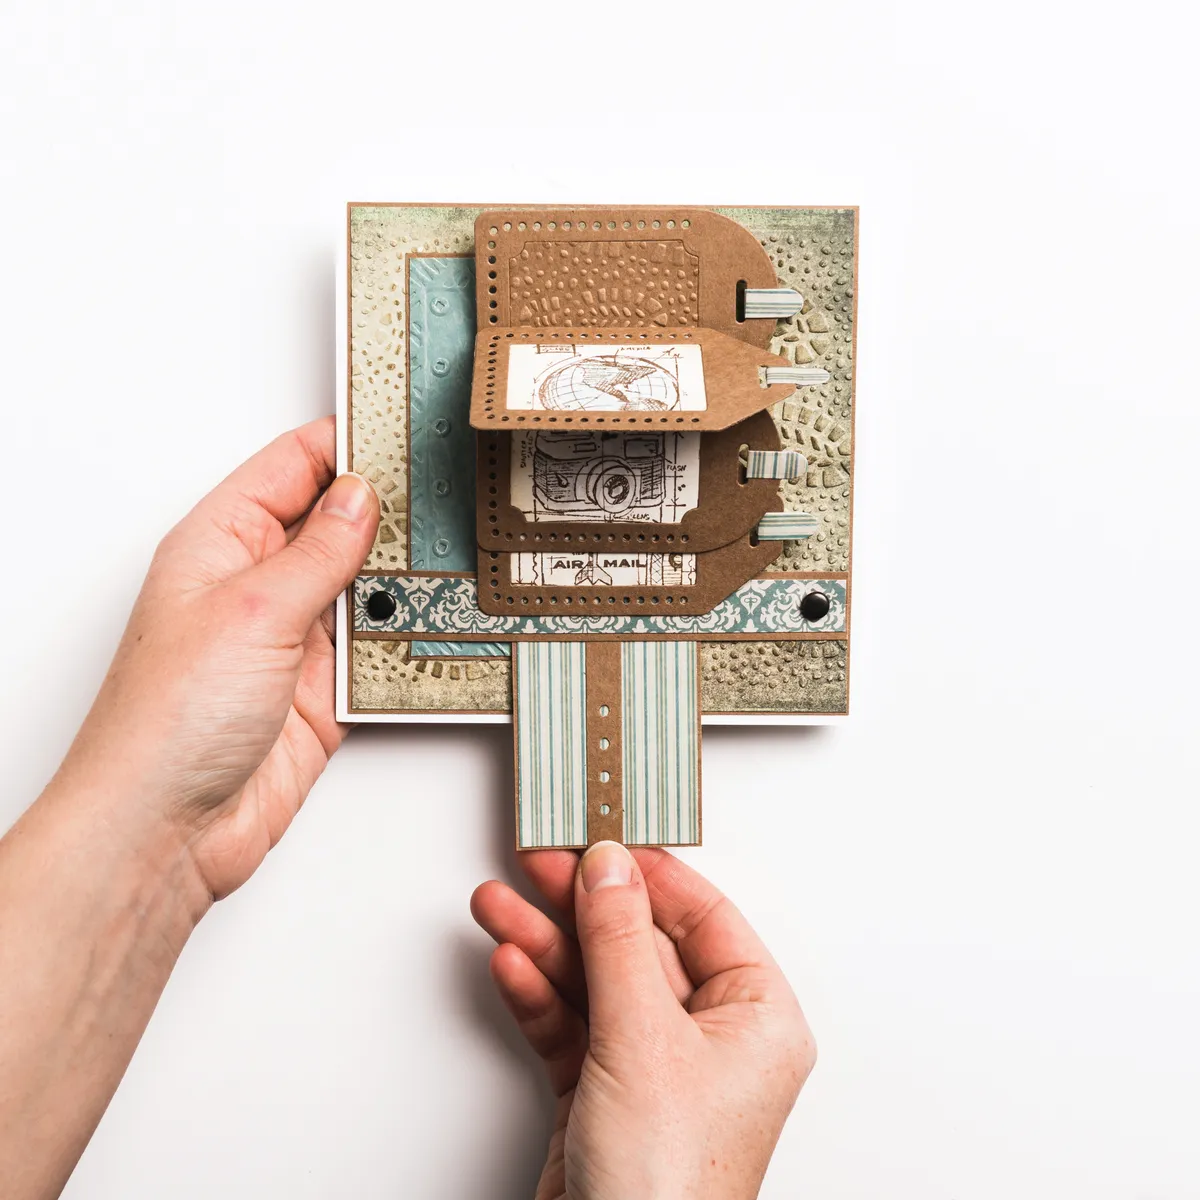
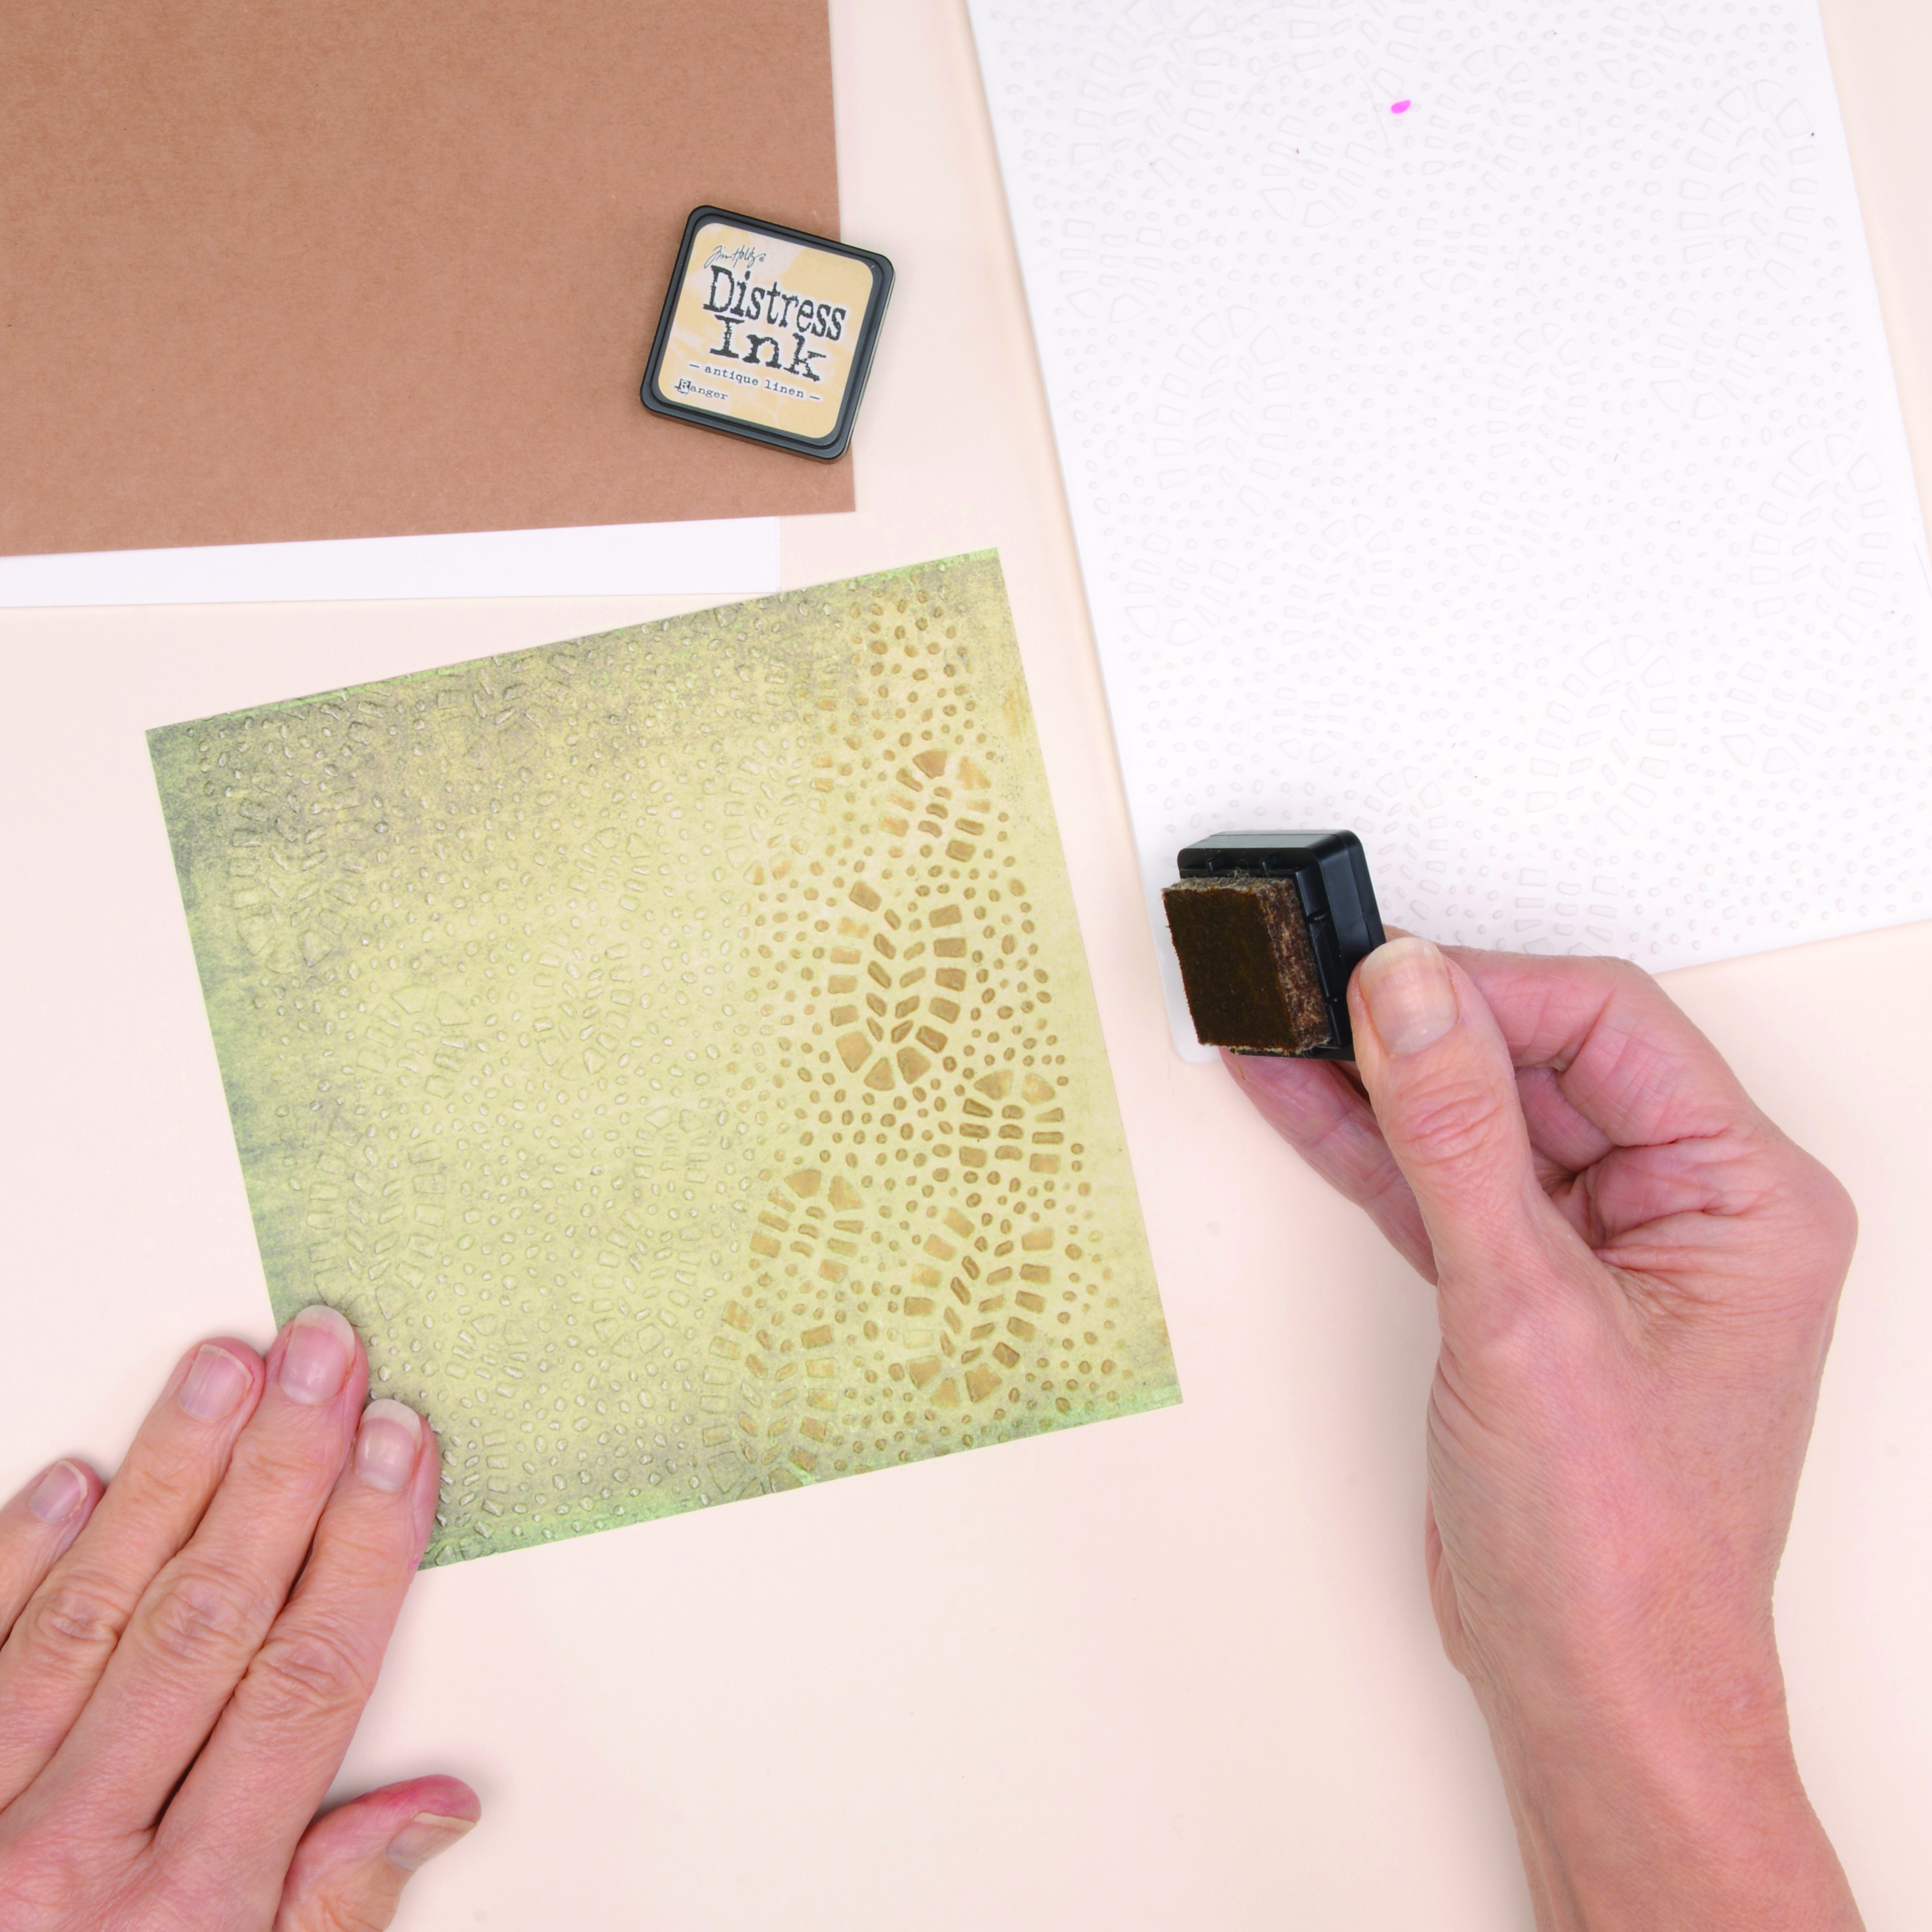
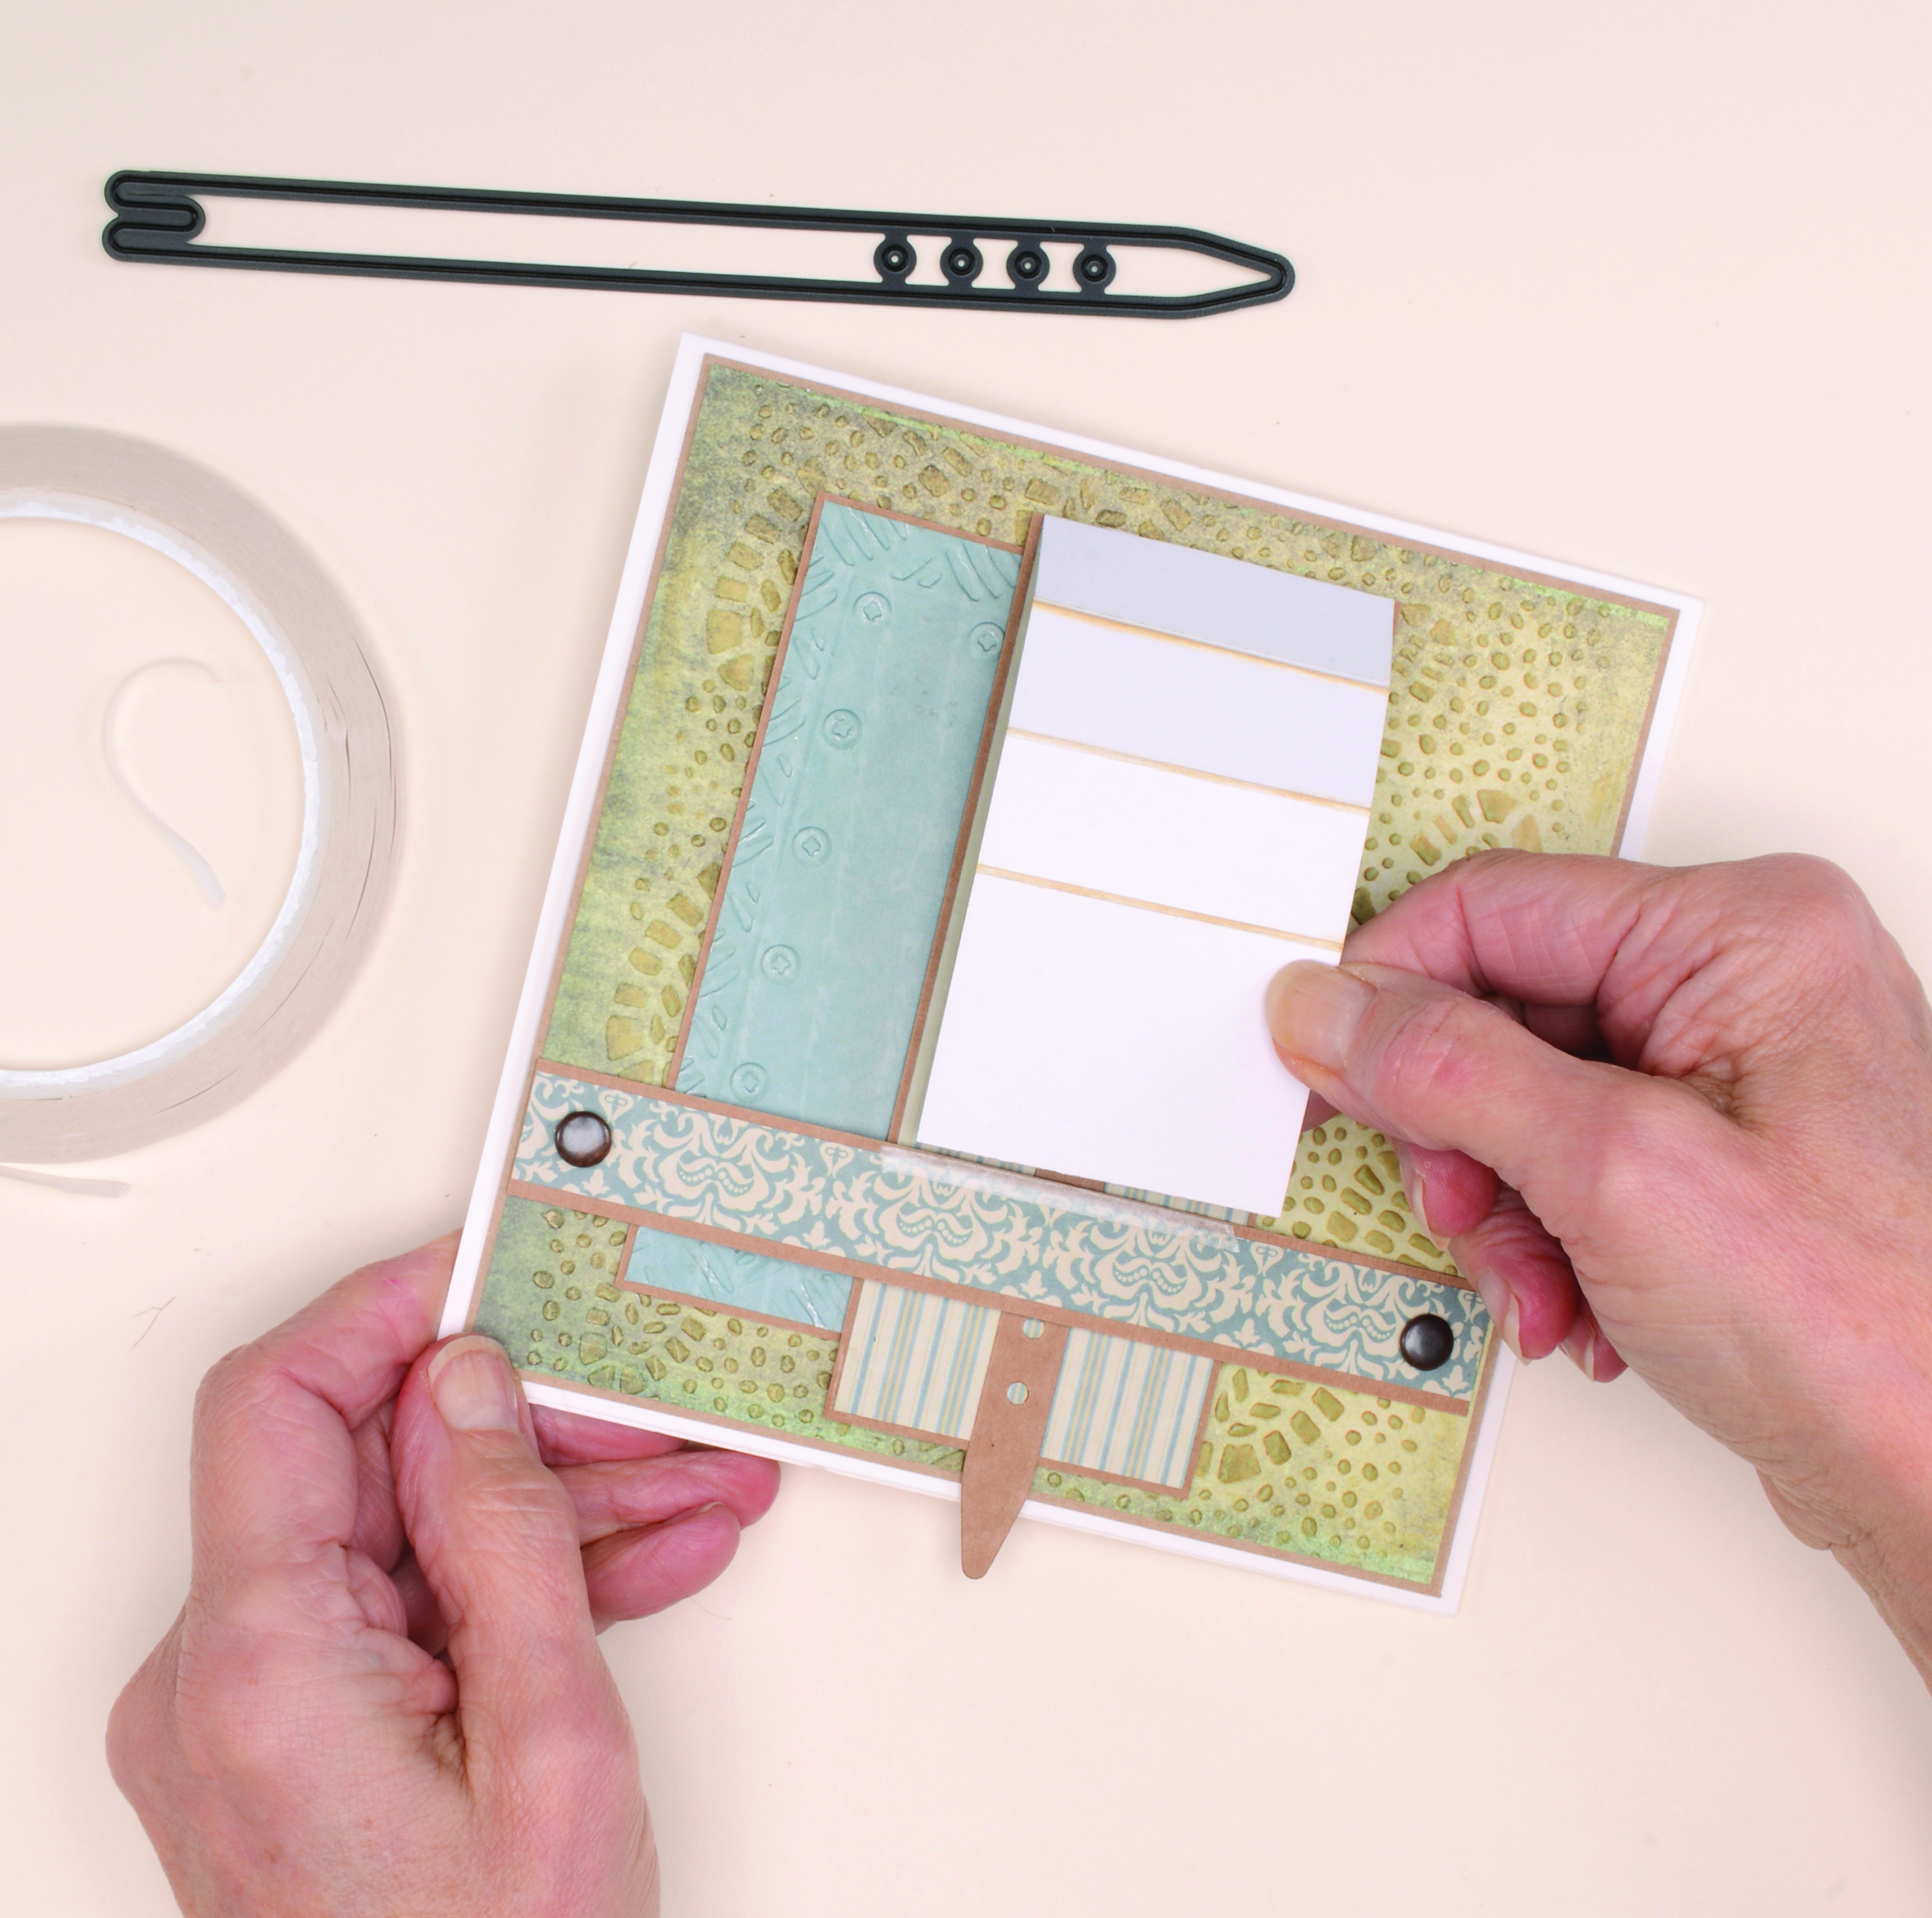
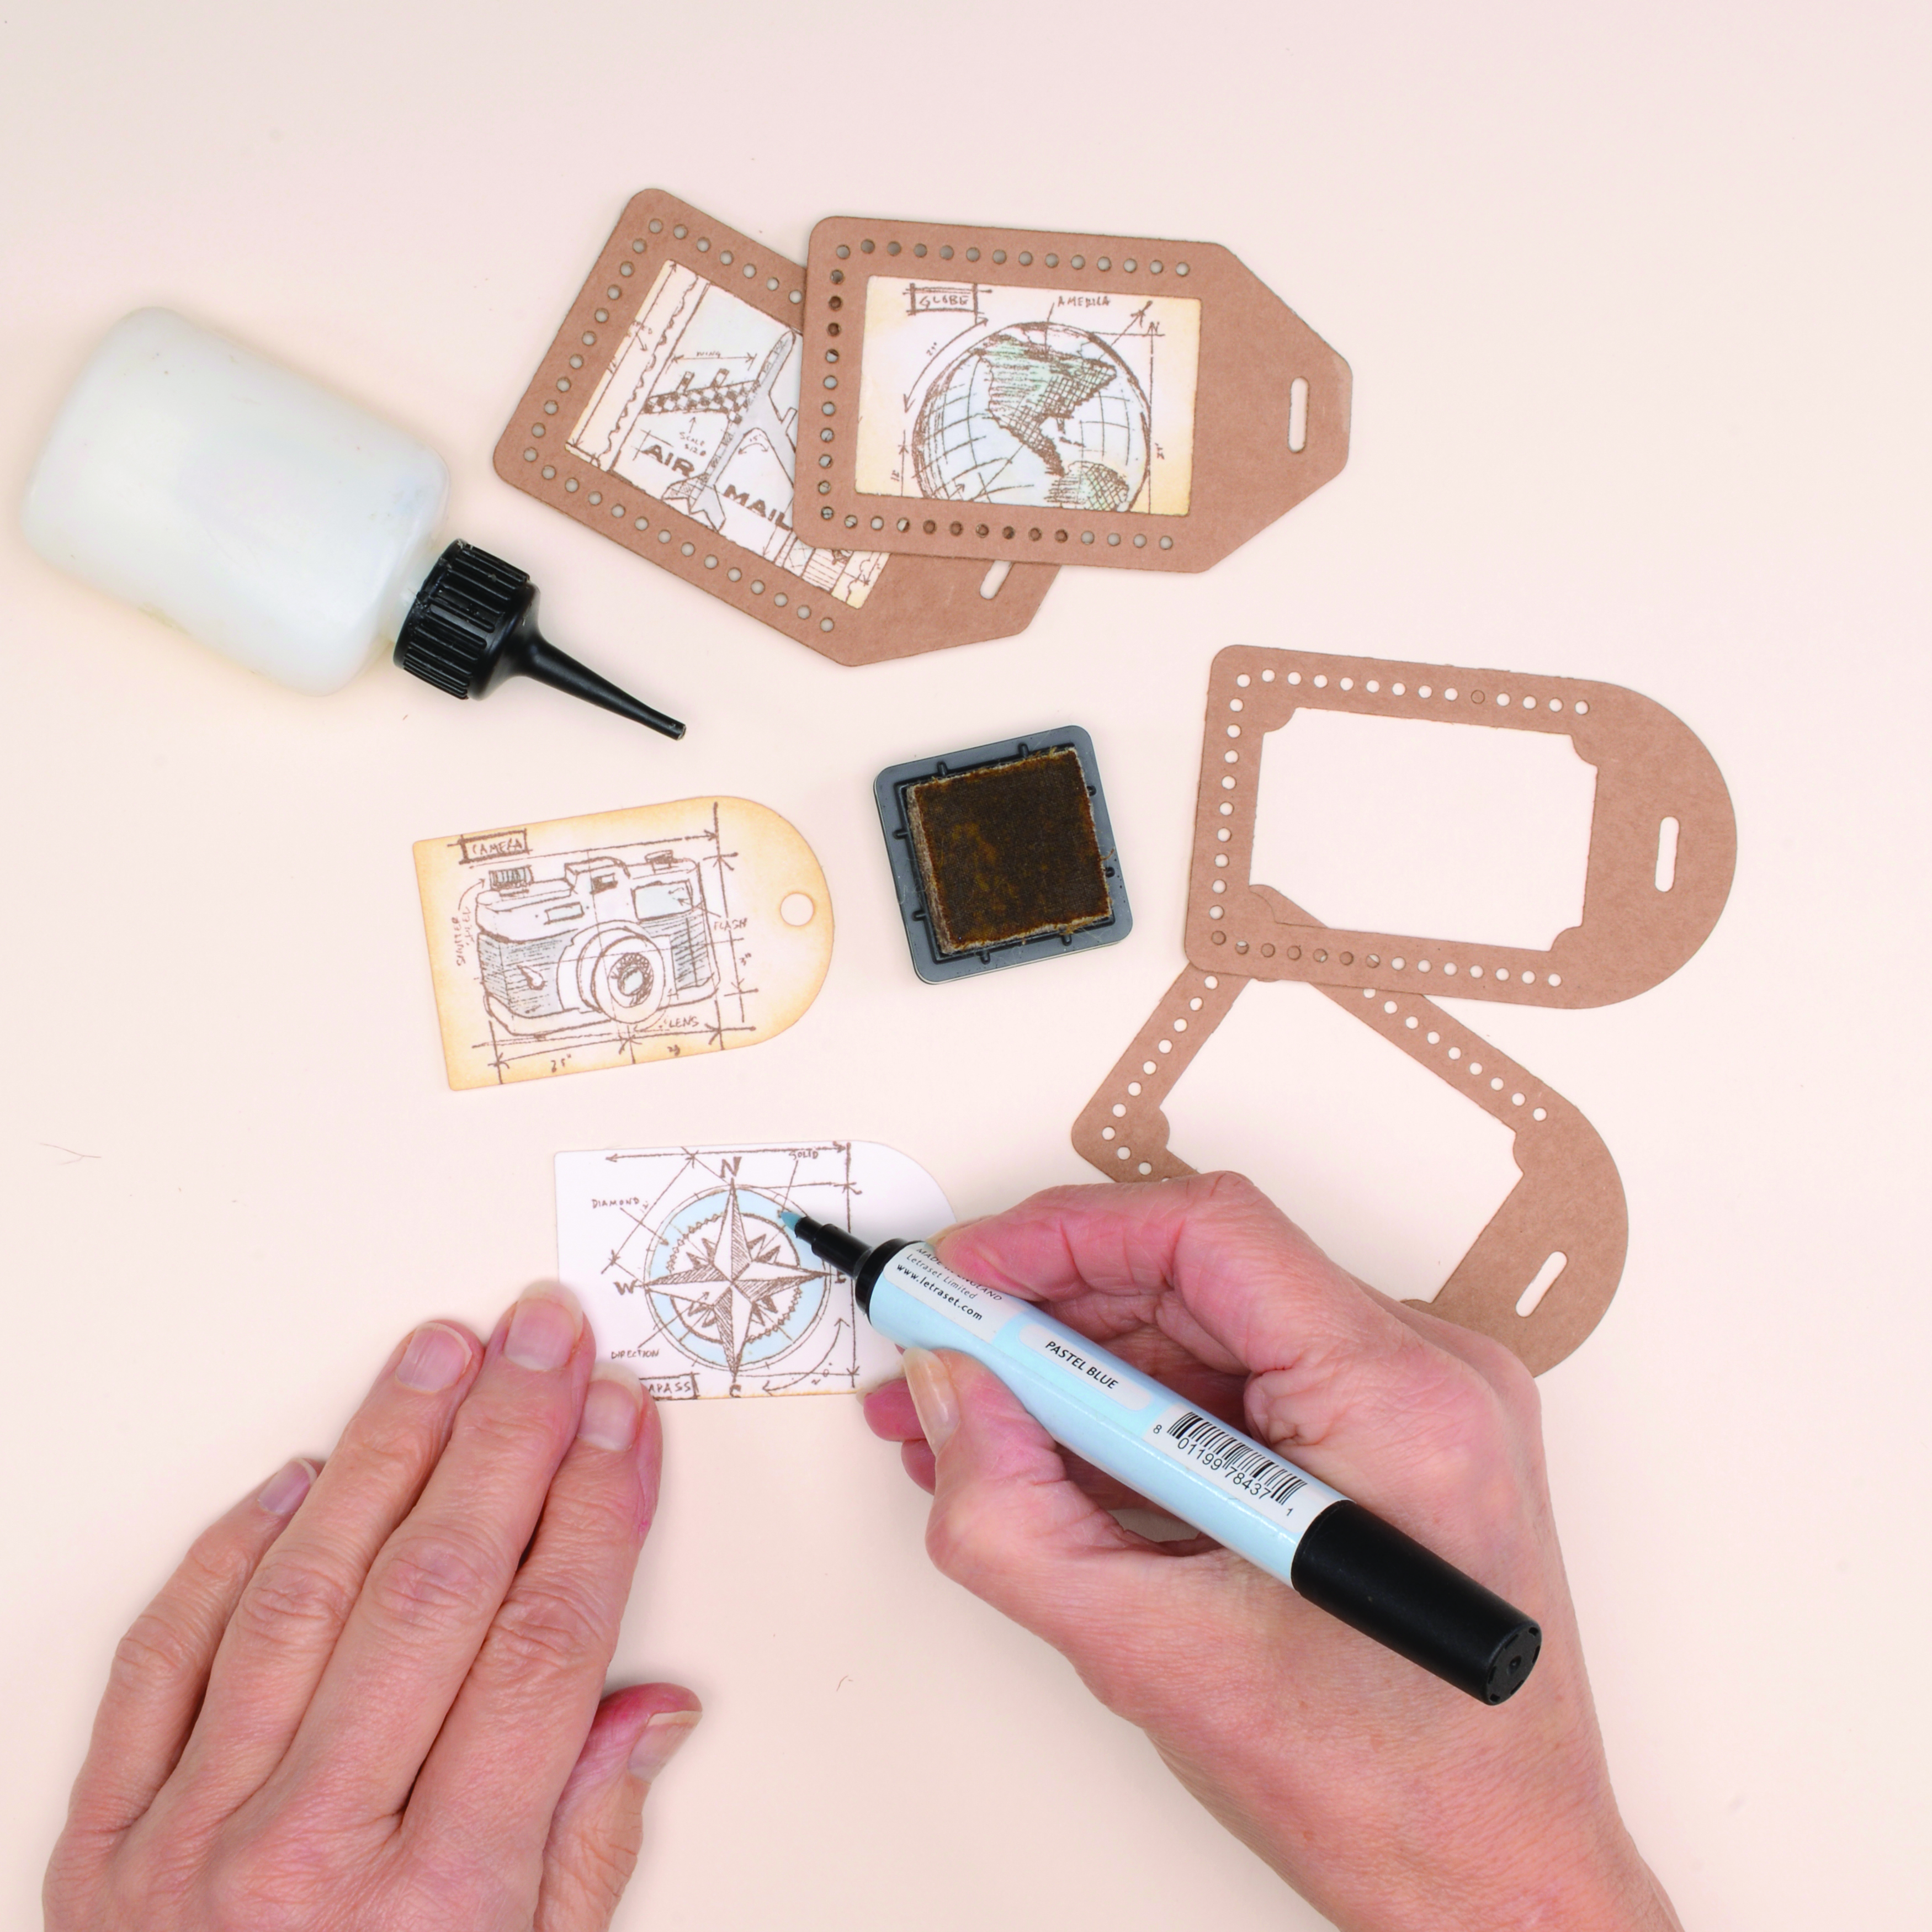
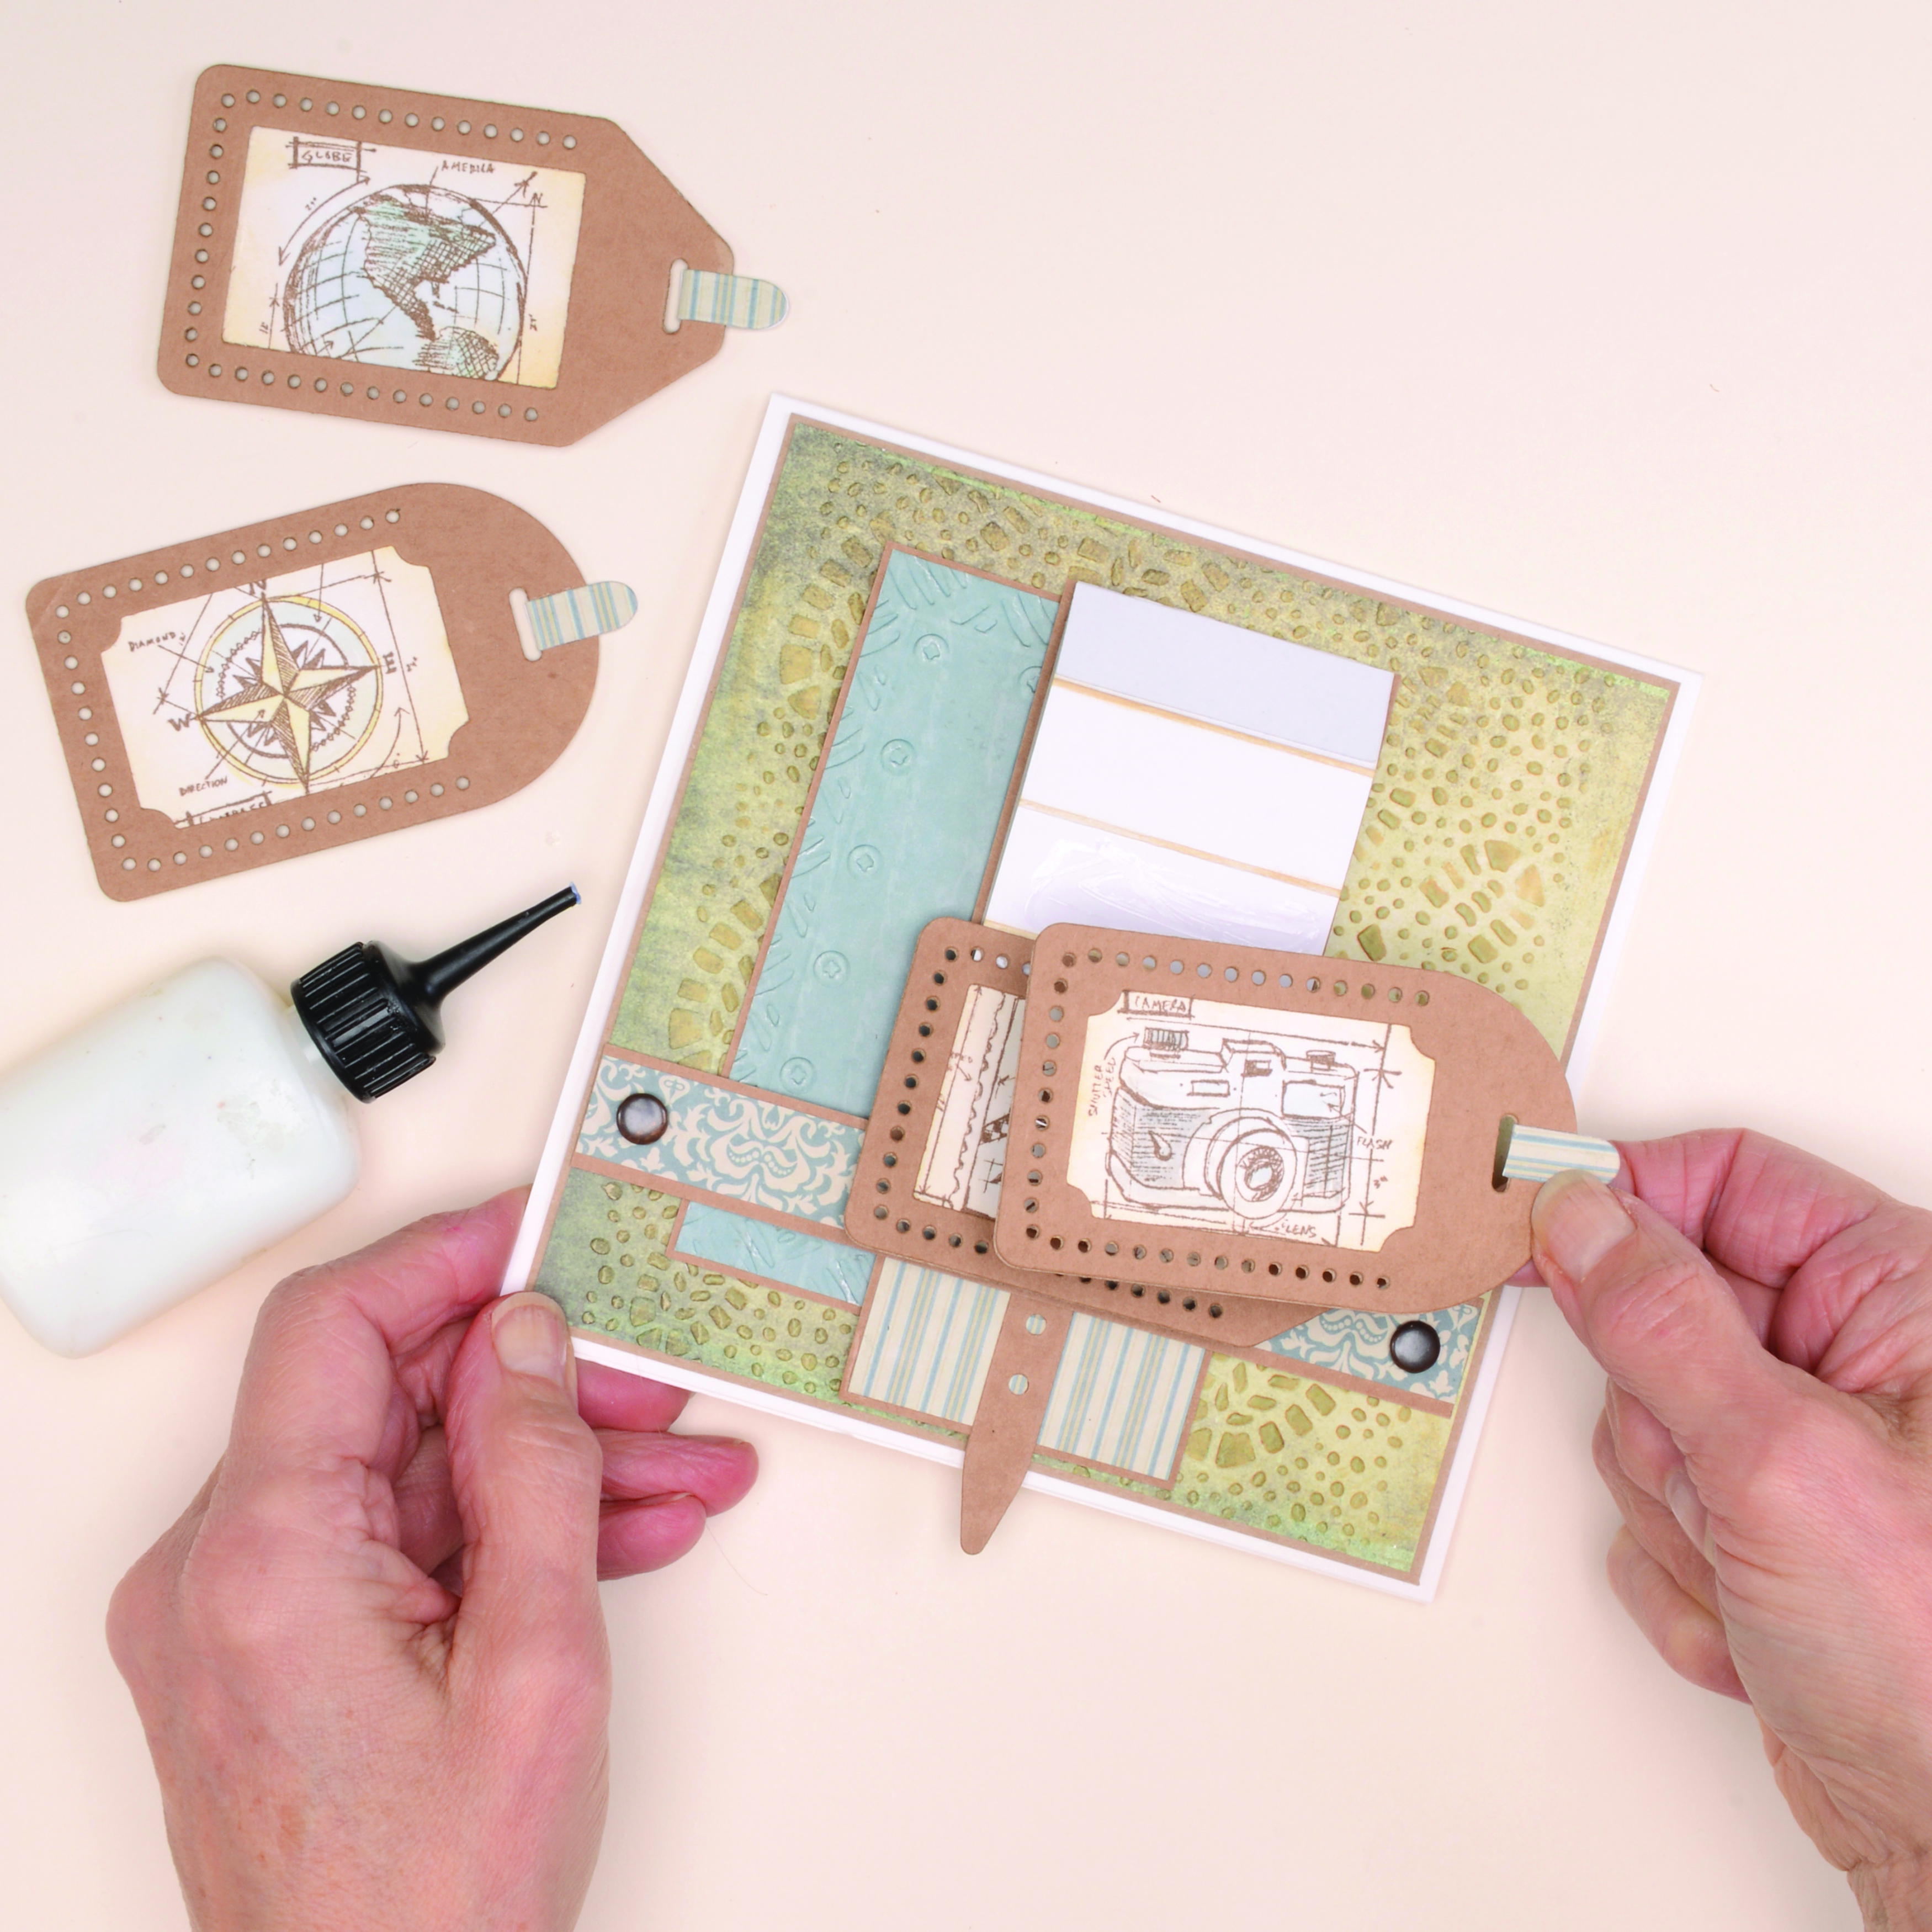
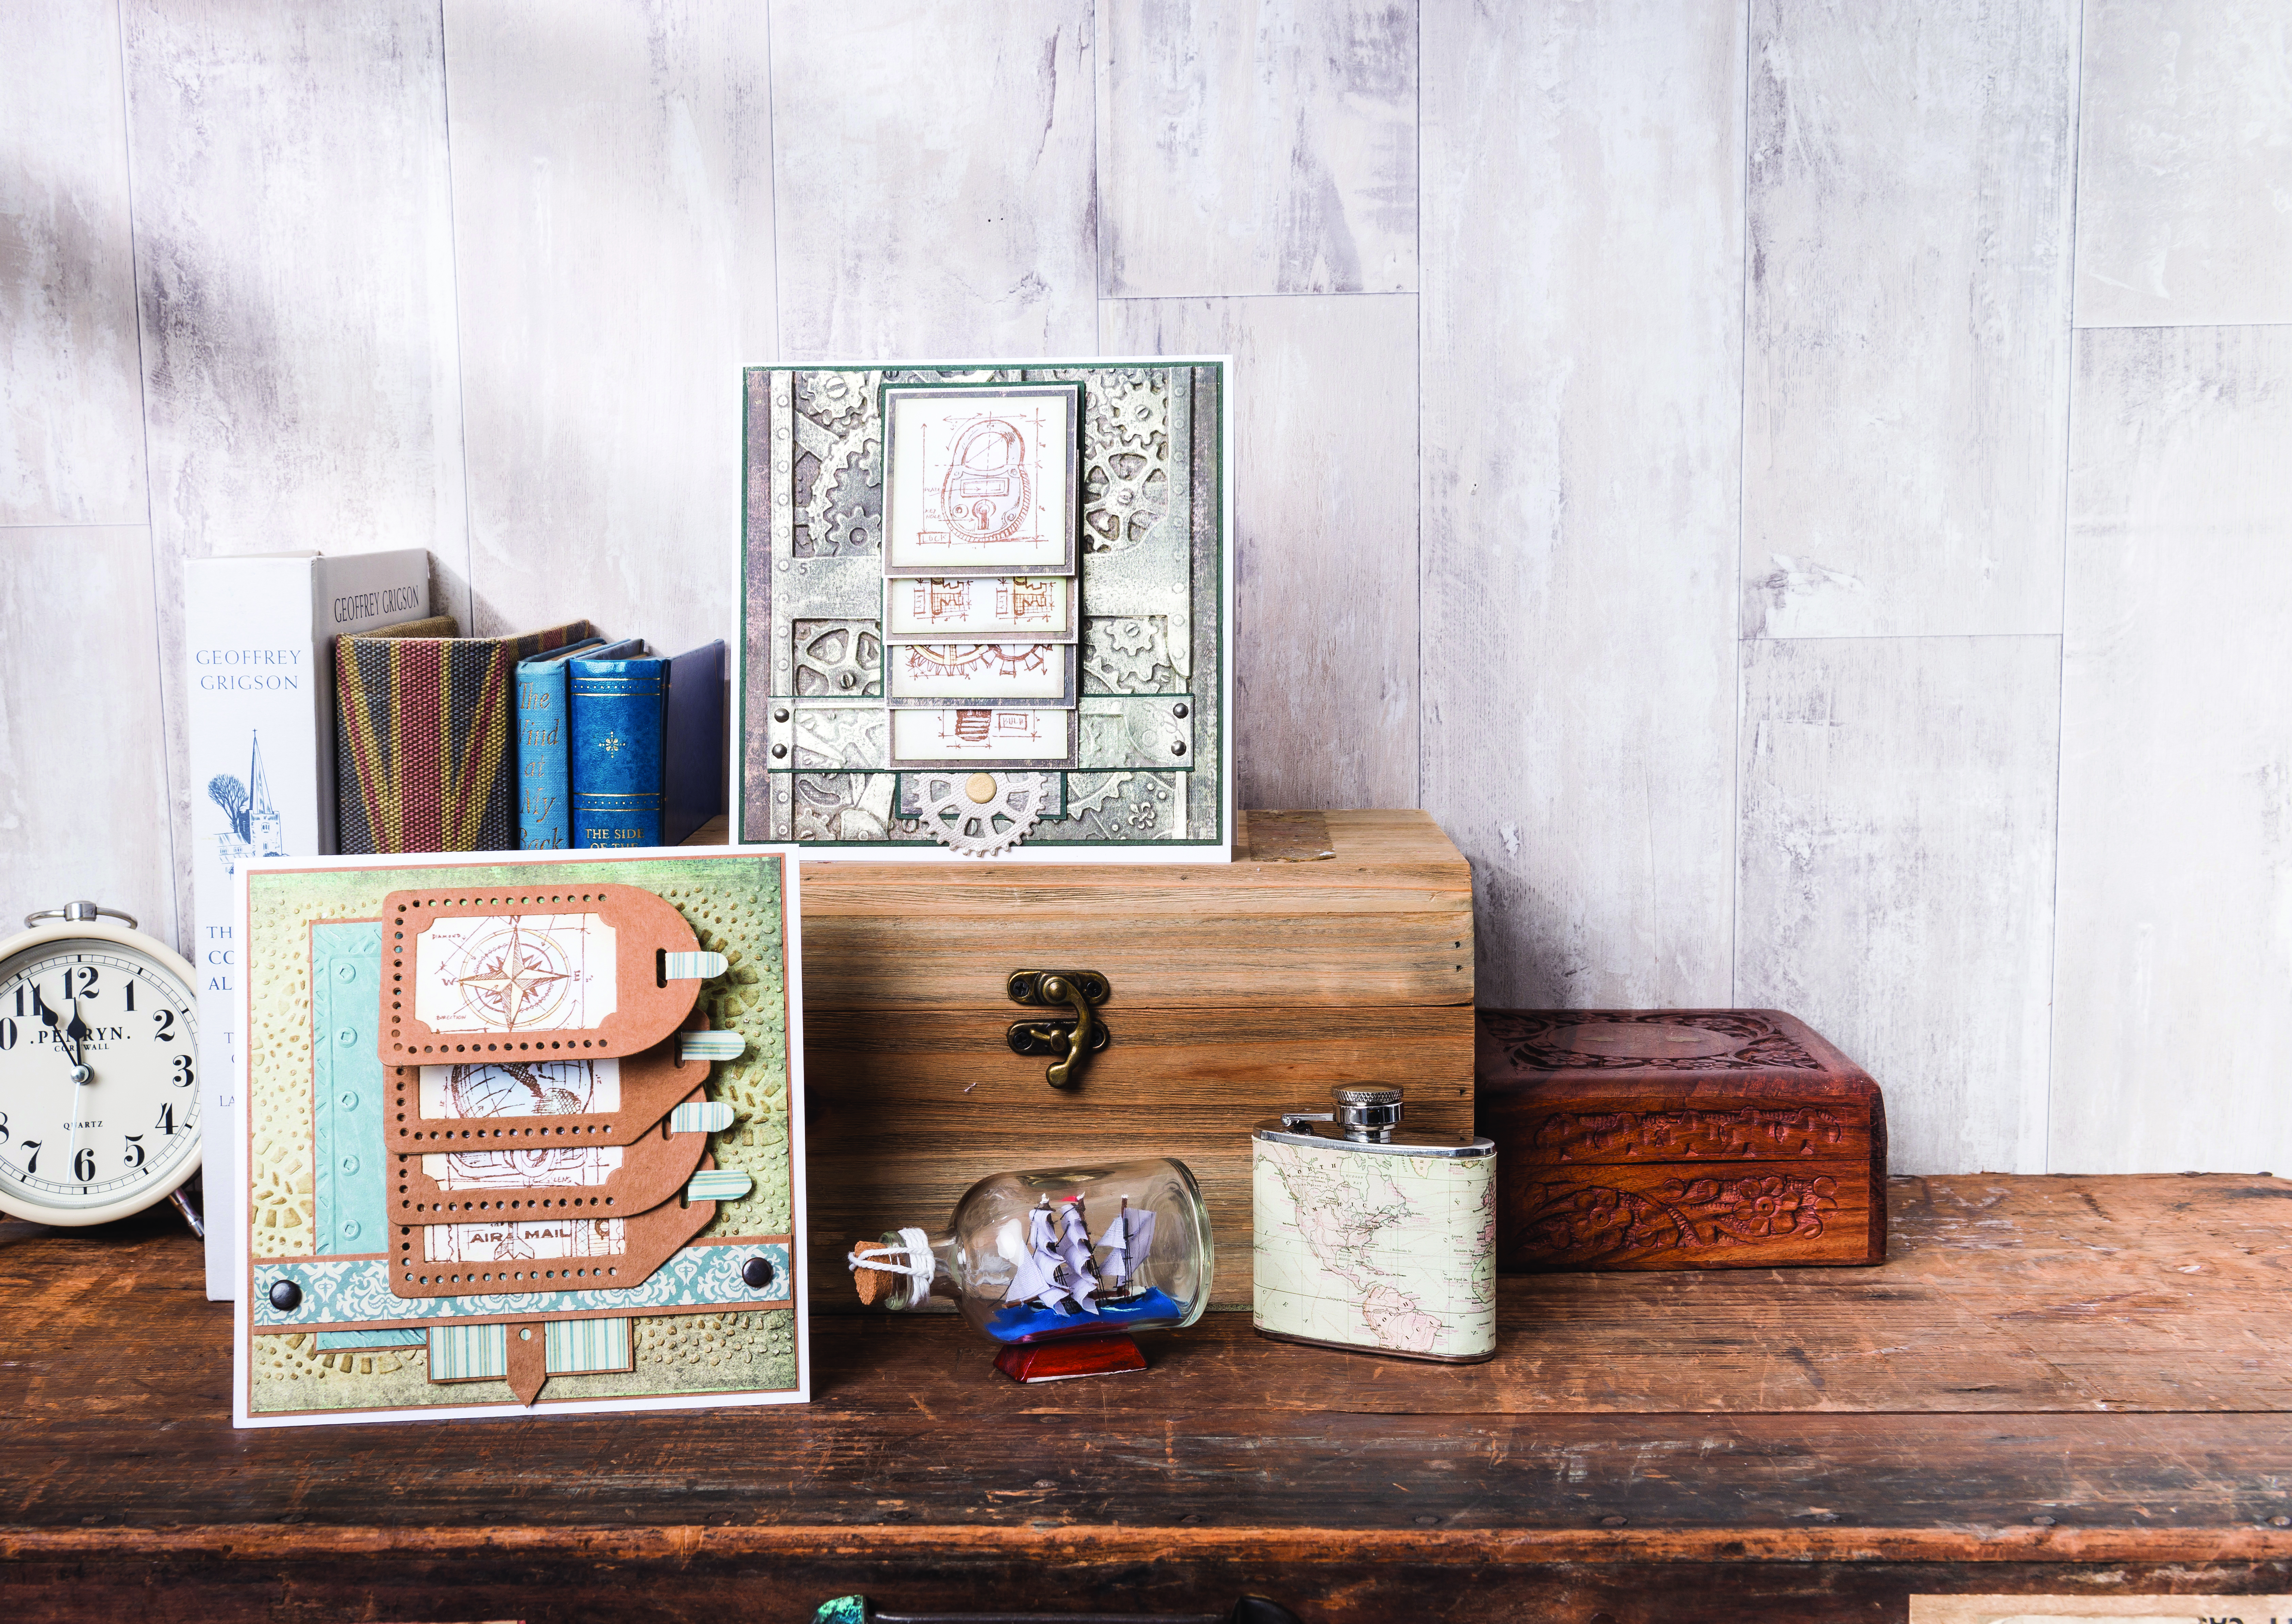
Create the wow-factor and learn how to make a waterfall card with our easy step-by-step tutorial. Simply pull the tab and watch the panels flip! This is an easy technique to learn, and only requires some clever folding to create a fun, interactive card that all ages will enjoy.
Here are some top tips, from our designer Carolyne Knott:
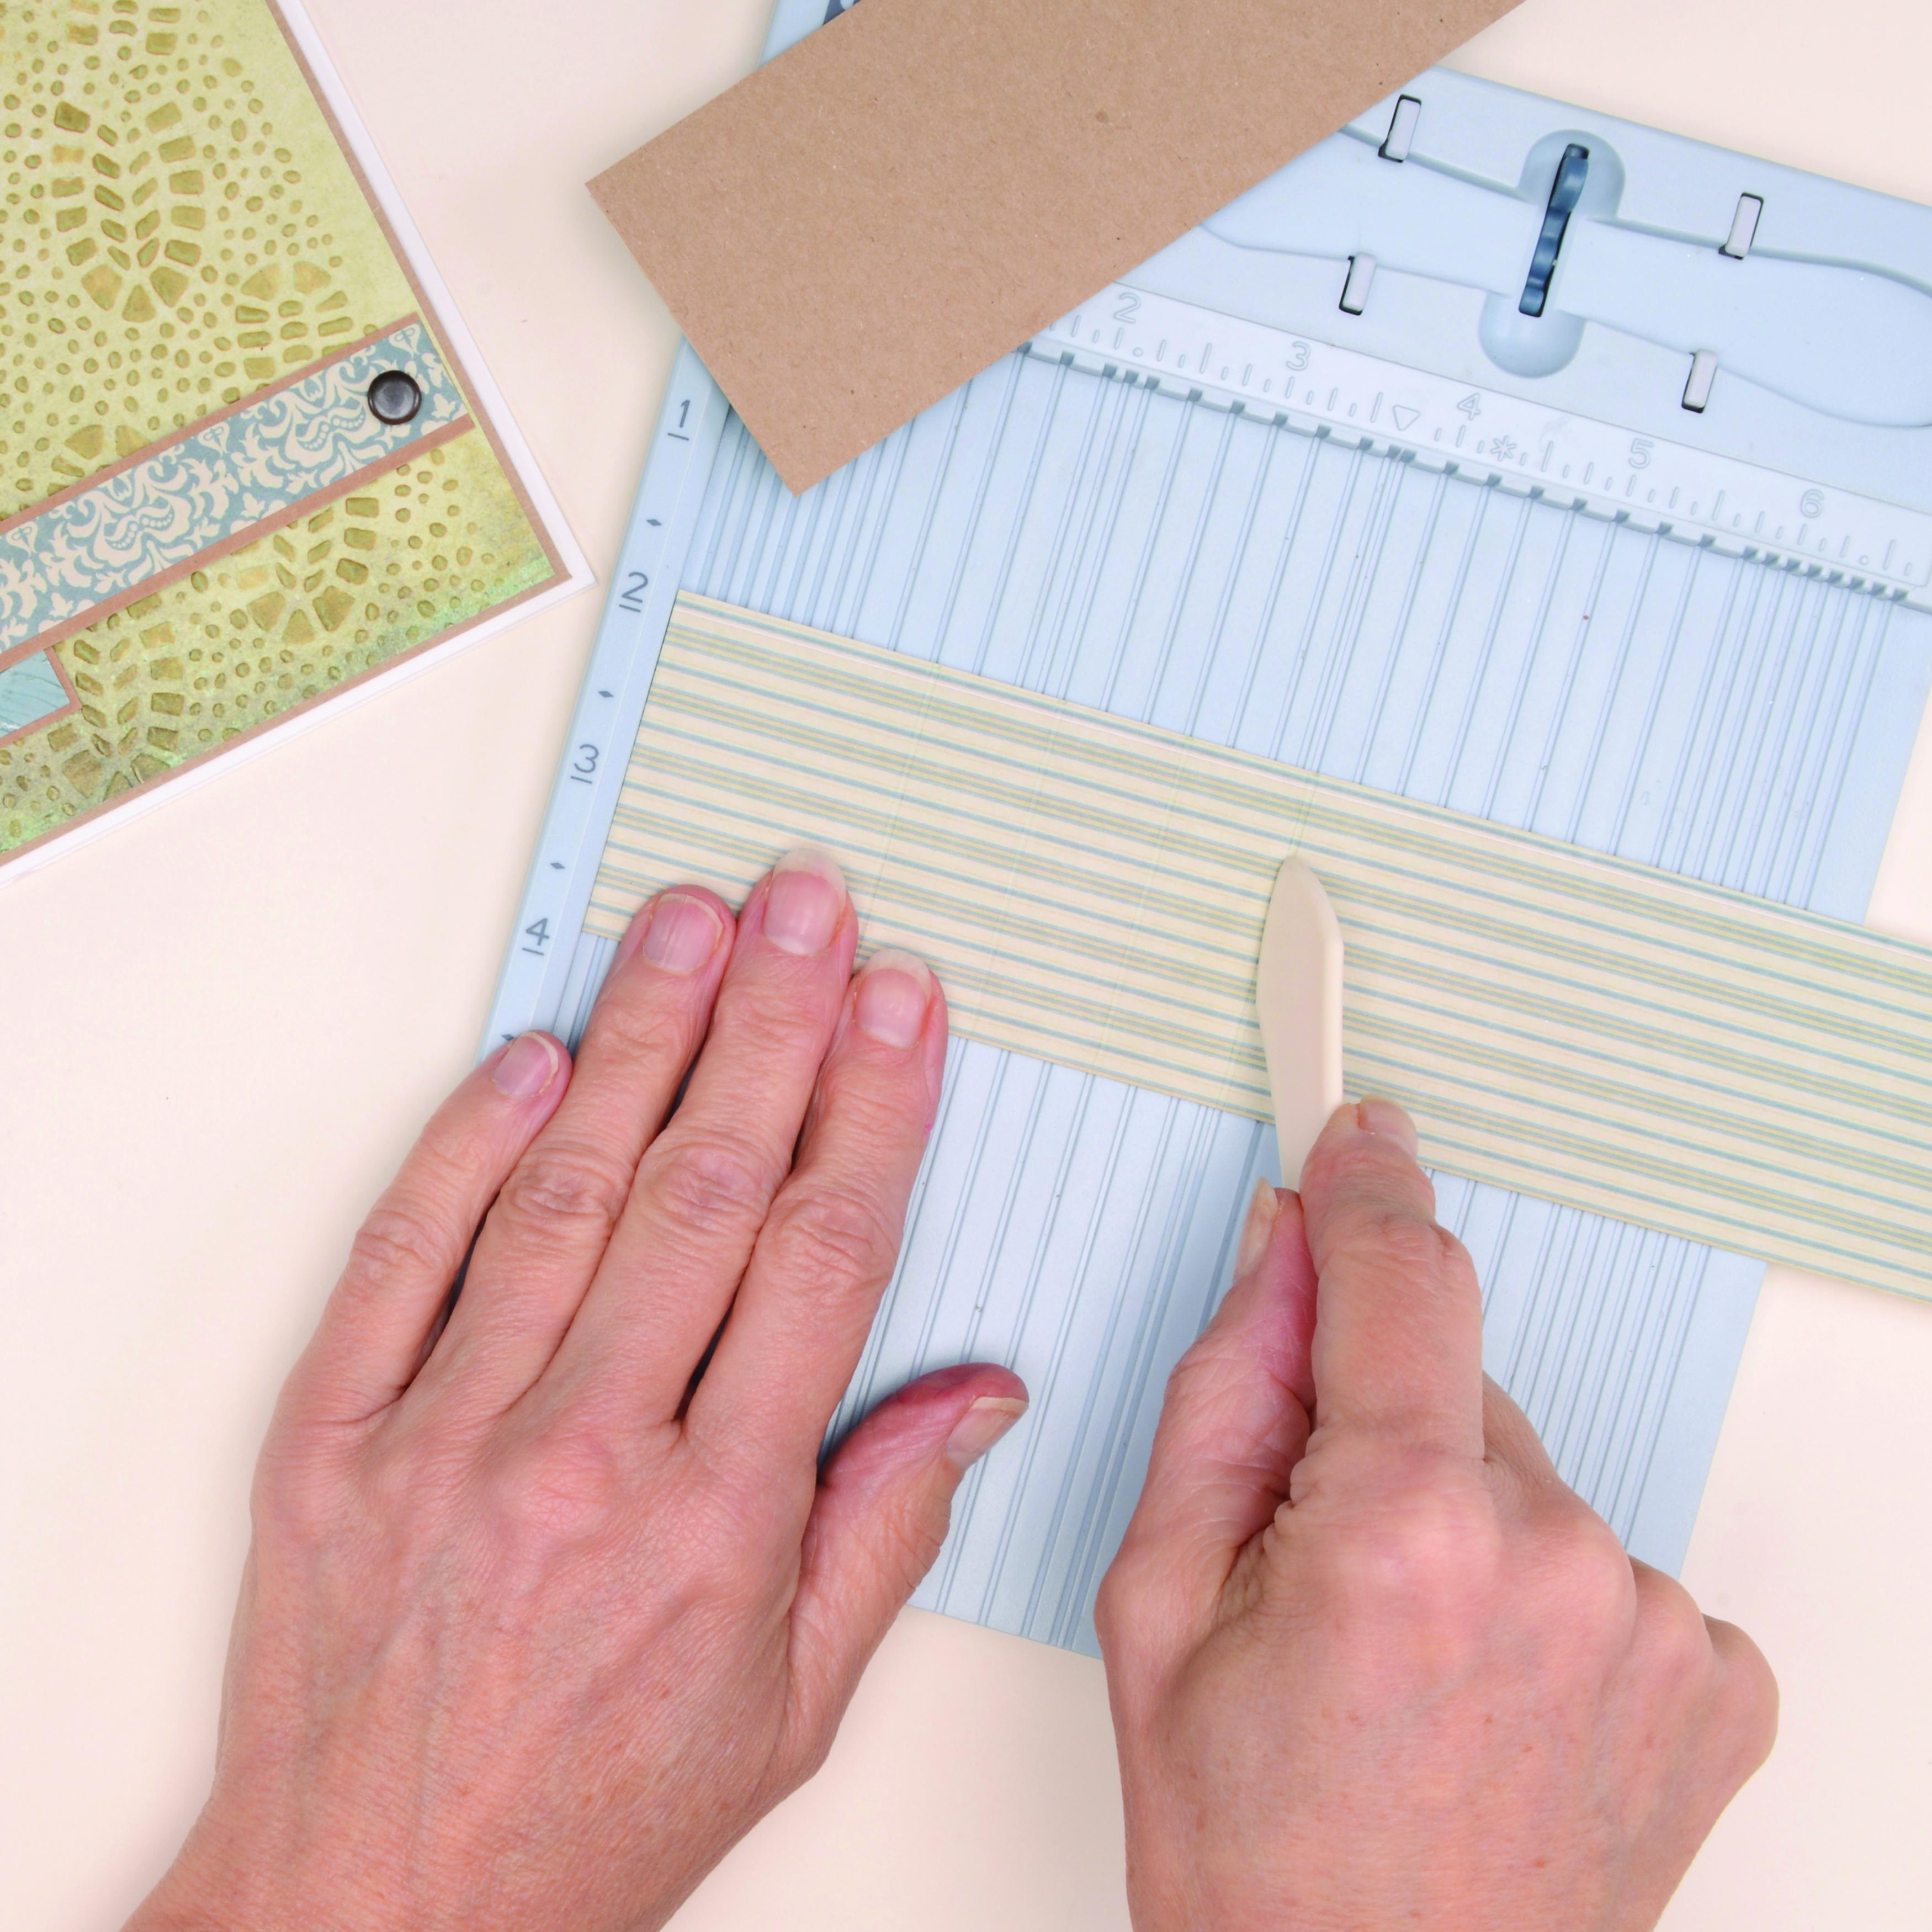
- Scoring both sides of the crease line with a bone folder will help the waterfall mechanism to run smoothly.
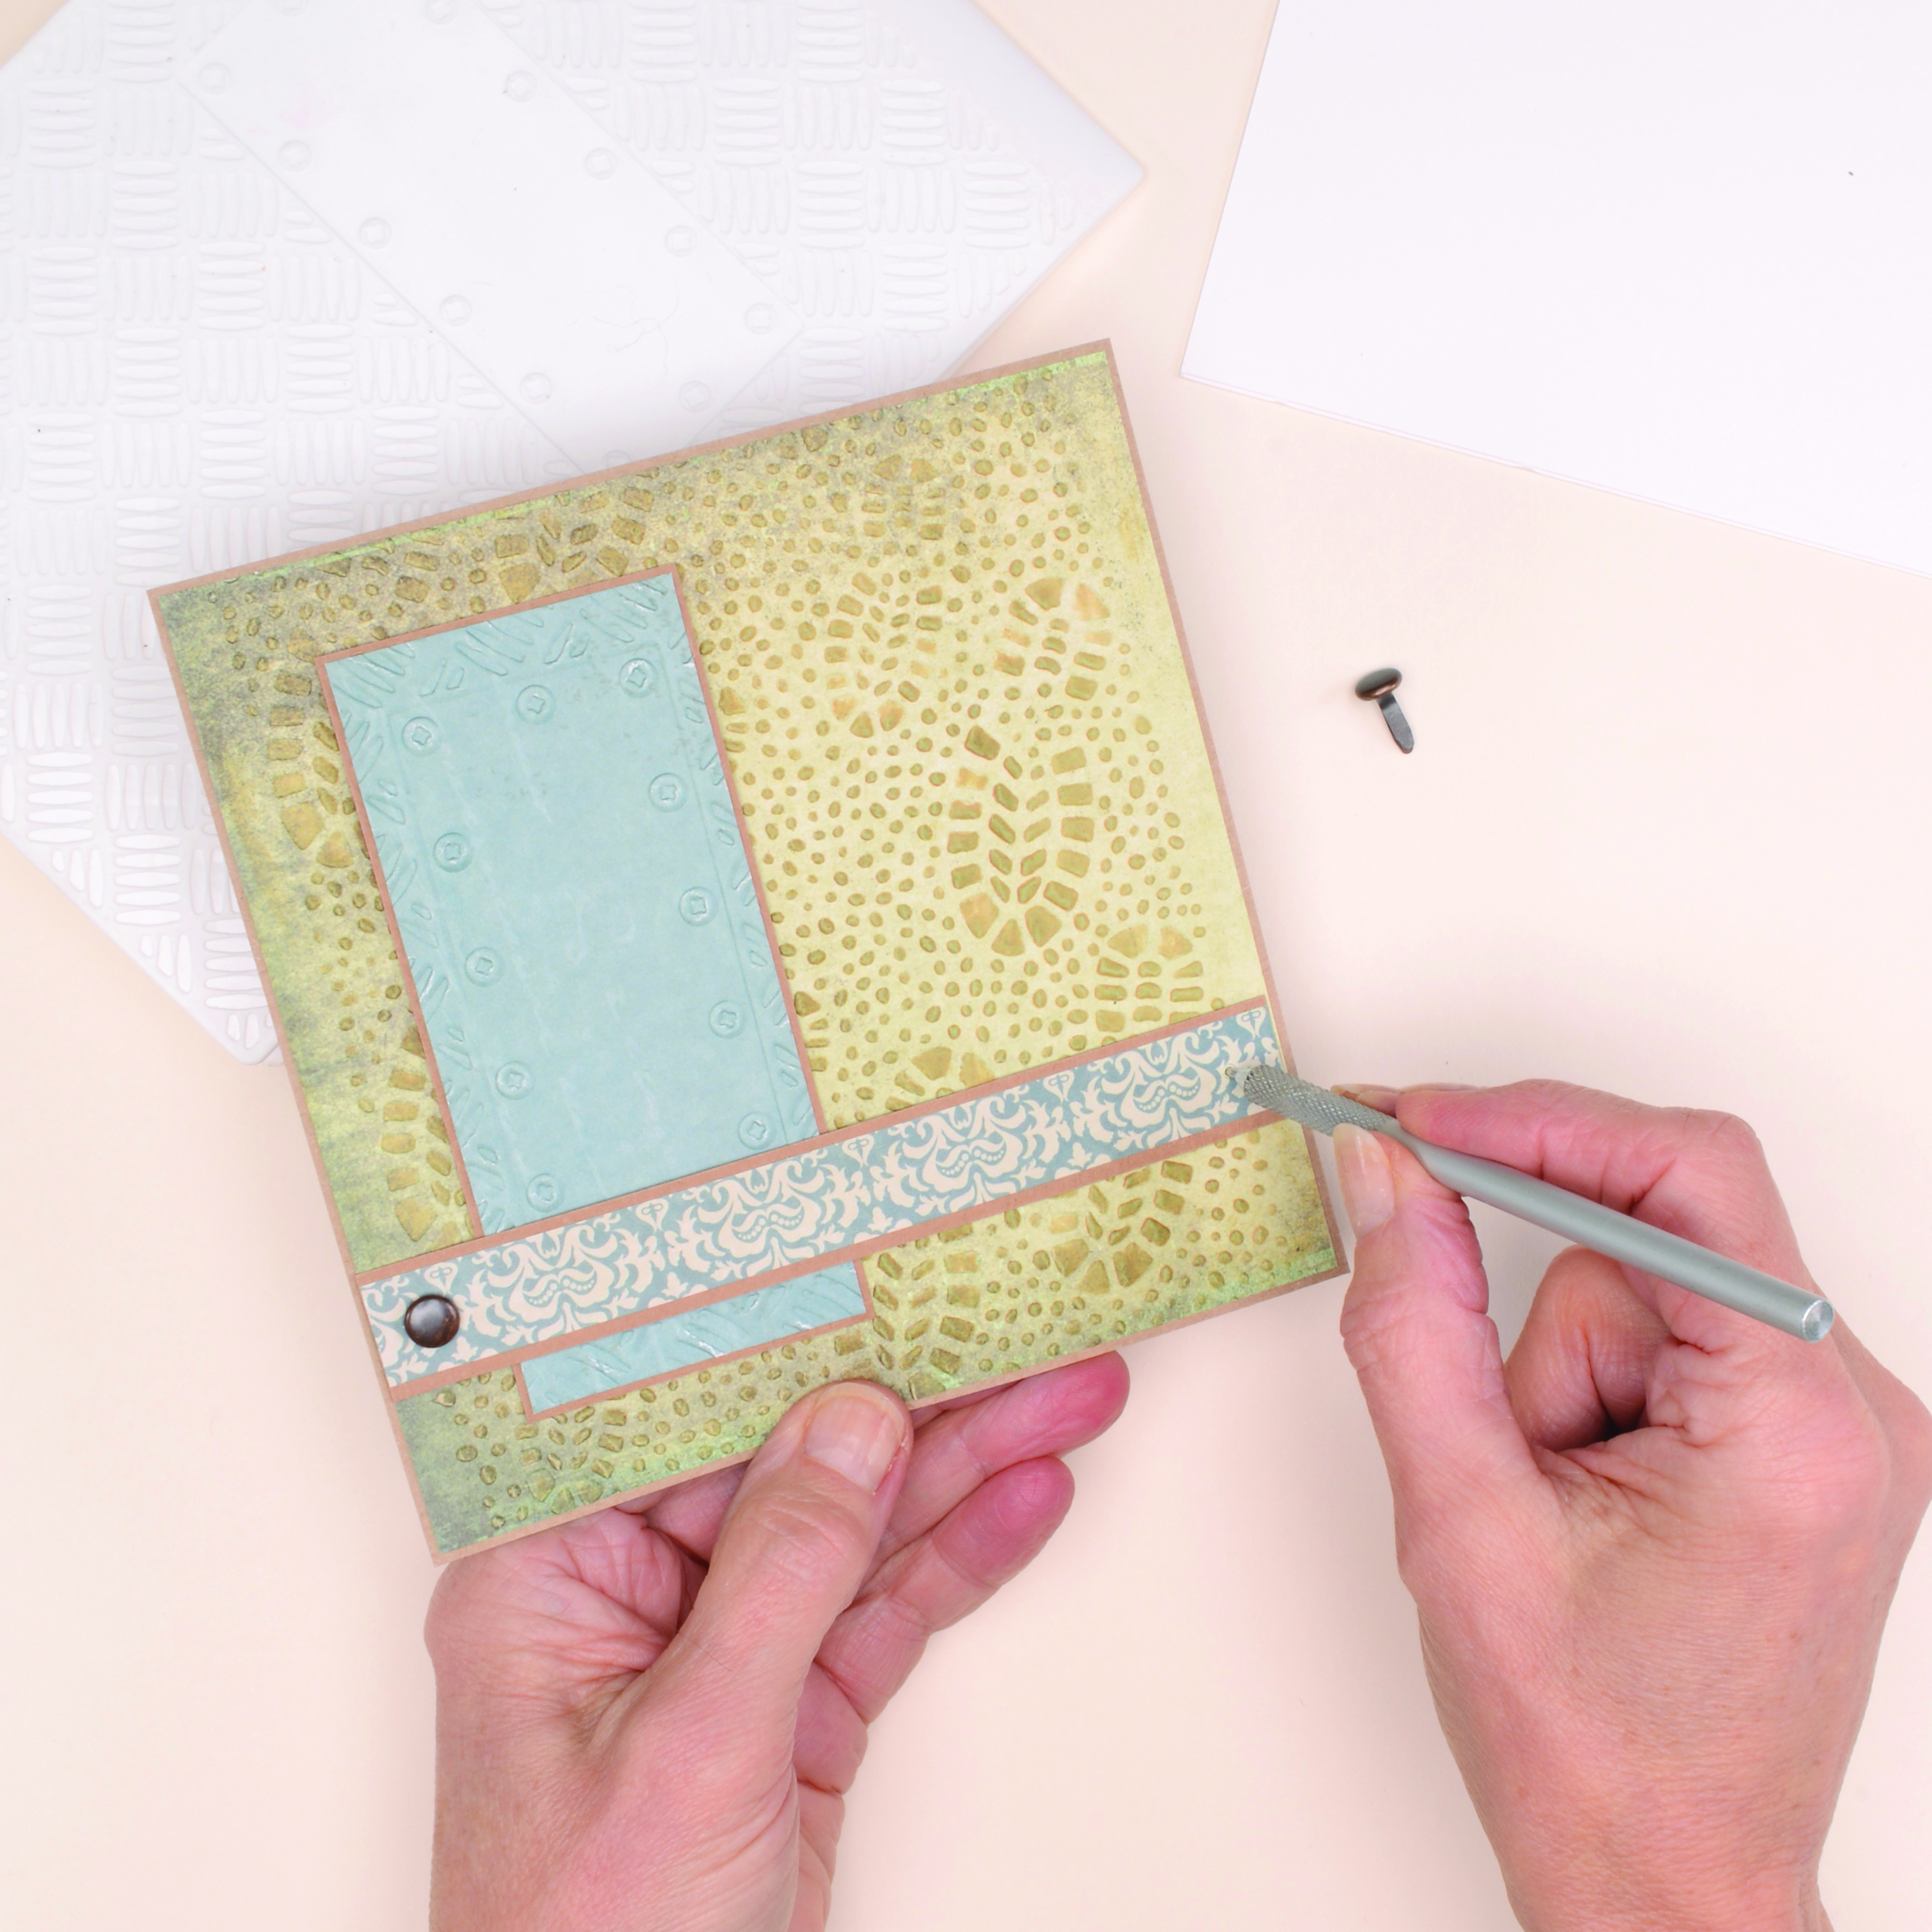
- Use brads as well as a dab of wet glue to secure the card strip, as this will ensure that it doesn’t come loose.
- Attach the die-cut tags carefully, just below the scored lines, to avoid the mechanism snagging.
- As the finished card will be quite heavy on the front, ensure that you use some strong card for your base.
- Sit the longer piece of the mechanism under the card strip when attaching it, to ensure that it has room to move easily and isn’t too tight.
Short on patterned paper? Take a look at our ever-growing collection of free patterned papers, there are lots to choose from and there are lots of different themes. We love these animals baking in the kitchen! For more general card making, let us show you how to make cards. And for more waterfall card inspiration - check out these roarsome dinosaur printables!
We love seeing what you make with our free printable papers, so don’t forget to share your cards and papercraft projects with us on Facebook and Twitter, too!
