How to make a stepper card

How to make a stepper card

Follow our step-by-step guide to discover how to make a regular stepper card, which you can decorate with your patterned paper scraps and embellishments.

Try 6 issues of any craft magazine from just £9.99

Published: September 19, 2019 at 6:52 am

We love creating different styles of card bases – it’s a great way to add extra interest to a design and will often provide you with extra space to add lovely papers and embellishments. Here, we show you how to create a regular stepper card. To get started, simply cover the panels with patterned papers. Once you've gained more confidence with the card fold, why not die cut borders into the folds or add more interesting toppers to the base!

To make this stepper card, you can follow our simple four-step guide below. When you've made the base from step 1, create another base from sturdy card and keep as a template for your future steppers - this will save you lots of time spent measuring!

What you need to make this stepper card:

  • Festive-patterned papers
  • White and coloured card
  • Craft knife
  • Craft mat
  • Metal ruler
  • Red gems
  • Glitter glue

Step 1

How to make a stepper card 1

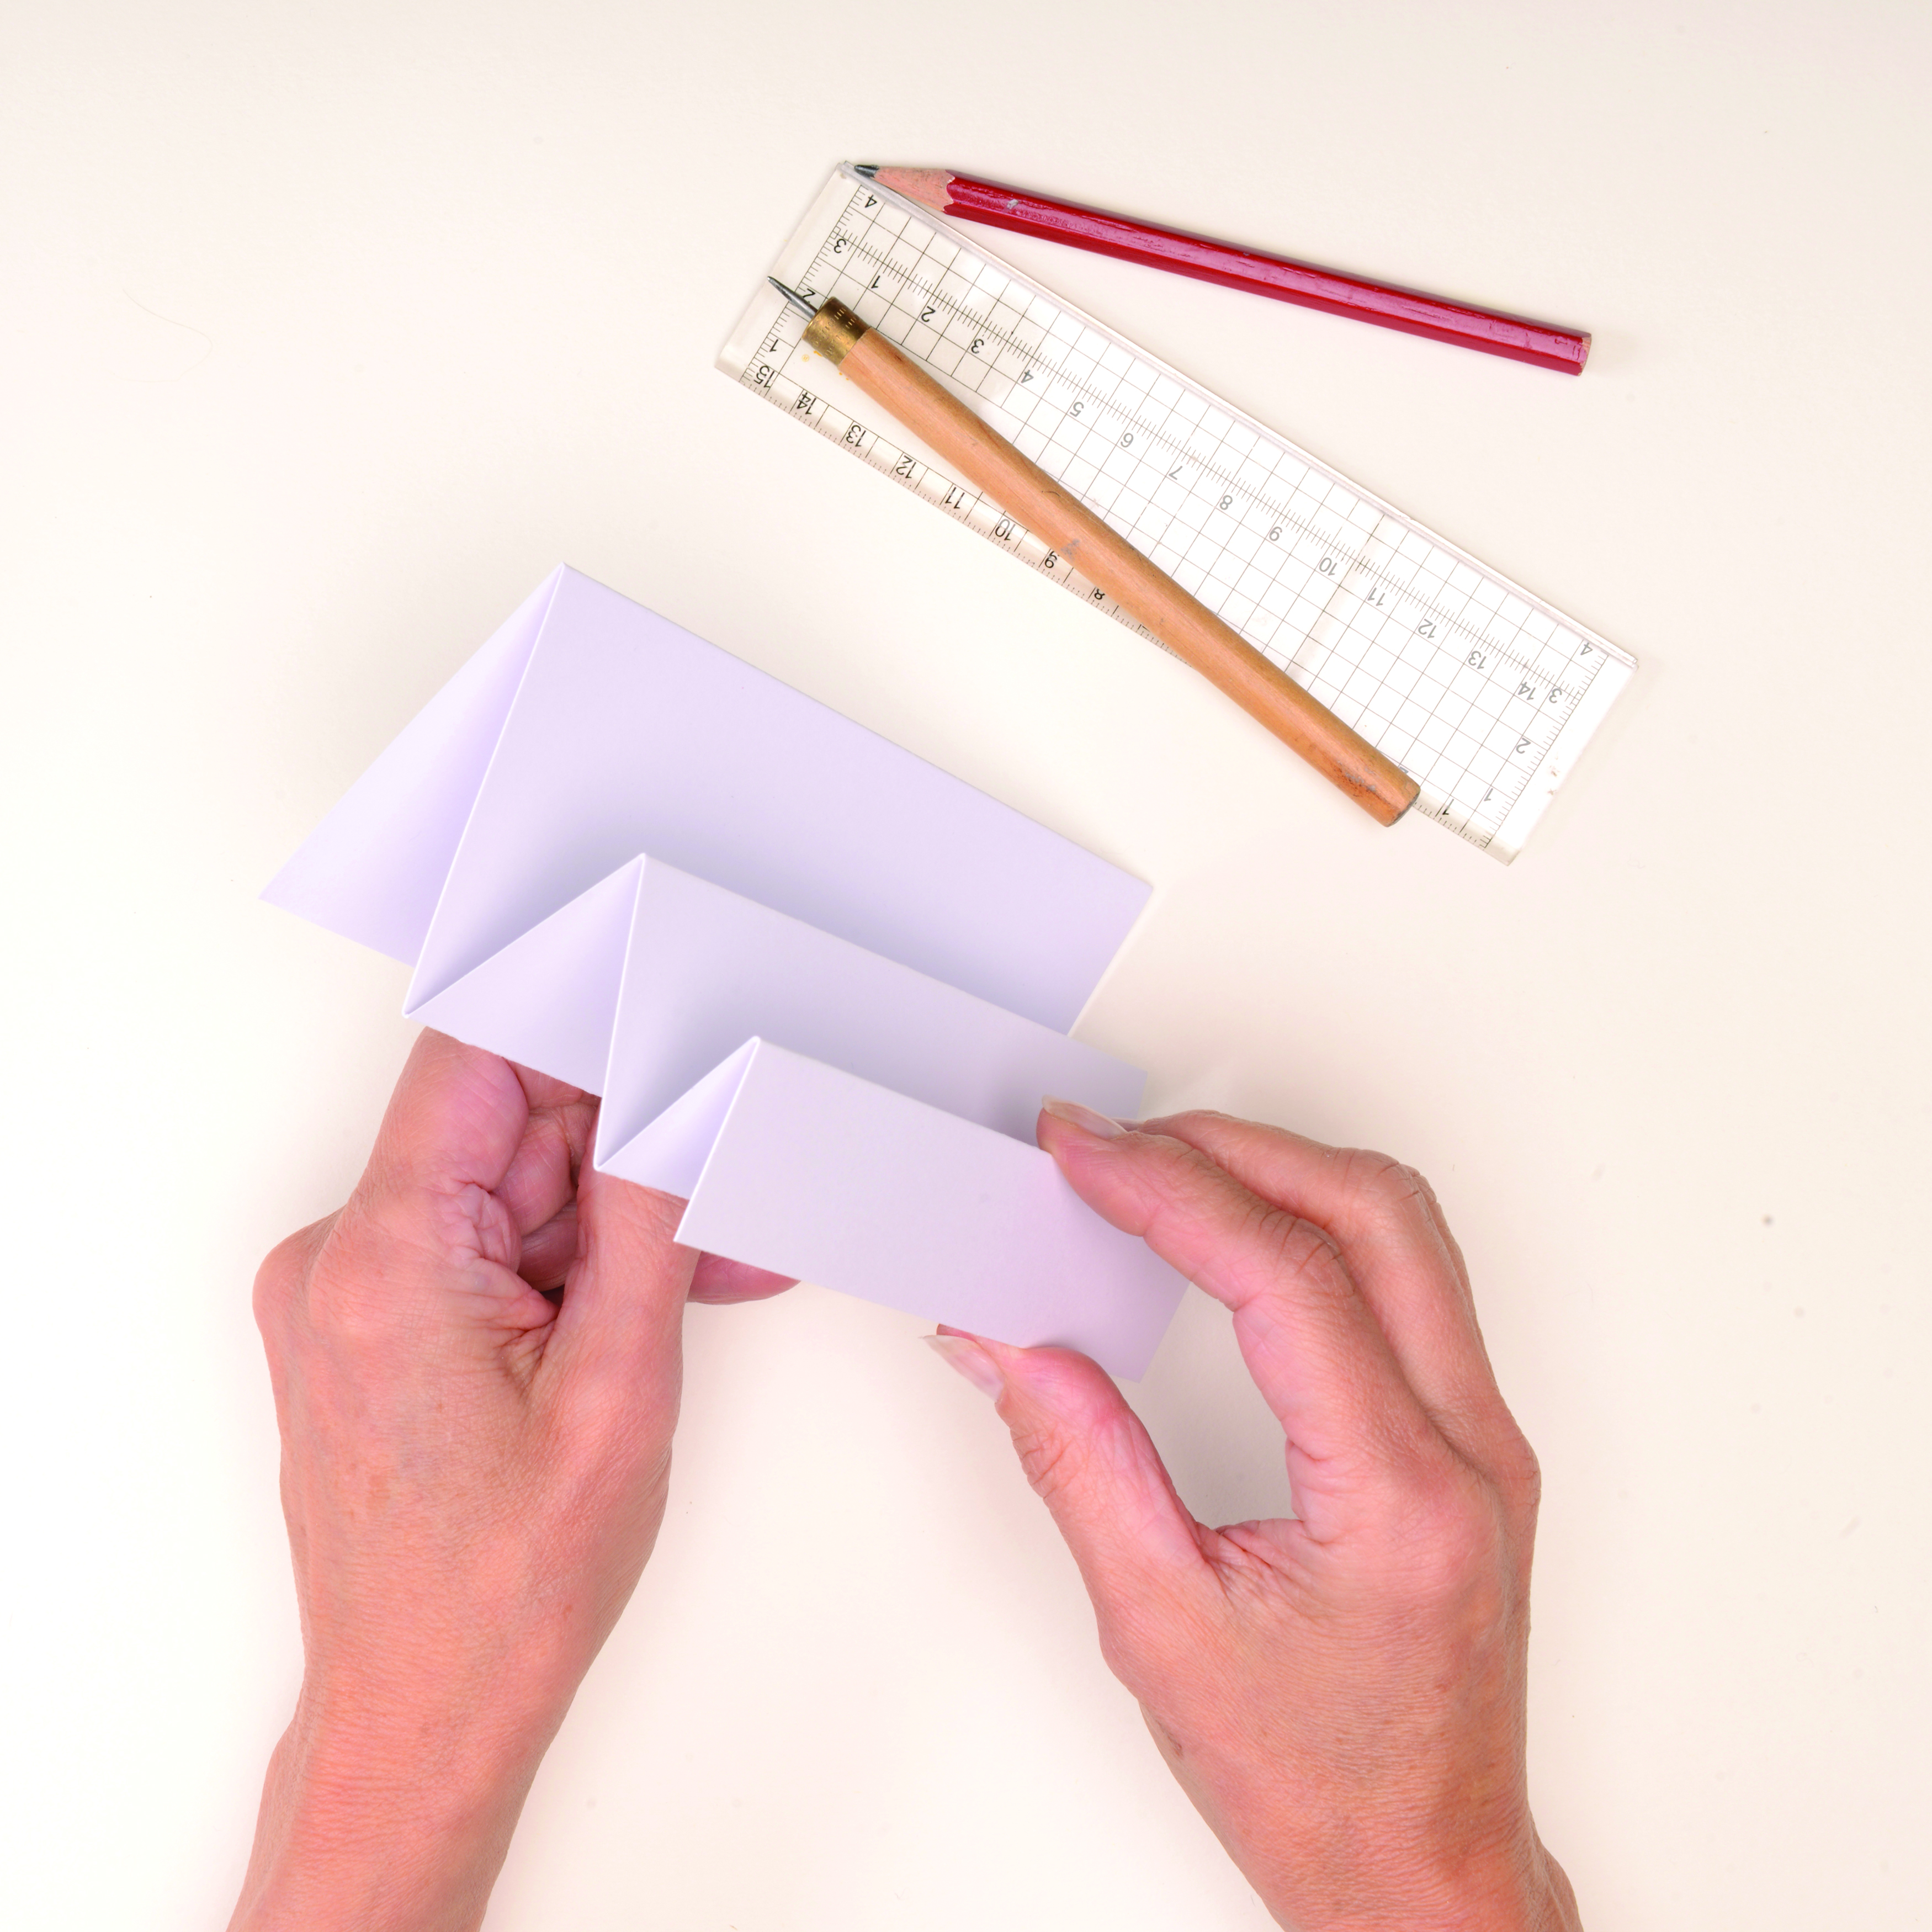
Trim a piece of white card to 15x29cm. Starting from the left-hand side, mark the panel at 2.5cm, 5cm, 9cm, 13cm and 21cm. Score across the panel at these points. Crease along the score lines using a bone folder and fold to form a stepper base, as shown.


Step 2

How to make a stepper card 2

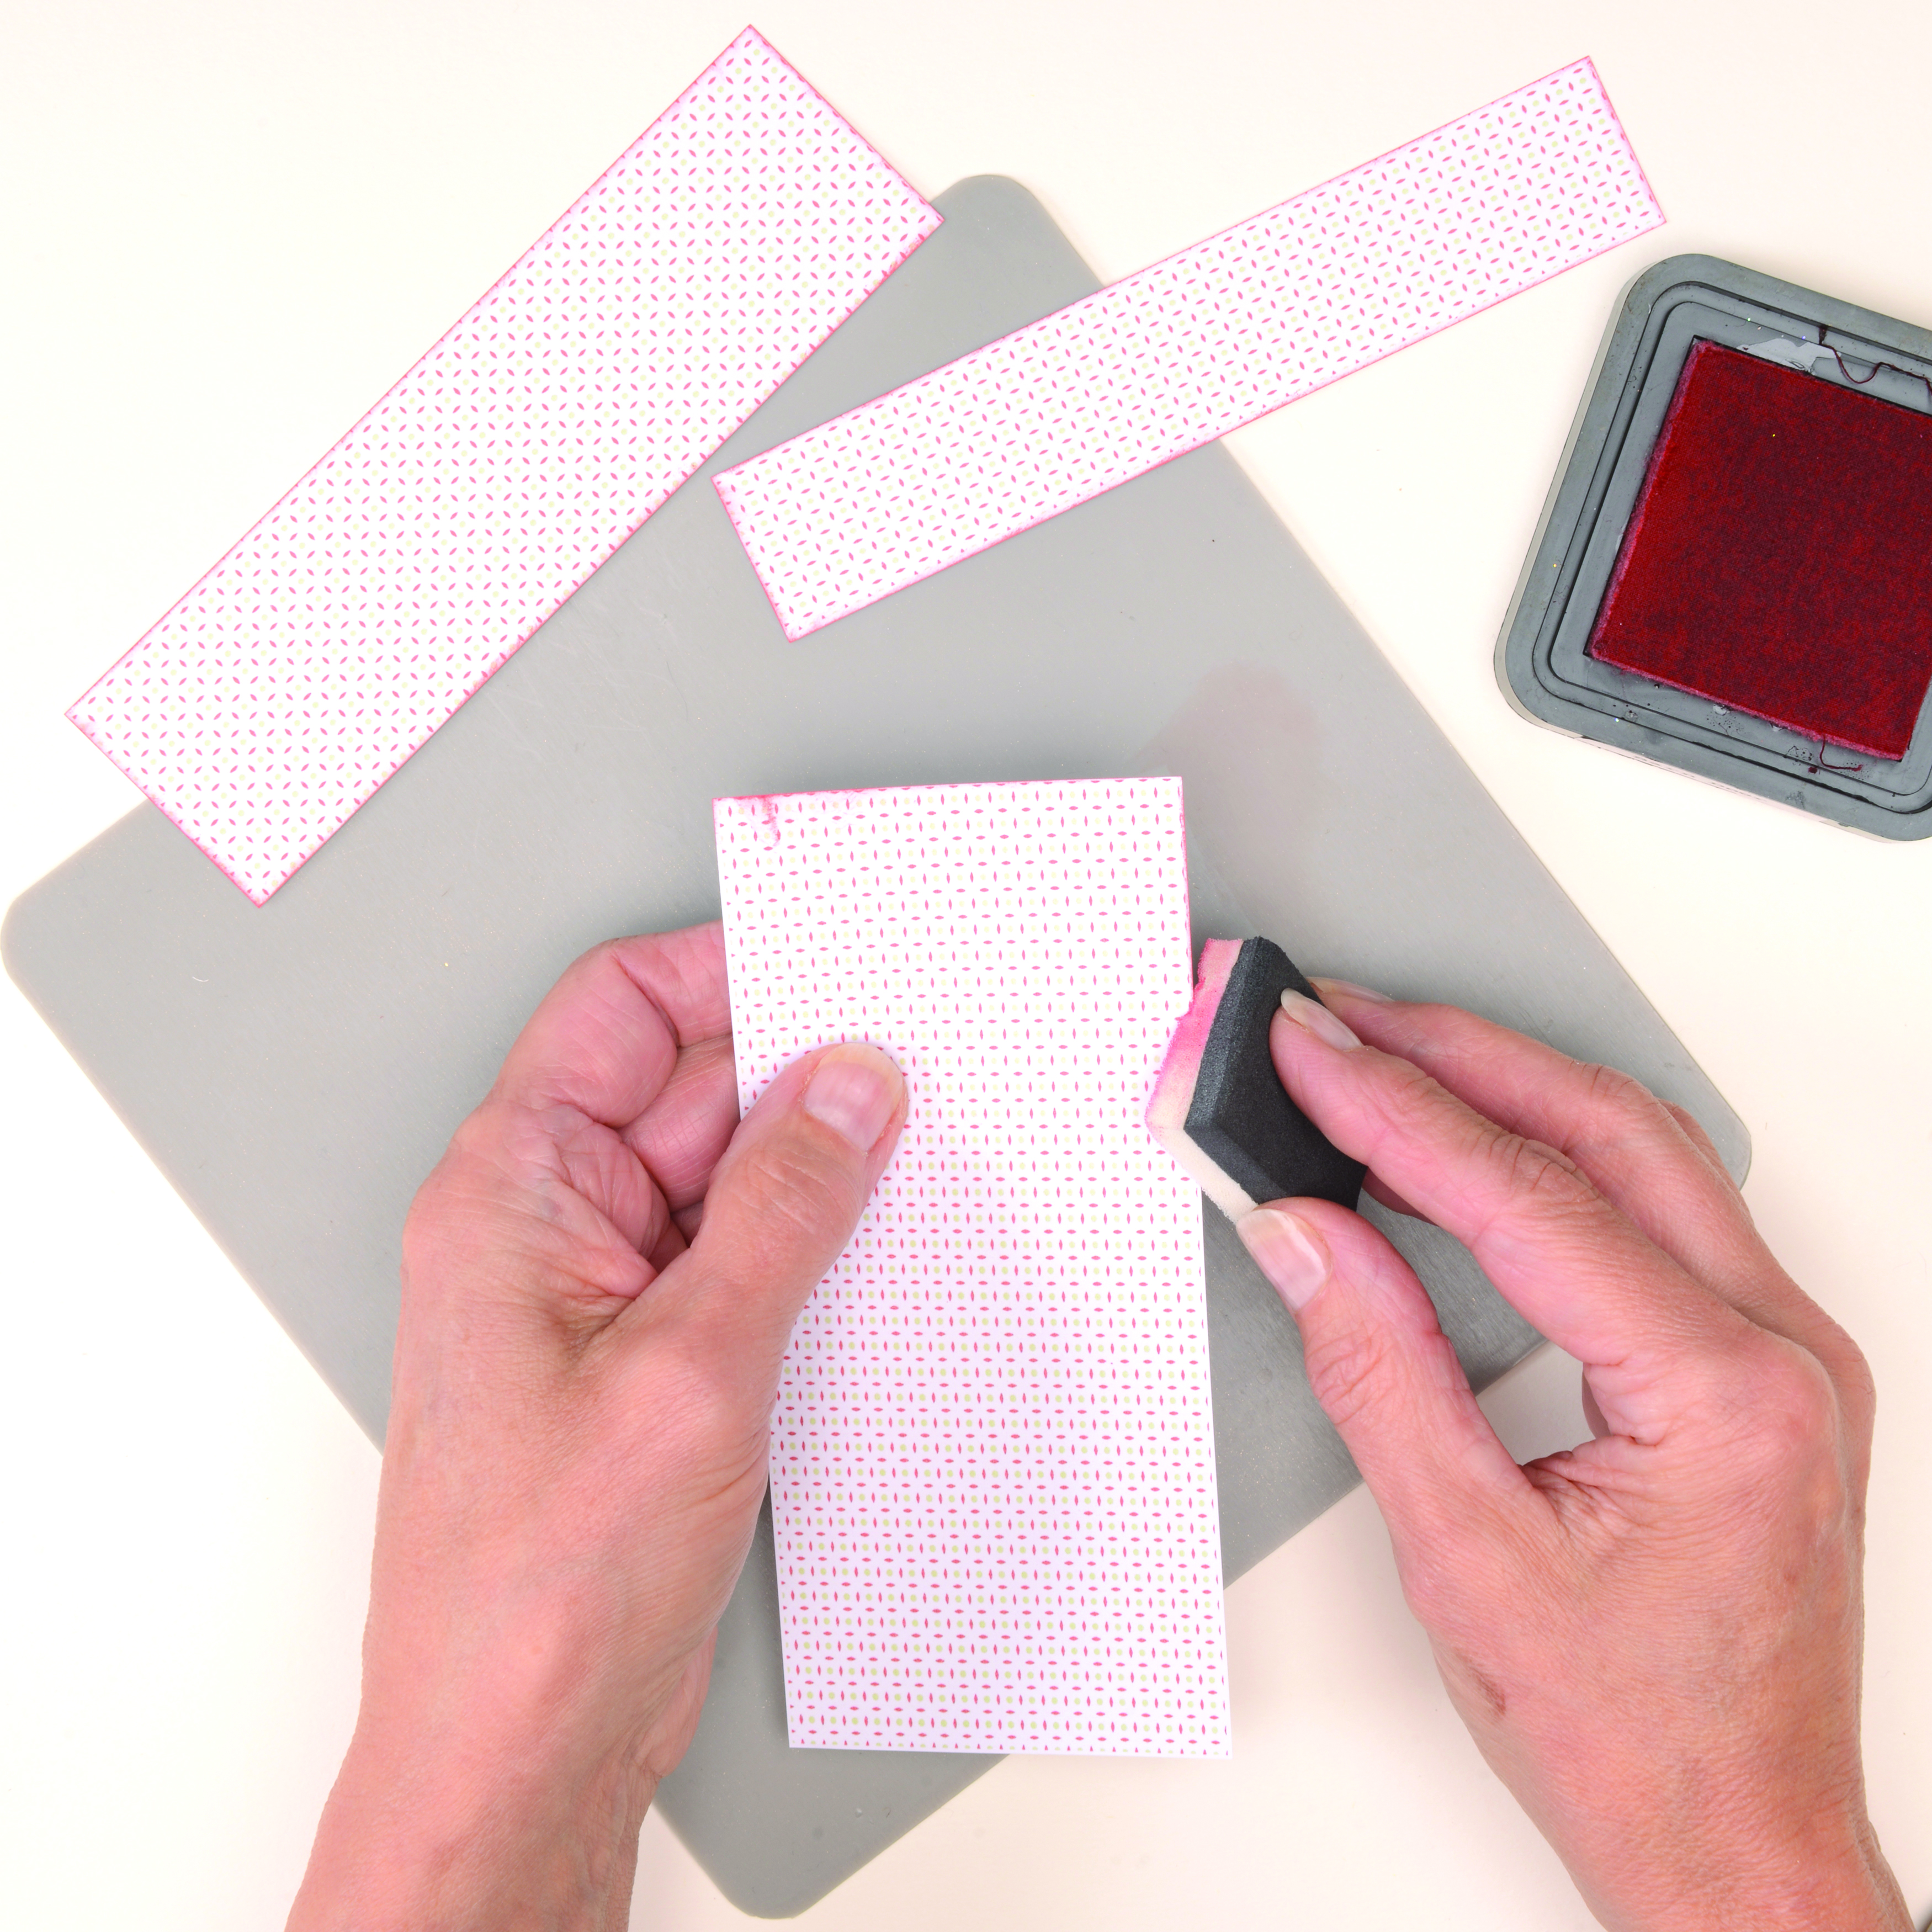
Ink the edges of a 15×2.5cm, 15x4cm and 15x8cm piece of white patterned paper with Barn Door Distress Ink. Attach to the three folded sections on the front of the base, as shown.

Step 3

How to make a stepper card 3

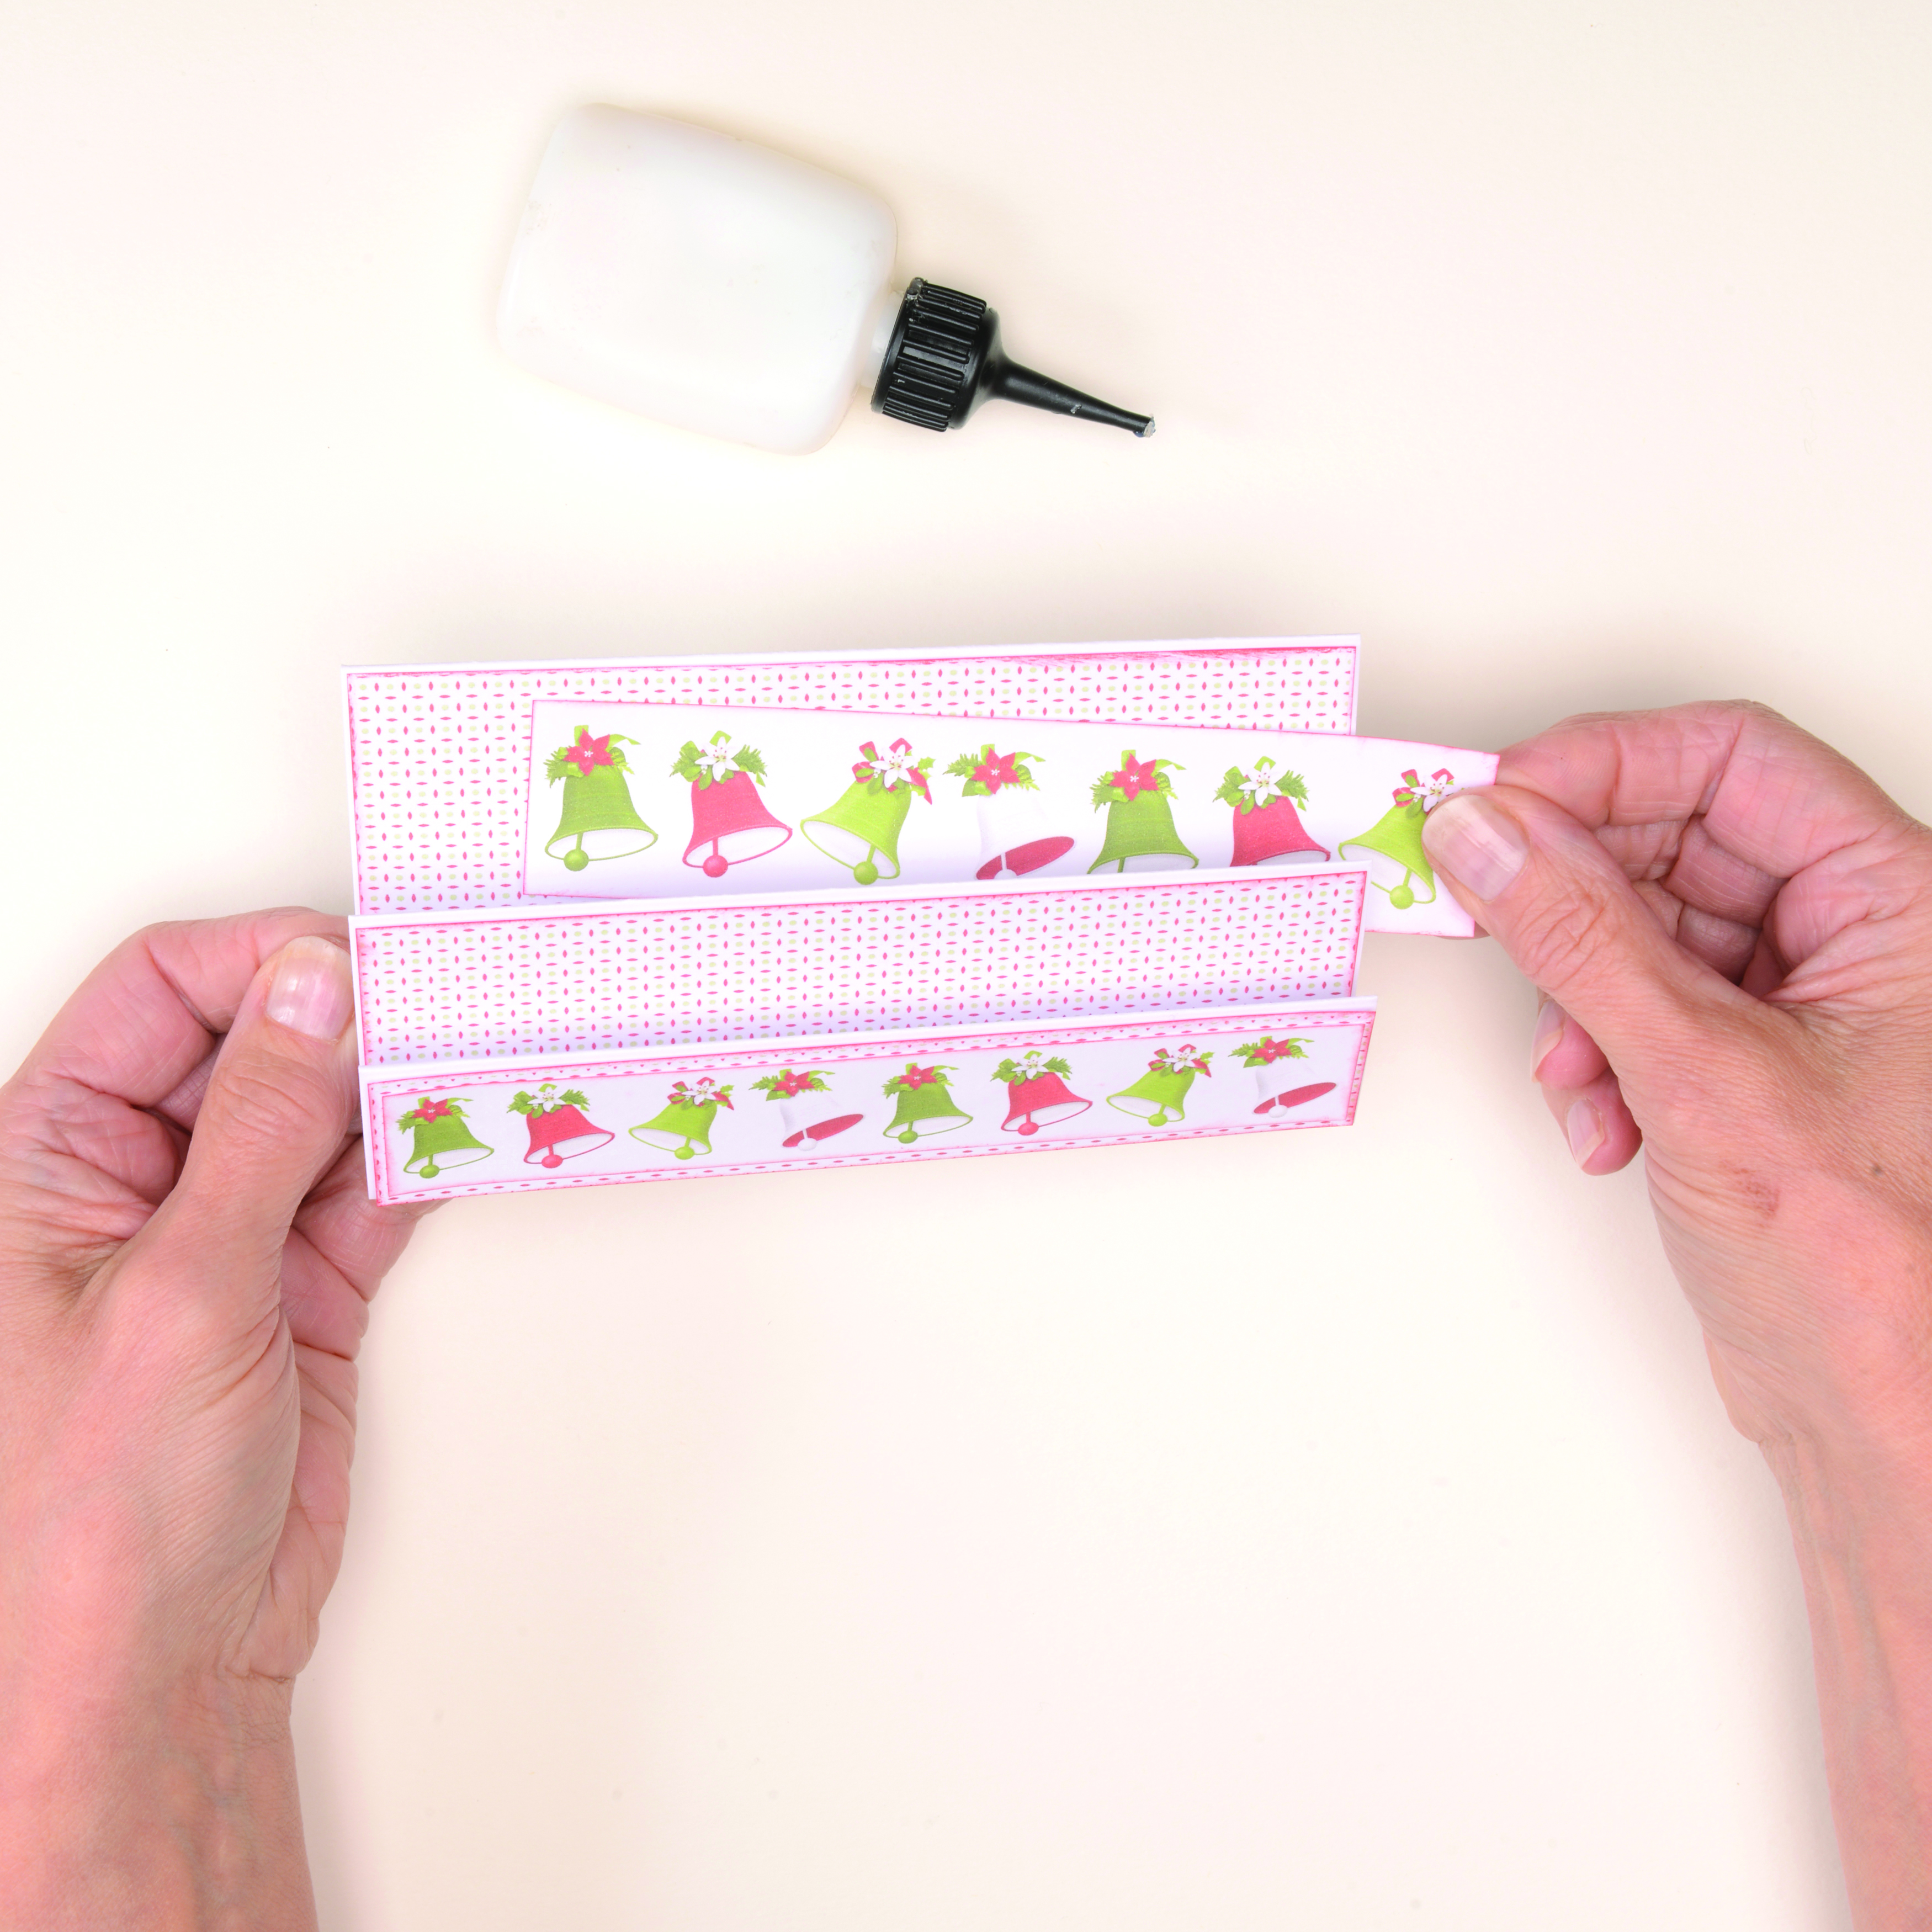
Trim bell-patterned paper to 14.5x2cm, 14.5×3.5cm and 14.5×7.5cm panels. Ink around the edges of the two strips with Barn Door Distress Ink and attach to the front and back panels, as shown.

Step 4

How to make a stepper card 4

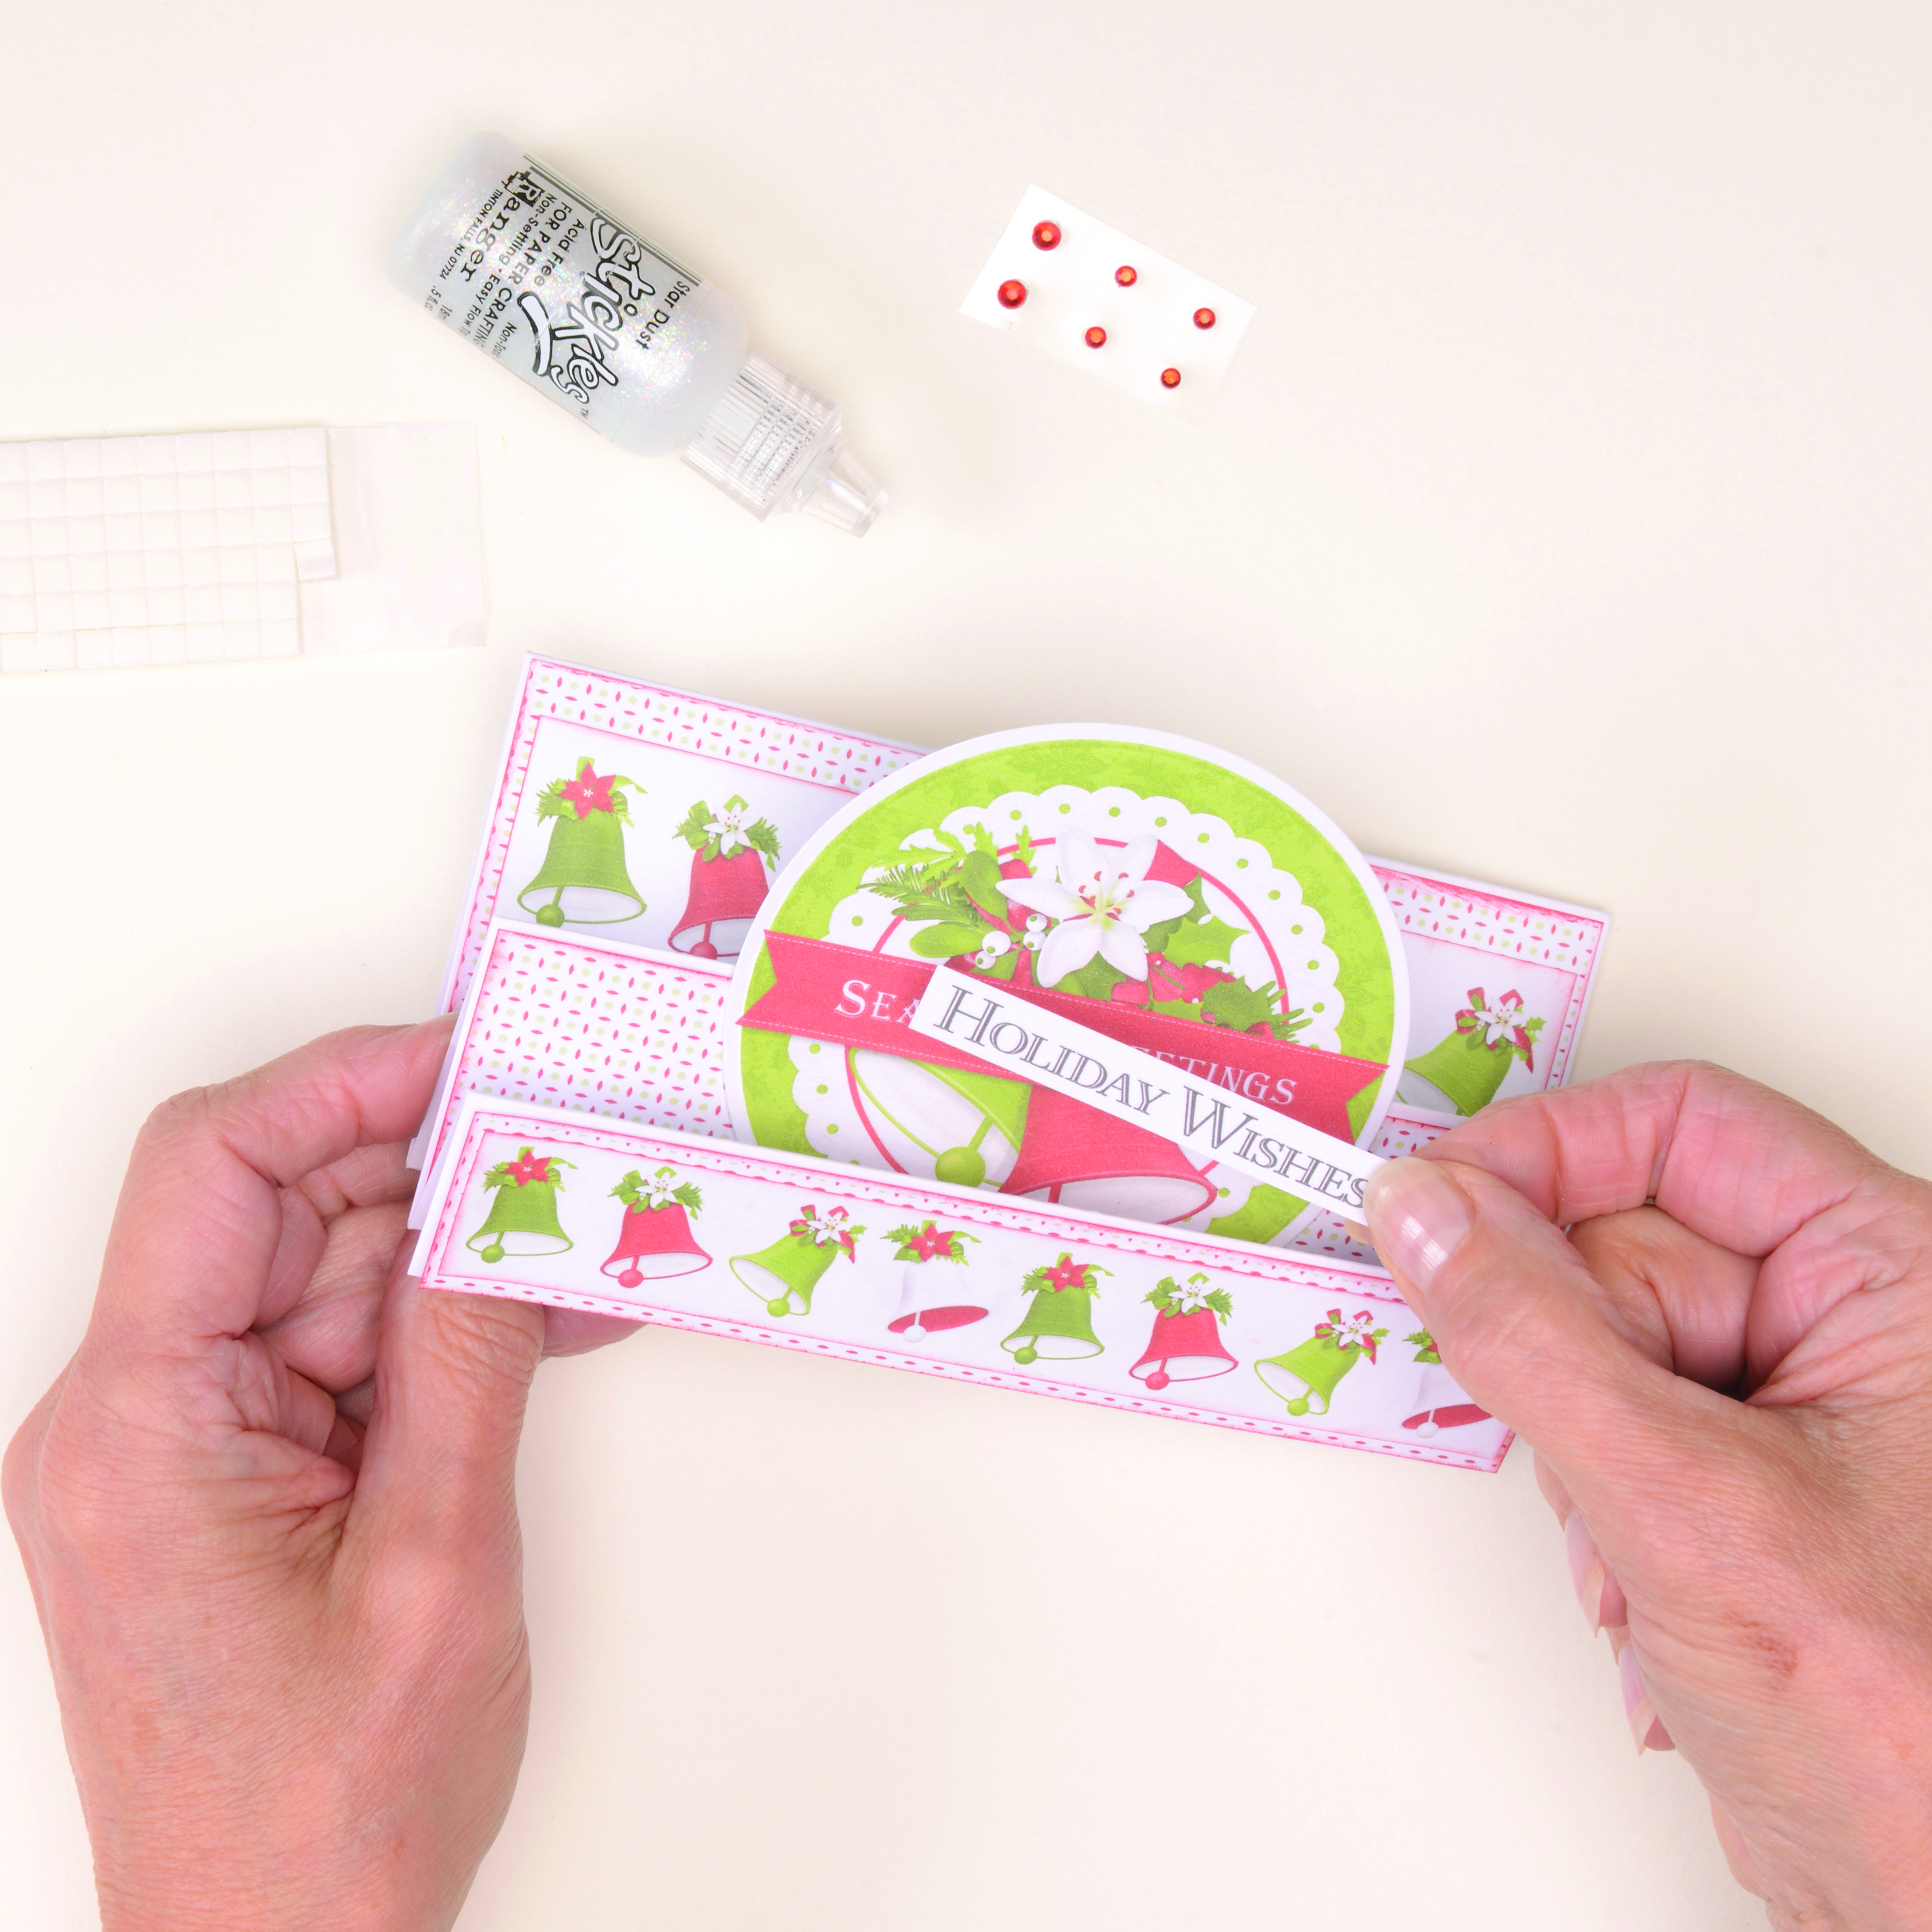
Add a bell topper to the central panel of the base. Print a sentiment, trim and add to the centre of the topper with foam pads. Finish with red gems and touches of glitter glue.