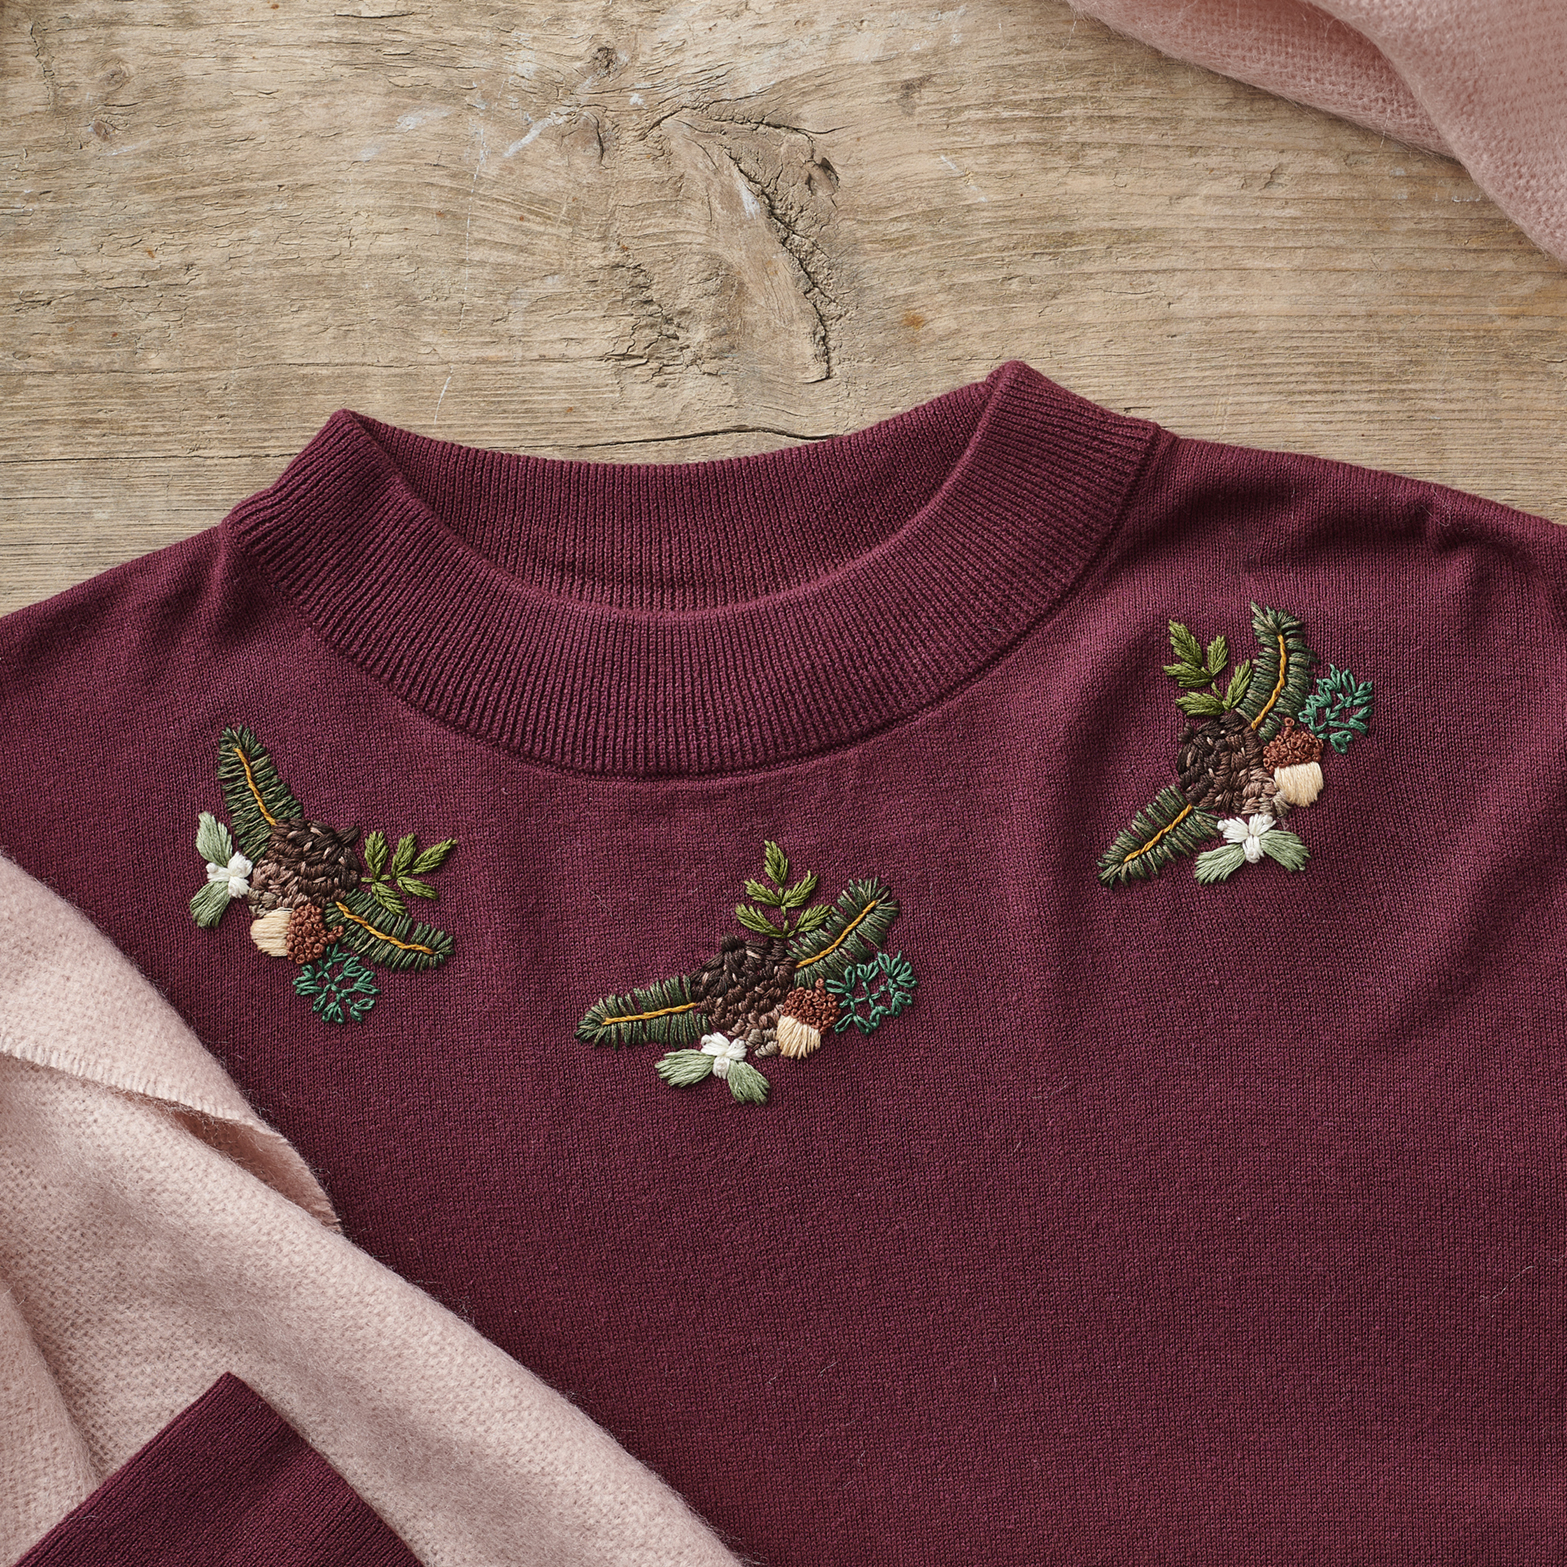
Step 1
Transfer the designs to felt
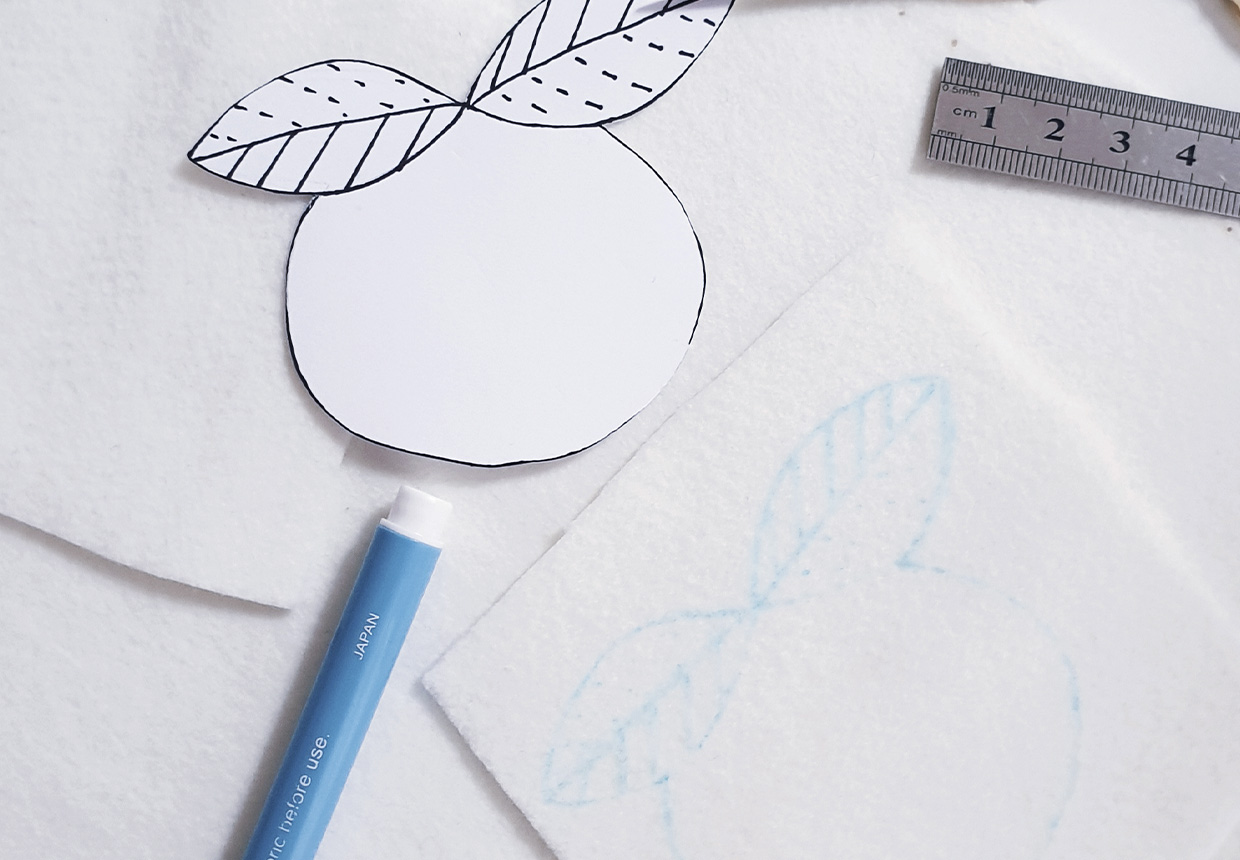
Cut five 10x10cm(4×4") squares from the felt. Using the template above, place the template on one of the squares and draw around it.
Make sure to copy over the leaf detail, as well as the dotted and straight lines on the leaves.
Repeat four more times with the remaining felt squares.
Step 2
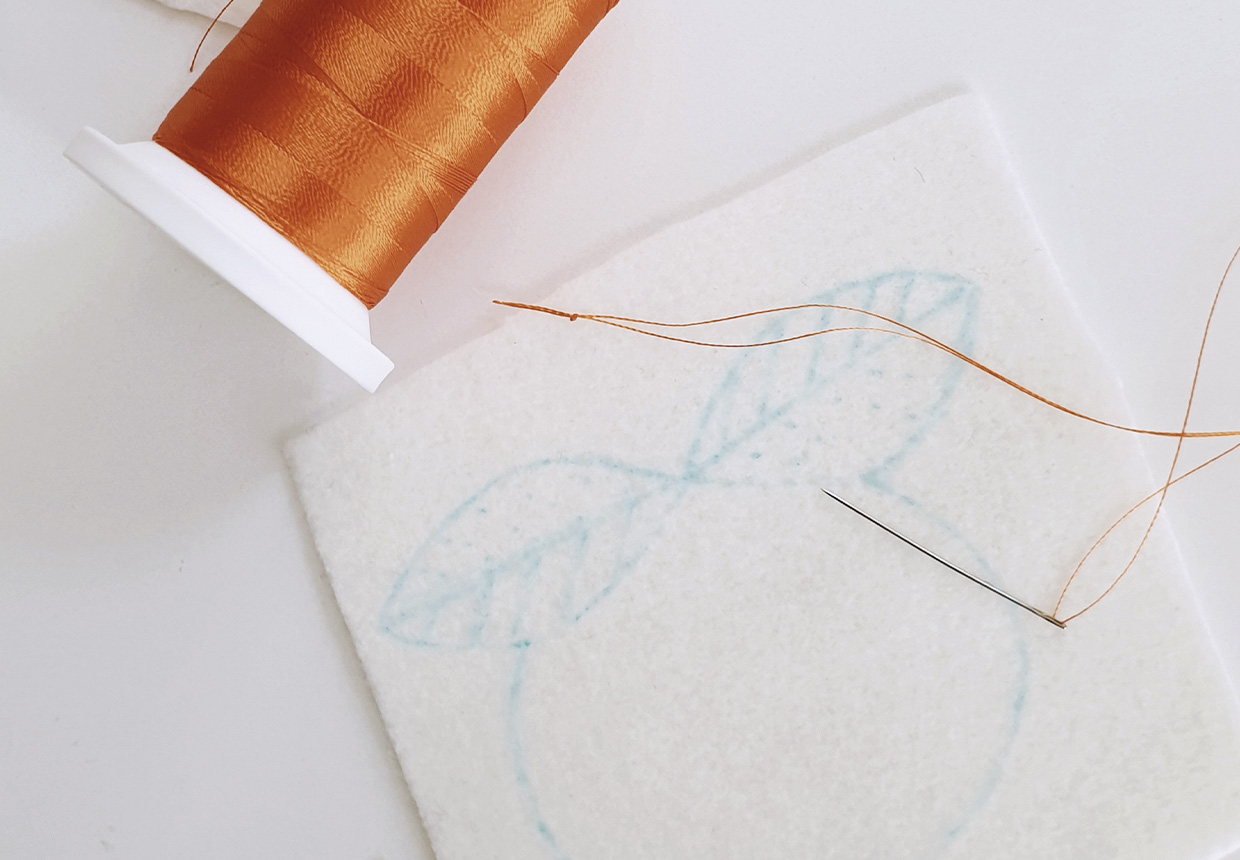
Thread your needle
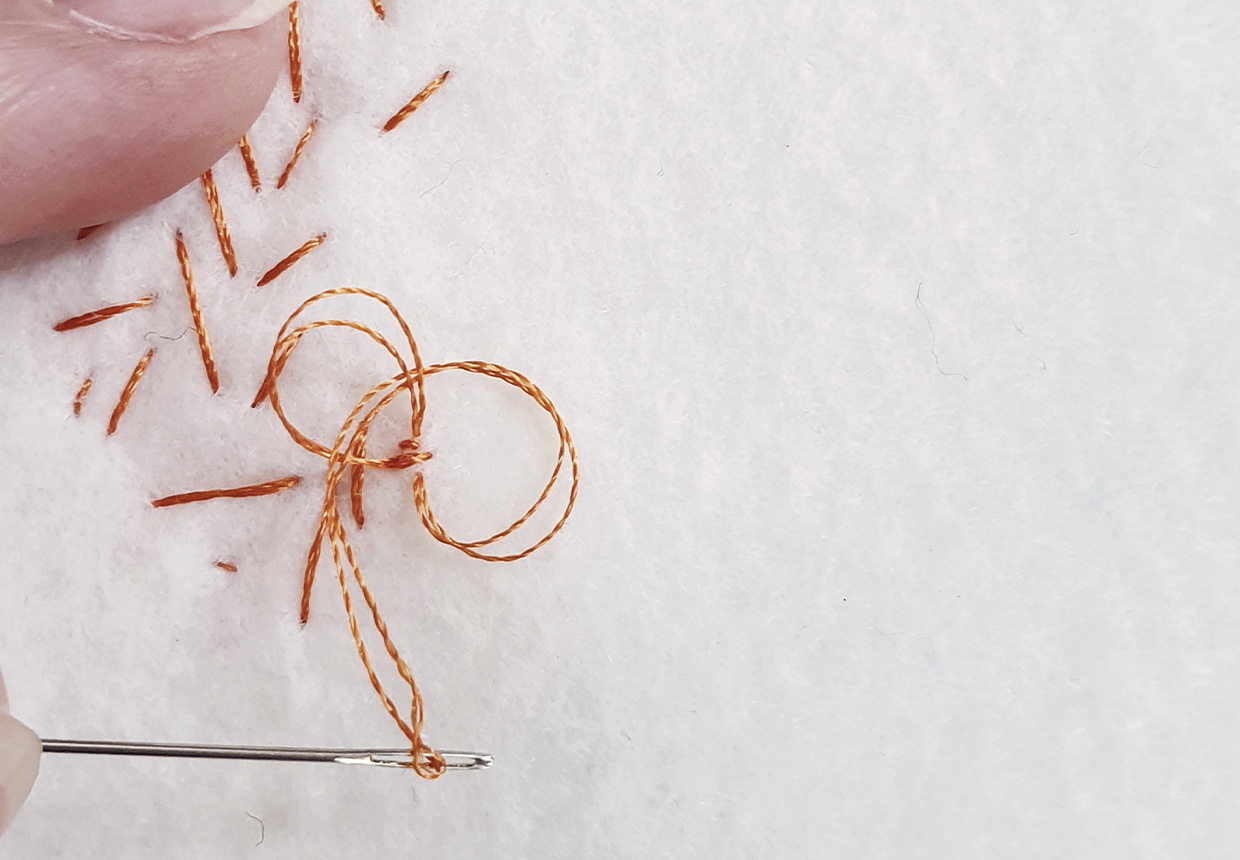
Double thread a needle with orange thread – sequins can sometimes have sharp edges, so this makes them more secure – then knot the end.
Step 3
Start stitching the orange sequins
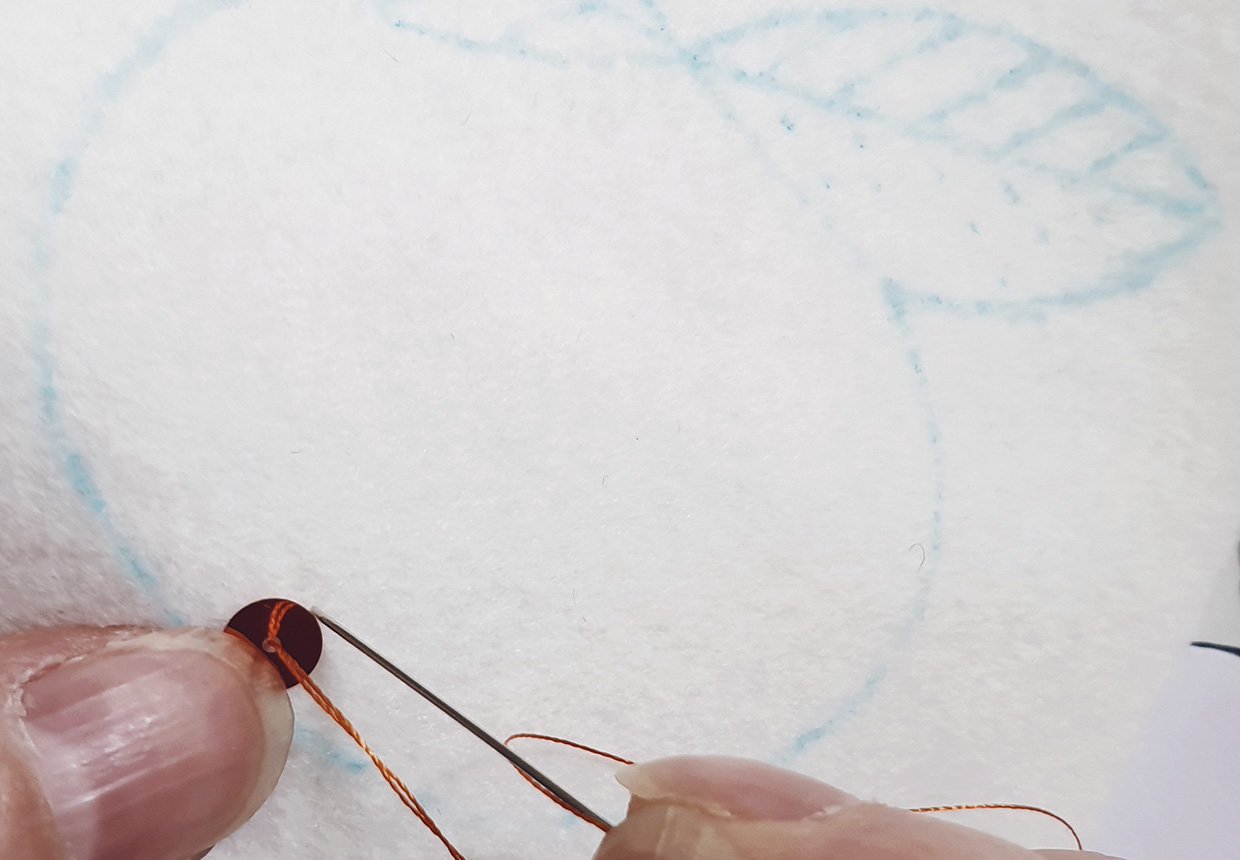
Starting at the bottom of the clementine shape, place a sequin of any size onto the felt and hold it down with your thumb.
Bring the needle up from behind the felt and through the centre hole of the sequin, then take the needle back down through the felt at the top of the sequin.
Step 4
Layer your sequins
Continue filling the clementine shape in this way, using all the different sizes of sequins to create a layered finish.
If you need to tie off the thread, make a couple of small stitches on the same spot and tie a knot at the back.
Step 5
Fold your green sequins
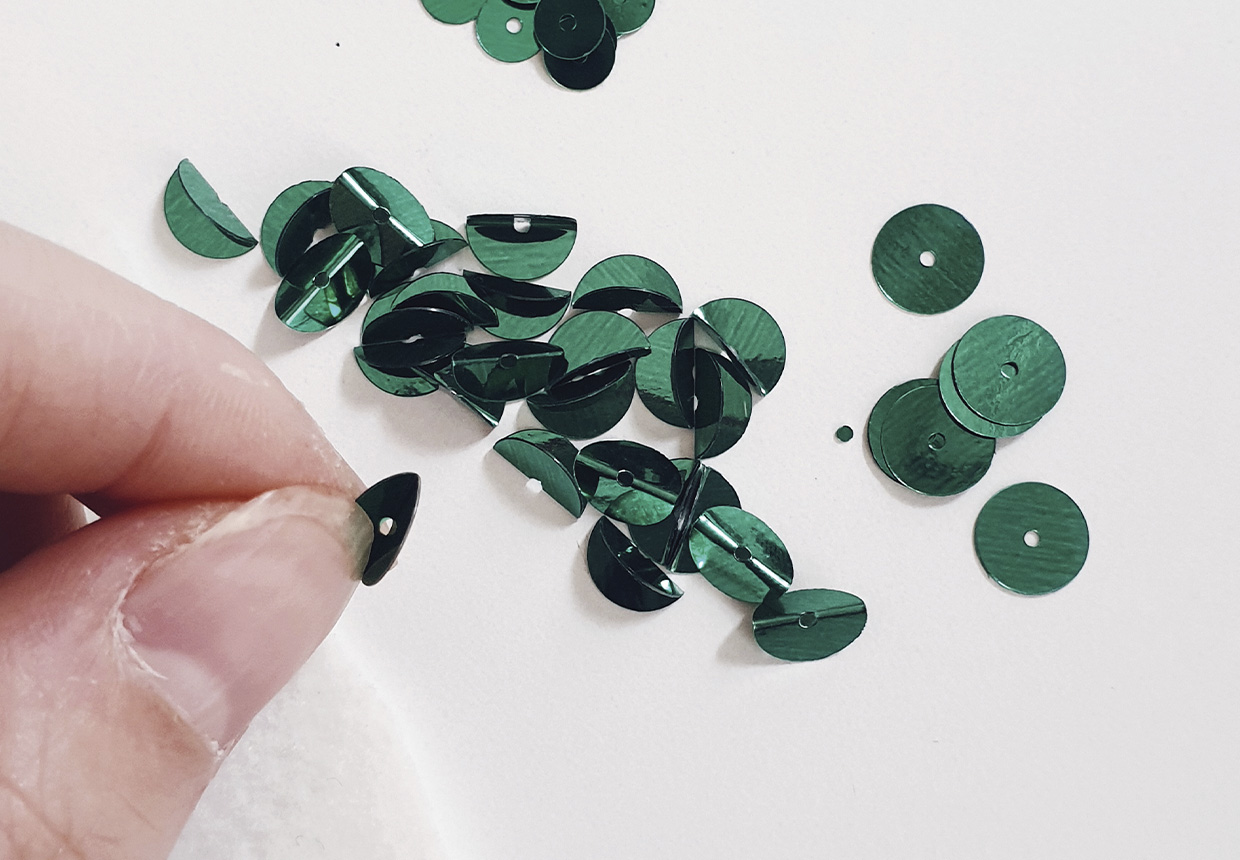
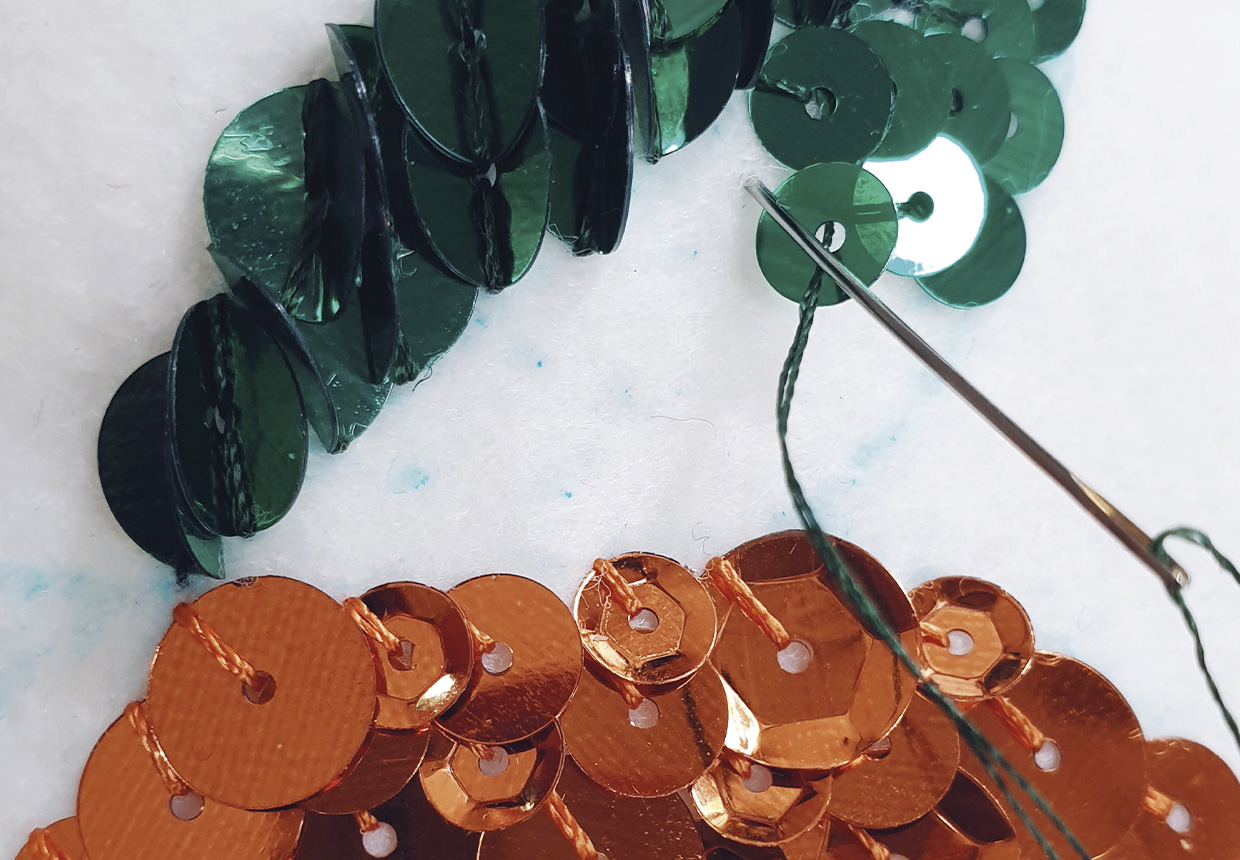
To create the leaves, take the 0.8cm (2/8") flat green sequins and fold them in half, making little taco shapes.
Use approximately 25 sequins for each patch.
Step 6
Create the leaves
Using green thread, doubled as per Step 2, bring the needle up at the bottom of the right leaf – the end closest to the middle of the clementine.
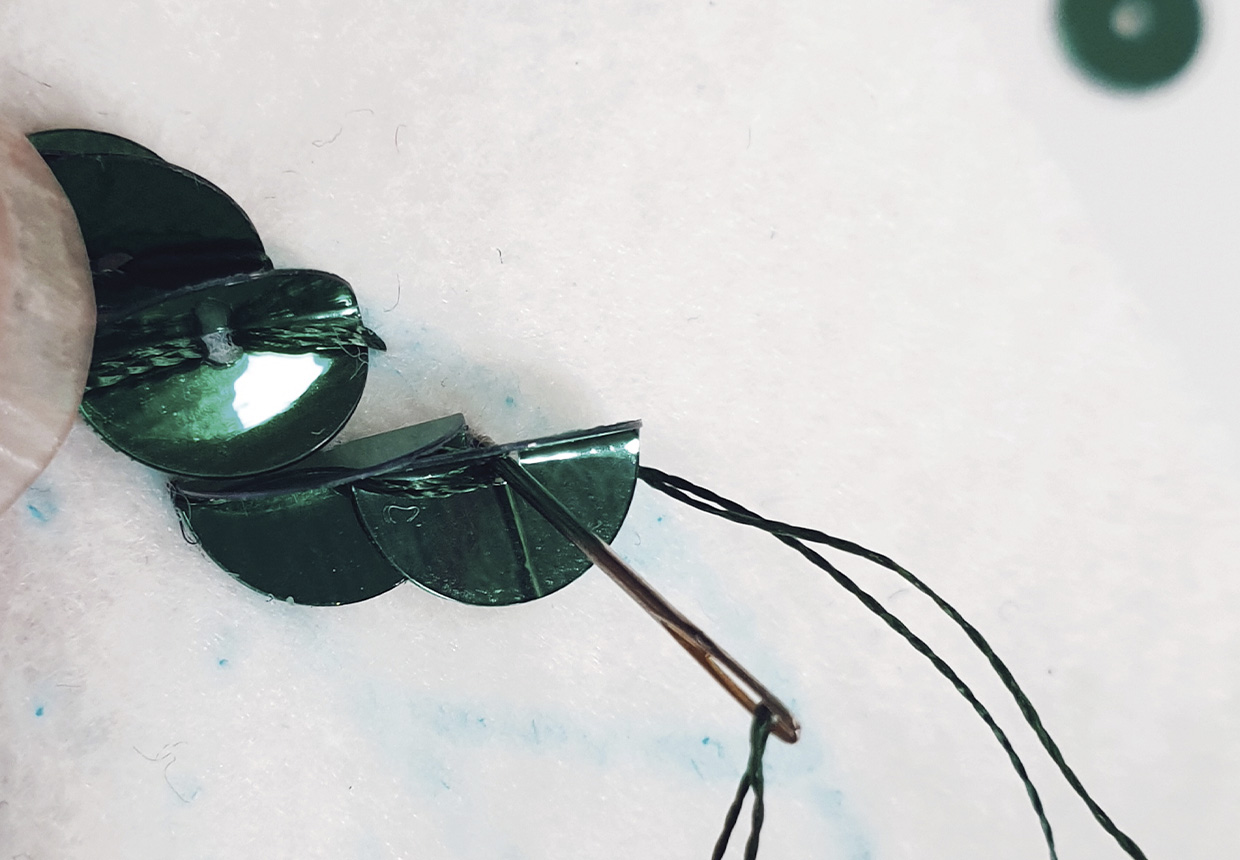
Place a folded sequin on the felt using the lines as a guide, and stitch into the hole.
Bring the needle up at the top of the sequin, then down into the centre hole.
Fill the leaves on the solid lines with the folded sequins.
Where two need to be used, overlap them to keep the shape.
Step 7
Add the smaller green sequins
Fill the other side of the leaf with the smaller sequins, following the dotted lines and working from the outside towards the centre line of the leaf. This is so the layers of sequins are fullest at the centre.
Step 8
Repeat as many times as you wish
Repeat Steps 2-7 on each felt square to create all five patches.
Step 9
Remove the erasble marker
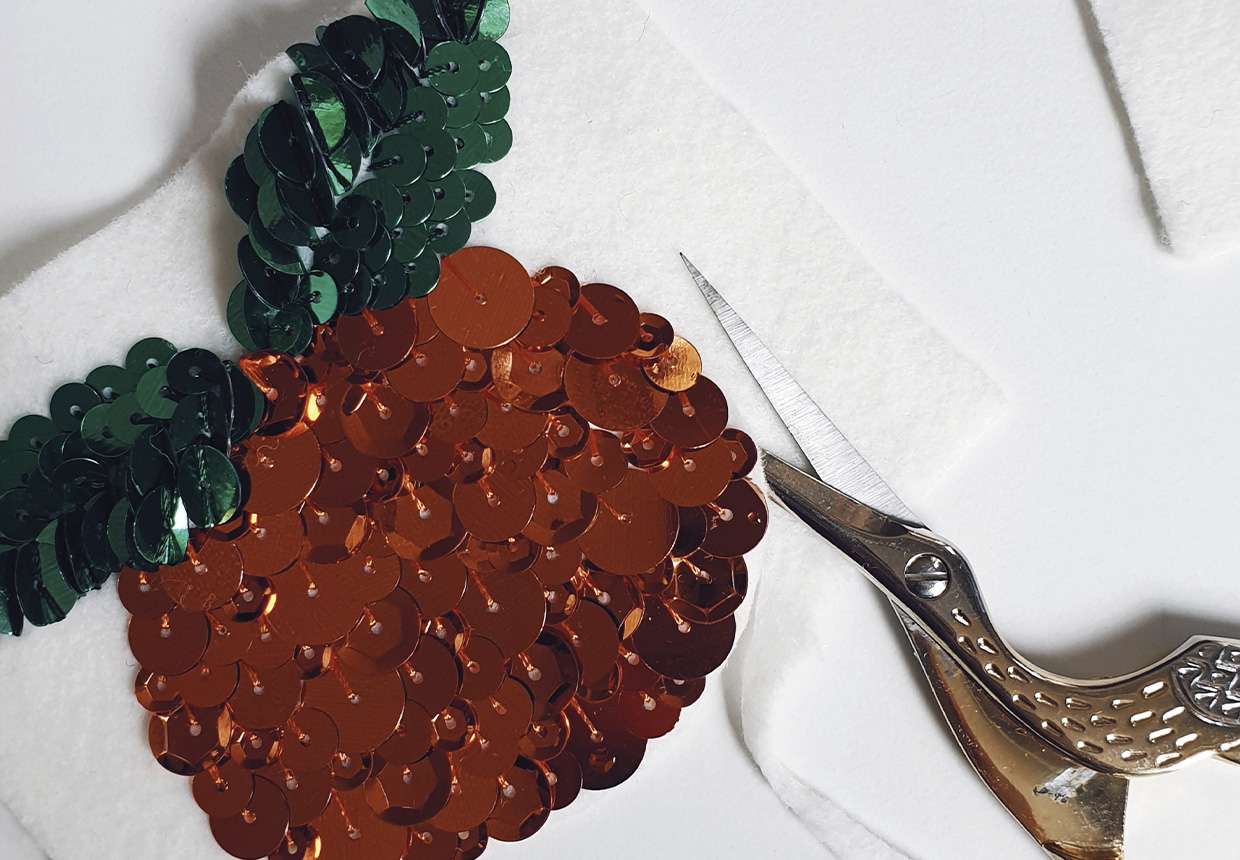
Using a clean paintbrush dipped in water, remove the erasable marker pen lines. Be gentle when dabbing at the lines so as not to saturate the felt.
Cut around the edge of the sequins on all five of the patches.
Step 10
Pin and stitch
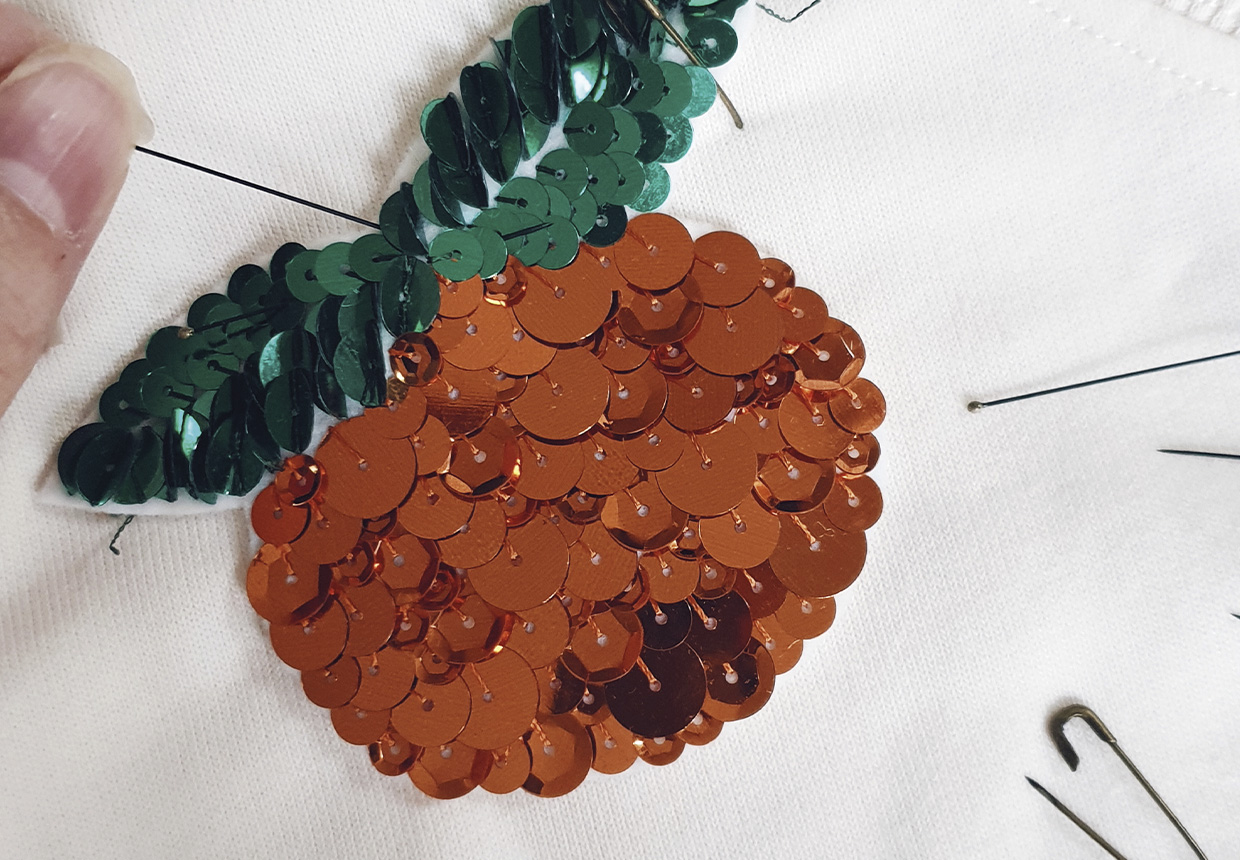
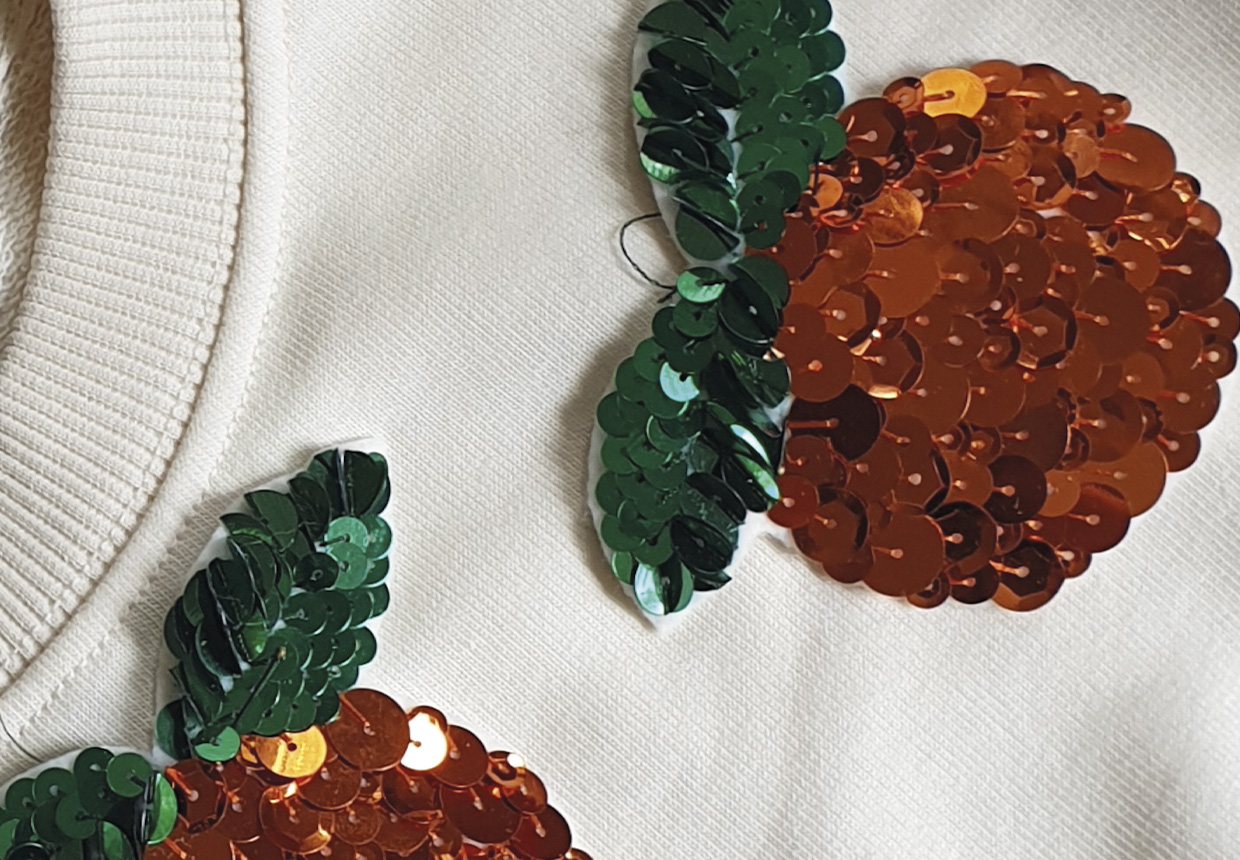
Pin the patches to the jumper, using the main image as a guide.
Thread the needle with white thread, again, doubling up and knotting the end.
Bring the needle up from behind the first patch and through the edge of the felt, approximately 1-2mm (1/16") in from the edge. Bring the needle down just next to the edge of the patch.
Step 11
Finish stitching your patches
Continue stitching around each patch in the same way, making small, neat stitches, and knotting off the thread securely whenever the end of a length is reached.
