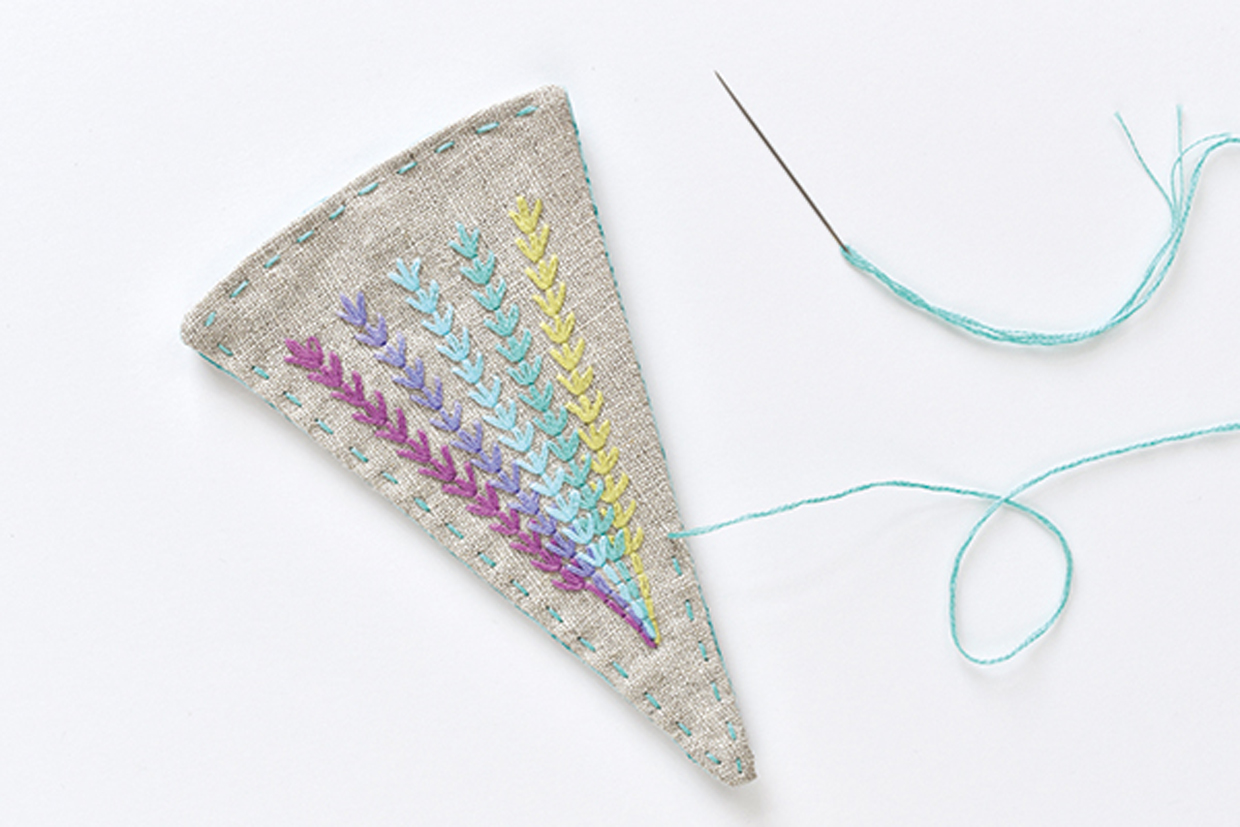
Master Fern Stitch Embroidery – Rainbow Style

Master Fern Stitch Embroidery – Rainbow Style

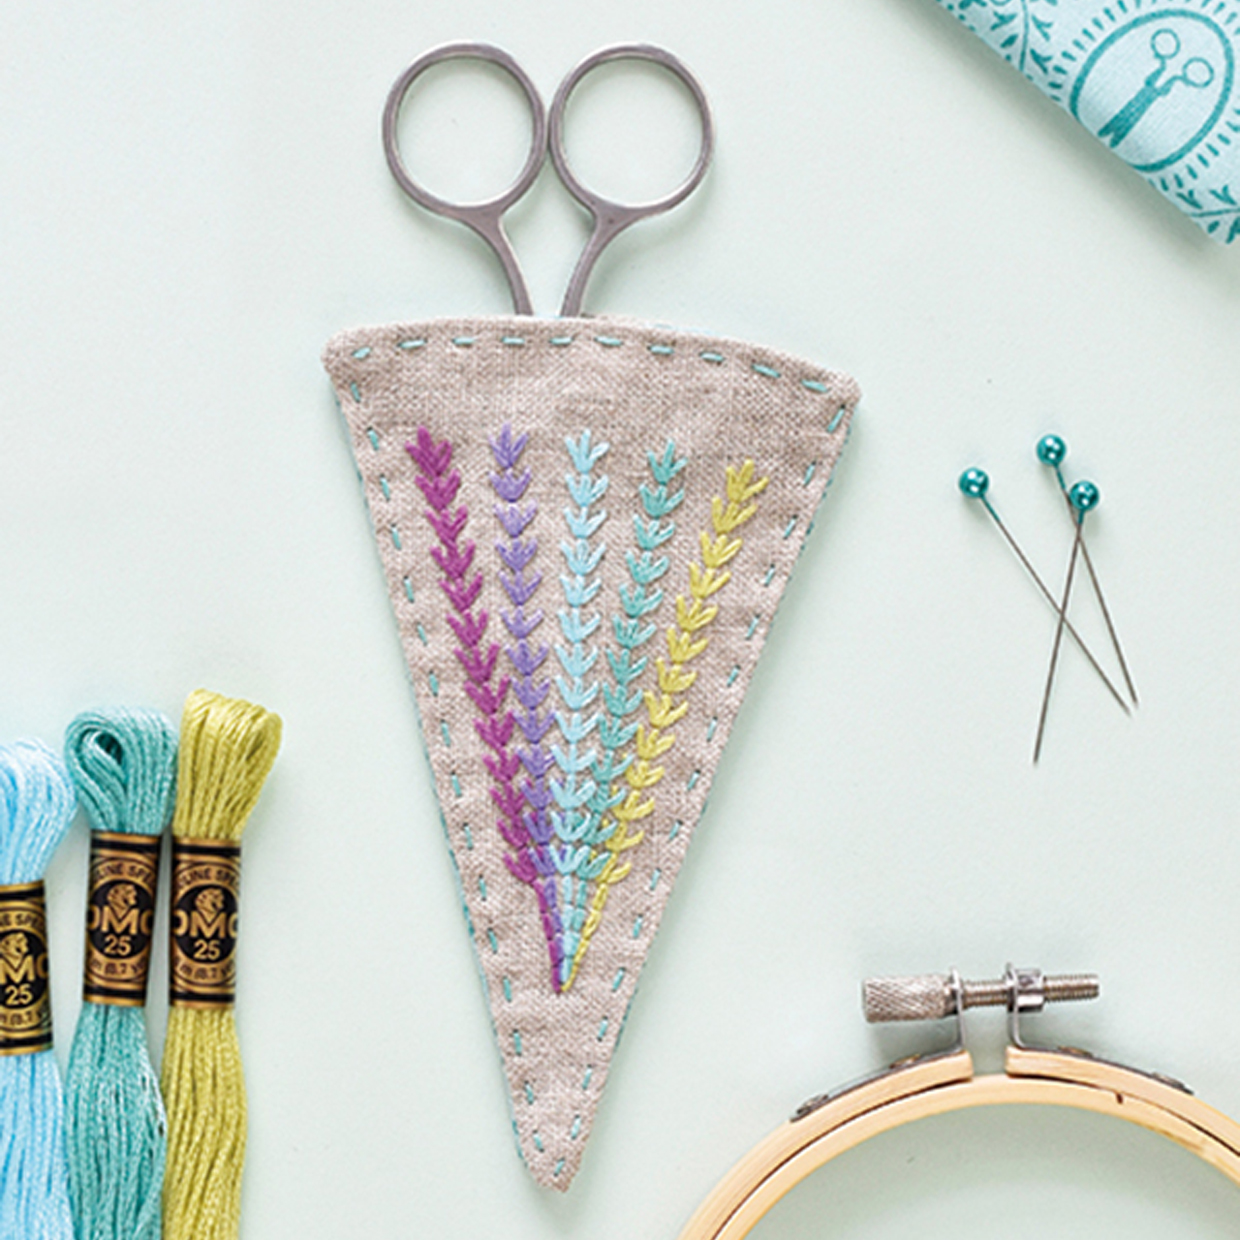
Use a rainbow of threads for this sweet scissor case embellished with delicate fern stitches. Mollie Johanson shows you how.

Try 6 issues of Love Embroidery magazine for just £9.99| SAVE 77%

Published: June 21, 2020 at 8:00 am

Fern stitch embroidery is a fabulous technique that can be used with a variety of projects - they're like little lavender sprigs that work well in loads of ways, be it used as a design focal point or a subtle embellishment. We show you how to make this sweet stitch, then use it to make our special scissor case pattern!

You will need

  • Linen fabric: 25x45cm (10x18in)
  • Lining fabric: 15x35cm (6x14in)
  • Press fastener
  • Stranded cotton in a selection of colours
  • Embroidery hoop
  • Matching thread
  • Basic sewing kit

Notes

Use a 5mm (1/4in) seam allowance.

You will need to download and print the Fern stitch embroidery scissors case template

8-10cm (3-4in) embroidery scissors fit nicely within this case, but you can adjust the pattern size to fit different scissors.
Fern Stitch Embroidery Tutorial

You will need:

  • Linen fabric
  • Lining fabric
  • Press fastener
  • DMC stranded cotton
  • Embroidery hoop
  • Matching thread
  • Basic sewing kit

Step 1

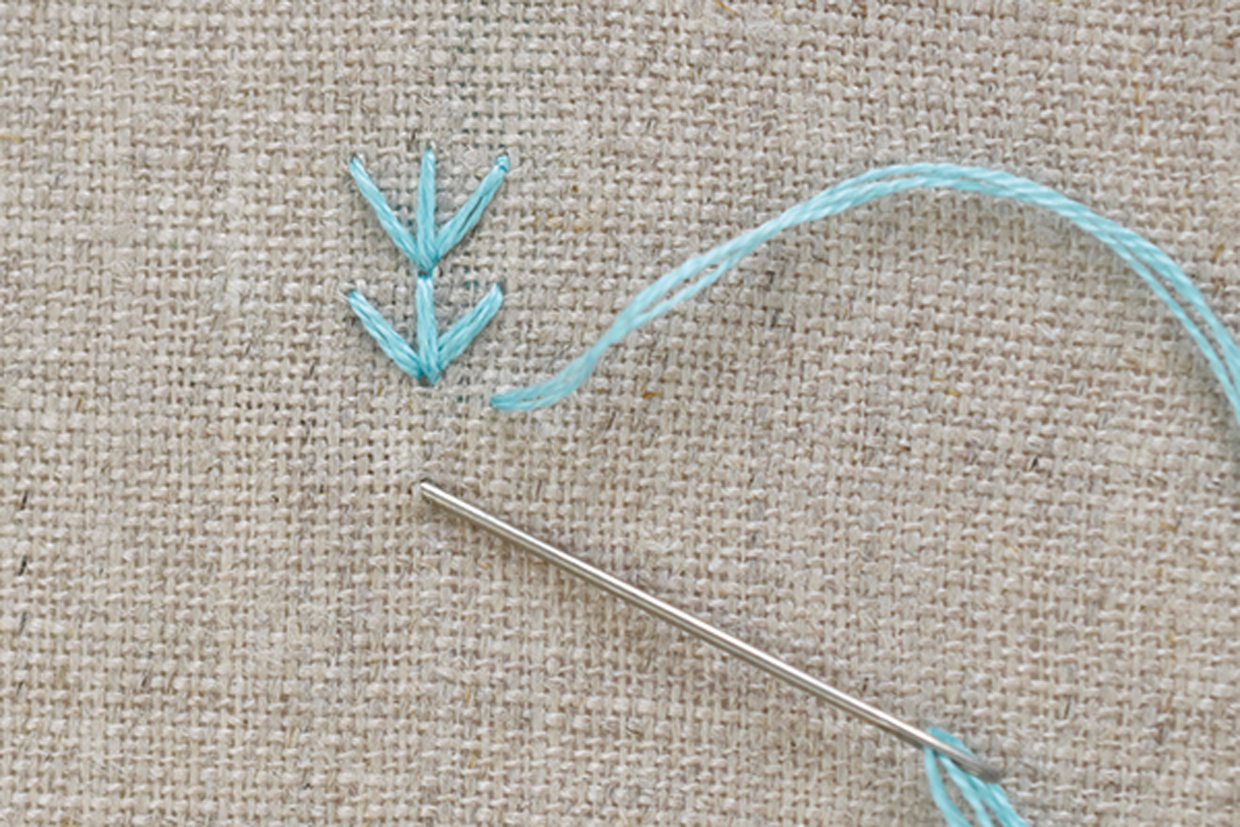
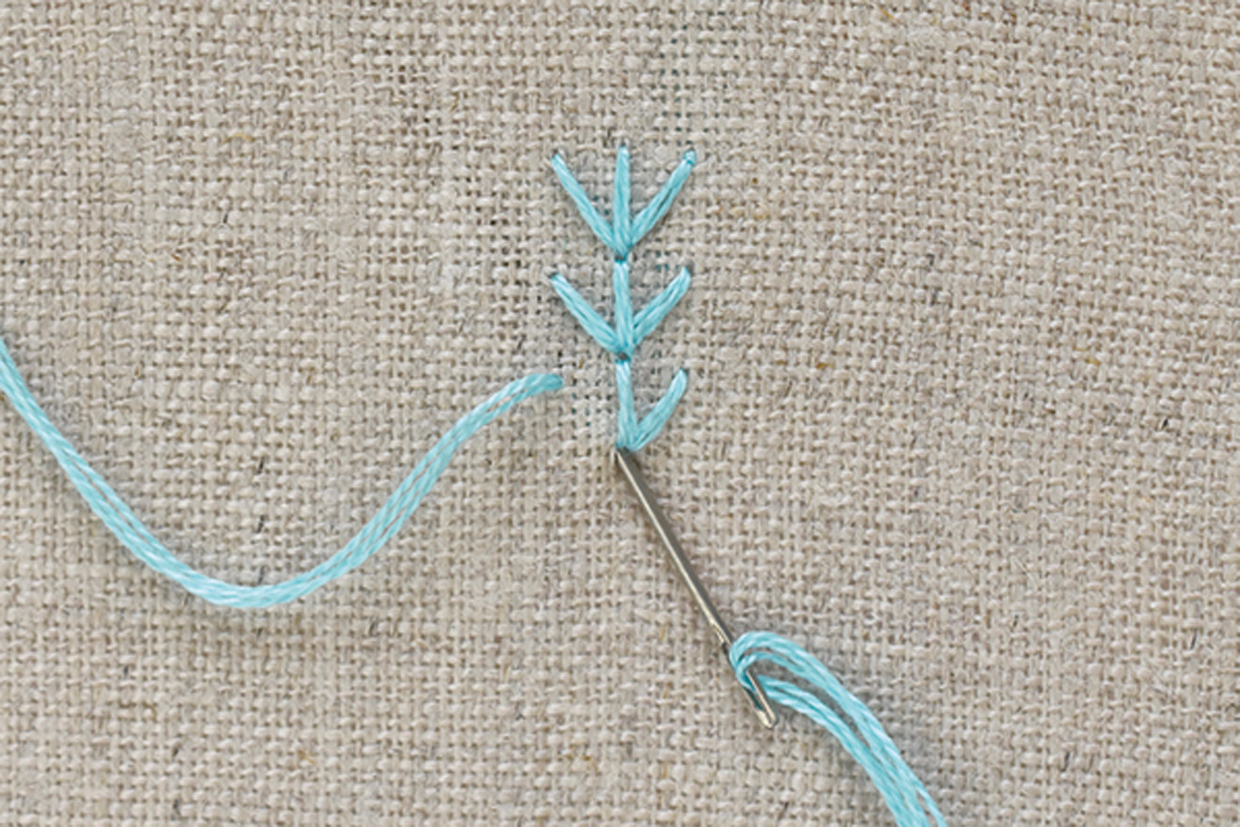
Work this stitch along a straight or curved line, working from top to bottom. Come up a short distance from the line and bring the needle down through the fabric on the line, forming an angled stitch.

How_to_fern_stitch_embroidery_step_01

Step 2

Come up from the back on the line and then go back down on the line in the same hole as the end of the first stitch.

Step 3

Come up a short distance on the other side of the line and bring the needle back down through the same ending hole of the first two stitches.

How_to_fern_stitch_embroidery_step_02

Step 4

Repeat this cluster of three stitches.

Scissor case pattern

Fern_Stitch_Embroidery_Scissor_Case_complete

Cutting out

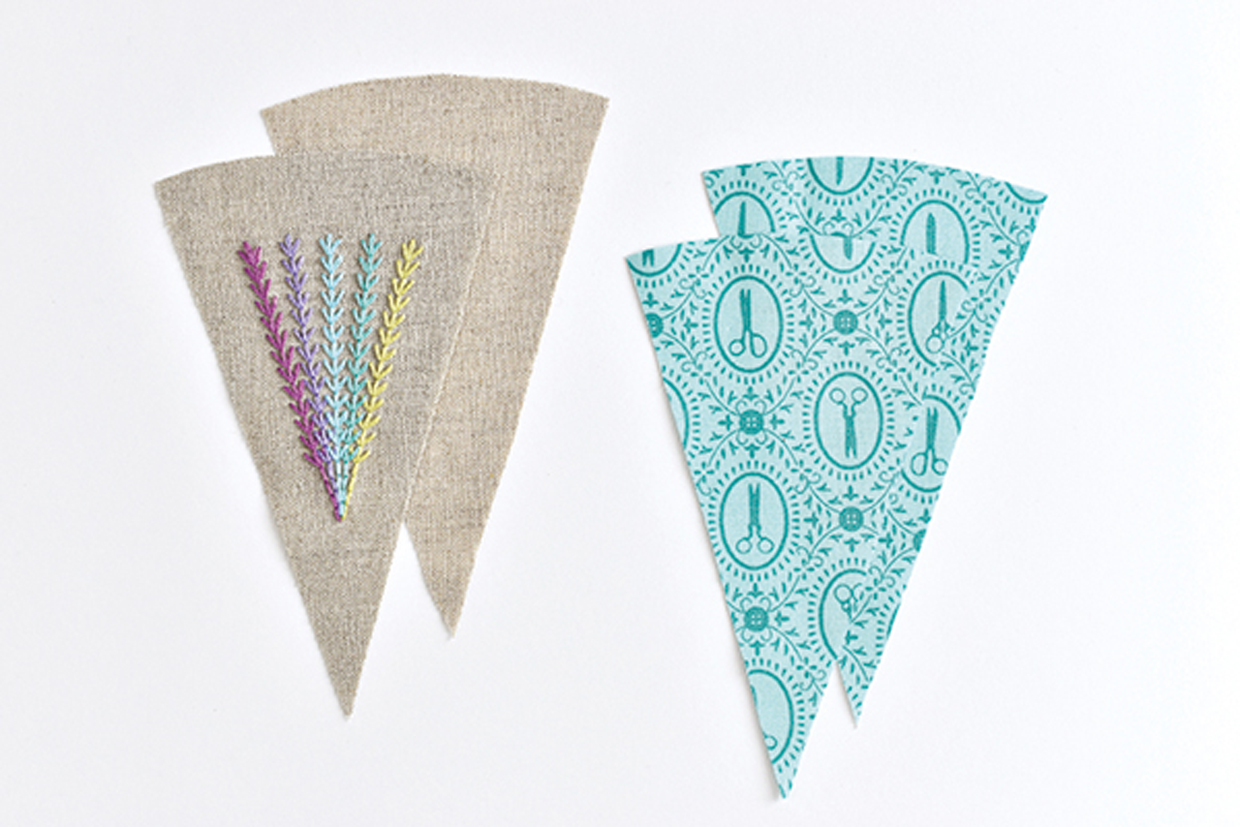
Step one Cut the linen fabric as follows:

Front: 20x25cm (8x10in).
Back: 11x17cm (43/8×63/4in).

Transferring the design

Step one

Download and print the Fern stitch embroidery scissors case template

Step two

Place the template centrally underneath the linen fabric front, then trace over the design lines and case outline.

Embroidering the ferns

Step one

Using three strands of stranded cotton throughout, embroider the fern stitch motif on the linen using different colours for each row.

Step two

Use fern stitch at the tops of the lines and back stitch at the bases. Work the lines from the outside in to create the overlap.

Making the front and back

Step one

Press the embroidered fabric then cut out along the drawn scissor case outline.

Step two

Trace the scissor case outline onto the linen back fabric and twice onto the lining fabric then cut along the drawn lines. Mark the small dot onto the lining fabric pieces.

How_to_fern_stitch_embroidery_step_03

Step three

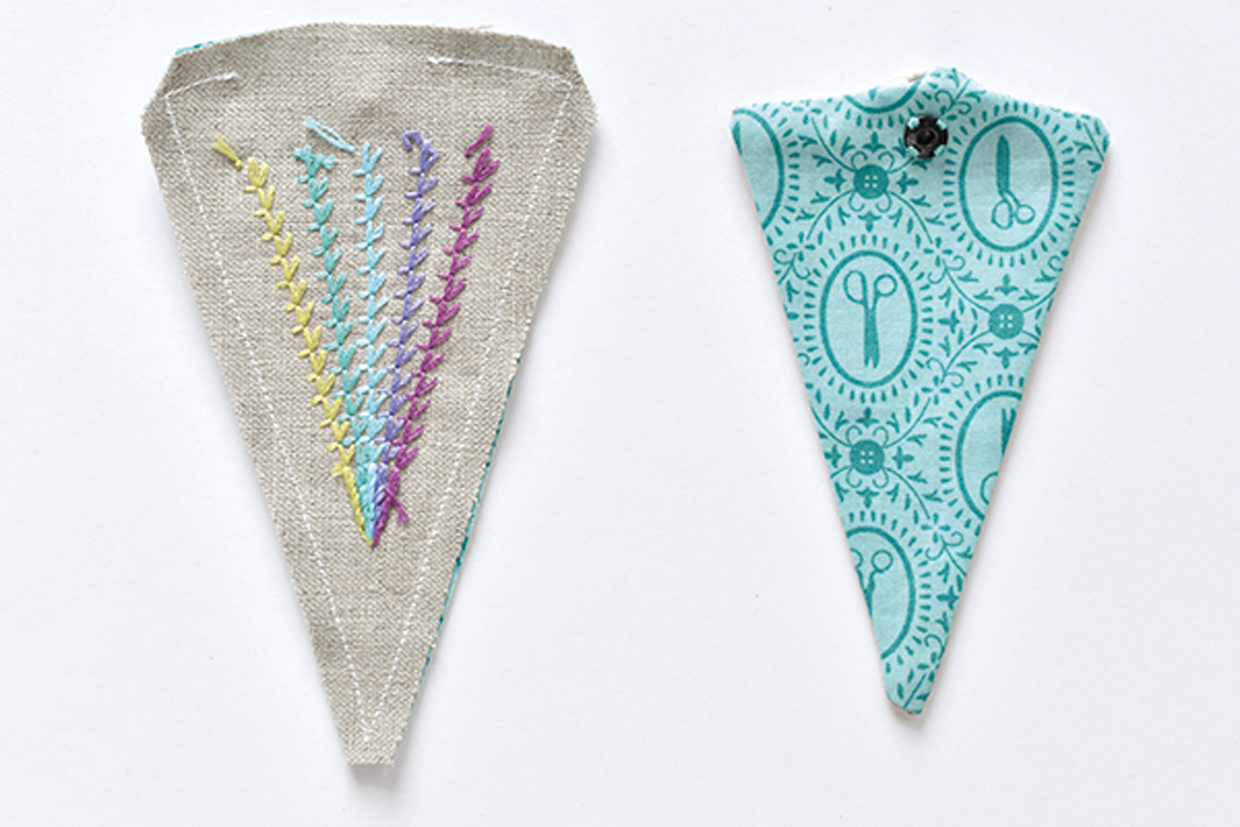
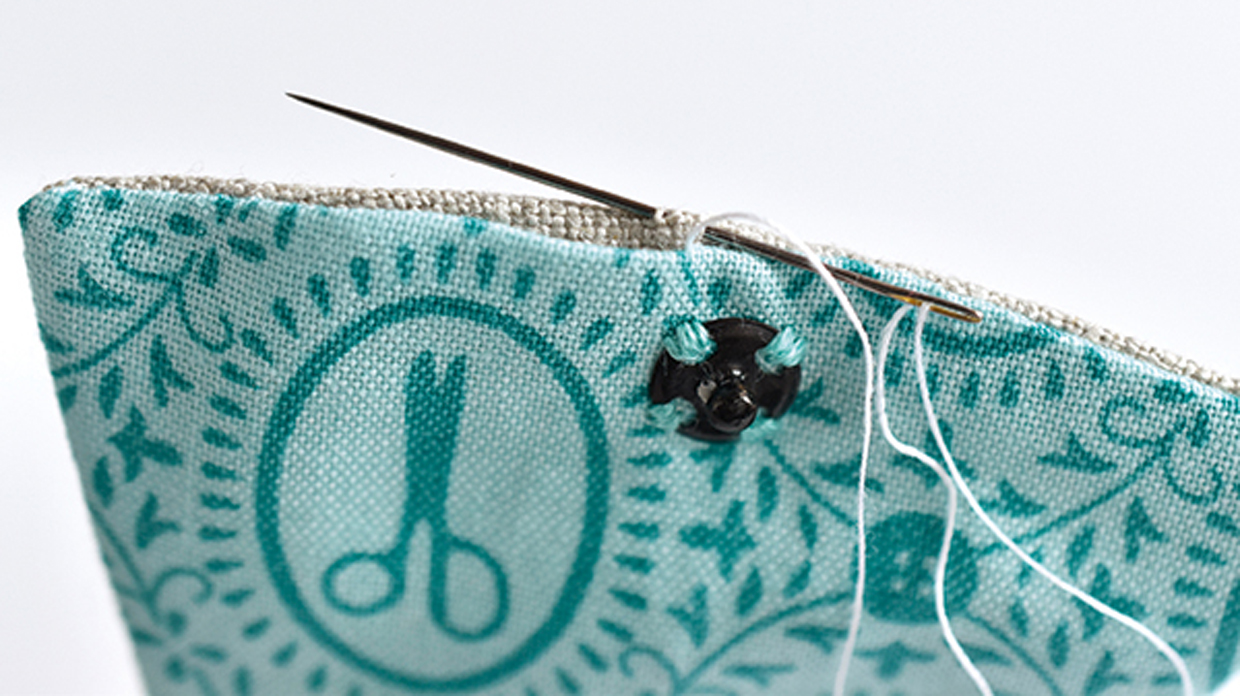
Sew the front and back of a press fastener to the lining pieces at the marked dots.

Step four

Place the embroidered linen front RS facing with one lining piece and sew together, leaving a small turning gap in the top.

Step five

Repeat this with the linen back and other lining piece.

Step six

Clip the corners and turn RS out.

How_to_fern_stitch_embroidery_step_04

Step seven

Fold the turning gap of each piece to the inside then press.

Step eight

Slip stitch the turning gap closed.

How_to_fern_stitch_embroidery_step_05

Step nine

Work a running stitch across the top edge of both the front and back pieces.

Assembling the scissor case

Step one

Pin the front and back pieces together.

Step two

Stitch together down the sides with running stitch.

How_to_fern_stitch_embroidery_step_06

Step three

Place your scissors in the case and snap it closed to finish.