Make a DIY tote bag with easy embroidered details

Make a DIY tote bag with easy embroidered details

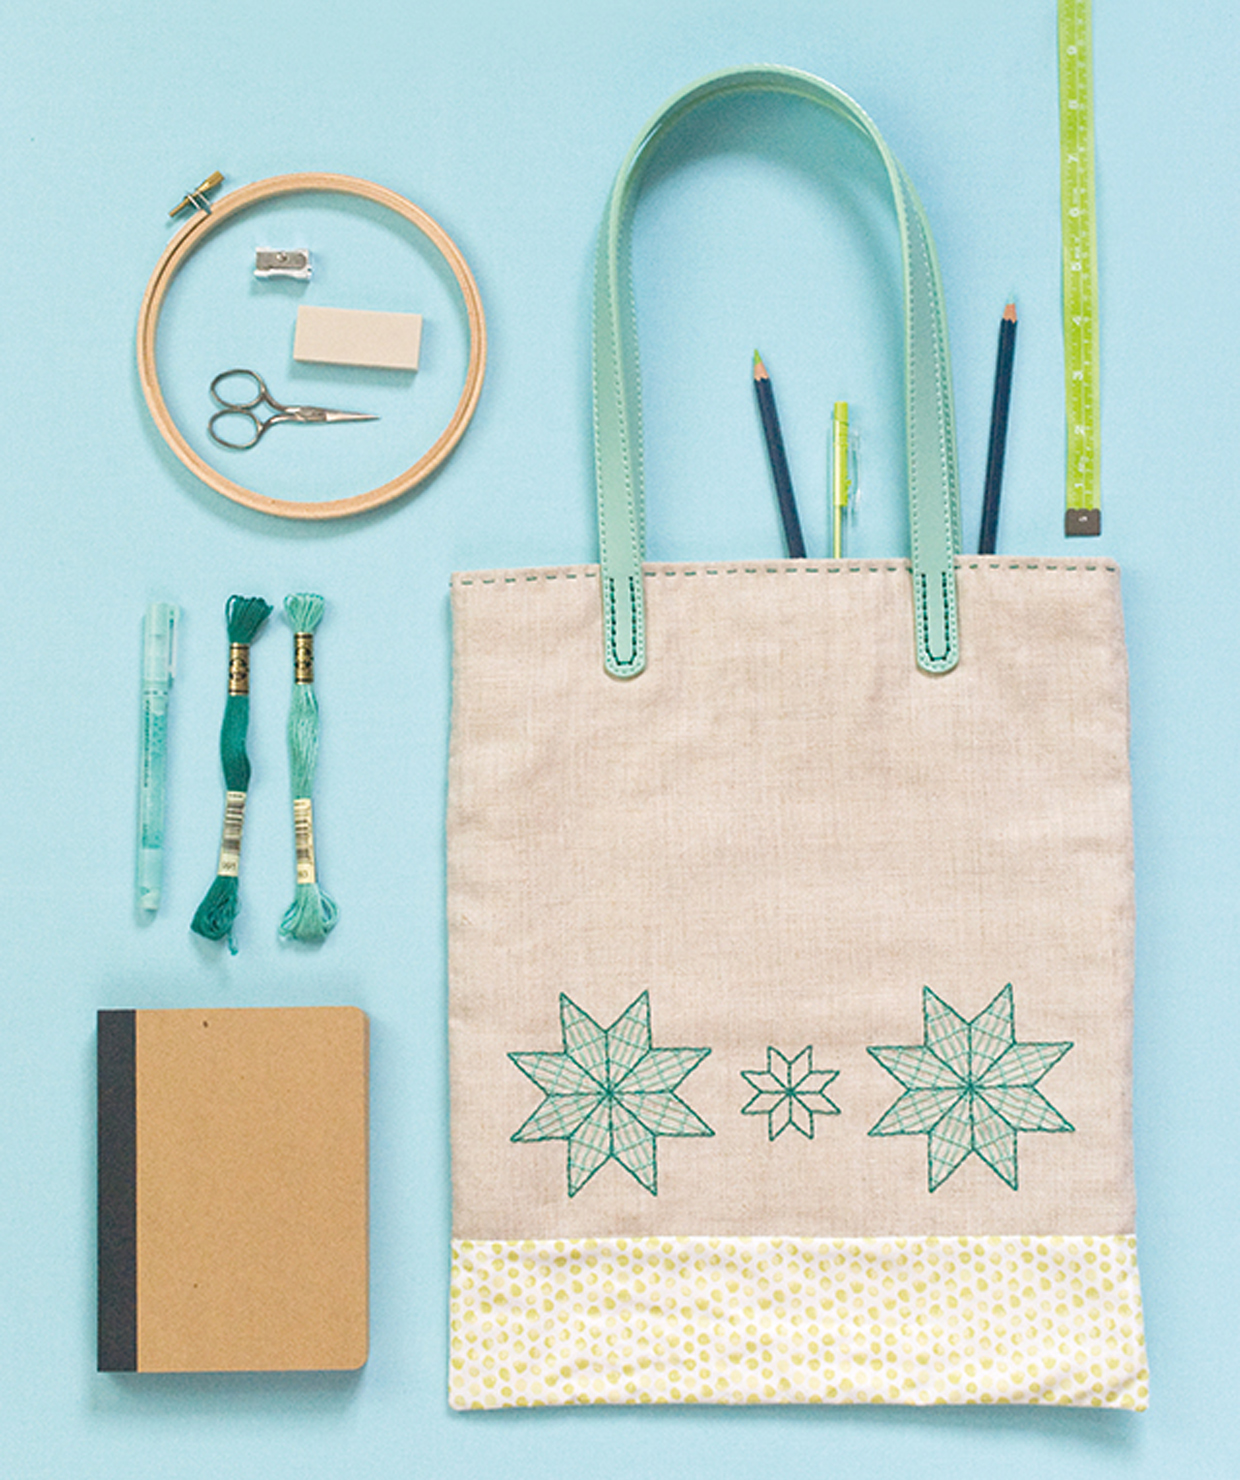
Learn how to embroider laid stitch and use it to make your own DIY tote bag!

Try 3 issues of Simply Sewing magazine for £10!

Published: July 26, 2020 at 8:00 am

Laid stitch is a fantastic way to use embroidered grids to you a more subtle effect than filling in your shapes with solid colour. In this tutorial we'll show you the basics of the stitch, then when you're feeling confident we'll move onto getting a bit more creative with them by making a DIY tote bag!

You will need

  • Linen fabric: 33x66cm (13x26in), bag front and back
  • Cotton fabric: 50x70cm (20x28in), bag bottom and lining
  • Cotton wadding: 40x70cm (16x28in)
  • Stranded cotton
  • Bag handles: one pair approx 65cm (25in) in length
  • Basic sewing kit

Notes

Use a 1cm (3/8in) seam allowance.

You will need to download and print the Free Laid stitch DIY tote bag pattern template.
How to do Laid stitch

You will need:

  • Linen fabric
  • Cotton fabric
  • Wadding
  • DMC stranded cotton
  • Bag handles
  • Basic sewing kit

Step 1

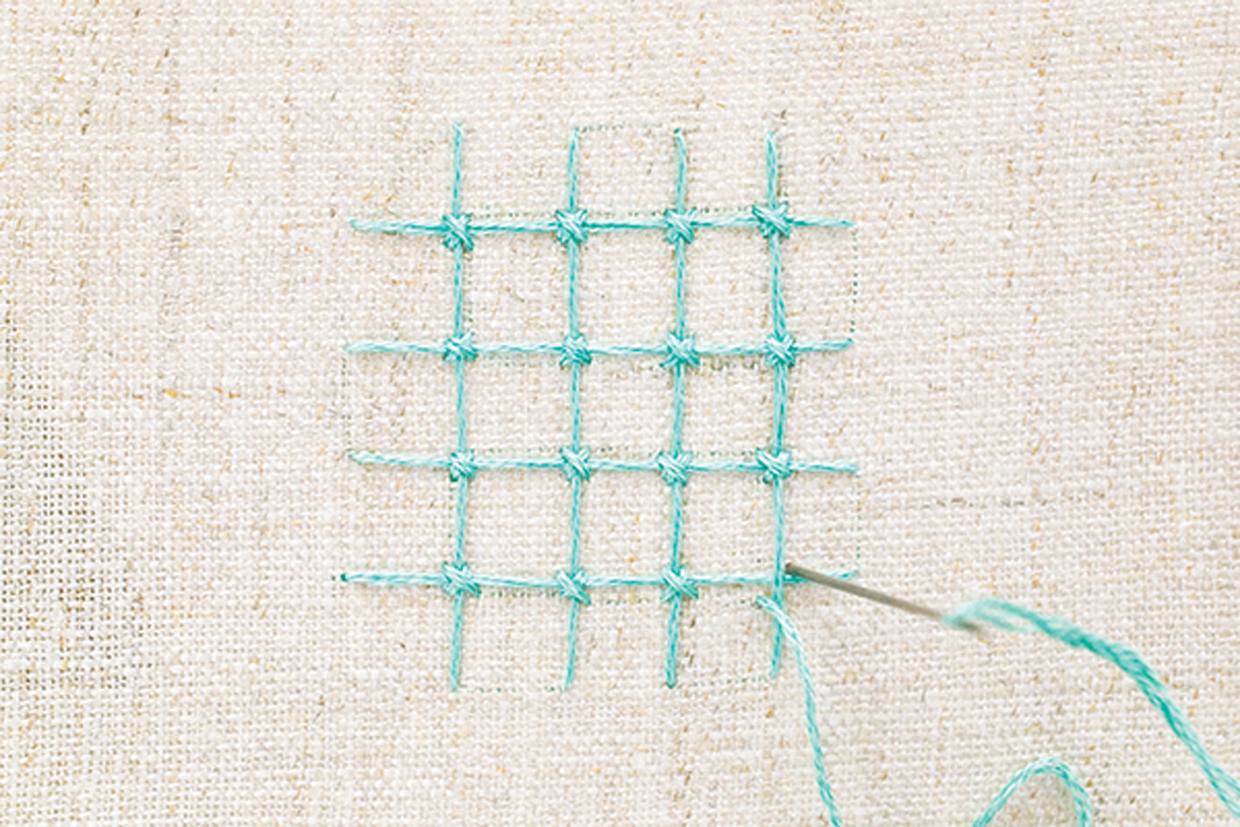
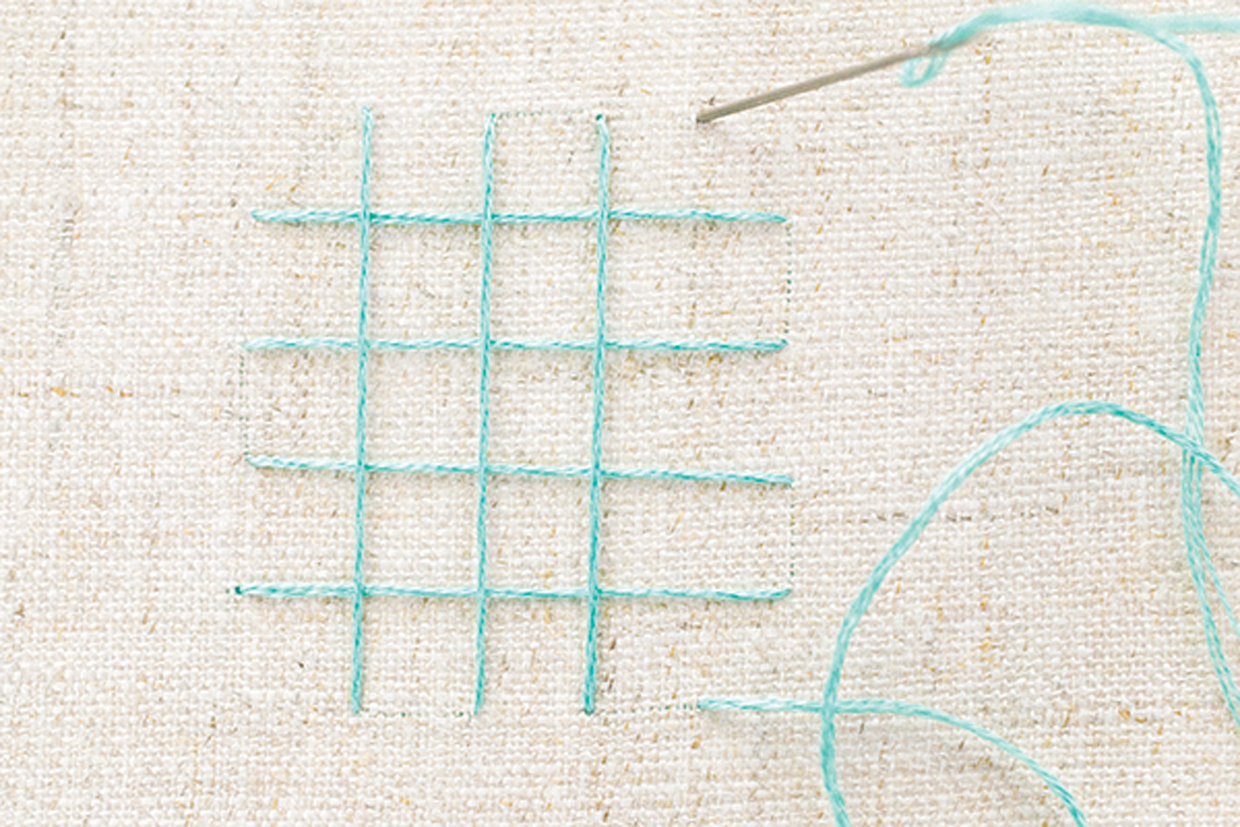
Create a grid of long straight stitches. Work all the horizontal lines first then all the vertical lines across them. They can be positioned as close or as far apart as you like, and they can be straight or on the diagonal.

How_to_do_laid_stitch_step_01

Step 2

Make a small cross stitch at each point of the grid where the lines intersect. The cross can be large or small, or in a second colour if you prefer. Make sure that all of the cross stitches are worked in the same direction.

How_to_do_laid_stitch_step_02

How to make a DIY tote bag

Laid stitch tote bag

Cutting the fabric

Step one

Cut the linen fabric into two pieces, each measuring 33x33cm (13x13in).

Step two

Cut the cotton fabric as follows:

  • Bag bottom: two pieces 9x33cm (35/8x13in).
  • Bag lining: two pieces 40x33cm (153/4x13in).

Step three

Cut the wadding into two pieces, each measuring 40x33cm (153/4x13in).

Stitching the design

Step one

Trace over the template then place the bag front right sides (RS) up on top so that the stars are positioned centrally across and 5cm (2in) up from the bottom edge.

Step two

Fill the large stars with laid stitch using three strands of aqua stranded cotton.

Step three

Work the outlines for the large stars and smaller stars in backstitch using three strands of teal stranded cotton.

Making the bag

Step one

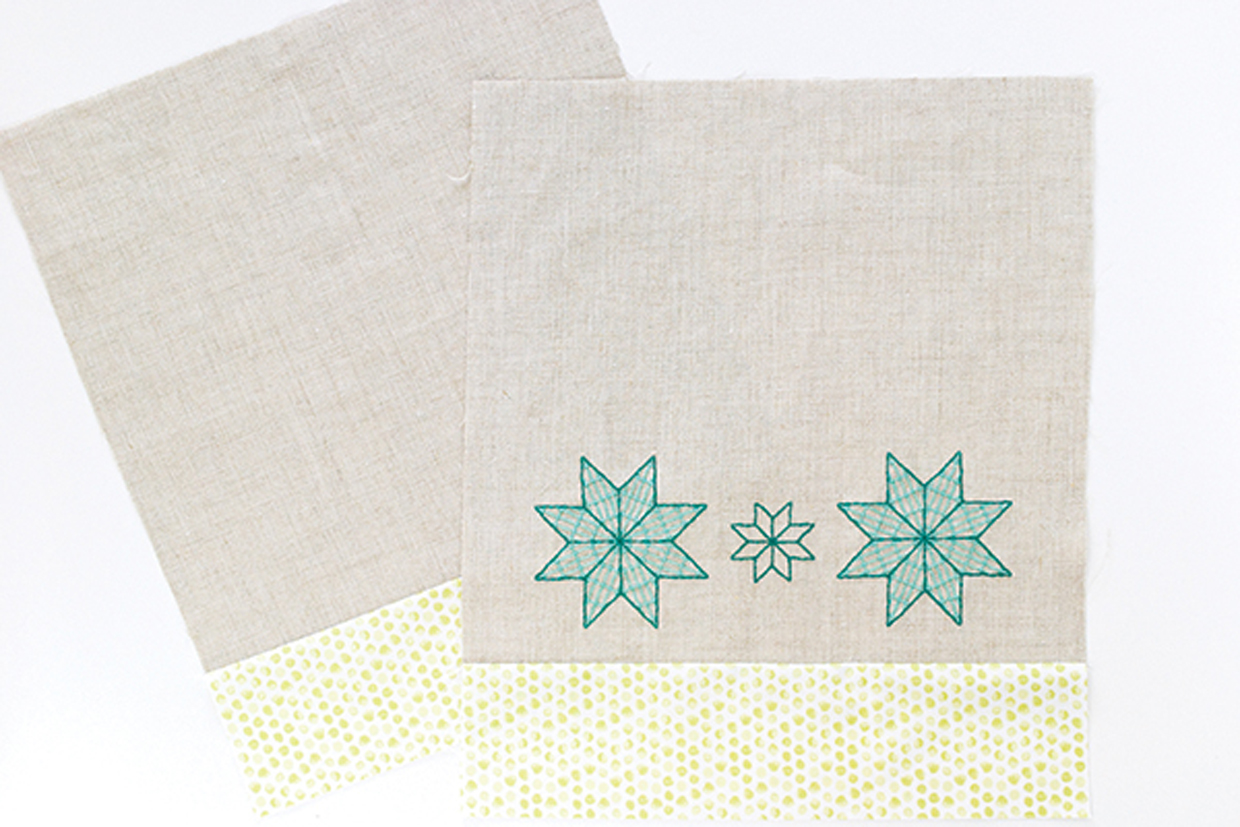
Place one bag bottom RS facing along the lower edge of the stitched front and stitch together then press the seams open.

Step two

Repeat this to stitch the other bag bottom RS facing across the lower edge of the bag back.

How_to_do_laid_stitch_step_03

Step three

Place one piece of lining fabric RS up on top of one piece of wadding and quilt together in vertical lines for a quilted lining.

Step four

Repeat this with the other piece of lining fabric and wadding.

Step five

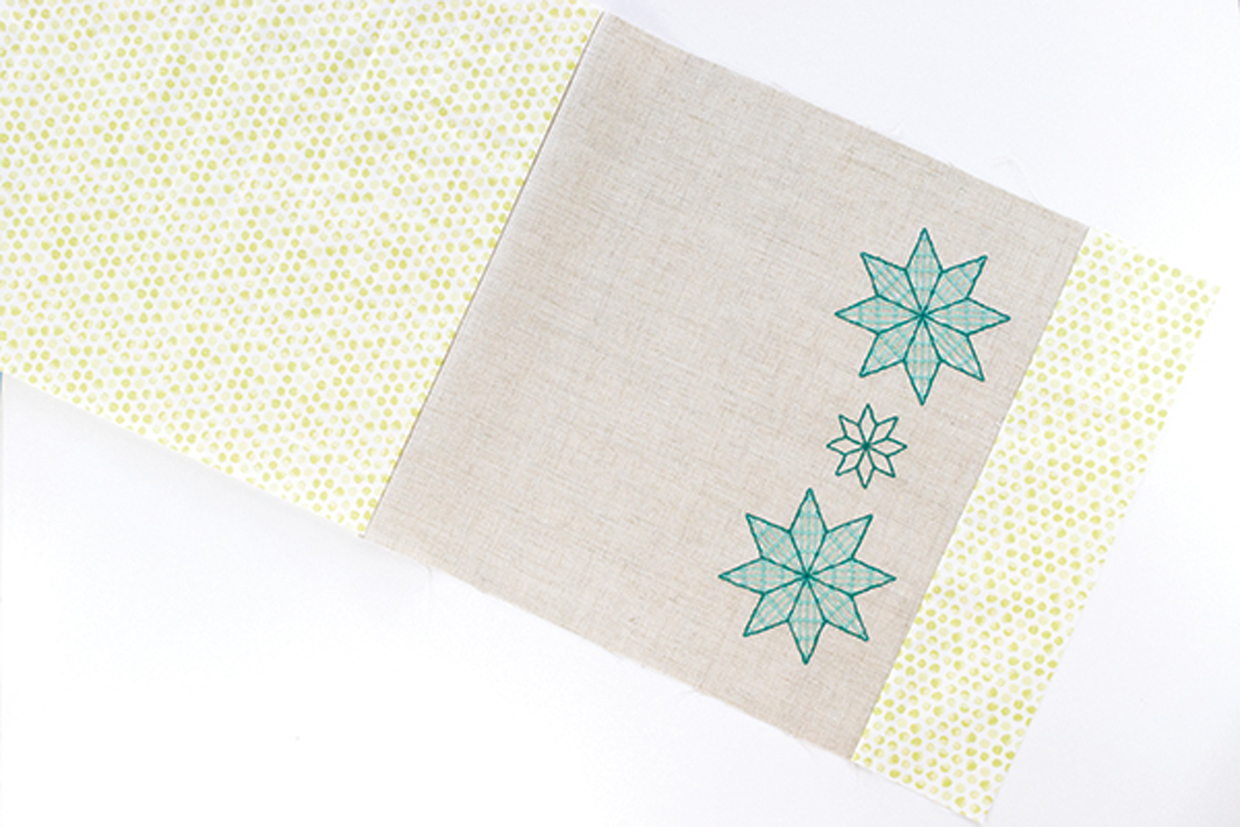
Place one quilted lining RS together with the bag outer front then stitch together across the top edge.

How_to_do_laid_stitch_step_04

Step six

Repeat this with the other quilted lining and bag back.

Step seven

Pin the two bag outers RS together and the two linings RS together.

Step eight

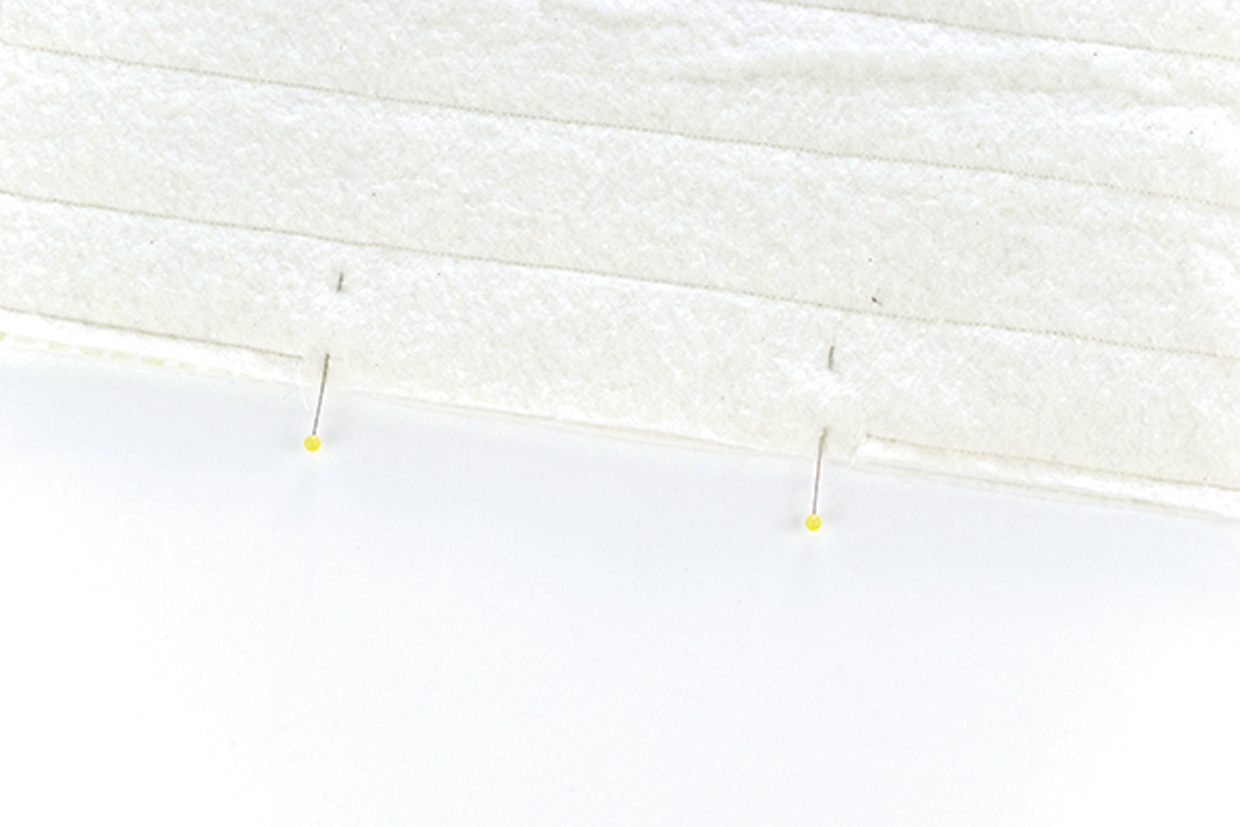
Stitch together all the way around but leaving a 10cm (4in) turning gap in the centre of the bottom edge of the lining.

How_to_do_laid_stitch_step_05

Step nine

Trim the corners and turn the bag RS out. Slip stitch the opening closed then push the lining inside the bag.

Finishing off

Step one

Work a running stitch by hand around the top edge of the bag.

Step two

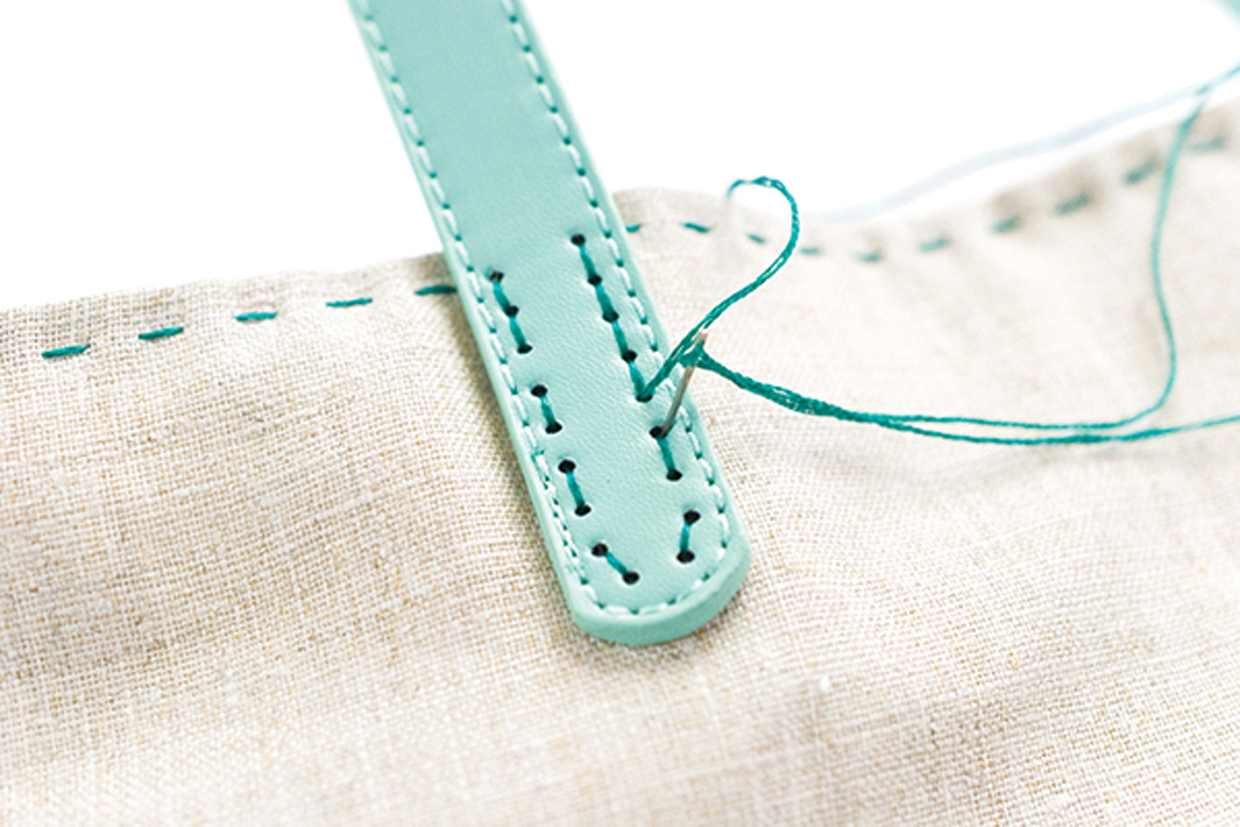
Sew the handles onto the bag, spacing and aligning them evenly.

How_to_do_laid_stitch_step_06