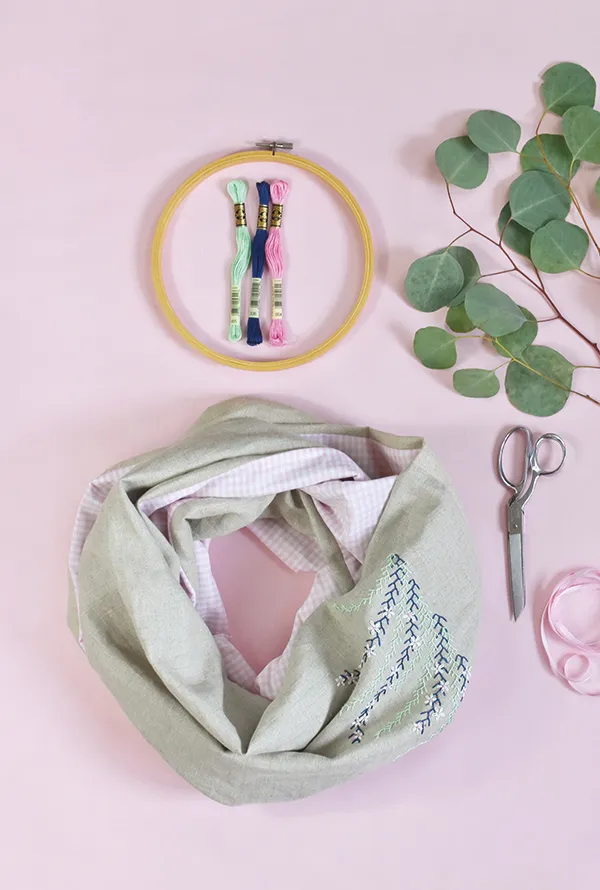
How to do Feather Stitch Embroidery step by step
Step 1
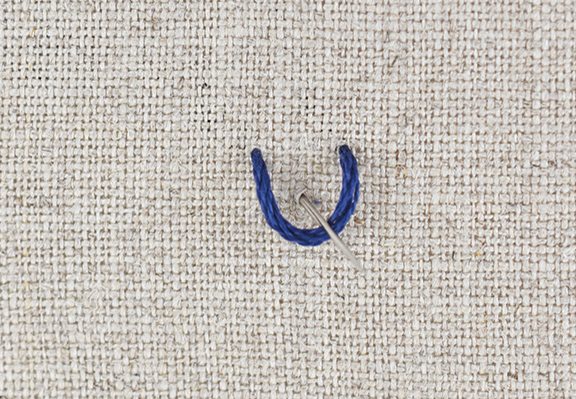
Bring the needle up through the fabric at the top of the feather stitch design. Go back down a short distance to the side, but don’t pull the thread tight. Come back up a short distance below and in the center of the first two points. Catch the loop of thread with your needle.
Step 2
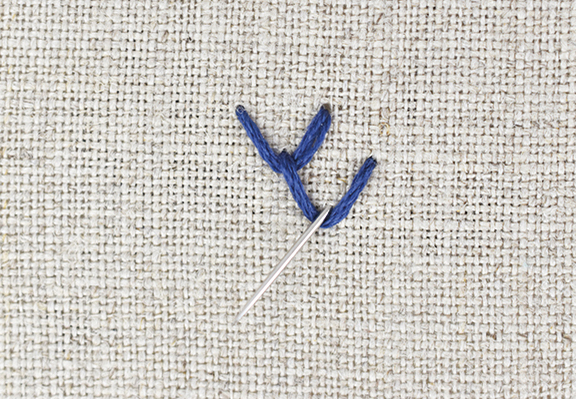
As you pull the needle through, it will tighten the first stitch. Next, go back down a short distance to the side without pulling the thread tight. Then come back up below the two points, catching the loop of thread as before.
Step 3
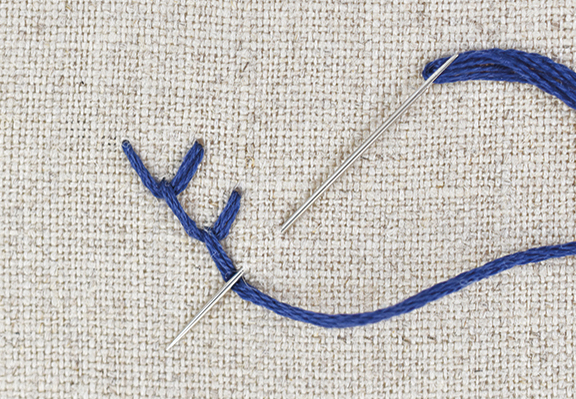
Repeat these steps, working from side to side for standard feather stitch.
Step 4
To work this as double feather stitch, repeat step two to add another stitch on the same side. Then work toward the opposite direction, following the same steps. You can also work these stitches in a single motion, going down and coming back up as shown.
DIY Infinity Scarf – step by step
Step 1
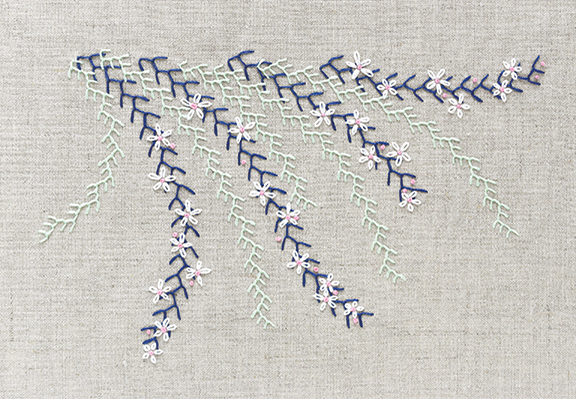
Trace and embroider the floral design onto the linen, approx 8cm (31/8in) from the top corner. Stitch the feather stitch sprigs with navy and mint stranded cotton.
Step 2
Embroider the dots with pink French knots and then add white detached chain petals around some of the French knots. Use three strands of stranded cotton for all the stitches.
Step 3
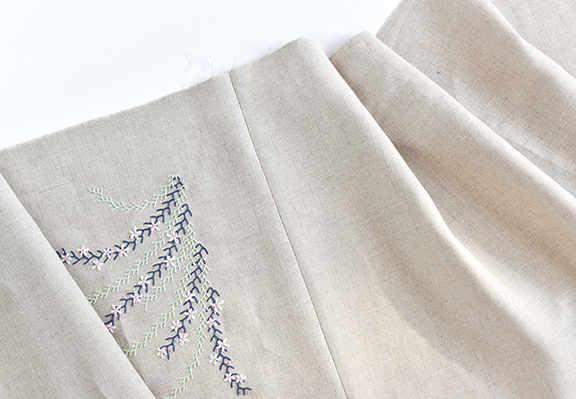
Sew the linen pieces right sides (RS) together along a shorter edge to form a long strip, with the embroidered end in the middle.
Step 4
Sew the cotton fabric pieces into a long strip. Press the seams open.
Step 5
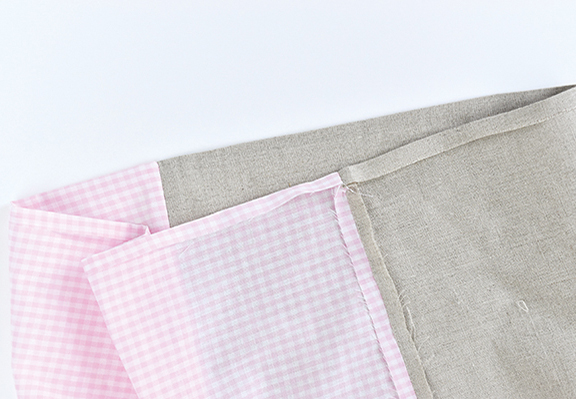
Pin the two strips with RS together and sew along the two long edges. Press the seams open. On one of the ends, press the fabric edges to the wrong sides (WS) by 1cm (3⁄8in). Insert the opposite end into the pressed end. Topstitch across the overlapping fabric or hand-stitch the folded edge with a blind stitch for a neat finish.
[pullquote quote="To make an infinity scarf with less fullness, use fabric strips narrower than 46cm (18in), keeping the length." /]
