How to do Lazy Daisy Stitch

How to do Lazy Daisy Stitch

Lazy Daisy stitch is ideal for making flowers and leaves – see how to do Lazy Daisy stitch with our guide!

6 issues of Simply Sewing magazine for £14.99|Save 78%!

Published: December 18, 2020 at 8:02 am

Sew the prettiest of petals with one of our favourite embroidery stitches - want to learn how to do Lazy daisy Stitch? This stitch was MADE for growing your own pretty leaves, tendrils and flowers in your embroidery hoop. Read on for our guide to how to do Lazy Daisy Stitch, then practise your skills with this free flowers embroidery pattern. Use backstitch for the lettering – check out our how to backstitch post if you're new to this!

Using a hoop is practical as well as a pretty way to frame your finished stitching – it will help keep your fabric taut and your stitches neat.

Watch our video guide by Love Embroidery magazine to see how it's done or scroll down for step by step instructions from the team at Simply Sewing. This Hello Petal hoop design and How to do Lazy Daisy stitch guide was originally published in Simply Sewing issue 4.

How to do lazy daisy stitch step by step

Practise your stitches in a hoop and then scroll to the bottom of this post for our easy refashion idea to upcycle a plain shirt collar with lazy daisy details. Template design by Louise day, stitching & instructions: Zoe Patching.
Lazy Daisy Stitch Embroidery Template

Step 1

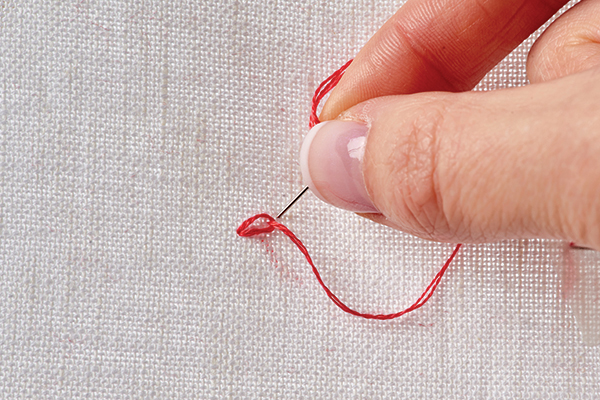
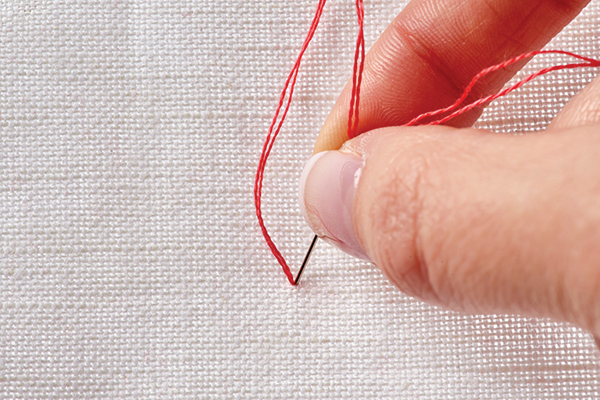
Start by taking two strands of cotton from your cut thread length and thread your embroidery needle with one  end and knot the other. Bring your needle up through the fabric, then take it back down through the same hole to create a loop on the fabric’s surface.

How to do lazy daisy stitch step1

Step 2

Pass the needle through the fabric with one hand and hold the loop on the surface with the other. Make a securing stitch by bringing the needle back up through the fabric, about 0.5cm from your starting stitch. Gently pull the thread to create a soft loop, as shown here.

How to do lazy daisy stitch step2

Step 3

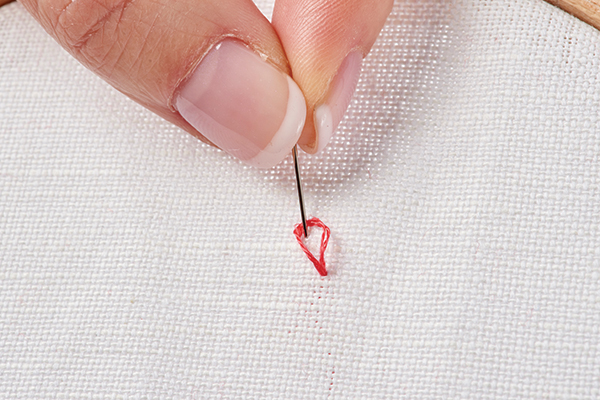
To anchor this first lazy daisy stitch to your fabric, make a tiny holding stitch over the loop you have just created, and pull the thread through to the reverse. Try to avoid pulling your thread too firmly as you might distort the stitch and the fibres of your embroidery fabric.

How to do lazy daisy stitch step3

Step 4

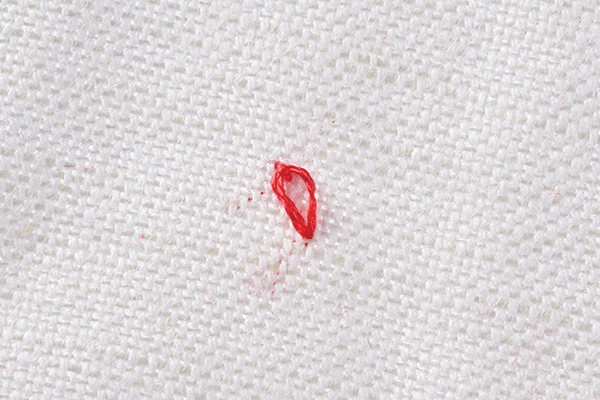
Your completed lazy daisy stitch should look like a tear drop as shown here, with softly rounded edges. Lazy daisies can be worked in clusters to create floral shapes or singly. Try working a smaller lazy daisy stitch inside another for a pretty, more textured effect.

How to do lazy daisy stitch 4

Step 5

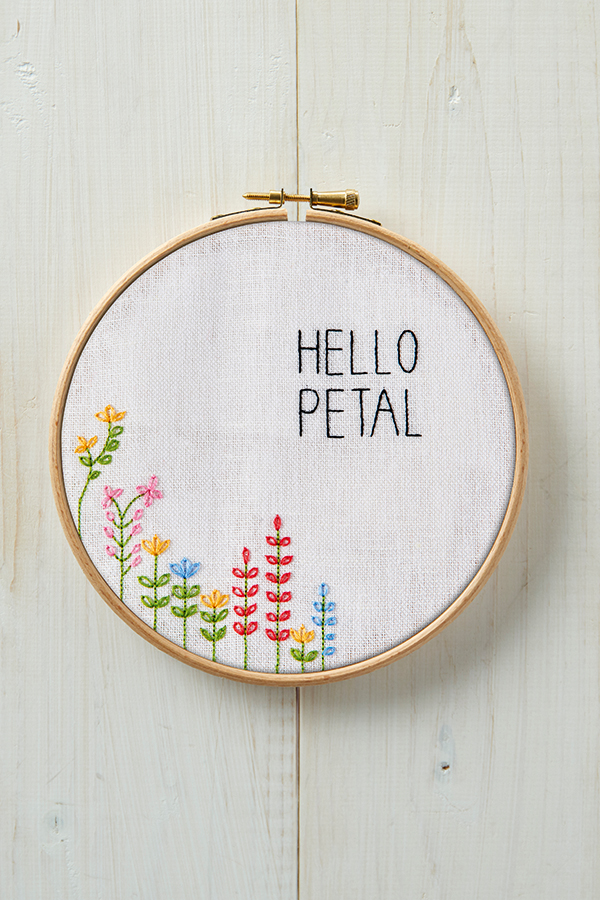
Practise makes perfect! Now you’ve mastered the basics of how to do Lazy Daisy Stitch you can stitch a garden full of blooms with this flowers embroidery hoop art. Just download our free pattern and get making.

How to do lazy daisy stitch full

Embroider Lazy Daisy stitch onto a plain shirt collar… 

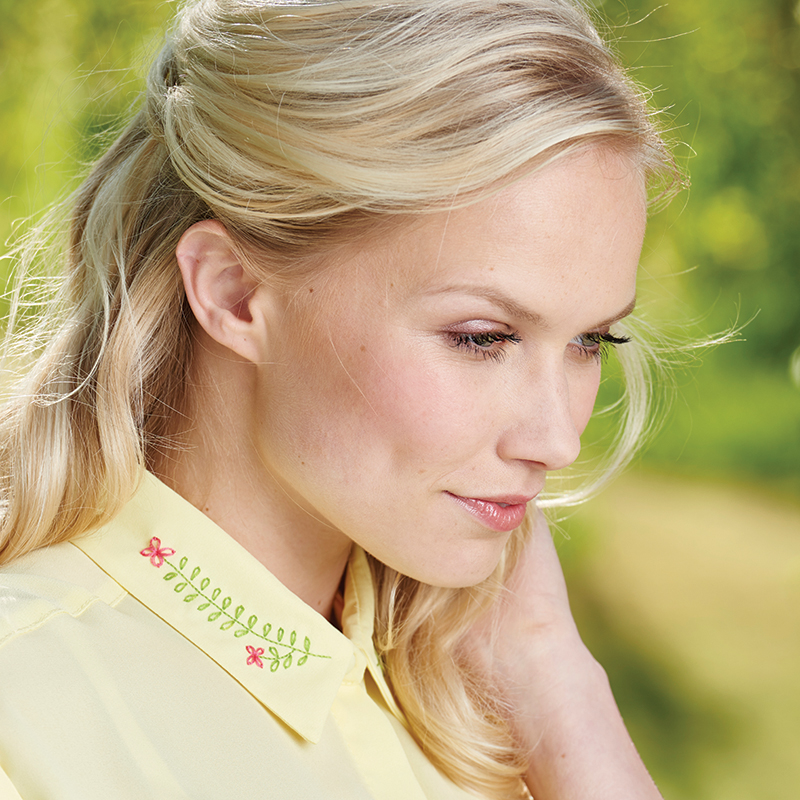
 Turn a simple plain shirt into something  special by stitching something pretty onto its collar. Now we’ve shown you how to sew a classic Lazy Daisy stitch, with our floral design in a hoop, try stitching a similar design (also by expert sewist Zoë Patching) adapted onto a yellow shirt from Primark.

All you need to do is make a trace of the template above, then, using thread in the colour of your choice, work the stem in backstitch, and follow the Lazy Daisy stitch instructions above. If you like the effect, it works equally well creating  stitched details on pockets, cuffs and waistbands too. 

Lazy Daisy Stitch Free Pattern

For more free patterns and embroidery how to’s head to our embroidery home page.