Working couching stitch
Step 1
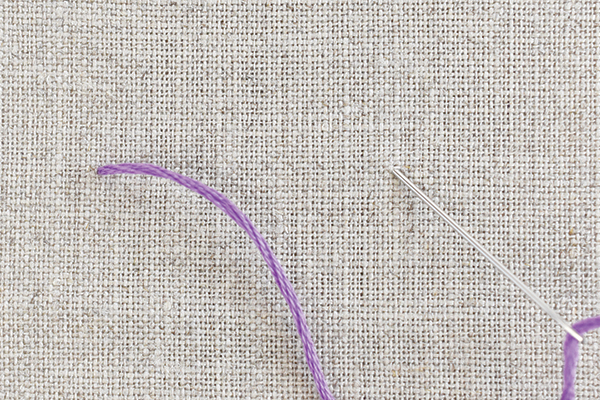
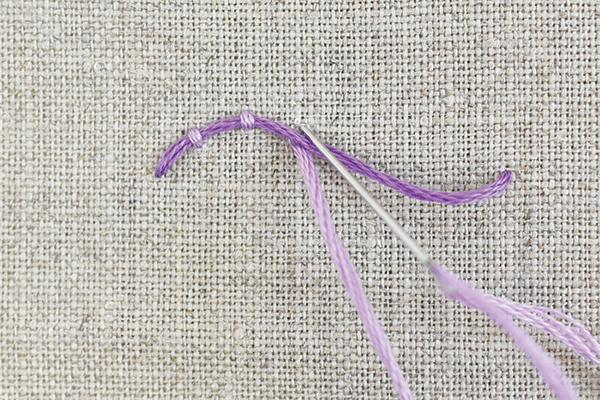
Couching stitch uses two working threads. With the first thread, which will go along the line of your pattern, come up at one end of the line and down at the other end. If you are forming a complete shape, go down at the starting point. Keep this thread loose so you can shape it along the line as you add stitches in the next step. You do not need to secure the end yet.
Step 2
Bring the second working thread up next to the line of the first thread. Go back down through the fabric, tacking the working thread in place. When you reach the end, secure both working threads. You can space the tacking stitches however you prefer, but for best results, keep the spacing even.
Making the needle book
Step 1
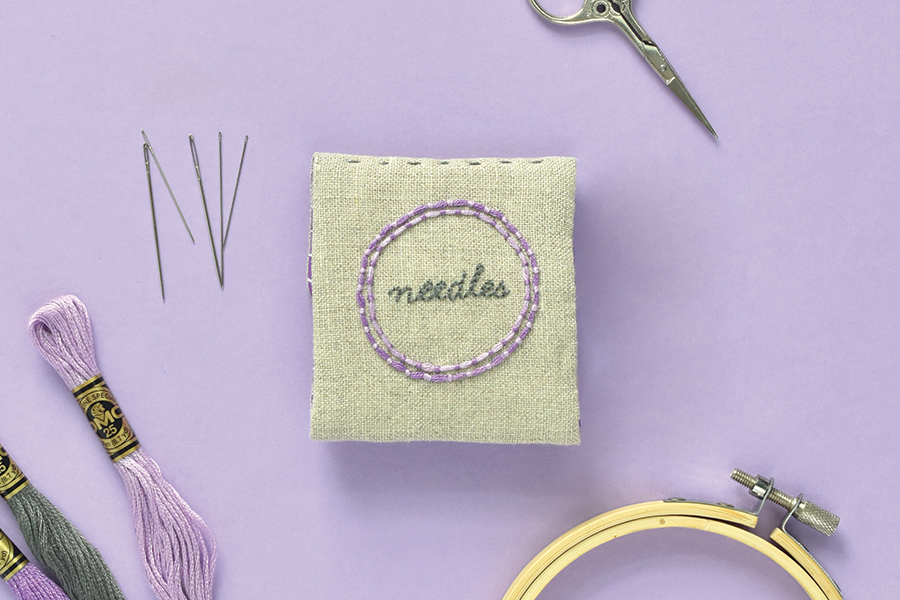
Use couching stitch with six strands of stranded cotton to embroider the circles, working with two shades of purple thread. Use back stitch with two strands of dark grey thread for ‘needles’.
Step 2
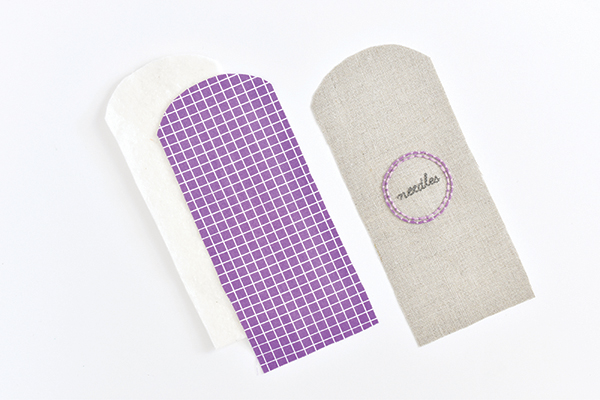
Cut out the embroidered piece with the template, with the embroidery centred and the curved end at the top. Cut a matching piece from quilting cotton and wadding.
Step 3
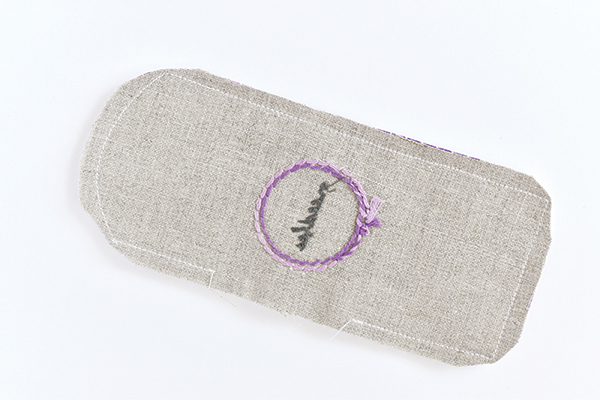
Sew the fabric layers and wadding together with the fabric pieces right side (RS) together. Trim the corners to reduce bulk and turn the piece RS out. Sew the opening closed with ladder stitch.
Step 4
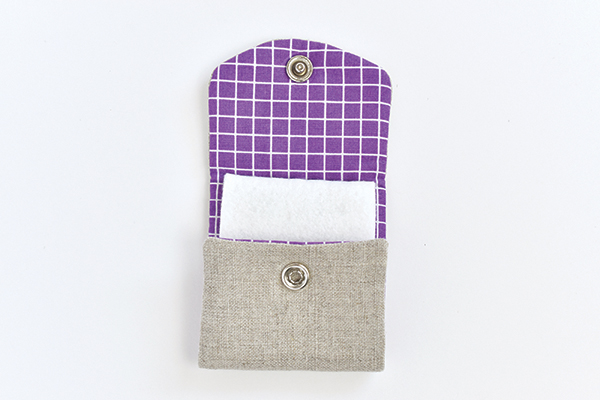
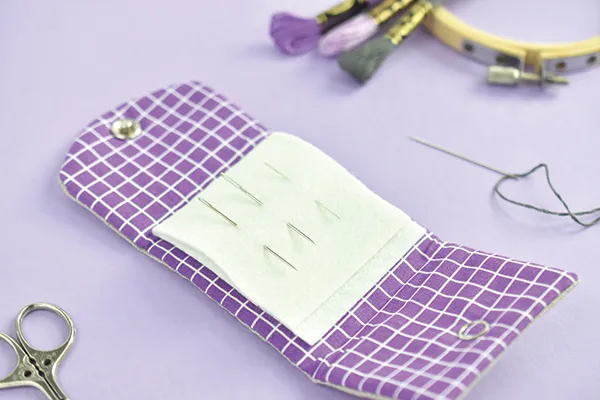
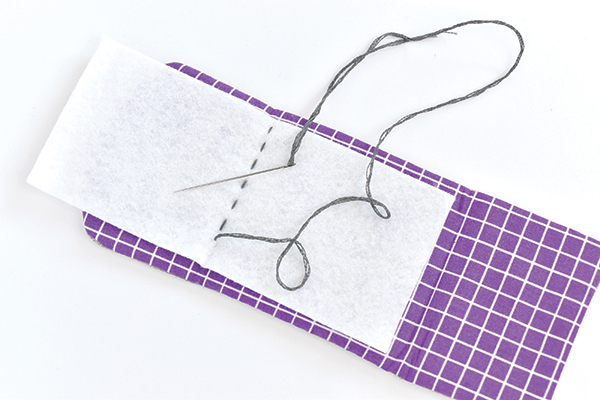
Cut a 6 x 12cm (23⁄8 x 4¾in) piece of wool felt. Fold and press the felt in half. Fold the ends of the outer needle book to the centre and then overlap the curved edge slightly. Hand-stitch the crease of the felt to the top crease of the folded needle book. Use four strands of grey stranded cotton and a running stitch.
Step 5
Attach a snap fastener to the overlapping ends of the needle book to finish, aligning the fastener pieces.
