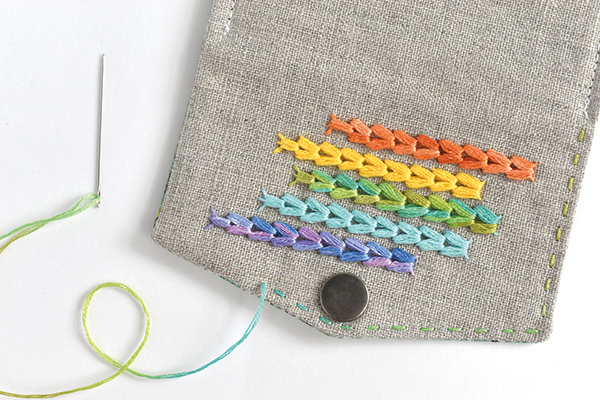
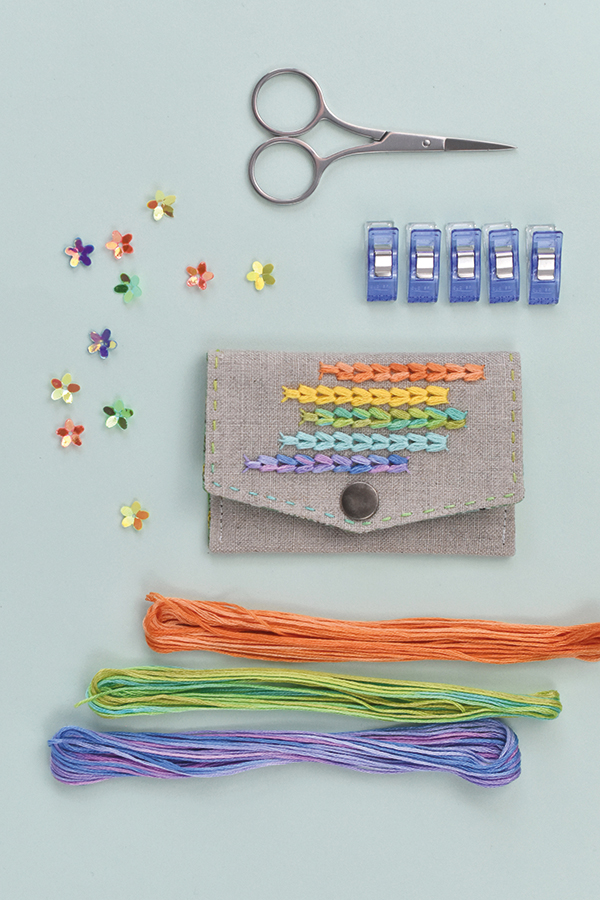
How to do Portuguese border stitch
Step 1
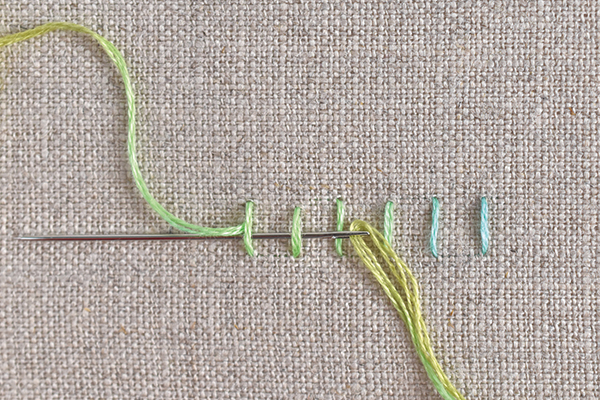
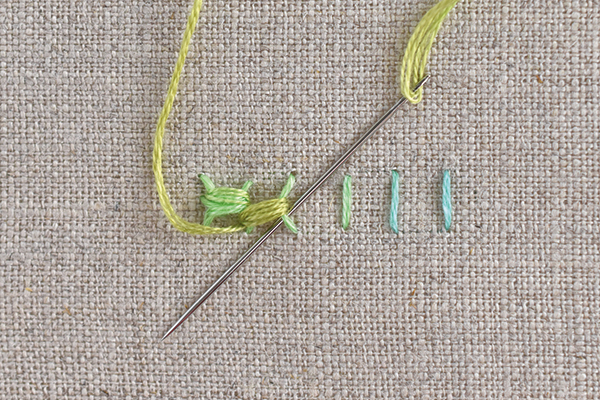
Start with a series of straight stitches along a line. Come up from the back near the centre of a straight stitch at one end of the row. Slide the needle under the next stitch and the end stitch. Slide the needle under the same two stitches two more times. Adjust the wrapping to make it lay smoothly if needed.
Step 2
Slide the needle under the second stitch on one side of the first set of wrapping. This sets you up for the next step.
Step 3
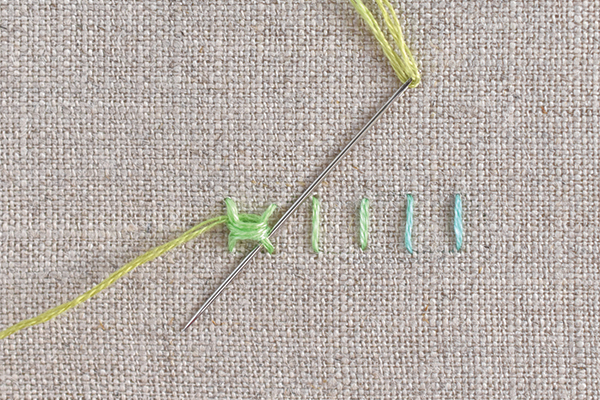
Slide the needle under the third stitch and the second stitch. Repeat this two more times. The wrapping should be at a slight angle. Slide the needle under the top stitch to get ready for the next set of wrapping. Repeat this step for each straight stitch until you reach the end. Go down through the fabric at the end. Come back up at the second stitch, near to where you started, and then repeat the process again for the other side of the angled stitches.
Making the card case
Step 1
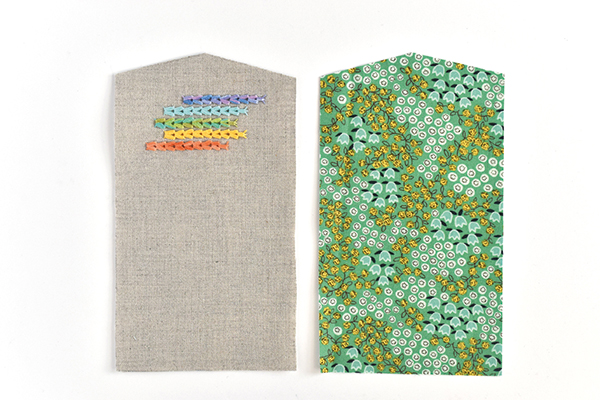
Press iron-on interfacing onto the back of the linen fabric piece. Trace the card case pattern onto the linen with an erasable fabric marker. Embroider the lines of Portuguese border stitch on the pointed end of the shape. Use three strands of stranded cotton in five rainbow colours. Cut out the embroidered piece and a matching piece from quilting cotton.
Step 2
Pin and sew the two card case pieces with right sides (RS) together, leaving an opening on one long edge. Use a 7mm seam allowance. Trim the corners and turn the shape RS out. Press the open seam allowance to the inside.
Step 3
Fold the shape into thirds and sew the two sides with a 3mm (3⁄8in) seam allowance.
Step 4
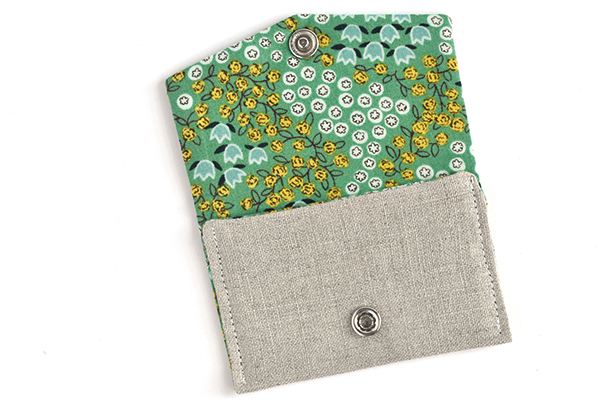
Install a press fastener on the point of the case and at the bottom of the folded edge, ensuring that the two pieces align.
Step 5
Topstitch the pointed flap with three strands of stranded cotton and running stitch to finish the case.
