Mini cactus embroidery patterns

Mini cactus embroidery patterns

Make your own green-friendly embroidery hoops with Sonia Lyne's mini cactus embroidery patterns!

Try 6 issues of your choice of craft magazine from just £9.99

Published: September 23, 2021 at 2:10 pm

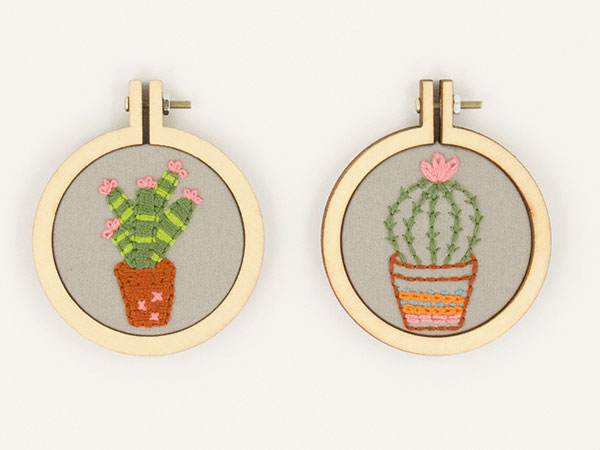
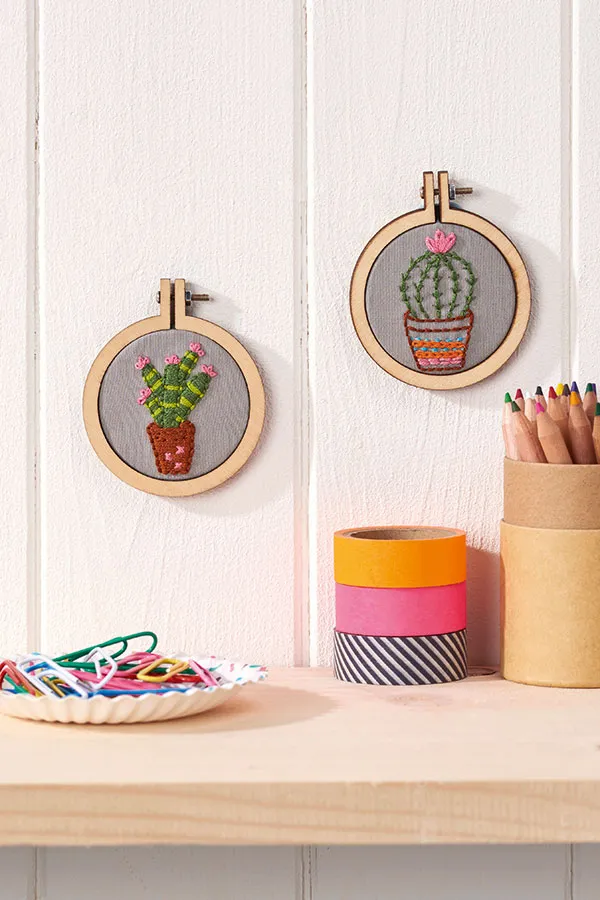
Green-fingered friends and fellows this is the embroidery project for you. The incredible Sonia Lyne of Dandelyne has created two mini cactus embroidery patterns for you to download, transfer and stitch. These classic cacti patterns will look great hanging from the wall or even added to a birthday card - they're so small you can do endless things with them. Cactus earrings anyone? Sonia's mini cactus embroidery patterns are great for beginners since they're tiny and use basic stitches throughout. If you're new to the world of embroidery don't worry. Check out our embroidery for beginners guide and our complete collection of embroidery stitches. They'll show you step by step how to create every stitched used. If you still can't get enough of the cactus trend then make sure you make our cactus cushion, Free cactus printables, and even our knitted cactus pattern! But now it's over to Sonia for her adorable mini cactus embroidery patterns...
cactus embroidery

You'll need:

Mollie Makes issue 68 templates • 7.5cm (3") embroidery hoop • Felt or card approximately 6cm (23/8") square (optional) • Strong craft glue
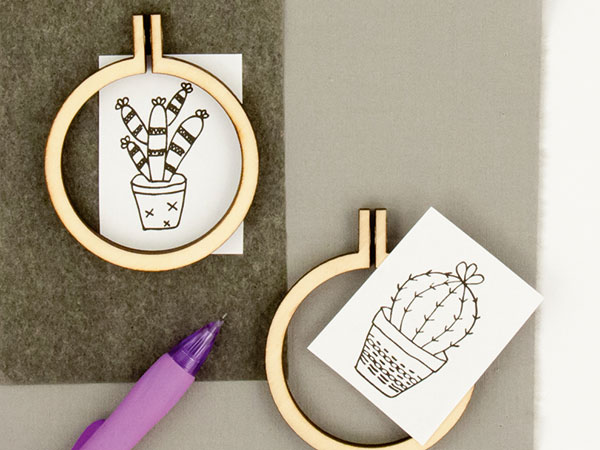
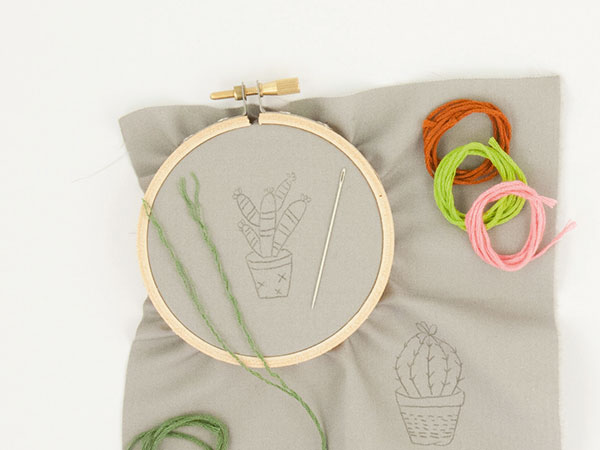
Mini cactus embroidery pattern

Step 1

cactus embroidery step 1

Iron your fabric, then transfer the designs onto your fabric. You can use carbon paper, or sticky-tape the design to a window and trace over onto your fabric. Leave about 7mm (¼") of fabric around the edge of your hoop so you can secure your design to the centre plate later.

Step 2

cactus embroidery step 2

Place your design into a 7.5cm (3") embroidery hoop. Don’t worry if you don’t have one – the designs are small and can be stitched without one.

Step 3

cactus embroidery step 3

Choose your colour threads. We used three strands of thread throughout the design, but feel free to use fewer for a finer look or more for a bolder look. Thread your needle with your first colour.

Step 4


cactus embroidery step 4

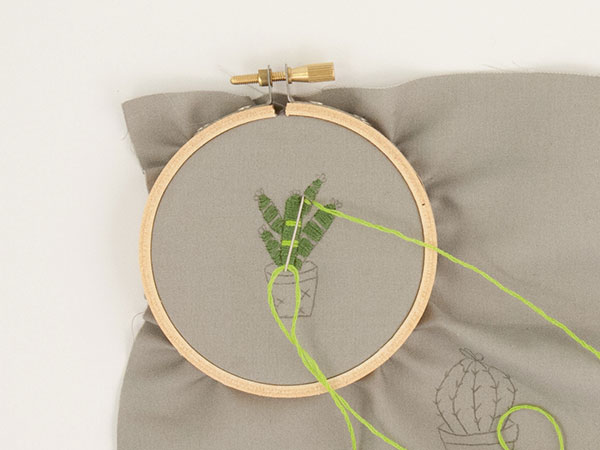
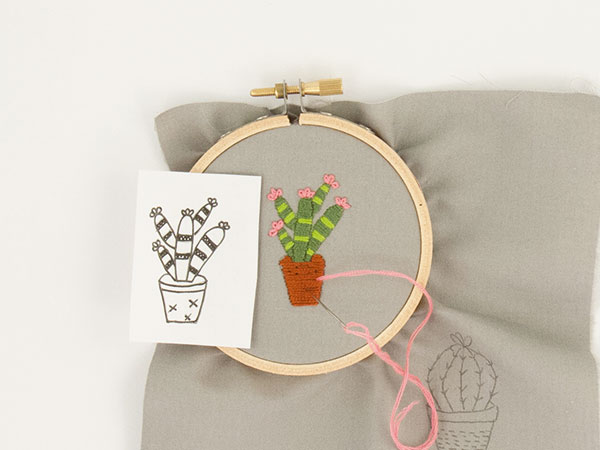
Time to start stitching your first design. We used the following stitches: cactus trunk and arms – satin stitch, stripes on trunk and arms – satin stitch, cactus pot – satin stitch, flowers on top – two or three lazy daisy stitches, cactus pot design – cross stitch. Finish off with backstitch in corresponding colours around each design.

Step 5

cactus embroidery step 44

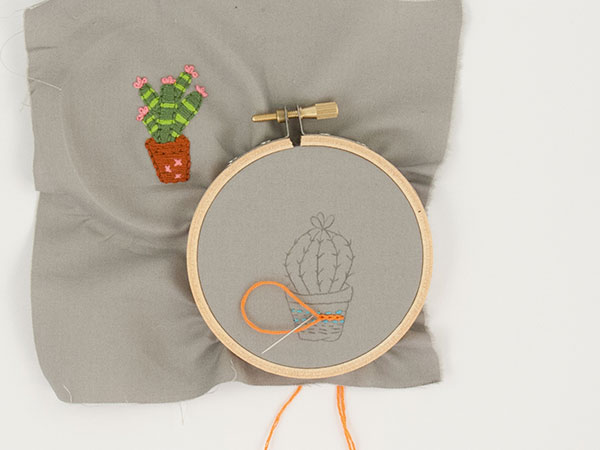
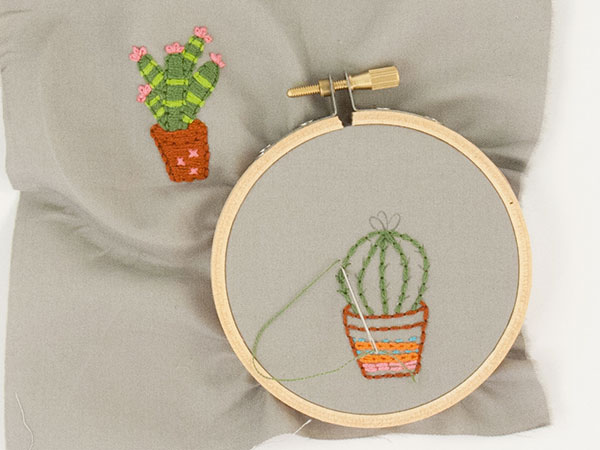
Now start stitching your second design. We stitched ours as follows: dashed lines on pot – running stitch (aqua), chain lines on pot – chain stitch (orange), base lines on pot – backstitch x four stitches and two rows (pink), pot outline – backstitch, cactus lines – backstitch, spikes on cactus – straight stitches (one strand), flower on top – three lazy daisy stitches (six strands).

cactus embroidery step 444

Step 6

cactus embroidery step 5

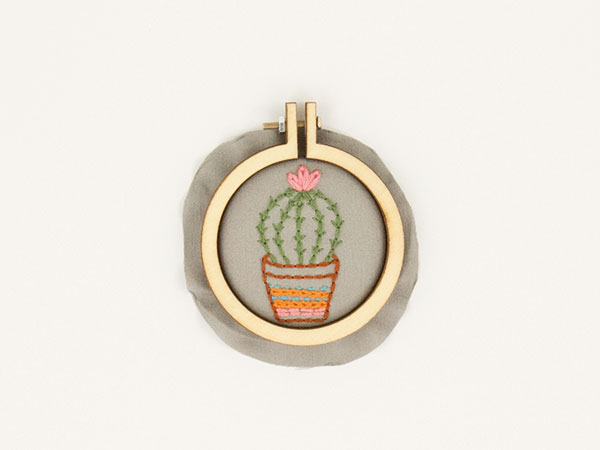
Position the miniature hoop on your design and draw a cutting line 7mm (¼”) around the hoop. Cut out along the line.

Step 7

cactus embroidery step 6

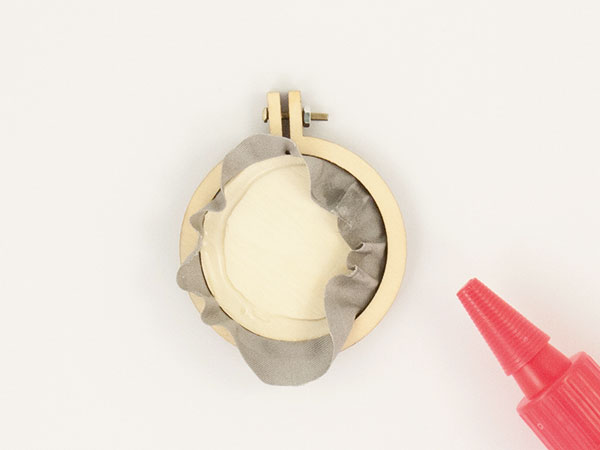
Place the design on the centre plate, then position the miniature hoop on top and push it down to secure. Flip it over, apply some strong craft glue around the inner edge and then push the fabric down in a circular motion.

Step 8

cactus embroidery step 8

Tighten the nut and bolt to secure your design.

Leave the glue to dry. You may then want to back your design by gluing on a circle of felt or card. Find a spot to display your piece in, or add it to a necklace chain for a quirky piece of jewellery.

And you’re done! You’ve turned Sonia’s mini cactus embroidery patterns into reality. If you’ve caught the embroidery bug then head over to our free machine embroidery mushroom designs and our tapestry kits for beginners to find more stitchy projects.