Learn how to make felt eggs – a beautiful alternative for Easter!
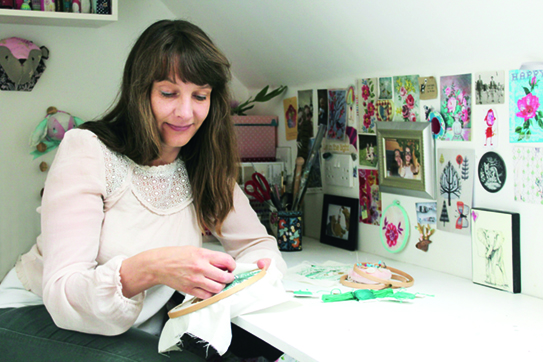
For a fantastic alternative to chocolate or chicken eggs, try learning how to make felt eggs with Jenny Blair's brilliant tutorial.
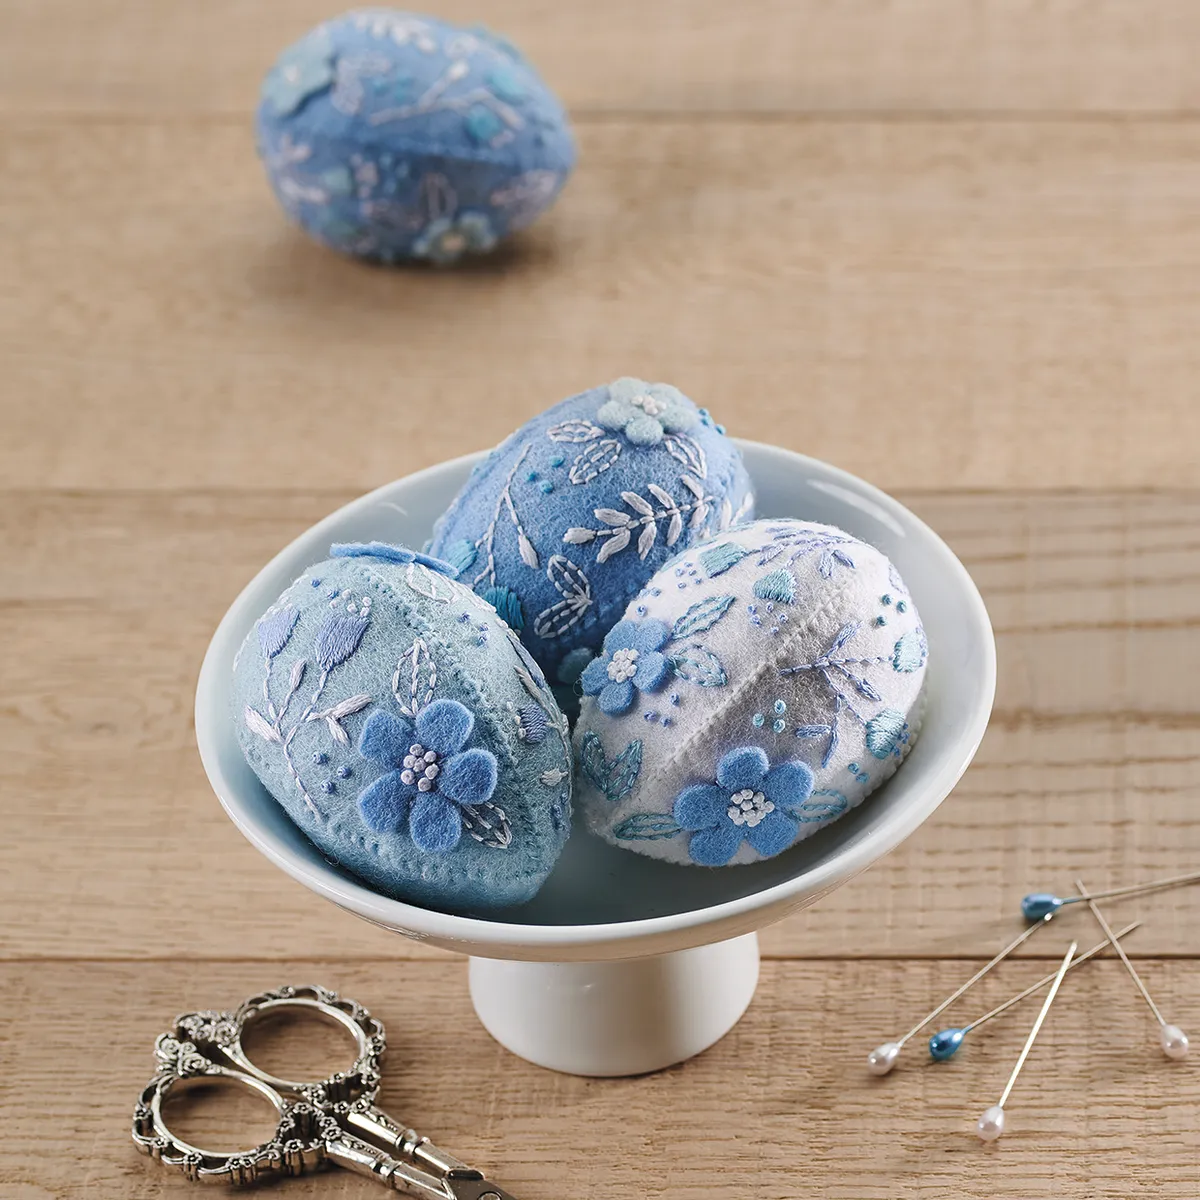
These fabulous felt Easter eggs are beautifully decorated with floral embroidery designs, made using simple backstitch, satin stitch and French knots.
They look so sophisticated, it is hard to believe they are felt eggs and not Faberge! For the flowers, you can add these by embroidering straight on the felt, or use felt scraps to cut these from, as we have in our pictures.
With our simple step-by-step guide, your Easter embroidery designs will be spectacular this year.

Try traditional techniques for Easter decoration with our guide on how to dye eggs for Easter using food colouring or natural dye.
How to make felt eggs
You will need
- Wool felt: 12x20cm
- Wool felt scraps, in a coordinating shade for the flowers (optional)
- Stranded cotton: 1 skein each of white and blue to match the felt
- Water-soluble stabiliser
- Permanent marker
- Soft toy stuffing
- Ribbon or cord for hanging (optional)
- Basic embroidery kit
- Felt easter egg templates
SQUIRREL_PLAYLIST_10207303
Step 1

Trace the four egg side embroidery templates separately on to the water soluble stabiliser using a permanent ink pen.
Attach the traced stabiliser pieces onto the felt piece ready to embroider, leaving at least 5mm between each one.
Step 2

Use three strands of stranded cotton throughout for all the stitching. Use a variety of different colours or refer to the photo for guidance.
Work the outlines of the larger leaves and the stems in Backstitch. Use Satin Stitch to fill the flowers and smaller leaves on the stems. Add a French Knot on each marked dot, making those that are part of the little flowers smaller by reducing the number of times the thread is wound around the needle.
Step 3

If you wish to add felt flowers instead of embroidering on felt, cut out the flower templates and draw around them on the felt scraps and then cut out using small scissors.
Embroider in place with a cluster of French Knots in the centre.
Step 4

Cut out each embroidered easter egg side piece slightly larger than the template size to allow for any shrinkage in the water. Soak in cold water to remove the stabiliser and then allow the felt to dry.
Once the felt is dry carefully trim the edges to the correct size by placing the felt egg side template centrally on top and cutting round it. Take care not to cut through any of your worked stitches.
Step 5

Stitch the felt egg side pieces together using Whip Stitch, ensuring the sides line up neatly and you are matching up the top of the side pieces with each other. These positions are labelled (T) on the templates.
Leave a gap between two of the side pieces to allow for stuffing.
Step 6

Fill the egg with soft toy stuffing until plump but not too firm. Continue using Whip Stitch to stitch the gap closed.

If you enjoyed stitching these felt eggs, you might also enjoy learning how to make needle felt easter eggs.
Get creative with your felt eggs
We love the vintage style and colours of these fabulous felt eggs, but you can also use the template as your starting point and creatively customise your own eggs.
How about making them in brightly coloured felt, or embroidering contrasting patterns or Easter animals on them?
Your next Easter embroidery project
Now that yo've made your Easter eggs, don't forget about the Easter bunny! Our adorable Easter bunny embroidery isn't just super-cute – it's also a handy storage pouch!