How to make an advent calendar embroidery

How to make an advent calendar embroidery

Start your Christmas crafts and find out how to make an advent calendar embroidery with this lovely design by Anna Alicia with the free template.

Try 3 issues of Love Embroidery magazine for just £7

Published: November 1, 2021 at 5:00 pm

Get ready to countdown to Christmas with this reusable advent calendar embroidery designed by Anna Alicia for Love Embroidery Issue 6. Stitch 24 little pockets with cute festive motifs, and once you are finished, you can fill the calendar with all your favourite Christmas treats! You could whip up a few of these calendars for friends and family, and fill them with their favourite things. It's a much more sustainable and planet-friendly way to enjoy a Christmas countdown, as you can use them again and again.

In this article, you'll find a step-by-step guide with pictures so it is really simple to follow along and make the calendar. There's also a free PDF pattern below of the numbers and festive motifs which can be transferred onto your design using your preferred method.

This lovely advent calendar embroidery is suitable for beginners and is great practice as it uses a wide variety of stitch types. If you are new to embroidery be sure to check out our helpful guide to embroidery stitches for beginners. If indeed, you are new to embroidery or simply need a little refresh, take a look at our embroidery for beginners guide which contains everything you need to get started on the advent calendar embroidery.

Embroidery stitches key: advent calendar embroidery

For more help with stitches head over to our useful embroidery stitches library.

Advent calendar embroidery fact box:

  • Quilting-weight cotton fabric: 125x100cm, dark green
  • Lightweight fusible interfacing: 60x100cm
  • Lightweight wadding: 70x47cm
  • Dowel rod: 1cm diameter, 70cm long
  • Stranded cotton: 3 skeins of white
  • Transfer paper
  • Cotton cord (to hang): 20cm, white
  • Basic embroidery kit

Free Advent calendar embroidery template

You’ll also need the free advent calendar embroidery template.

advent calendar embroidery

You will need:

  • Quilting weight cotton
  • Fusible interfacing
  • Wadding
  • Wooden dowel
  • Stranded cotton
  • Embroidery transfer paper
  • Cord
  • Basic embroidery kit

Step 1

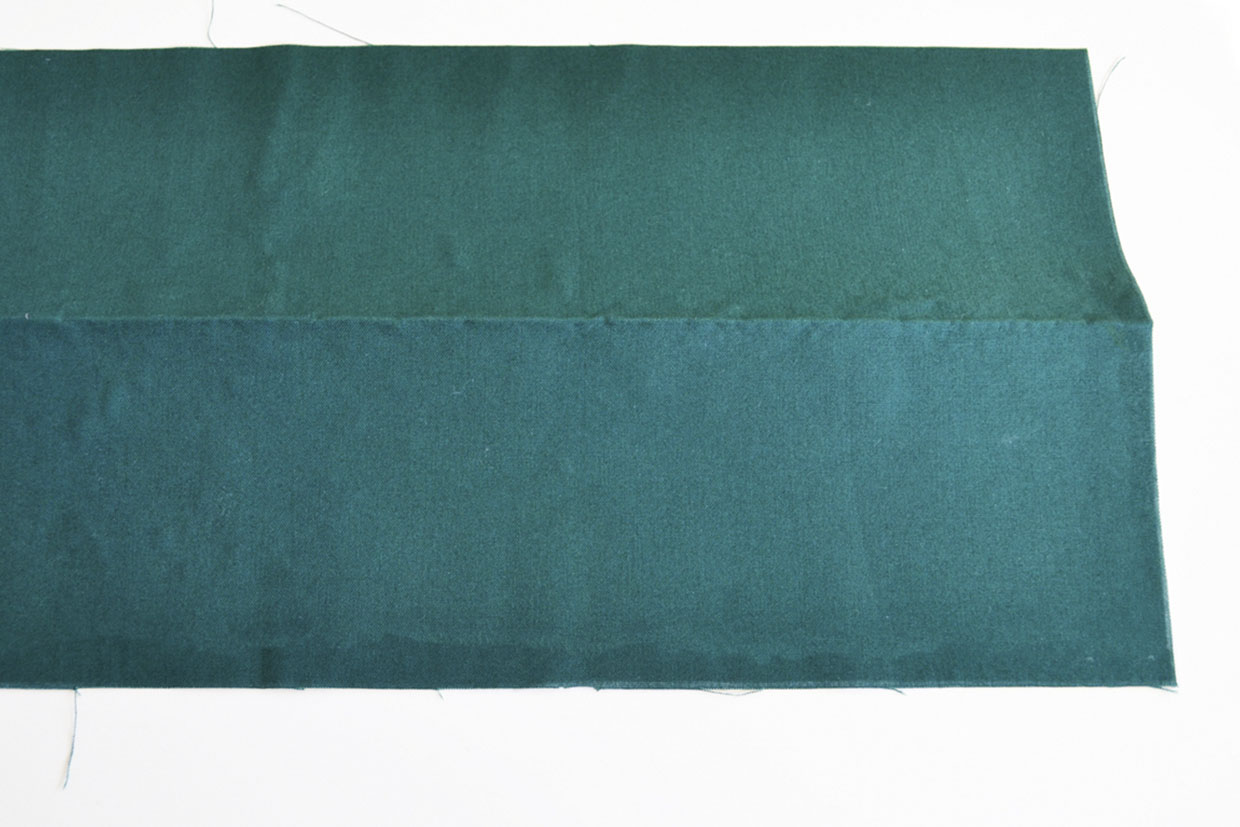
From the cotton fabric cut as follows: pockets – six pieces measuring 18x42cm each; calendar, front and back – two pieces, 70x47cm each. From the interfacing cut six pieces measuring 18x42cm each, then fuse them to the WS of each of the pocket pieces. Fold each pocket in half lengthways, WS together and press the fold, then unfold again.

advent calendar embroidery

Step 2

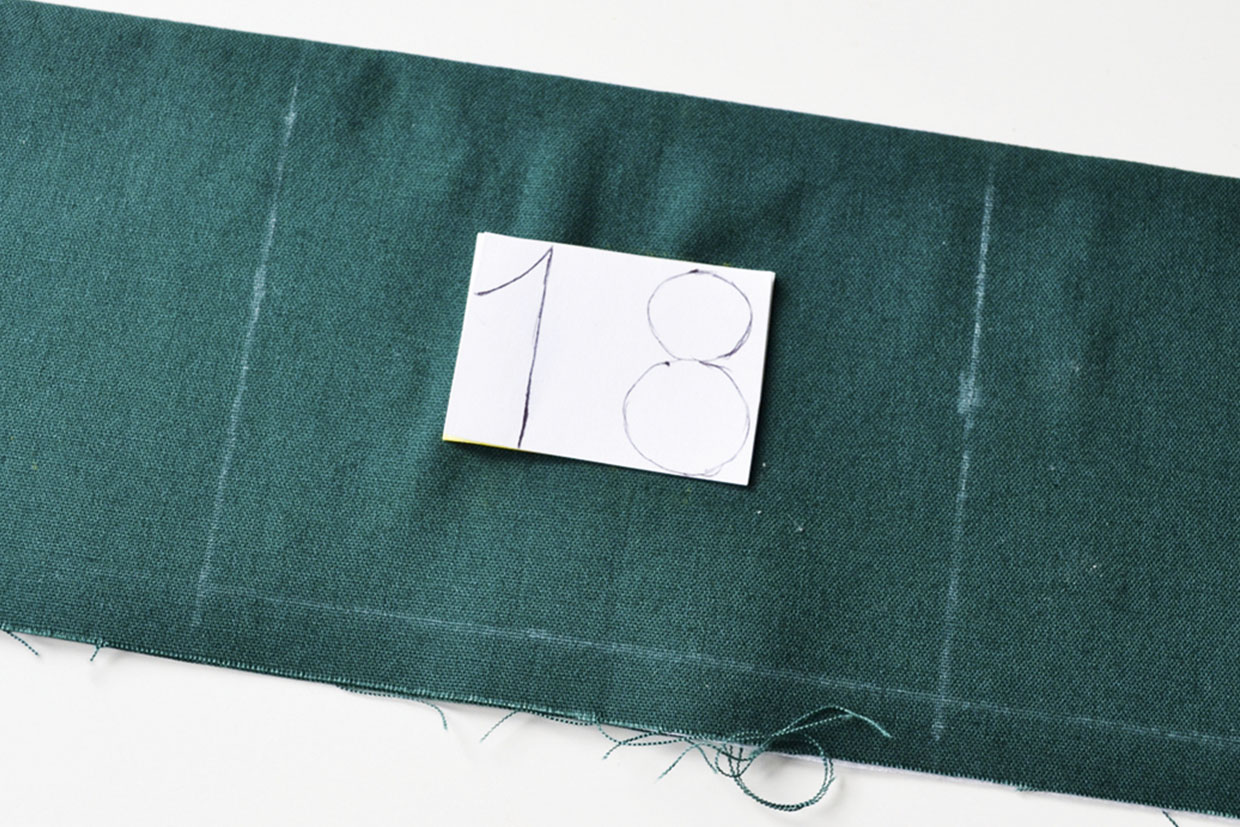
Lay one of the pocket strips RS up and measure and mark a line 1cm in from the side and bottom edges. Mark and measure the central vertical line, then mark 10cm either side of that line. You will now have four 8x10cm pockets marked out to embroider on. Repeat this for the other pockets. Trace the templates for the numbers and motifs and transfer them to the centre of each pocket.

advent calendar embroidery

Step 3

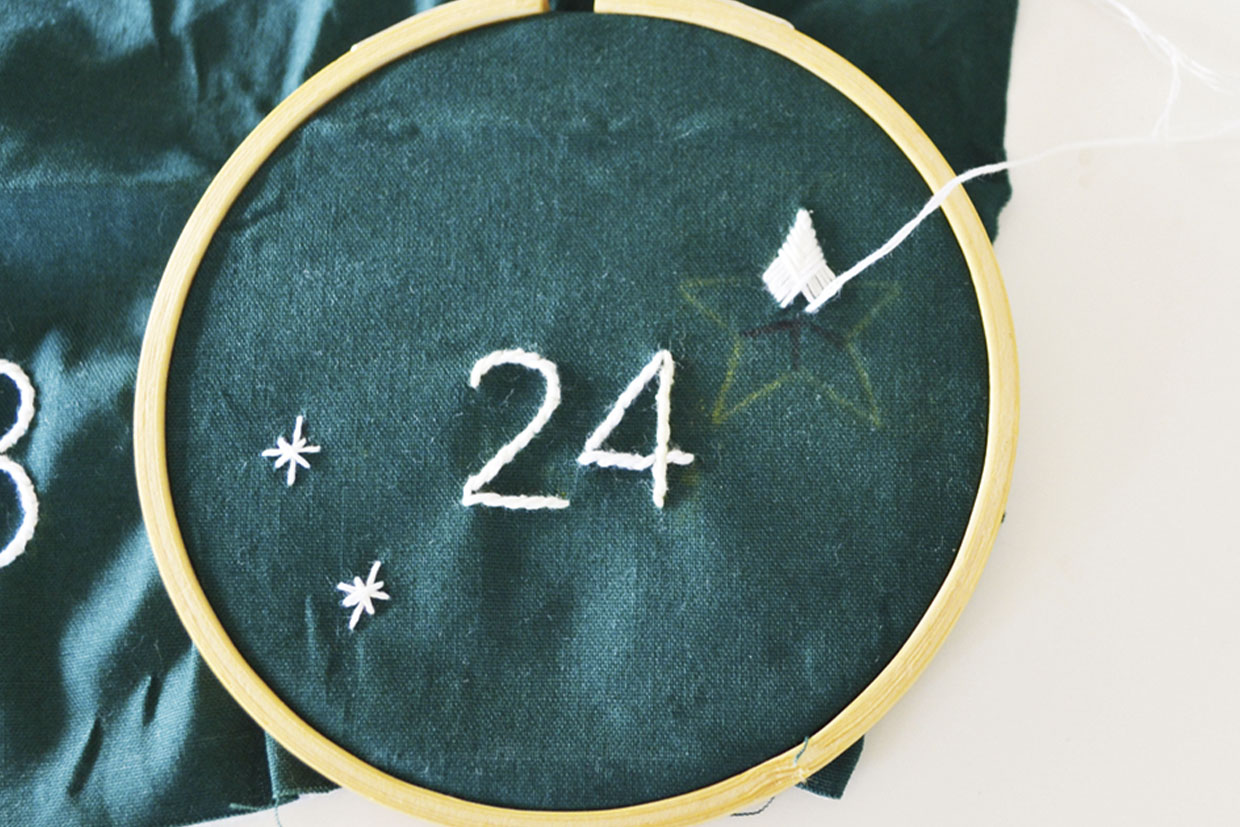
Embroider the numbers in Stem Stitch using six strands of white. Work all of the motifs using three strands of white and your own choice of the stitches listed (to the left).

advent calendar embroidery

Step 4

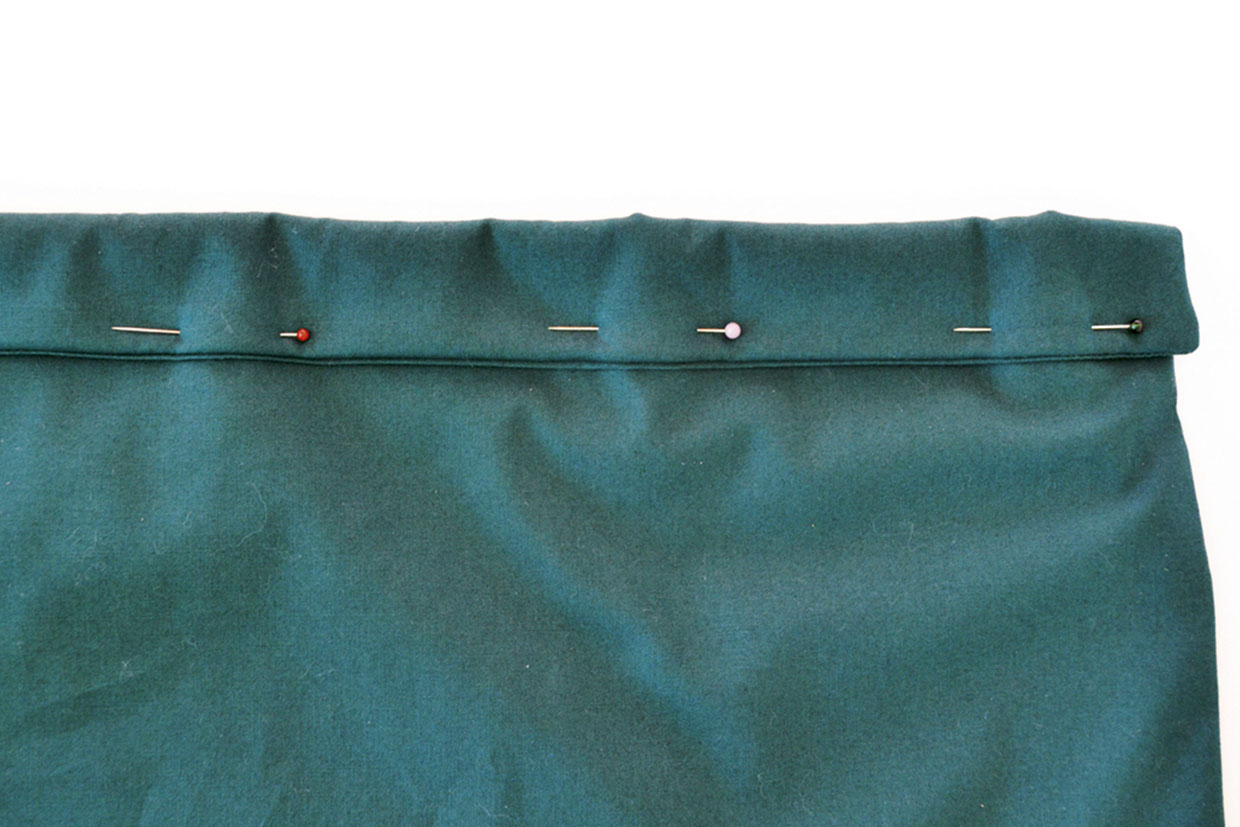
Fold the edges of each pocket strip under by 1cm and press. Fold the strips in half lengthways then top stitch all around. Place the calendar front and back RS facing on top of the wadding. Sew together all around leaving an 8cm turning gap in one of the short sides. Turn RS out, fold the edges of the turning gap to the inside and press. Fold the top and bottom short edges over by 2.5cm and stitch in place to create the dowel rod casings.

advent calendar embroidery

Step 5

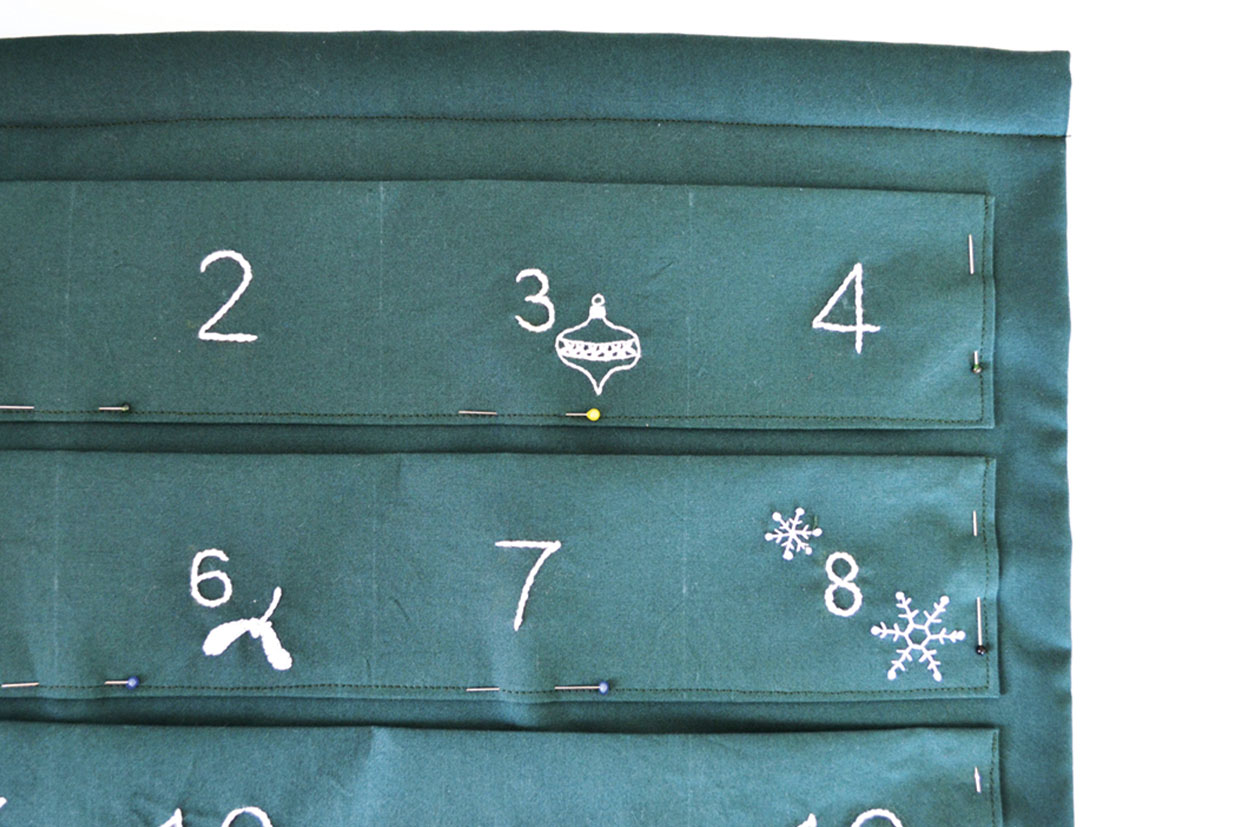
Place the pocket strips on top of the calendar front so they are placed centrally across, with 1cm between each pocket and a larger gap at the top and bottom. Stitch in place along the side and bottom edges then through the pockets’ dividing lines.

advent calendar embroidery

Step 6

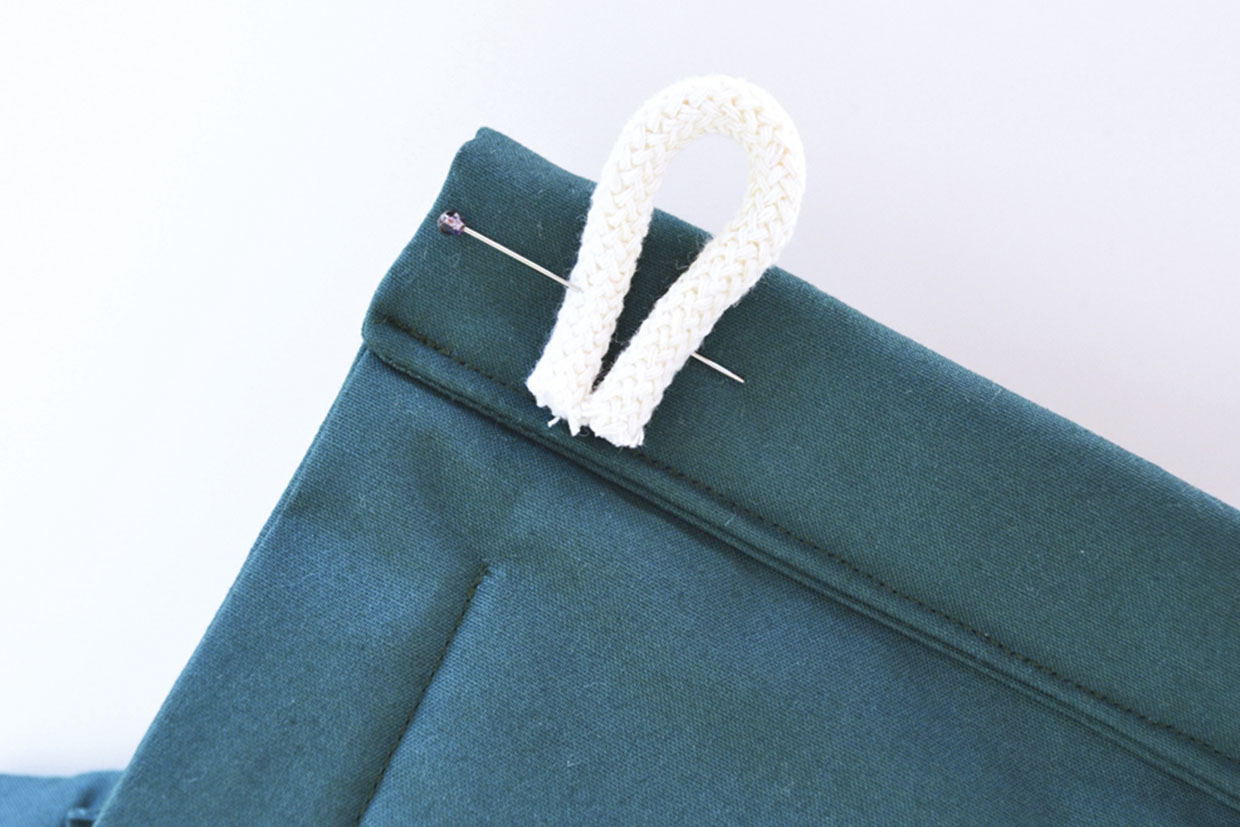
Cut the dowel rod in half and insert each length into the top and bottom casings. Cut the cord in half then fold each length to create a loop. Pin them to the back-top edge of the calendar and hand stitch into place.

advent calendar embroidery

Are you looking for more festive embroidery projects to take on? Try this gorgeous snowflake embroidery, and add a touch of elegance to your decor this year. This lovely merry and bright Christmas embroidery is also up for grabs for free on Gathered. Although not traditionally festive there’s something quite wintery about the Constellation embroidery patterns, download the free pattern just in time for Christmas. If you are looking for some stitchy gifts for embroiderers, check out our buyers guide for lots of ideas and inspiration for your stocking stuffers. Try these must-have needle minders, or the lovely embroidery books, perfect for any stitch fanatic. Know someone who would love to give embroidery a try? Get started with these gorgeous beginner embroidery kits, which contain everything they’ll need to complete their first project. If you’re looking to level up your embroidery be sure to take a look at our best embroidery machines.