Step 1
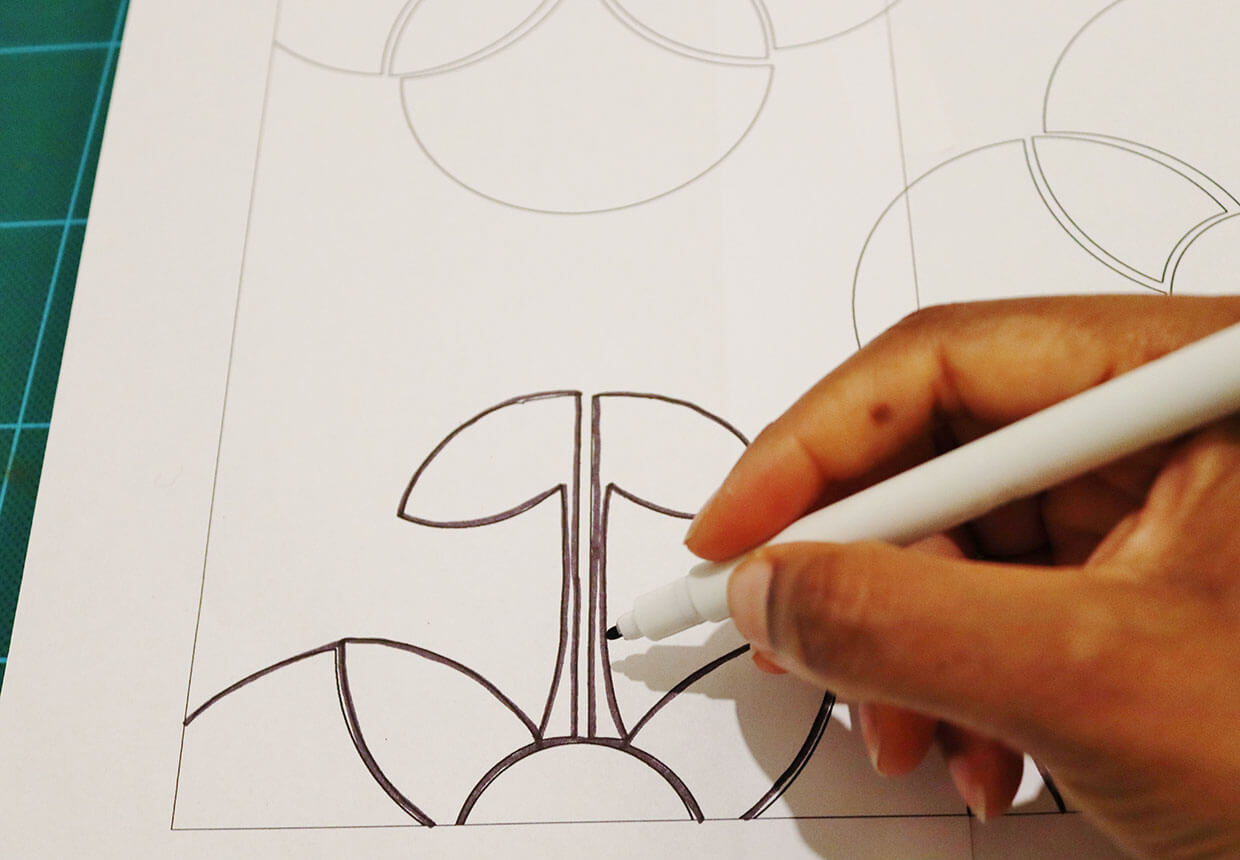
Print out the 6 page template and piece it together like a puzzle as instructed on the pattern.
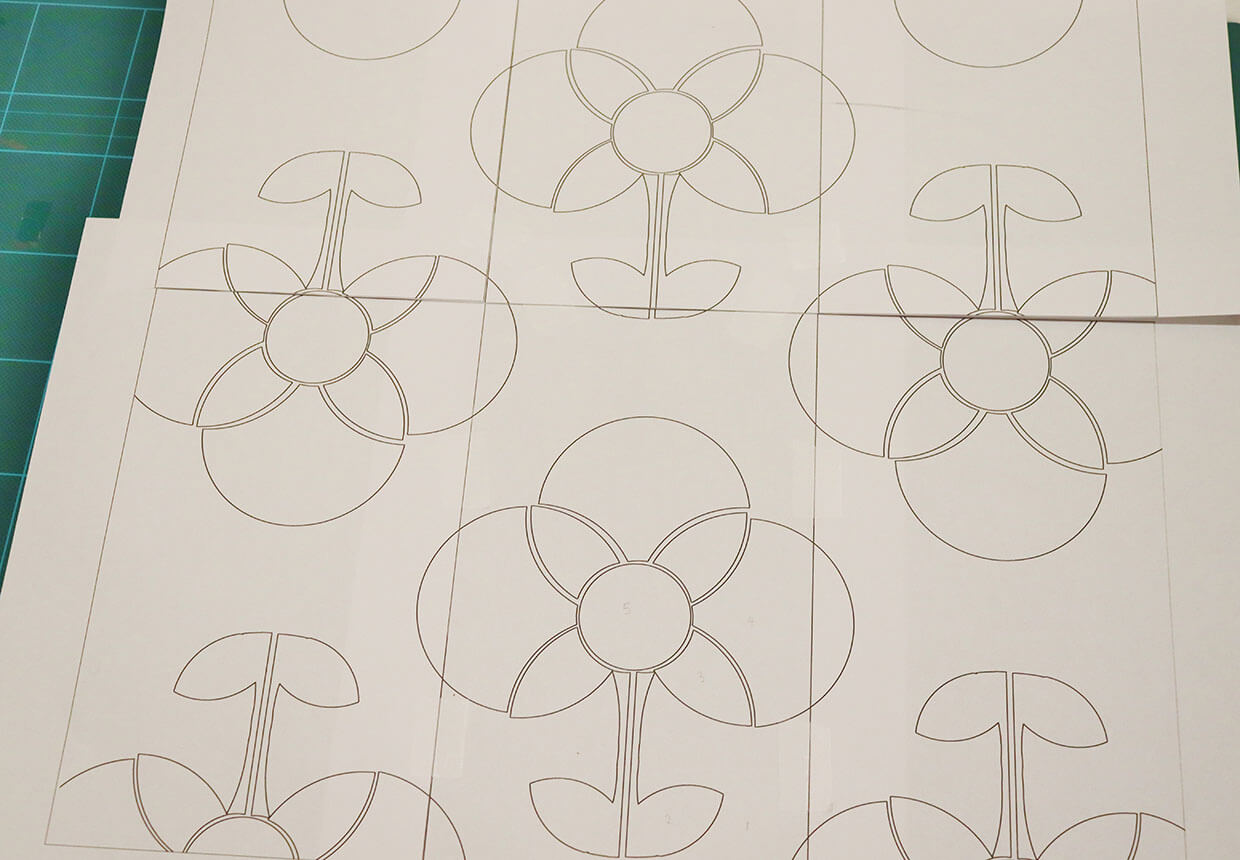
Use a heat transfer pen to trace over the pattern lines.
Step 2
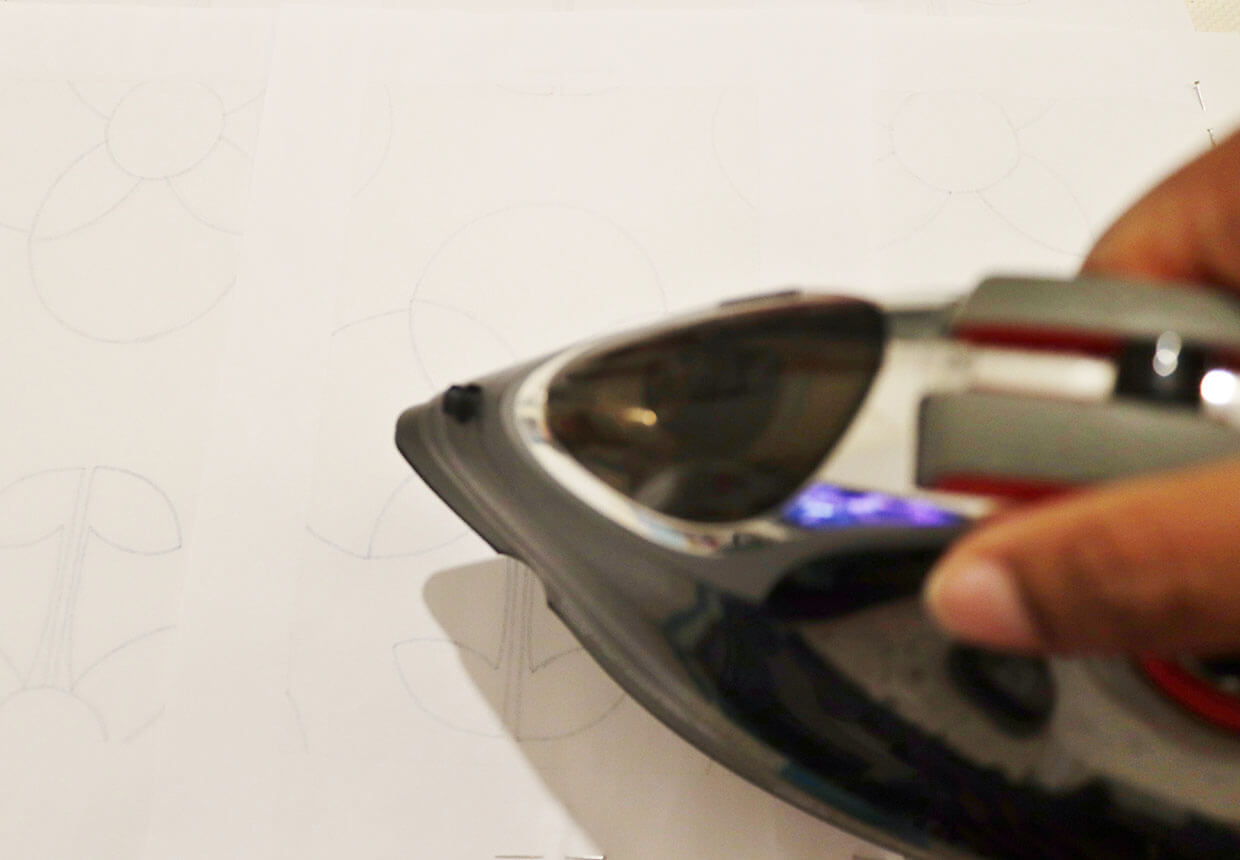
With the iron heated and ready to use, have your monks cloth on your ironing board. Place the traced pattern face down onto the monks cloth to transfer the pattern onto the fabric. Once the pattern is transferred use a ruler to mark out the edge of the design.
Step 3
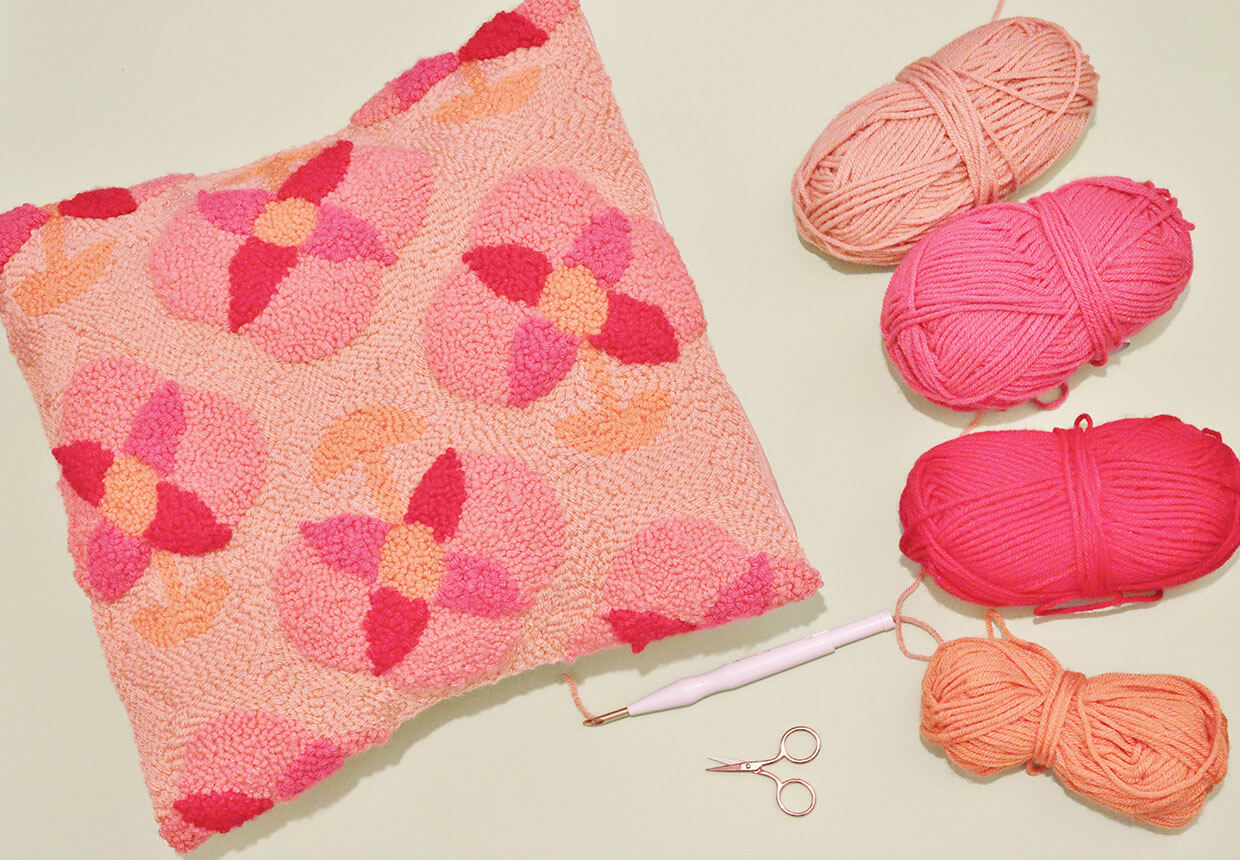
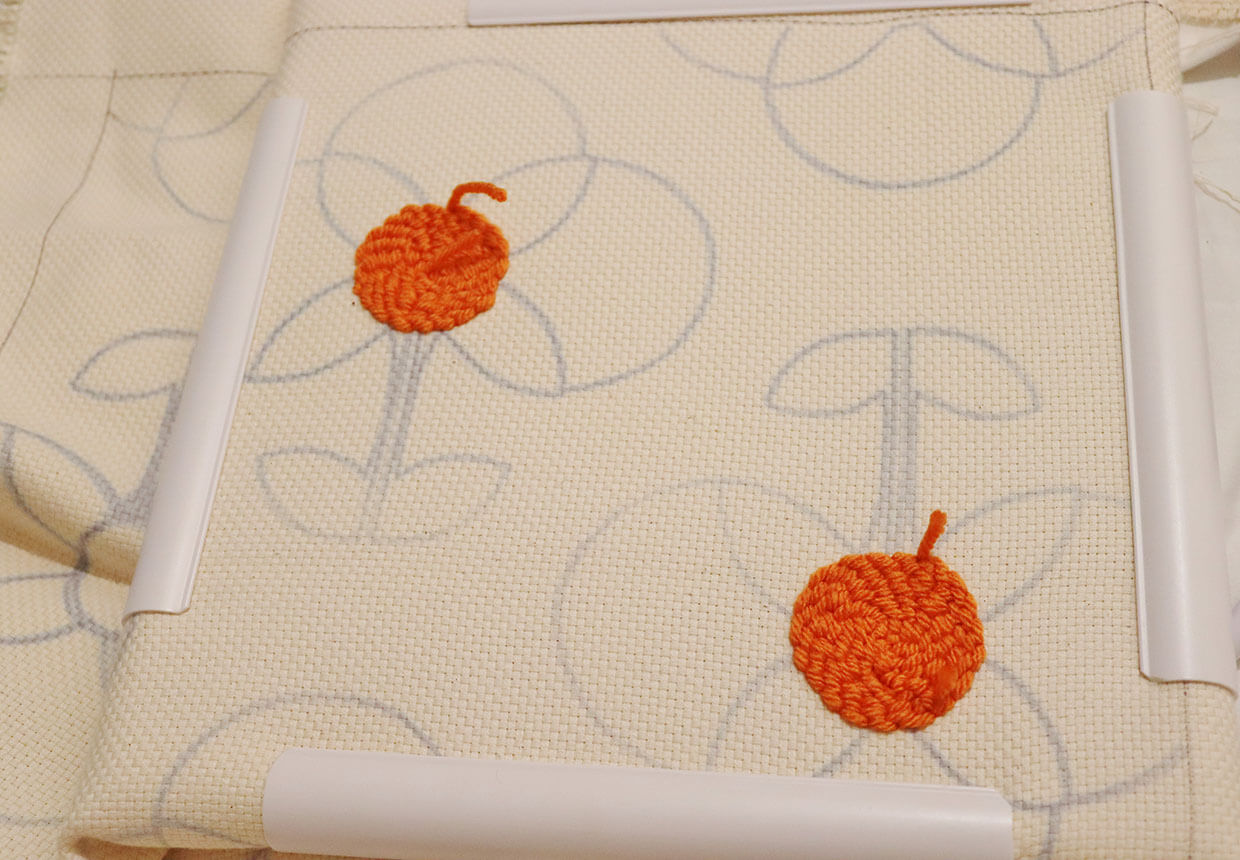
Thread your punch needle tool with Stylecraft Special Chunky in colour Spice. Adjust your needle to stitch loop D and stitch flat stitches filling each centre circle of the geometric florals.
Step 4
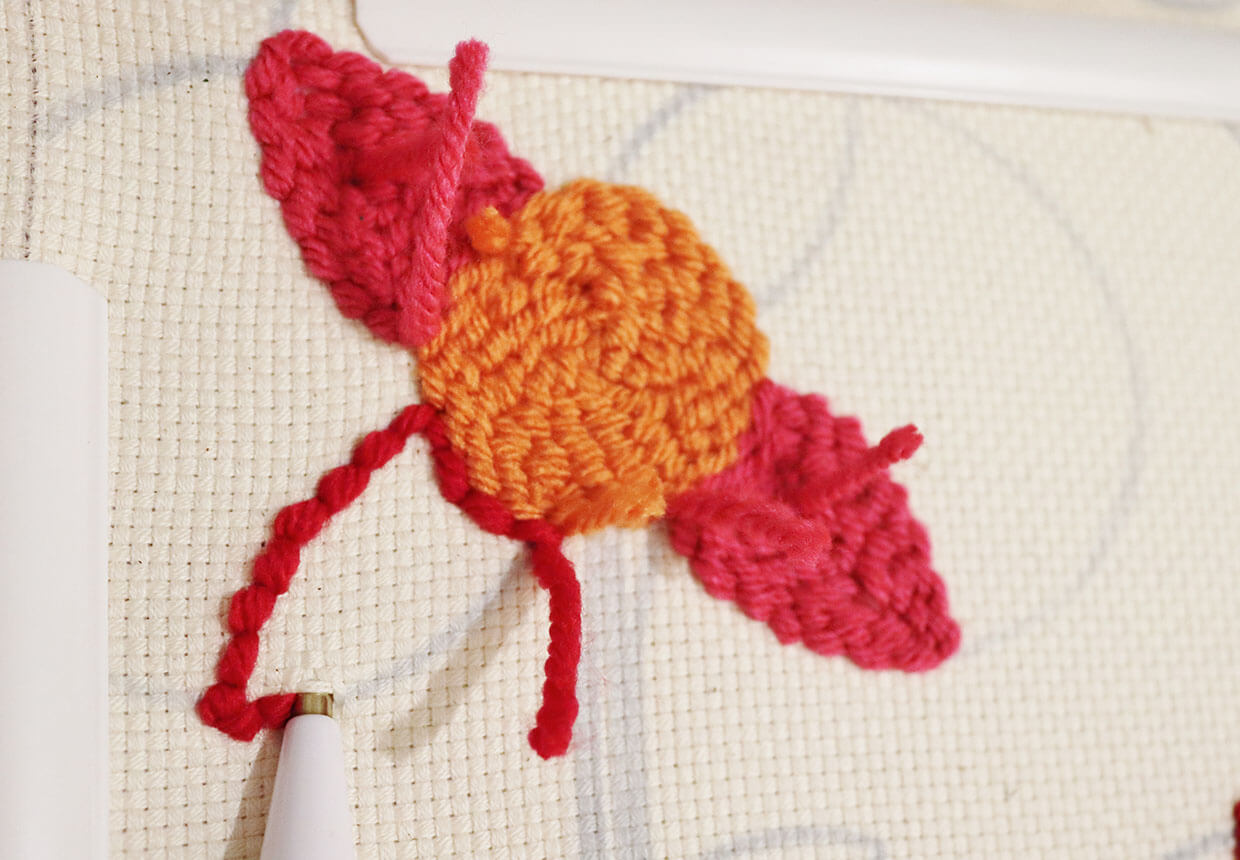
Once the centre circles are filled move onto the petals. Adjust the punch needle tool to stitch loop C. This will give you slightly larger loops on the reverse side of the monks cloth. Again the stitch used is flat stitches. Alternate the colours for the petals from Stylecraft Special Chunky in colours Lipstick and Pomegranate.
Step 5
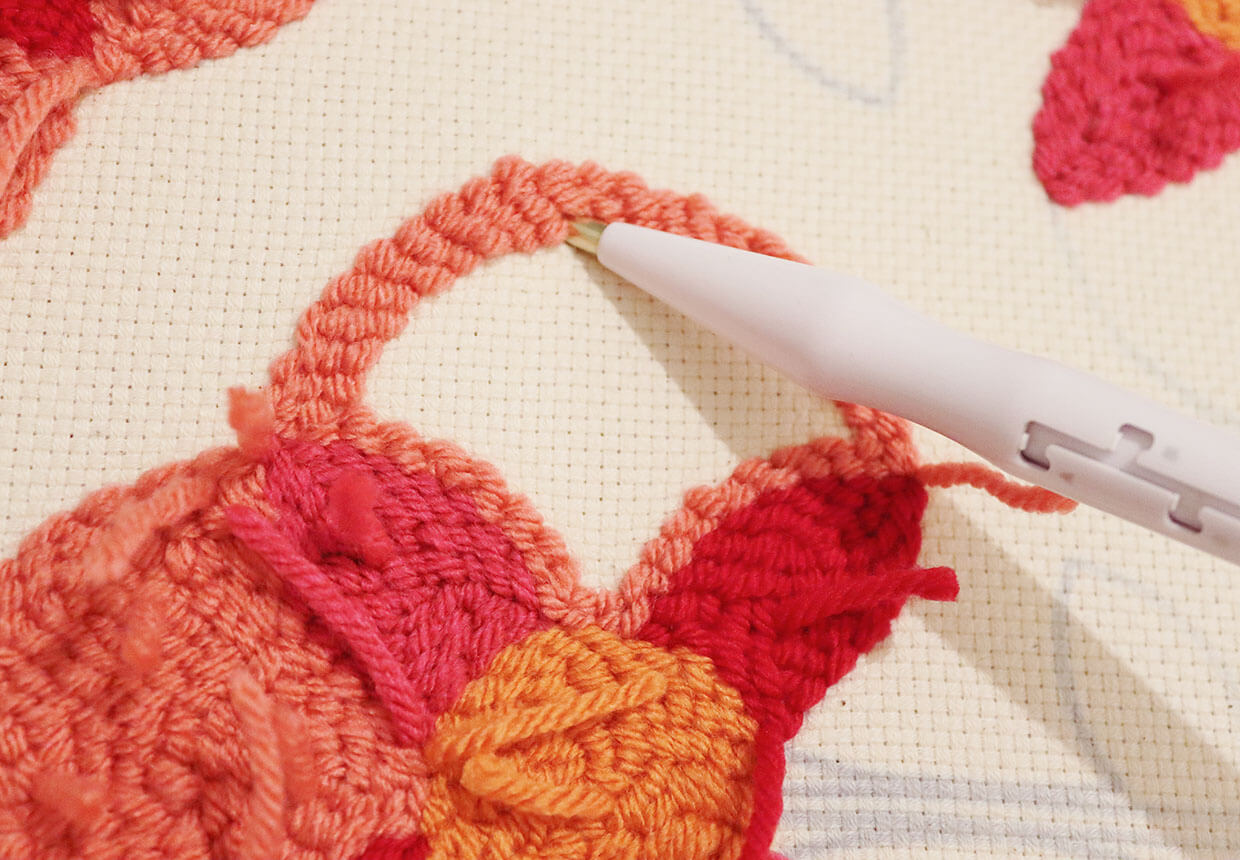
Adjust punch needle tool again back to stitch loop D and fill the outer circles of the geometric floral with Stylecraft special chunky in colour Watermelon.
Step 6
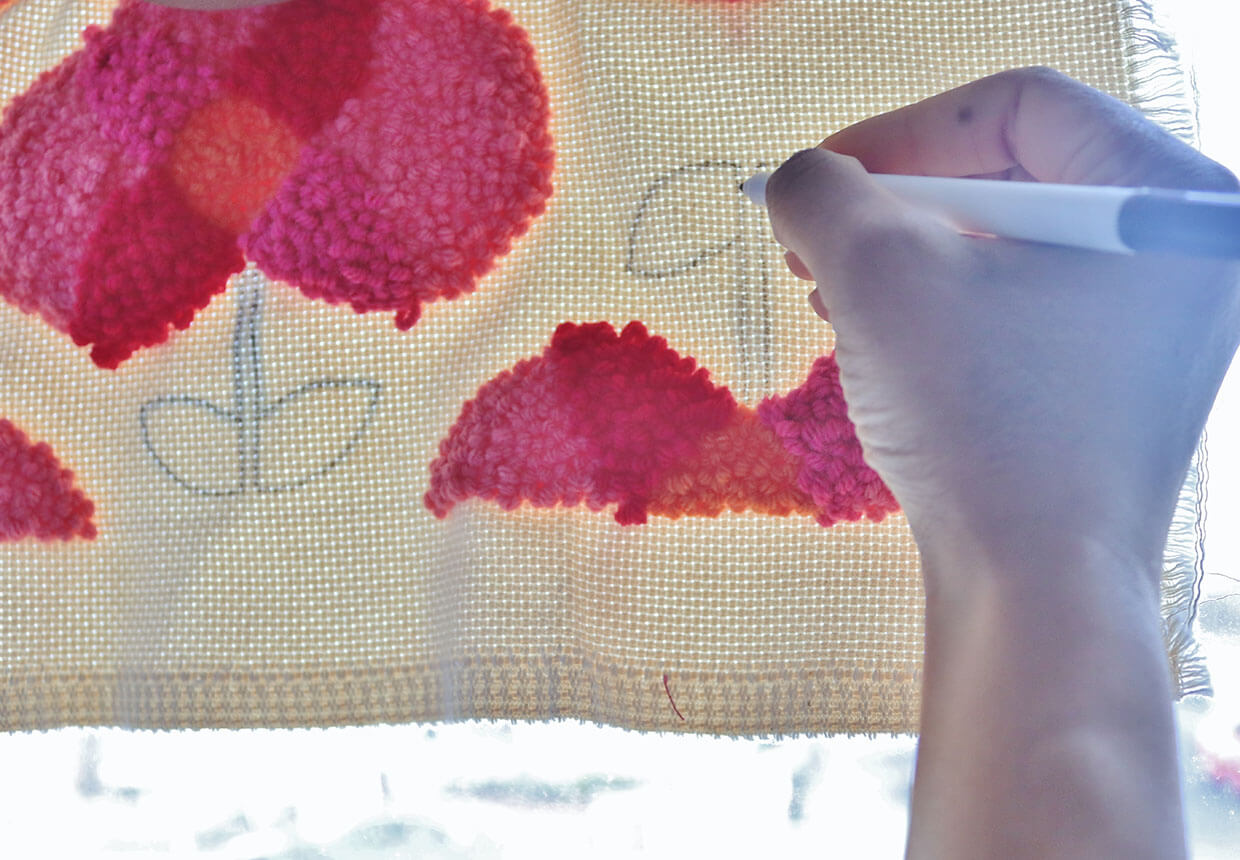
Take the design off the clip frame and hold the monks cloth up against a light box or bright window with the textured side facing you. Trace the outlines of all the stems and leaves. The textured side is the side which will be used for the final design.
Step 7
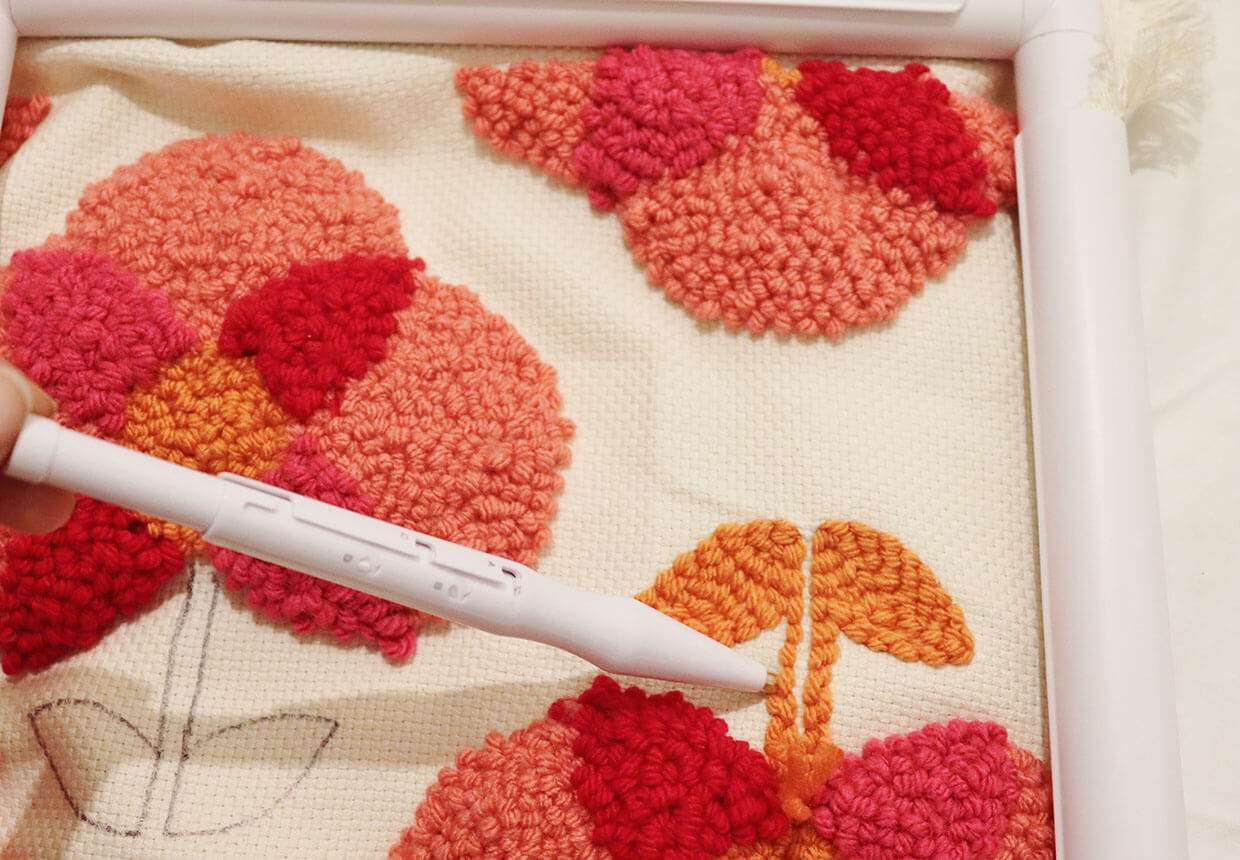
On the textured side of the design (textured vs flat stitches) Adjust the punch needle to stitch loop D and stitch the leaf and stem with Stylecraft yarn in colour Spice.
Step 8
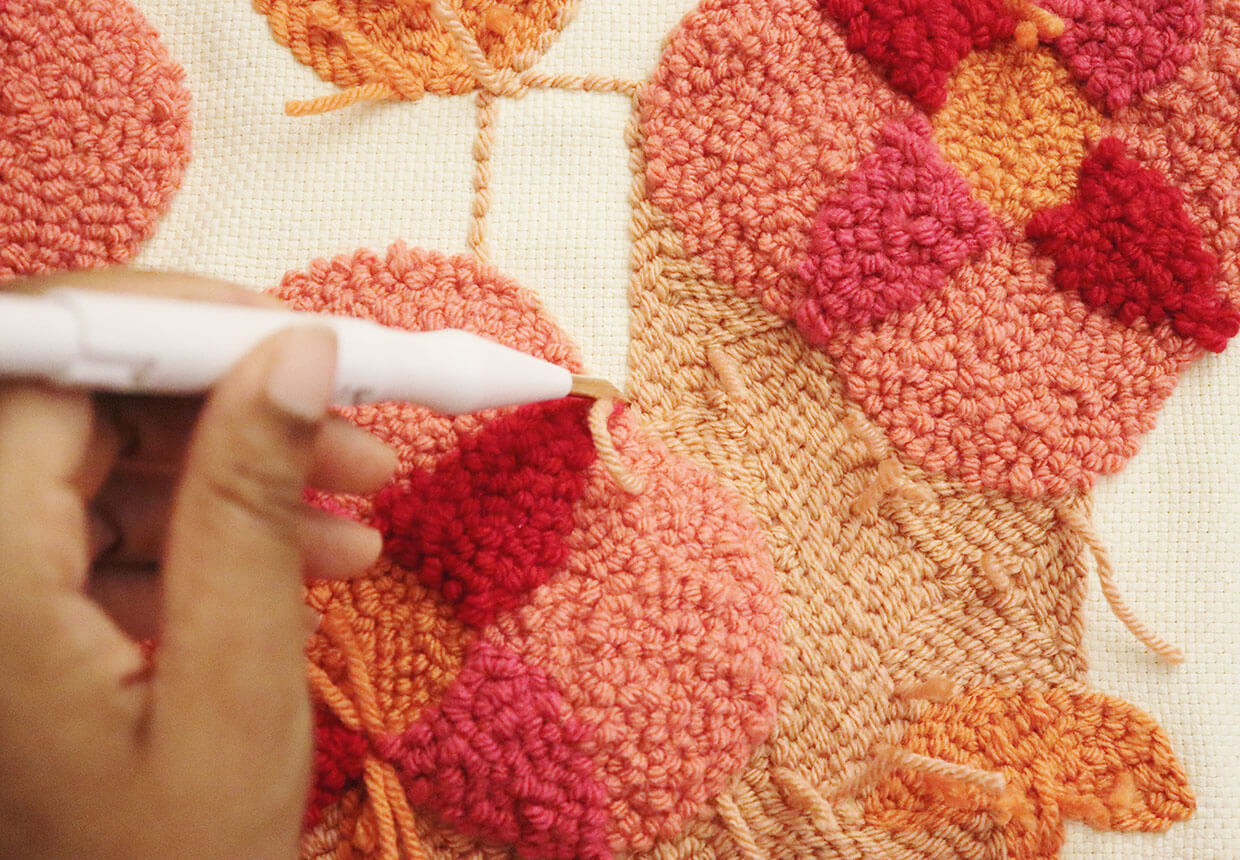
Once complete, change the yarn colour to Paintbox colour 355. Adjust the needle to loop length D and fill in the entire remaining spaces of the design till it is all complete.
Step 9
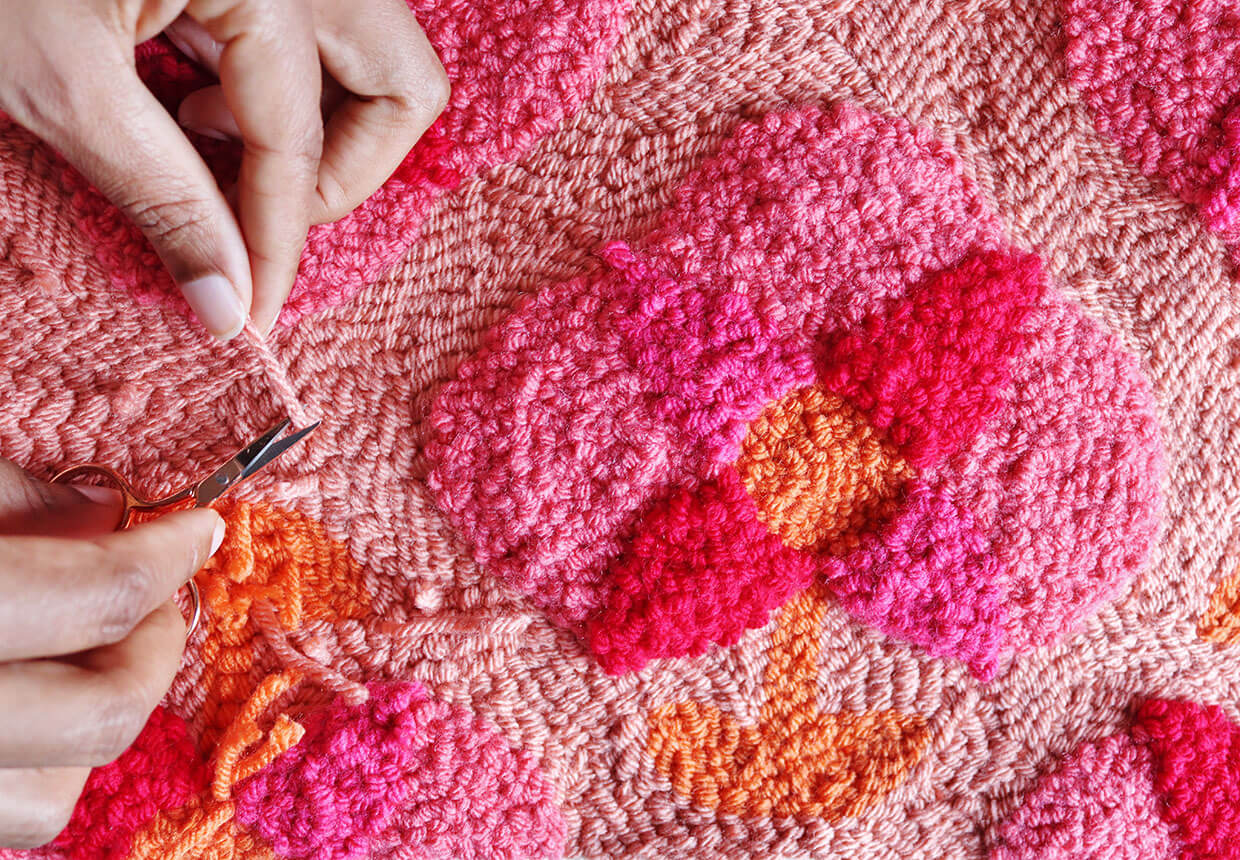
Trim all of the loose yarn on the design with sharp embroidery scissors.
Step 10
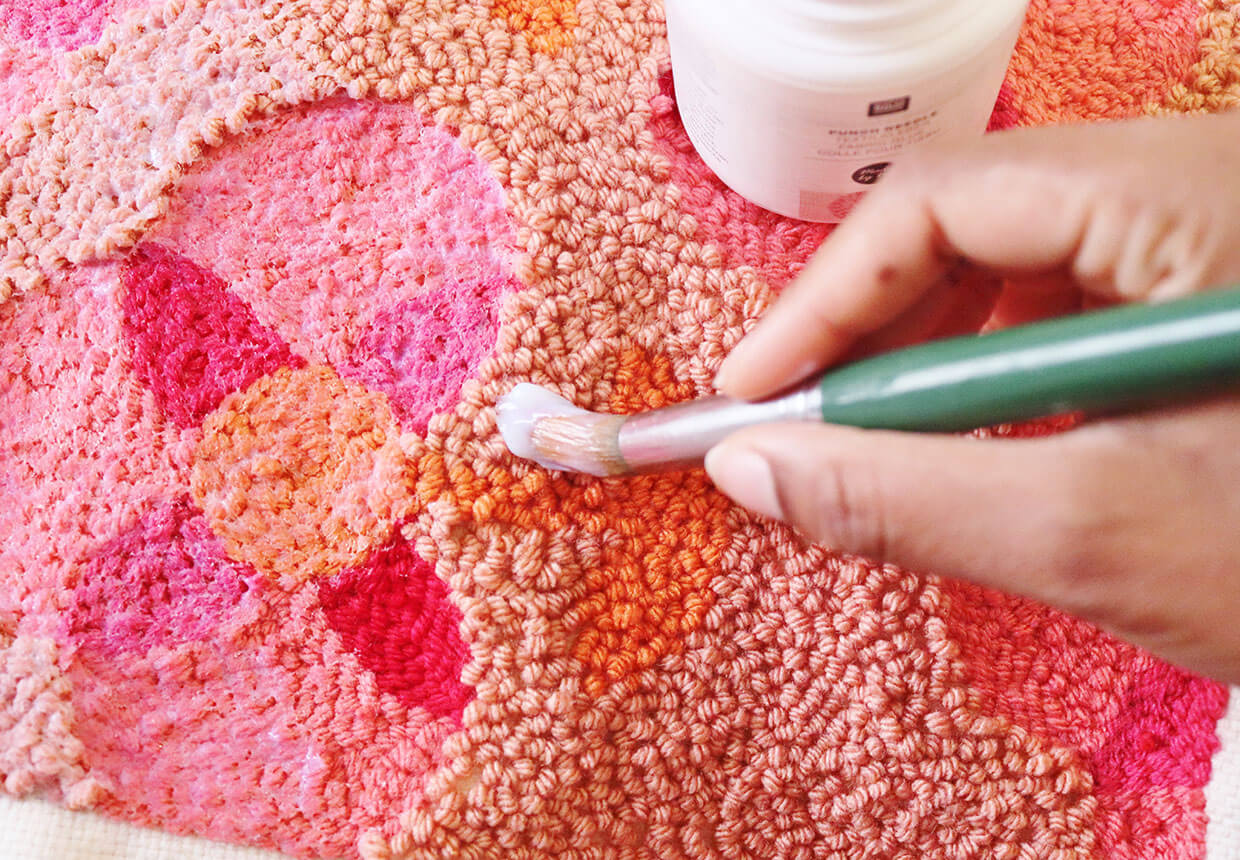
Using a paint brush, paint on the Rico Design textile glue all over the flat stitched floral side, which is the original side to begin with. This glue will secure the stitches.
Step 11
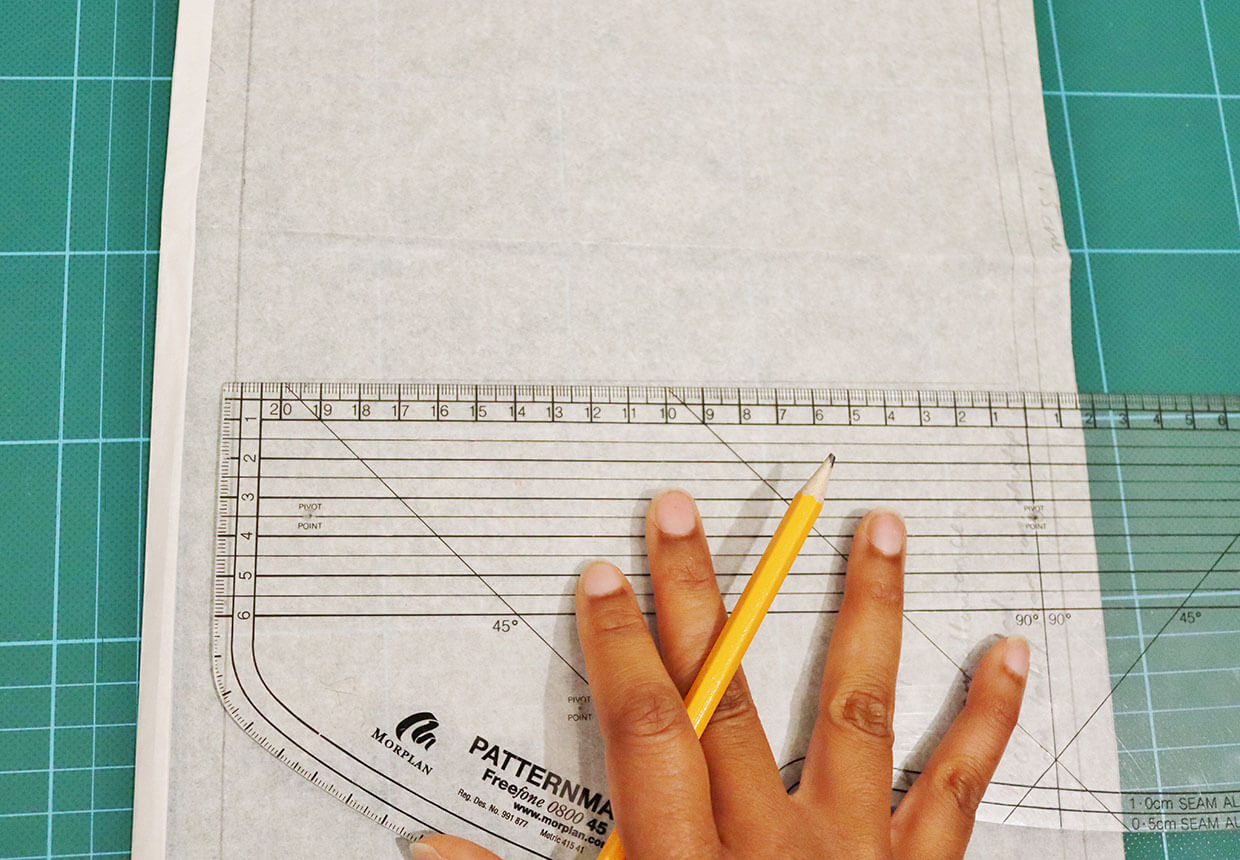
Using a pattern master or ruler, measure a rectangle 26x44cm. This will create the cushion back. Cut 2 of these shapes out of a Rose and Hubble Craft Cotton in colour peach. A seam will be stitched on both long edges of fabric and will form the envelop opening of the cushion to allow the inner cushion to be inserted.
Step 12
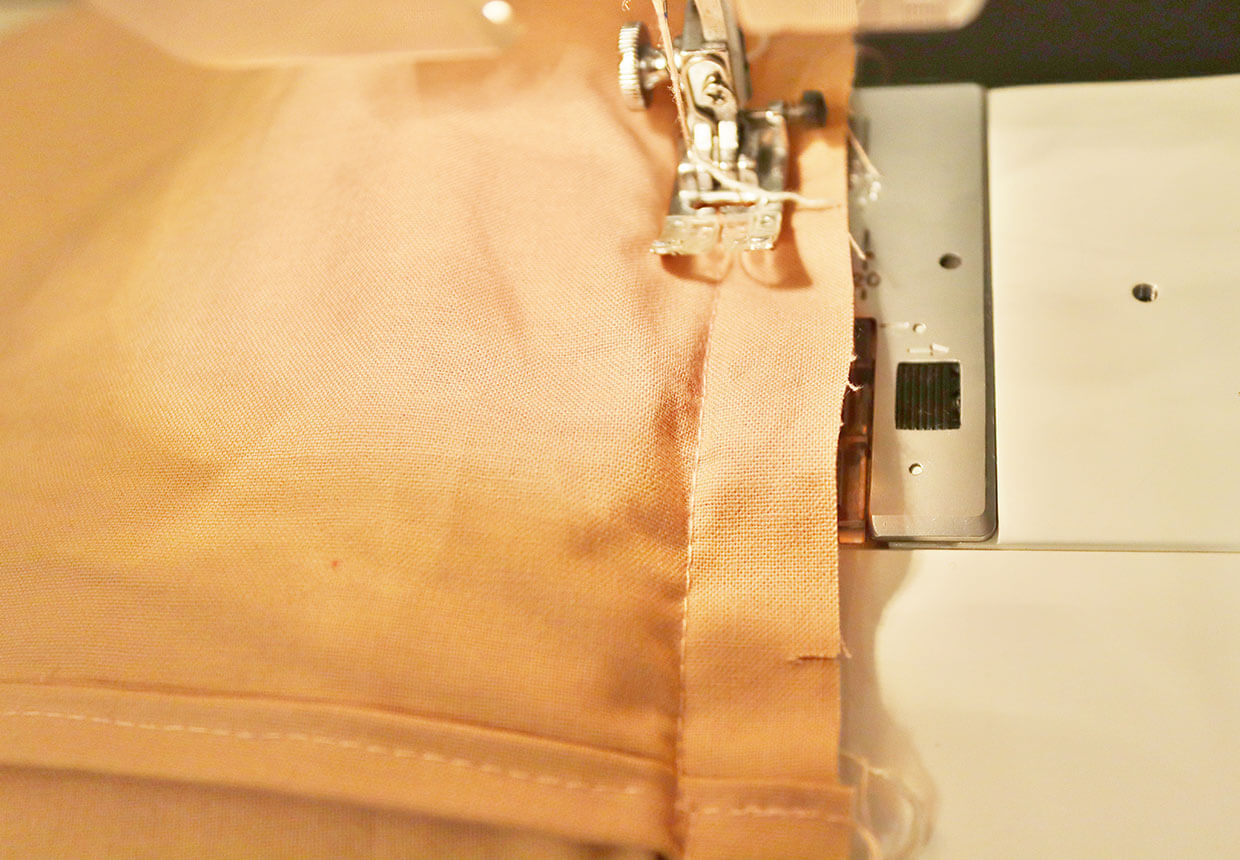
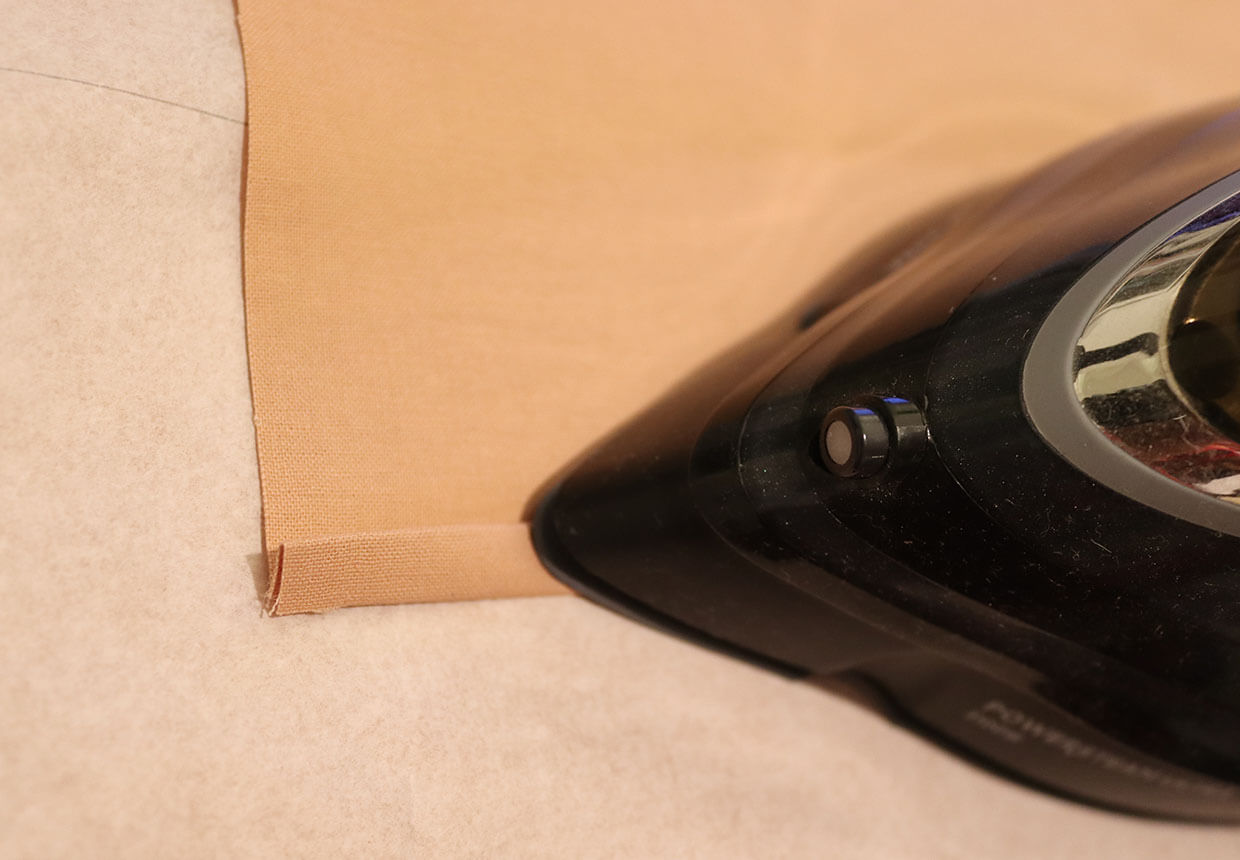
Press your seam on the long edges measuring 1cm from the edge and folding, then fold that rough edge of fabric into the crease of the first fold.
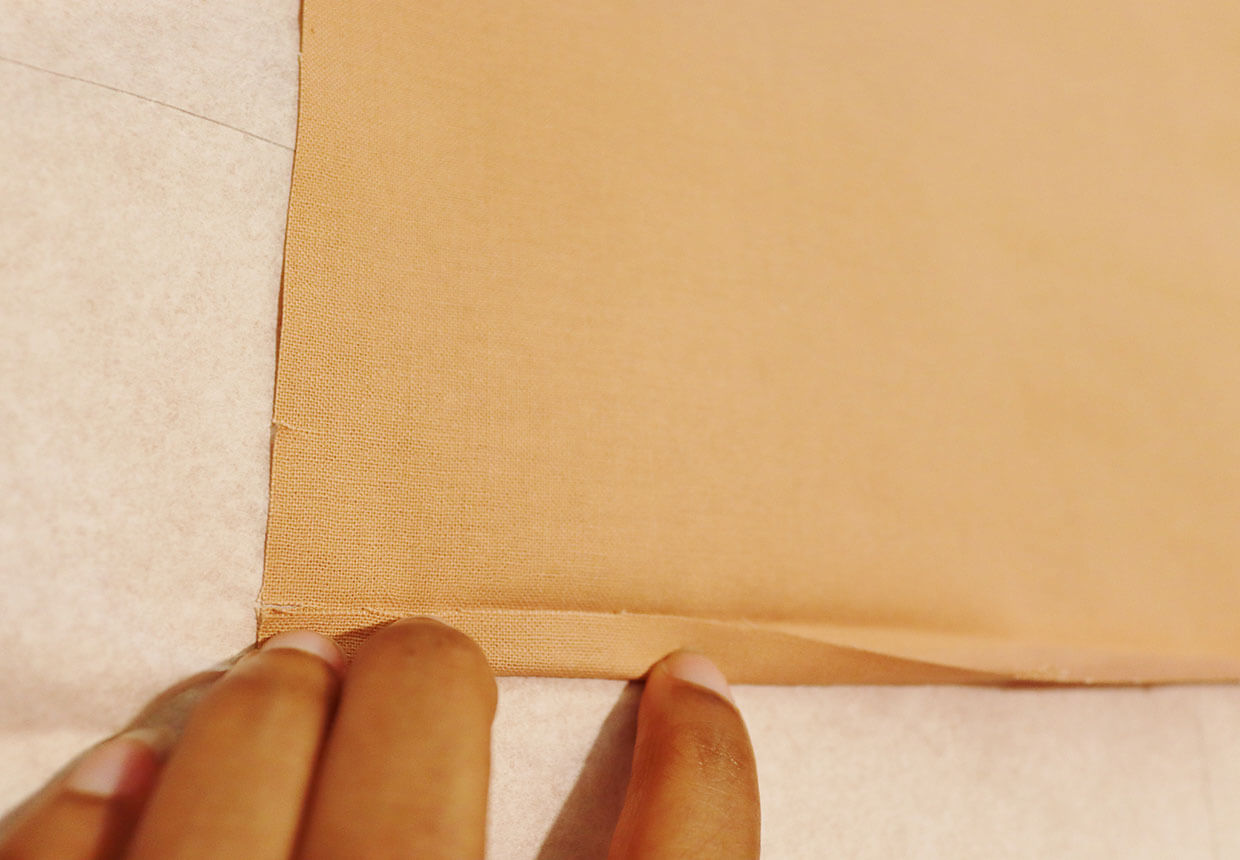
Press all with an iron.
Step 13
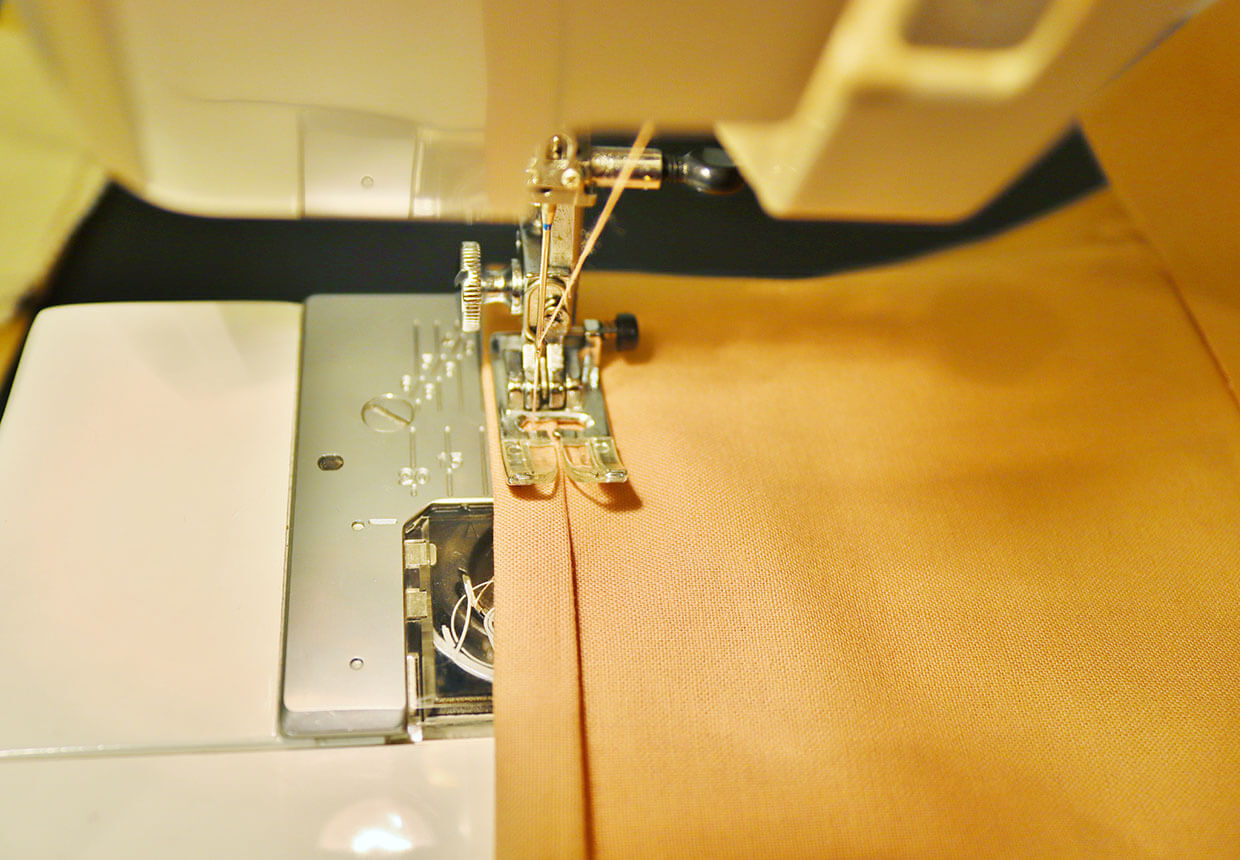
Stitch the seams of the fabric.
Step 14
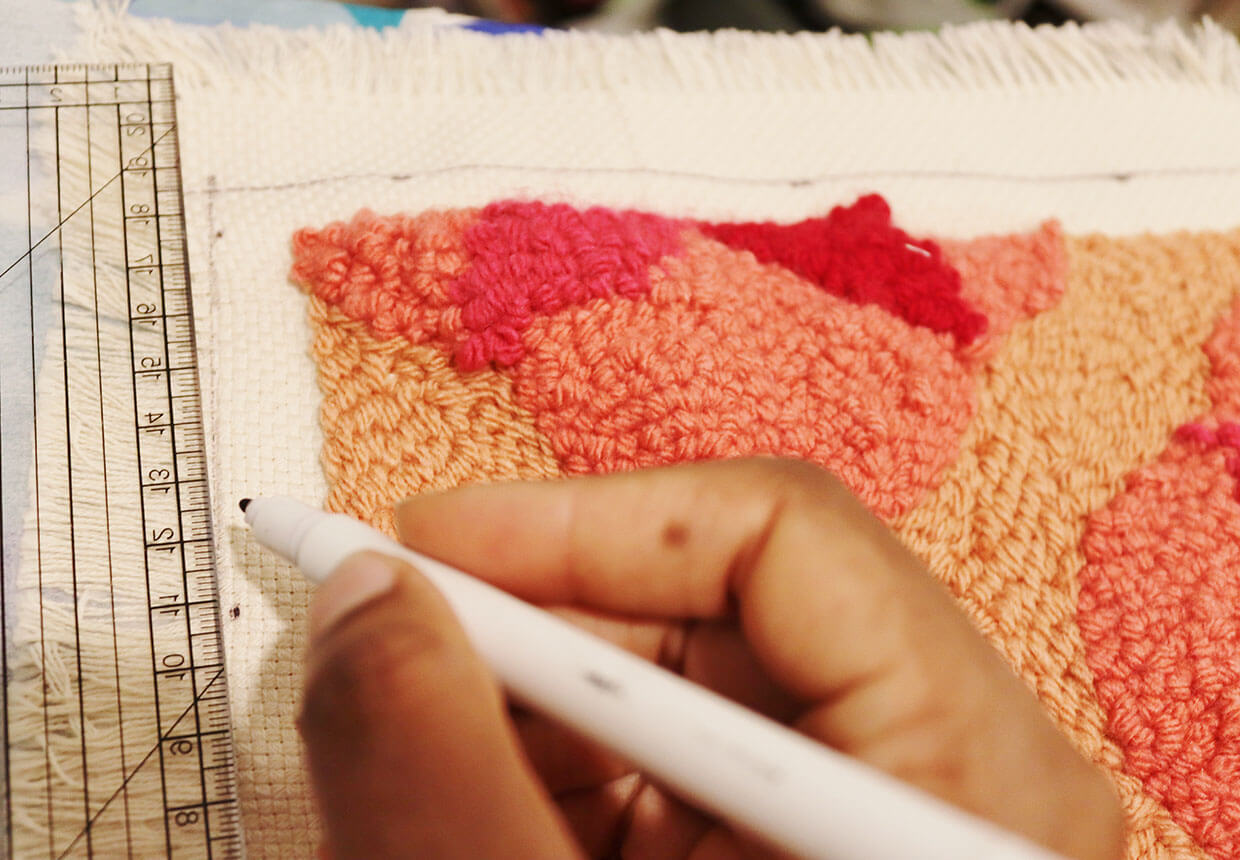
Mark out a 1.5cm seam allowance around the edge of the punch needled fabric design and cut away the excess fabric.
Step 15
Pin the cotton fabric to the punch needled fabric with right sides facing each other. Stitch around the cushion edge as close as you can possibly get to the edge of the punch needled stitches. This may be 1.5cm - 2cm wide. Turn the cushion out to the right sides facing and insert the inner cushion.
