How to make a mug rug and embroider it!

How to make a mug rug and embroider it!

Learn how to sew cable chain stitch and how to make a mug rug in time for tea with Mollie Johanson’s tutorial.

Try 6 issues of Love Embroidery magazine for just £9.99| SAVE 77%

Published: July 19, 2020 at 8:00 am

If you want your embroidered lines to look super-neat, then you should check out how to do the cable chain stitch! Your loops are locked into place so your stitches are not only uniform but nice and sturdy too. In this tutorial we'll show you how to do the cable chain stitch, as well as showing you how to make a mug rug with your newly learnt skills!

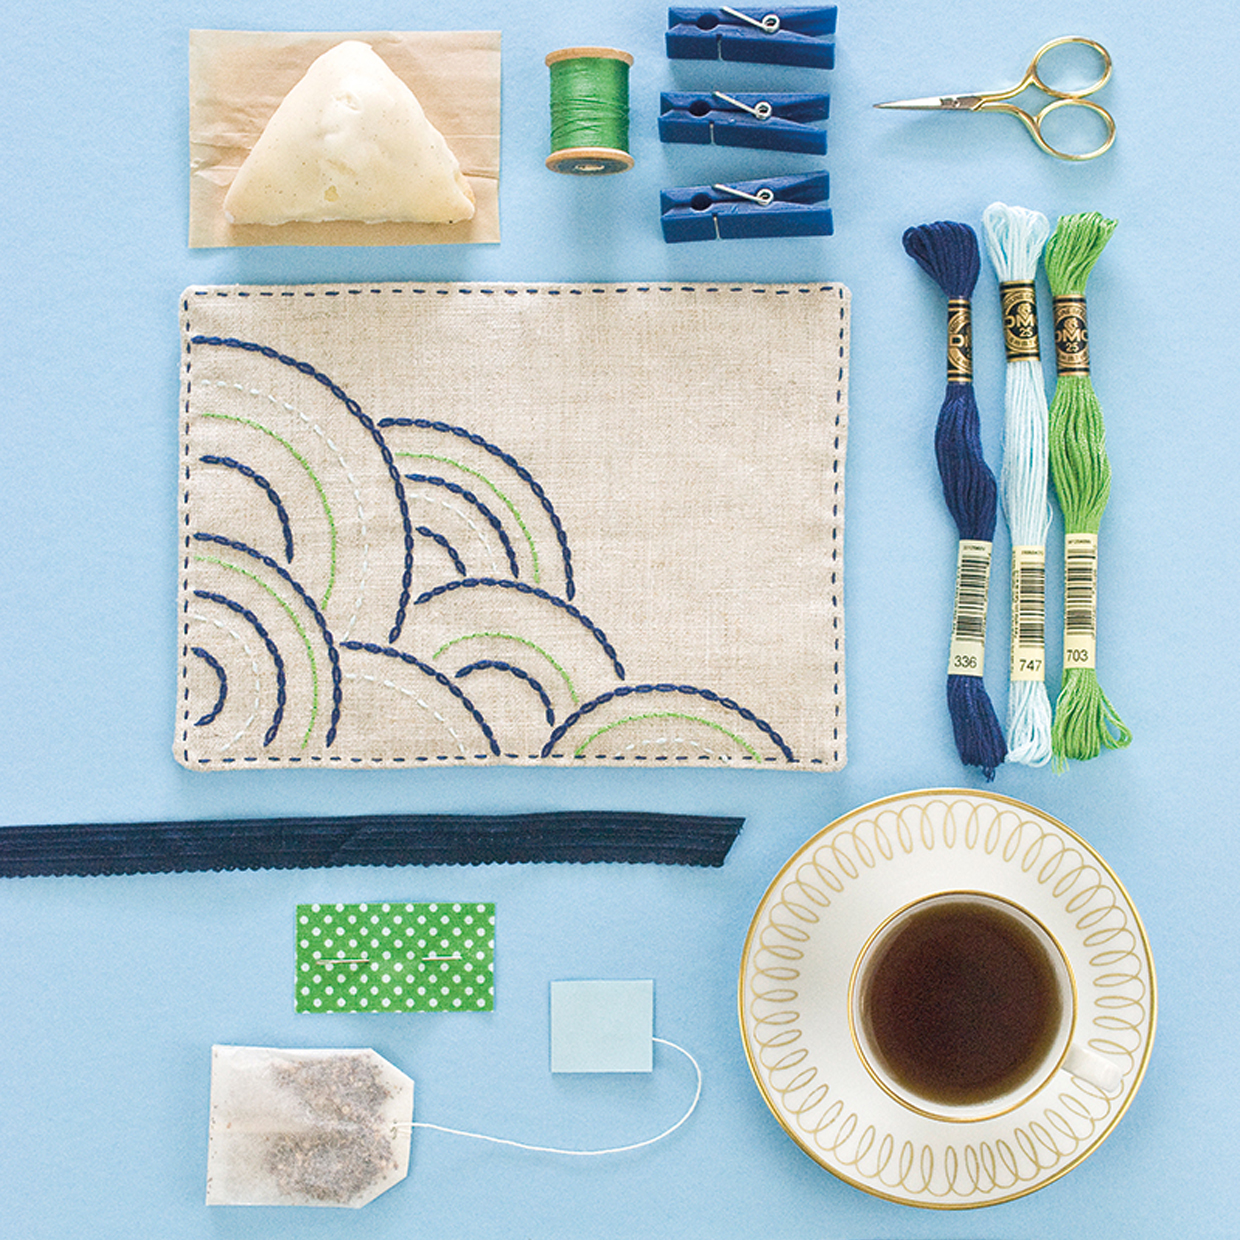
You will need

  • Linen fabric: 25x35cm (10x14in)
  • Cotton backing fabric: 16x21cm (63/8x81/4in)
  • 2oz wadding: 16x21cm (63/8x81/4in)
  • Stranded cotton
  • Basic sewing kit

Notes

You will need to download and print the Free cable chain stitch mug rug pattern template

Use a 1cm (3/8in) seam allowance.
How to do cable chain stitch

You will need:

  • Linen fabric
  • Backing fabric
  • Wadding
  • DMC stranded cotton
  • Basic sewing kit

Step 1

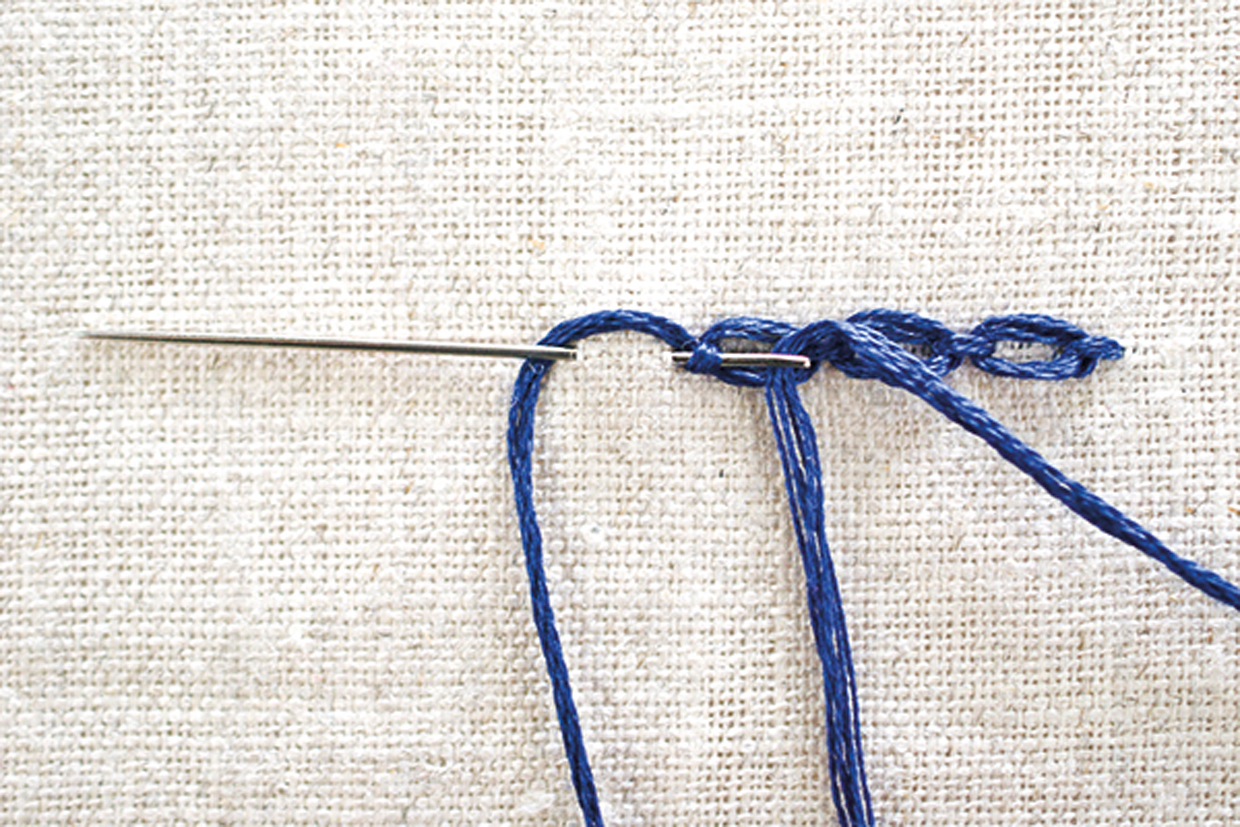
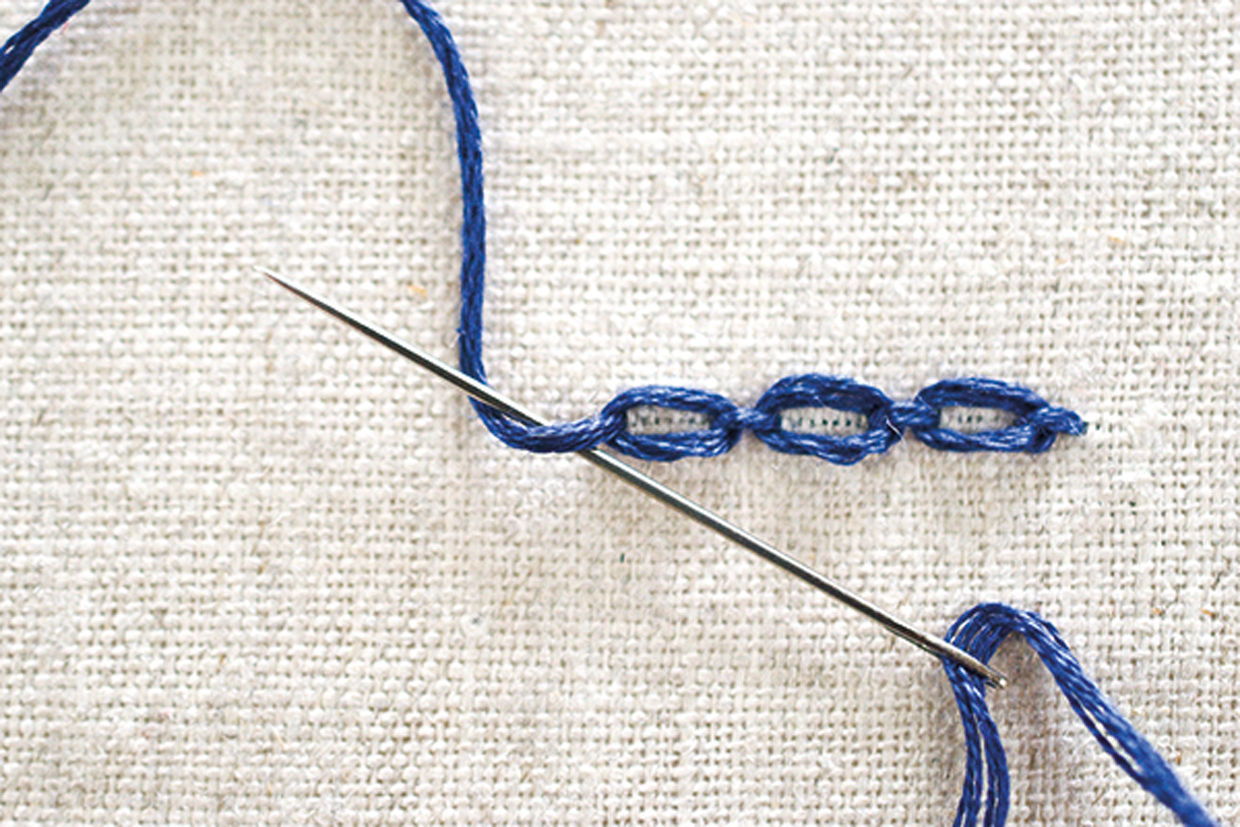
Bring the needle up through the fabric and wrap the working thread over and under the needle.

How_to_cable_chain_stitch_step_01

Step 2

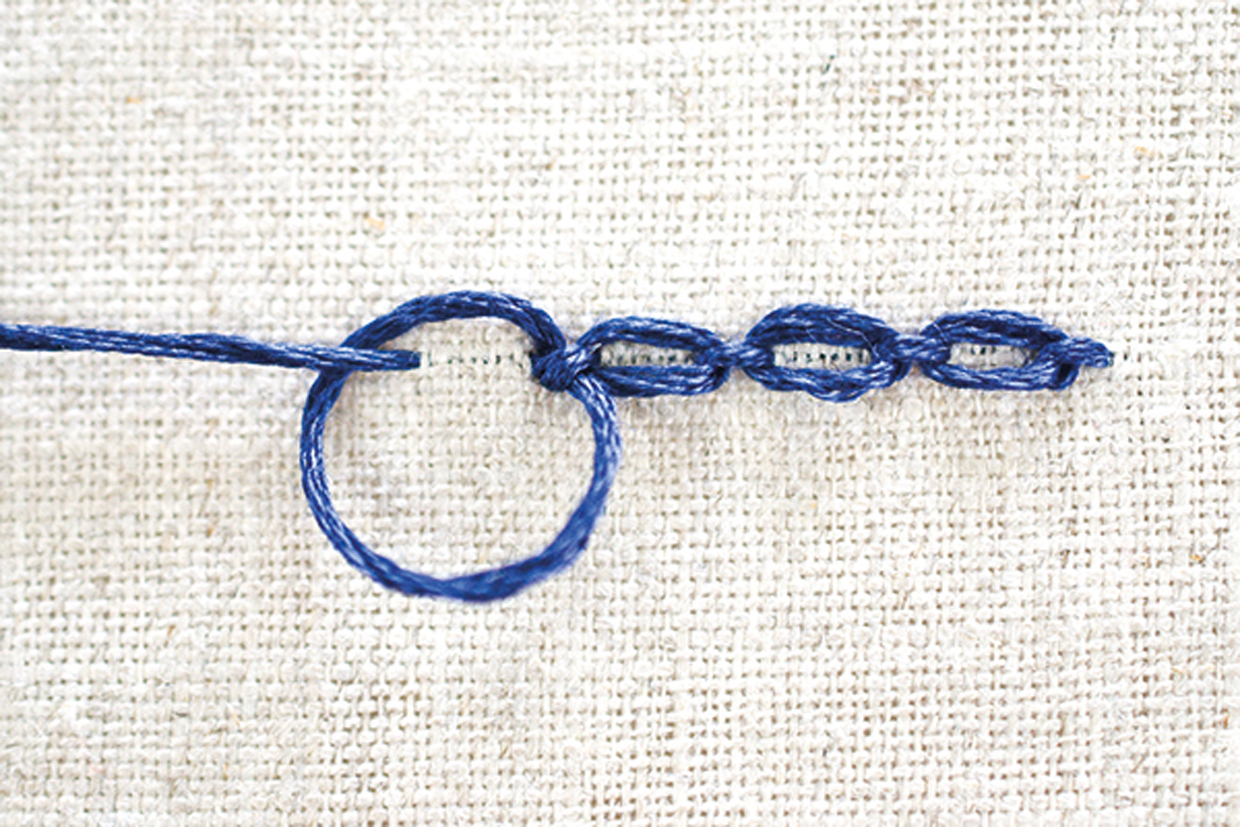
Insert the needle a short distance from where the thread came up, then bring it back up through the fabric a stitch distance away. Pull the working thread taut and then hold it under the needle.

How_to_cable_chain_stitch_step_02

Step 3

Pull the needle through the fabric, making sure that the working thread is inside the loop of thread that forms.

How_to_cable_chain_stitch_step_03

How to make a mug rug

How_to_make_a_mug_rug_complete

Making the mug rug

Step one

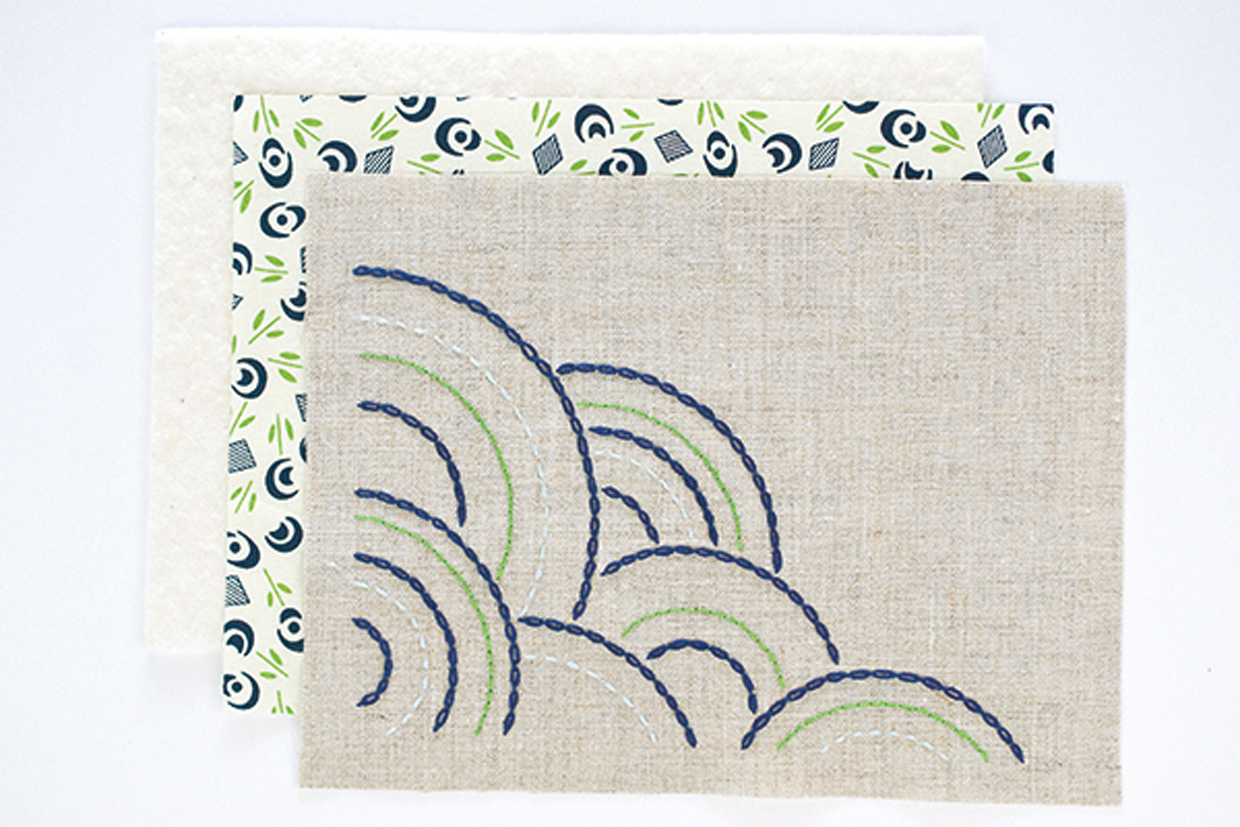
Place the linen fabric centrally on top of the template and trace over it lightly in pencil or erasable pen.

Step two

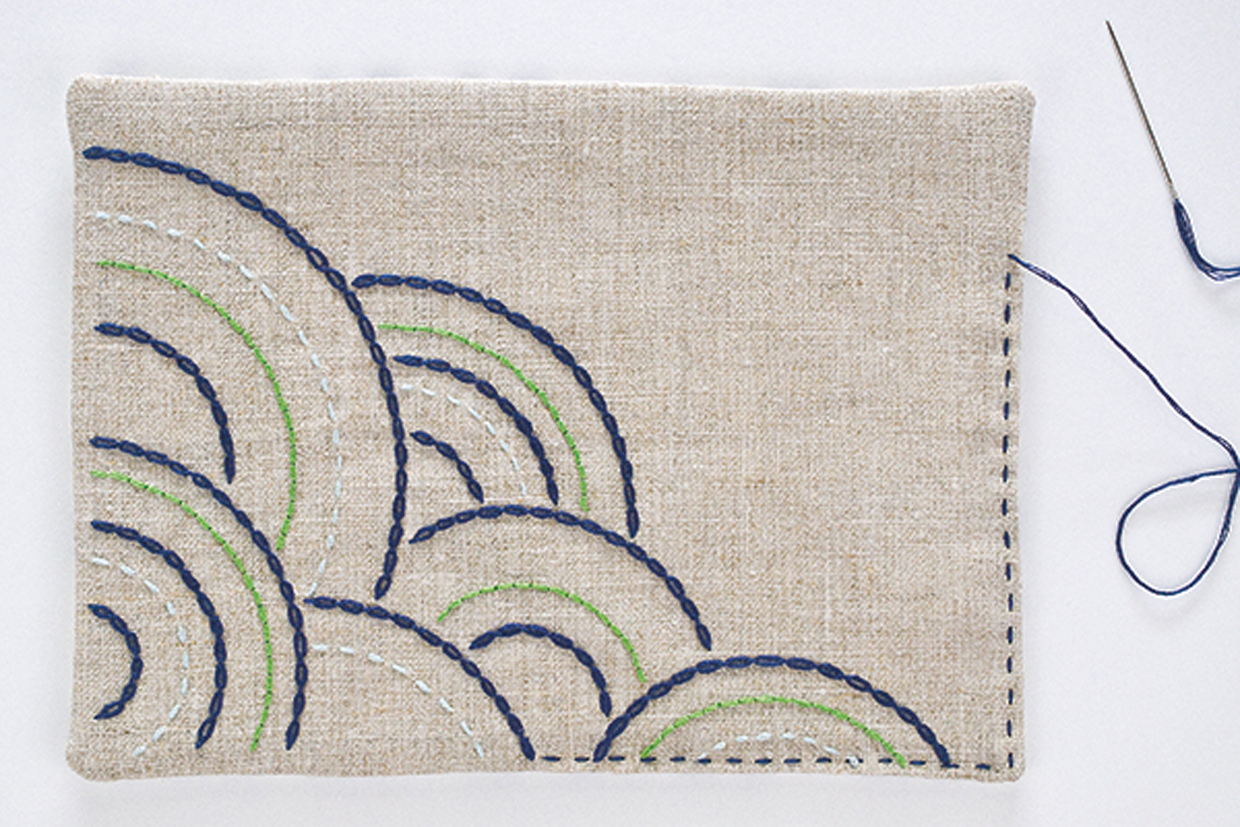
Embroider the concentric circle design on linen, following the traced lines and the stitch guide above. Use three strands of stranded cotton to work cable chain stitch, as well as running stitch and back stitch.

Step three

Trim the linen to 16x21cm (63/8×81/4in), with the design central.

How_to_cable_chain_stitch_step_04

Step four

Place the linen and backing fabric right sides (RS) together with the wadding between them.

Step five

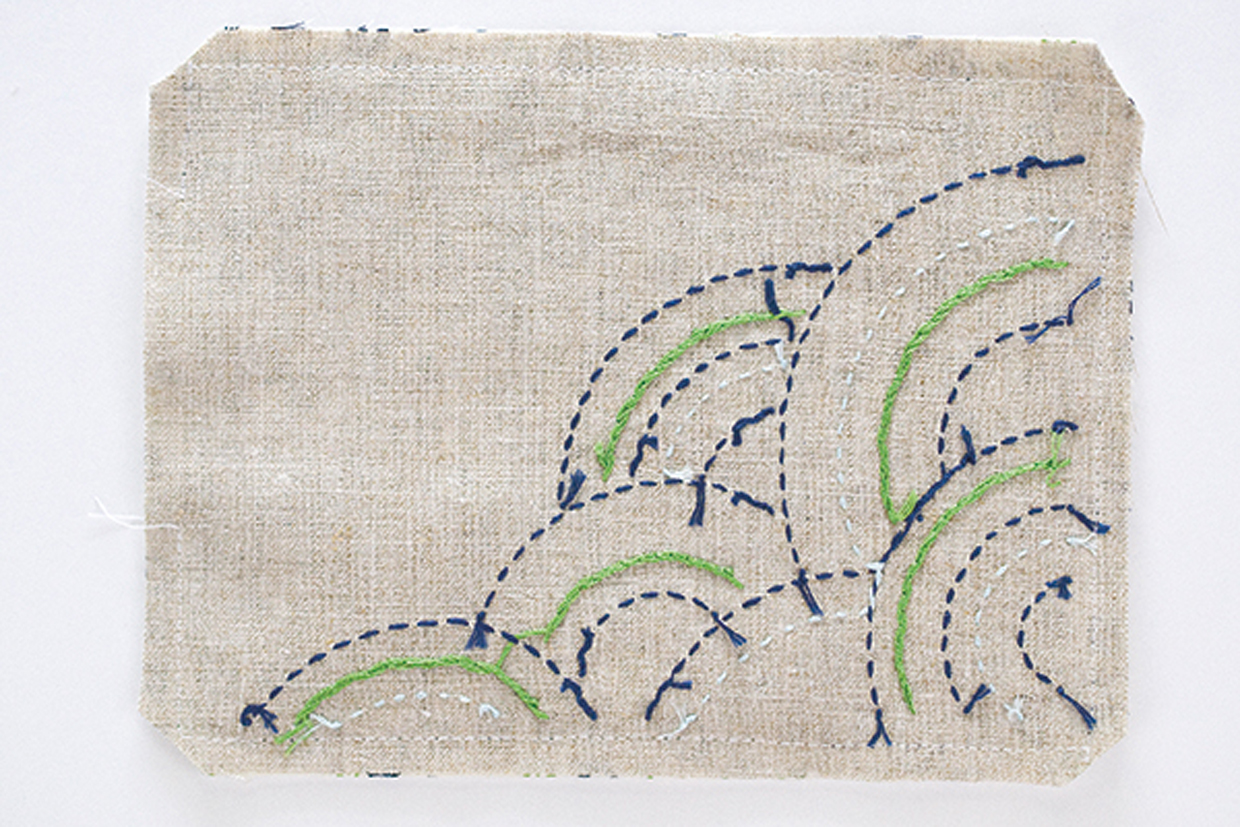
Pin and then sew together all the way around but leaving a 6cm (23/8in) turning gap in the centre of one side.

Step six

Trim the corners and turn RS out.

How_to_cable_chain_stitch_step_05

Step seven

Fold the turning gap to the inside.

Step eight

Work a running stitch around the edge using three strands of stranded cotton.

How_to_cable_chain_stitch_step_06