Step 1
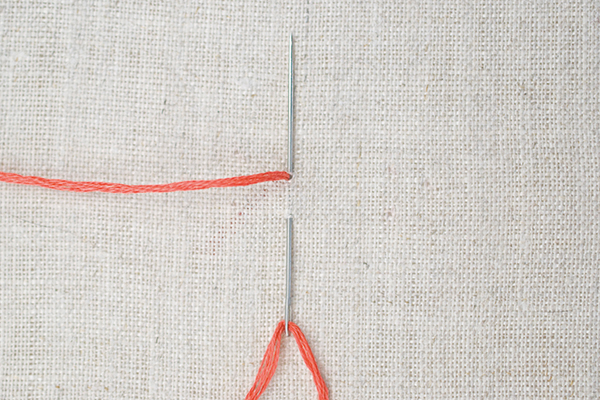
Bring the needle up through the fabric where you want the knot to start.
Take the needle down through the fabric a short distance away then bring it back up again near the point where the thread first emerged, leaving the needle in place.
Step 2
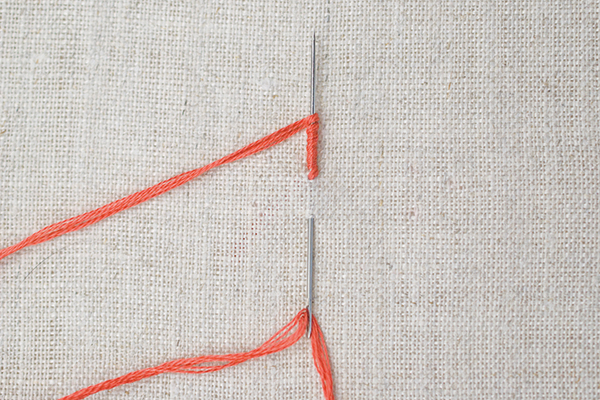
Wrap the working thread around the needle as many times as it takes to make a wrapped coil that is as long as the knot you are forming, keeping the thread as smooth as possible. If you want to make a bullion knot with a curve, the wrapping should be a little longer than the stitch gap.
Step 3
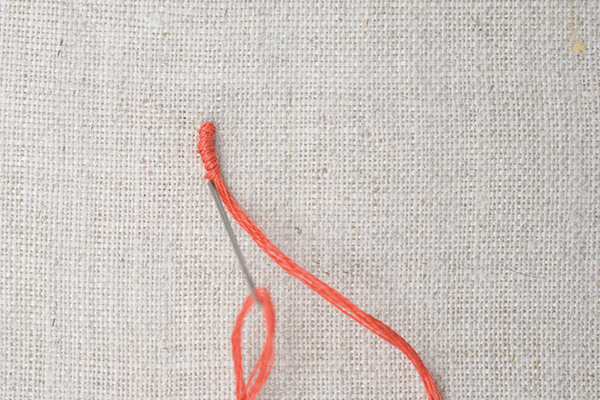
Hold the wrapped thread and carefully pull the needle and thread through. If the wrapping is too tight to pull the needle through then twist it a little to loosen it. As you pull the thread, the wrapped knot will come back and lay on the fabric.
Bring the needle back through the fabric to complete the bullion knot.
Step 4
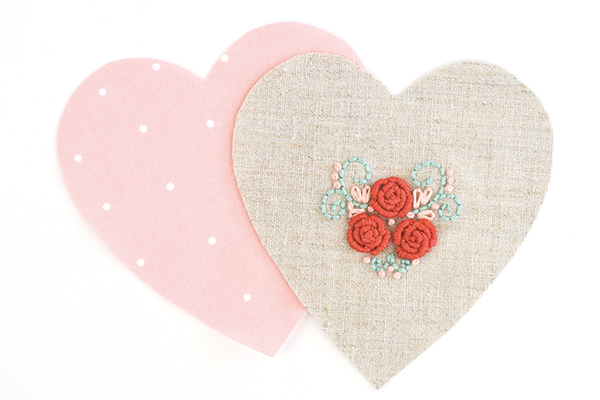
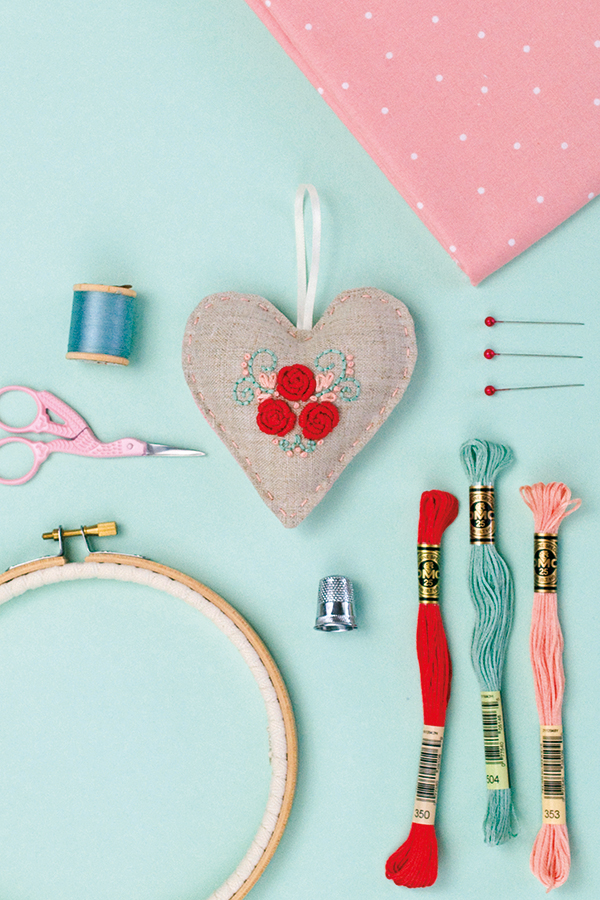
MAKING A HEART ORNAMENT
Download and print out the template. Place your main fabric right side (RS) up on top with the template centrally beneath then trace over the motif and the heart outline.
WORKING THE EMBROIDERY
Use six strands of stranded cotton for all the stitching.
Start by stitching the roses as bullion knots in dark coral. Make a tiny bullion knot for the centre, then add more knots to fill in the circle, making them longer as you go.
Work the swirls in green back stitch.
Use pink stranded cotton to work the small dots in French knots and the petal shapes, which are worked as detached chain stitches.
MAKING THE HEART
Cut out the drawn heart shape then use this as a template to cut out a heart shape from the backing fabric.
WORKING THE EMBROIDERY
Step one Use six strands of stranded cotton for all the stitching.
Step two Start by stitching the roses as bullion knots in dark coral. Make a tiny bullion knot for the centre, then add more knots to fill in the circle, making them longer as you go.
Step three Work the swirls in green back stitch.
Step four Use pink stranded cotton to work the small dots in French knots and the petal shapes, which are worked as detached chain stitches.
MAKING THE HEART
Step one Cut out the drawn heart shape then use this as a template to cut out a heart shape from the backing fabric.
Step 5
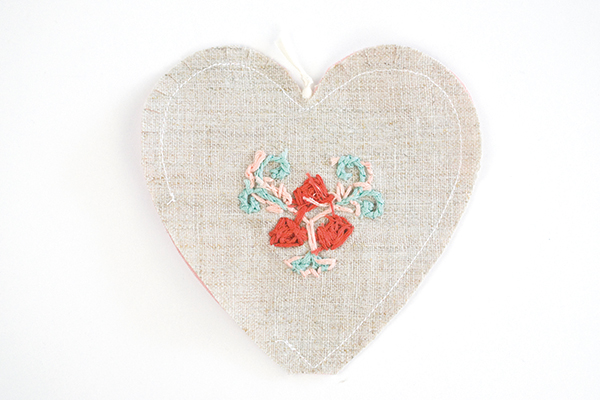
Tie the ends of the ribbon together. Pin the heart front and back right sides (RS) together with the loop of ribbon between the layers. The knot should stick out
of the top centre of the heart.
Sew the heart front and back together, leaving a turning gap on one side.
Clip the points and curves.
Step 6
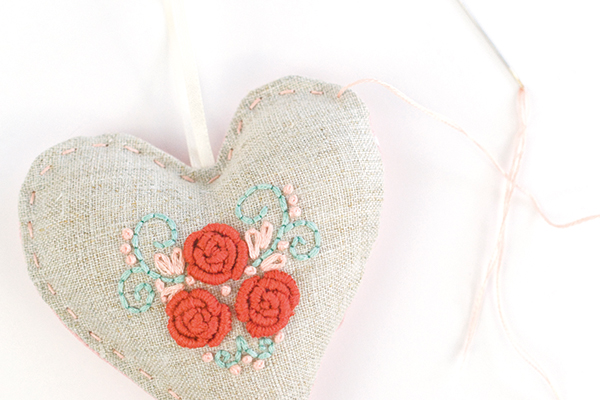
FINISHING OFF
Turn the heart RS out, fold the edges of the turning gap to the inside and press.
Stuff lightly then slip stitch the turning gap closed.
Stitch around the edge of the heart with running stitch and three strands of pink stranded cotton to decorate.


