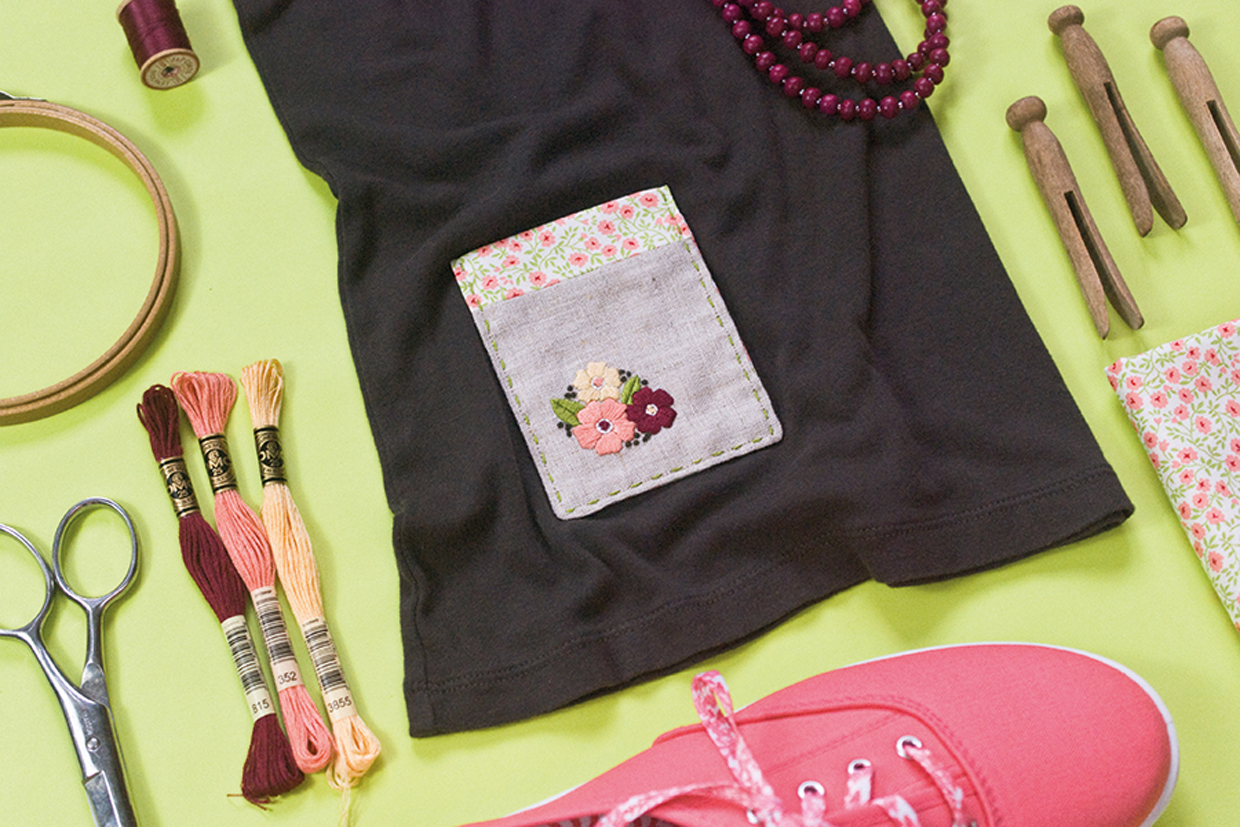
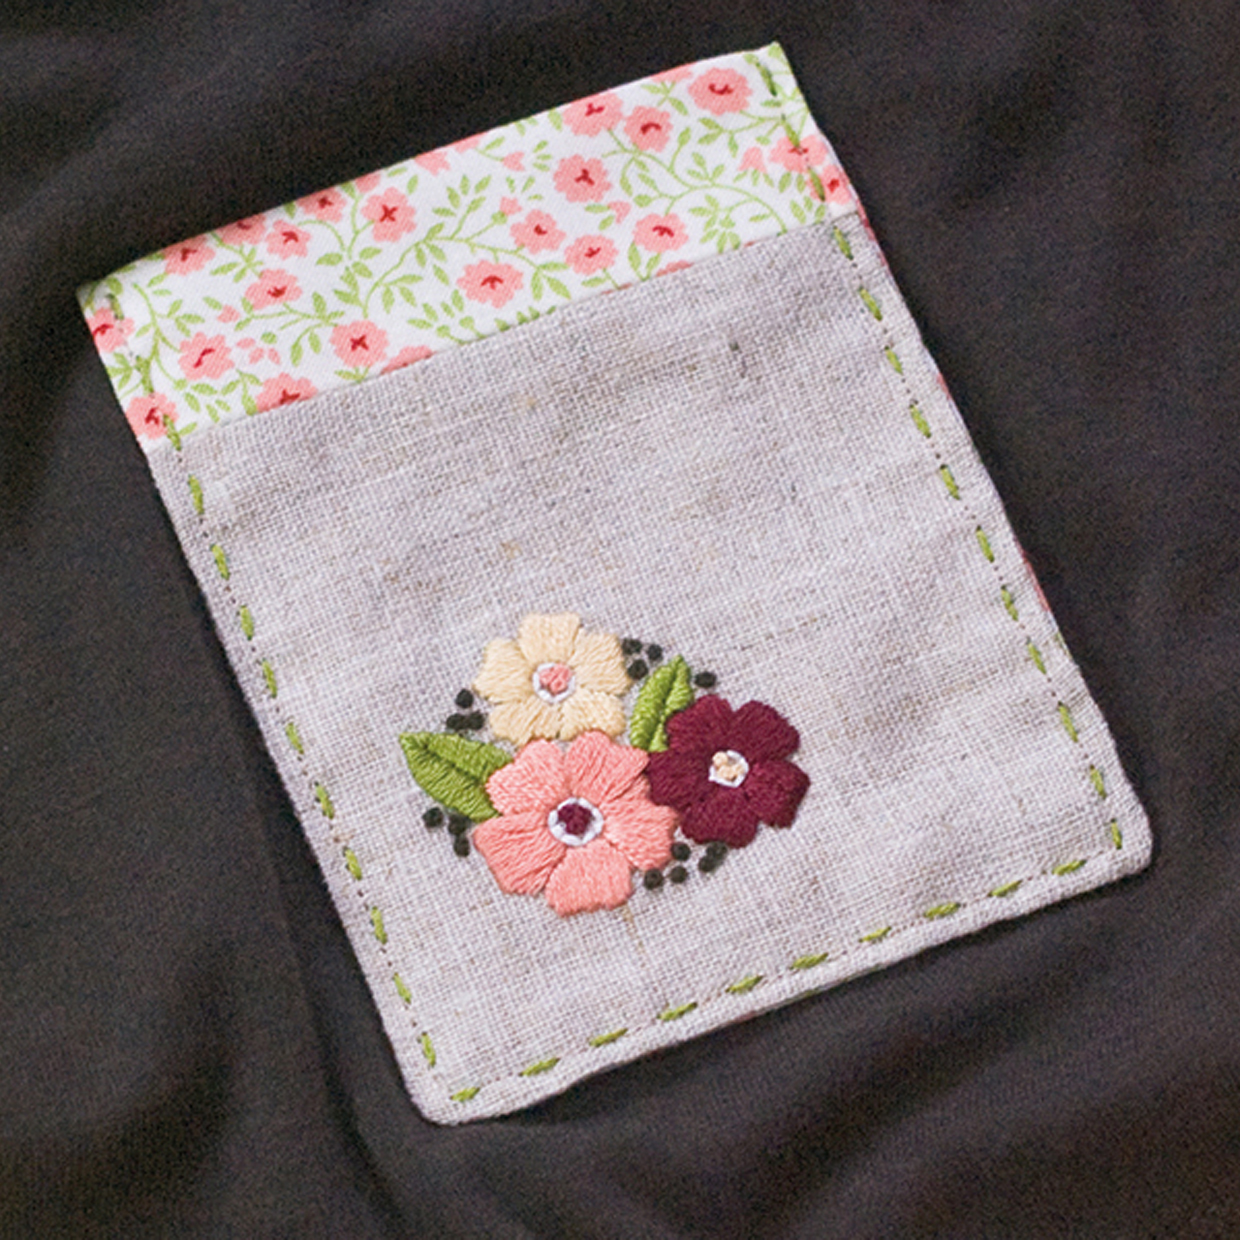
How to embroider Satin Stitch Flowers
Step 1
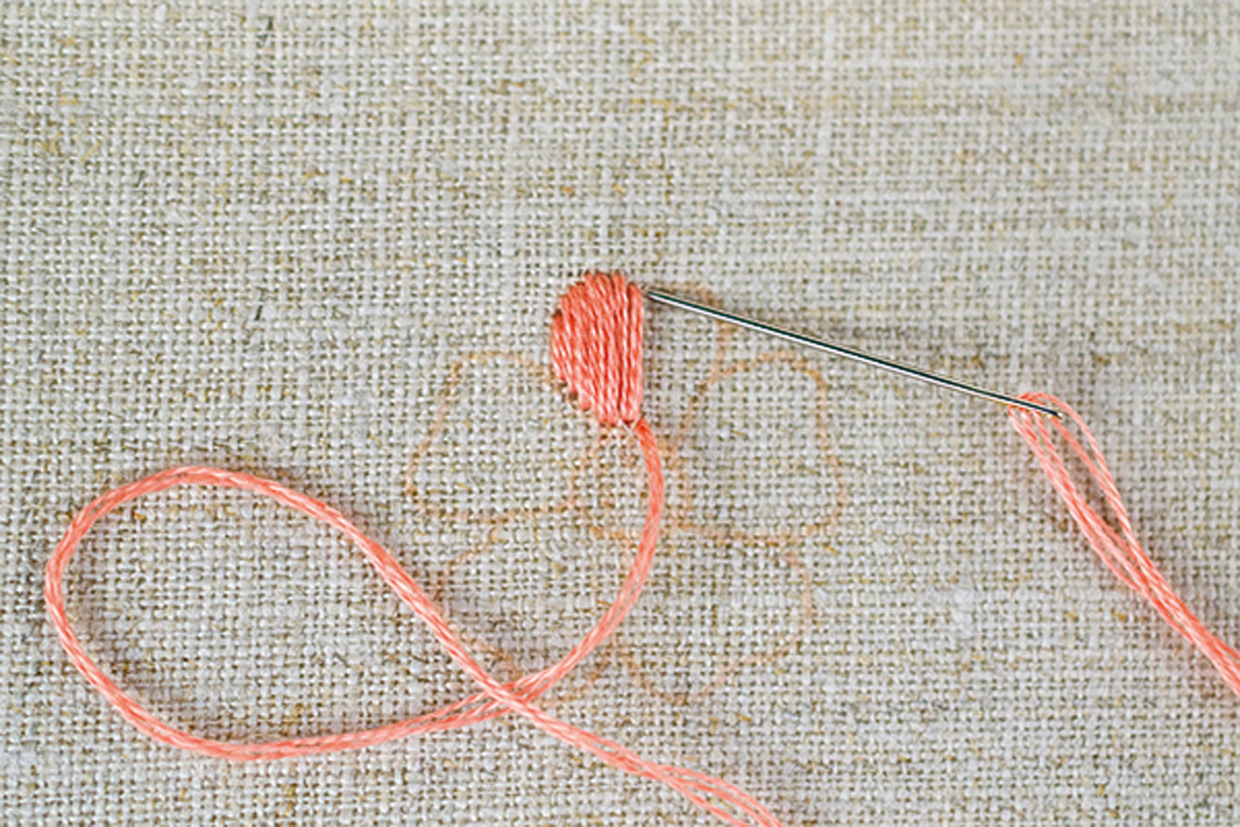
Bring the needle up through the fabric at one side of the area you are filling. Insert the needle back through the other side of the area.
Step 2
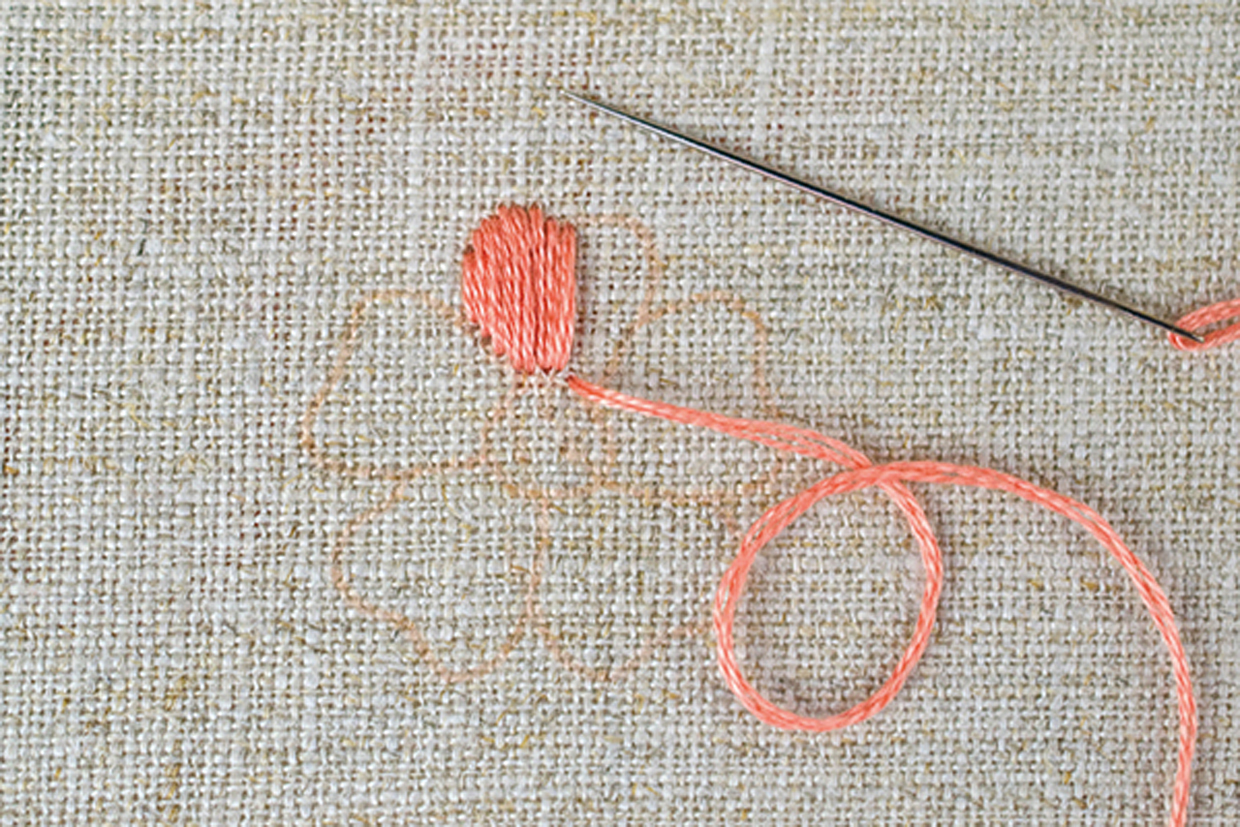
Step two Bring the needle back up on the first side of the area, then insert the needle on the other side. Repeat this to fill the area, always coming up on the first side and going down on the opposite side.
Transfering the design
Step 1
Mark a rectangle centrally on the main fabric measuring 11cm (43/8in) wide and 12cm (43/4in) deep.
Step 2
Trace the floral template from the pattern sheet
Step 3
Place the main fabric on top so that the traced template lies within the marked outline. We have placed ours a little way in from the left bottom corner.
Step 4
Trace around the outlines of the floral template.
Stitching the design
Step 1
Embroider the floral design following the traced lines using three strands of stranded cotton throughout.
Step 2
Start by stitching the petals and leaves in satin stitch.
Step 3
When these are finished, work the outlines of the flower centres in backstitch.
Step 4
Fill the flower centres with French knots then work a few more outside the flowers.
Making the pocket
Step 1
Press your stitched fabric then trim it along the marked rectangular outline.
Step 2
Place the main and lining fabrics right sides (RS) facing and sew together along the top edge. Open out and press.
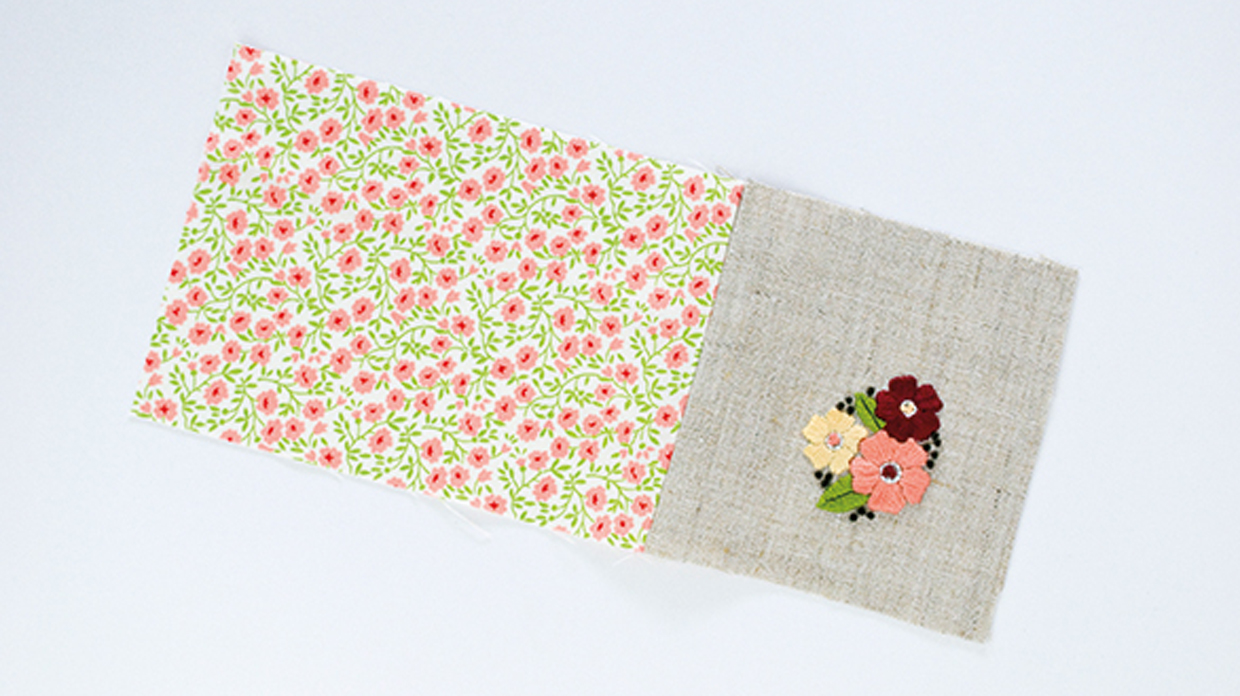
Step 3
Fold the sewn piece in half with RS facing, lining up the side and bottom edges.
Step 4
Sew together down the side and across the bottom but leaving a 5cm (2in) gap for turning. Trim the corners to reduce bulk.
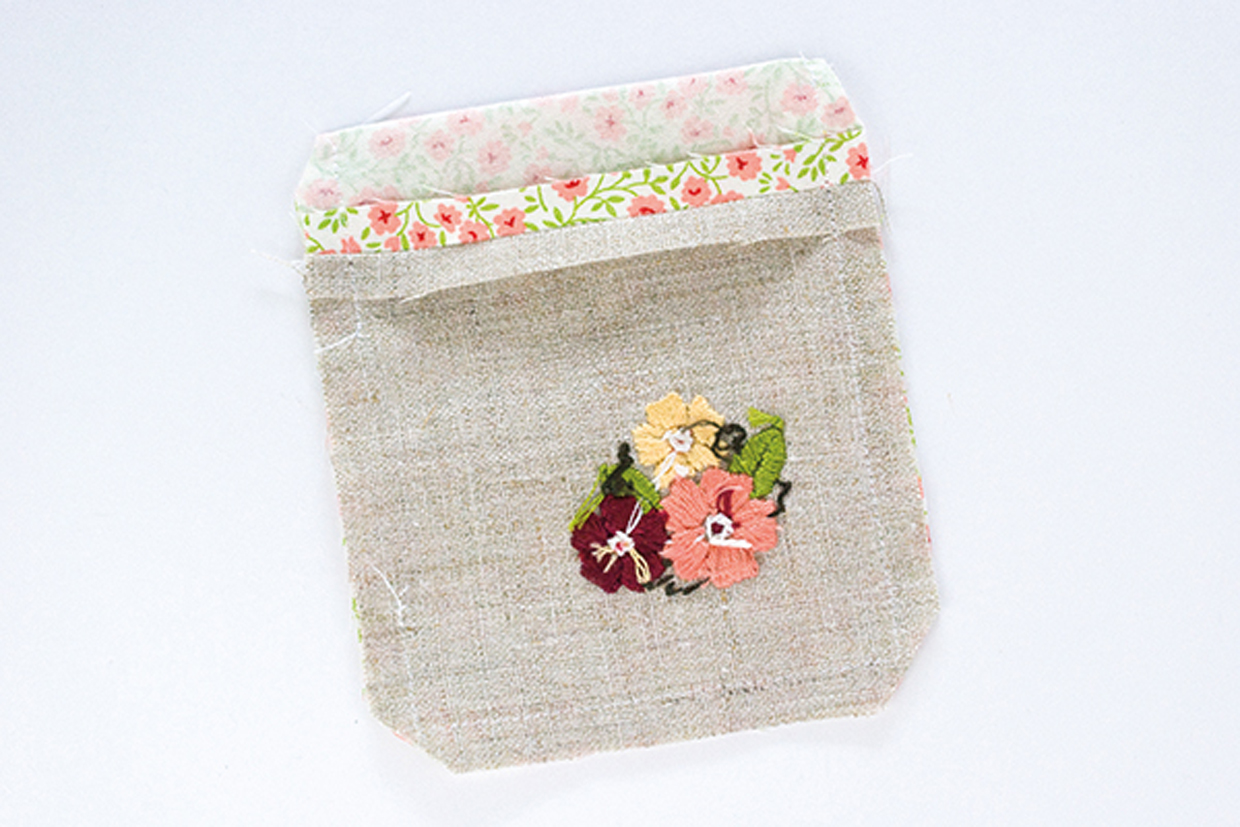
Step 5
Turn RS out, making sure the seam allowance is folded in at the opening, and press.
Attaching the pocket
Step 1
Pin the pocket to your T-shirt in your desired position – this is easier to do when you are wearing it.
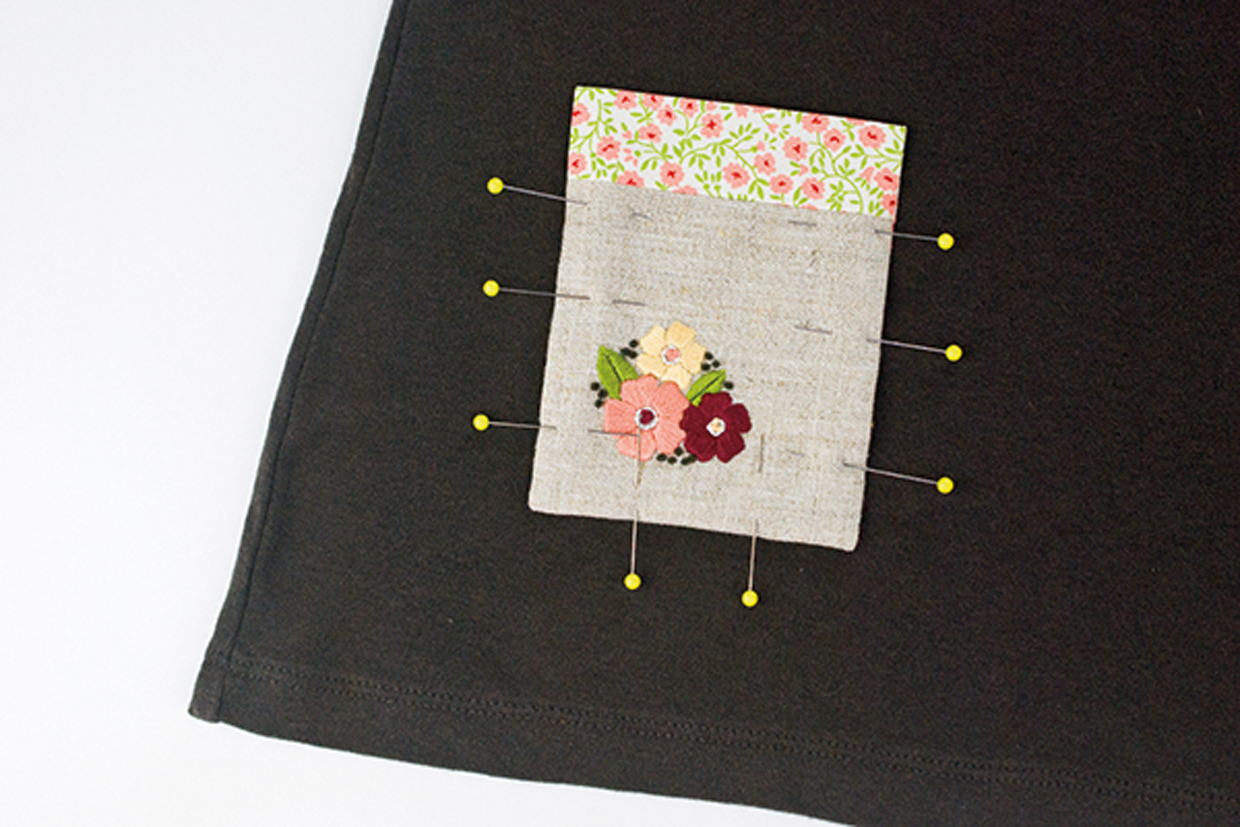
Step 2
Topstitch the pocket in place down the sides and across the bottom.
Step 3
Finish by working a line of running stitch on top of the topstitching using three strands of stranded cotton to decorate.
