Free ice cream embroidery

Free ice cream embroidery

Cool off this summer with this cute ice cream embroidery of retro favourites designed by Matilda Smith.

Published: August 1, 2021 at 9:00 am

There's nothing like tucking into a refreshing ice cream on a hot summer's day, so celebrate the great British summer with this cute ice cream embroidery! Bring those summer vibes straight into your home, or gift it to a friend who loves ice cream.

The ice cream embroidery features eight miniature ice cream and ice lolly designs all a bright mixture of colours and stitches. You'll see some firm retro favourites on there, that will certainly bring you some nostalgia (and a craving for a 99), or a twister, or maybe both!

This design is suitable for beginners and would be a great way to practice lots of different stitches on small designs, it's a super satisfying way to stitch because you start seeing the outcome of your work really quickly! If you are new to embroidery or need a little refresh on the basics, take a look at our embroidery for beginners guide which contains everything you need to get started on your project today.

The ice cream embroidery was designed by Matilda Smith and was originally published in Love Embroidery magazine issue 4.

Embroidery stitches key for the ice cream embroidery

For more help with stitches head over to our useful embroidery stitches library.

Ice cream embroidery fact box:

  • Stitches: Backstitch, Long and Short Stitch, Satin Stitch, Split Stitch, Straight Stitch
  • Fabric: Cotton fabric: 40x40cm, white
  • Cotton: Stranded cotton: light apricot, dark apricot, blue, chocolate, lemon, light mauve, dark mauve, mint, orange, pink, raspberry, vanilla
  • Embroidery hoop: 18cm diameter
  • Basic embroidery kit

Free ice cream embroidery template

You'll also need the free ice cream embroidery template.
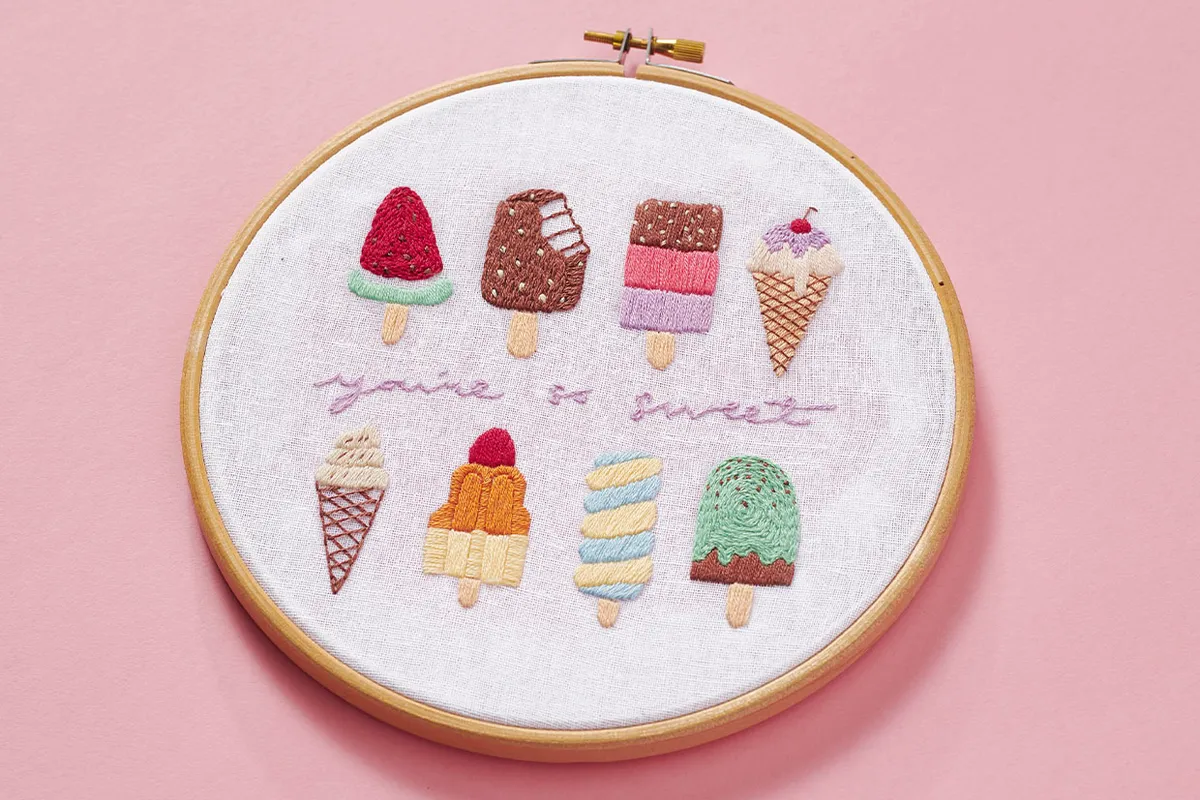
ice cream embroidery

Free ice cream embroidery step-by-step

You will need:

  • Cotton fabric
  • Stranded cotton
  • Embroidery hoop
  • Basic embroidery kit

Step 1

Transfer the ice cream embroidery design from the template onto the centre of the fabric using your preferred method.

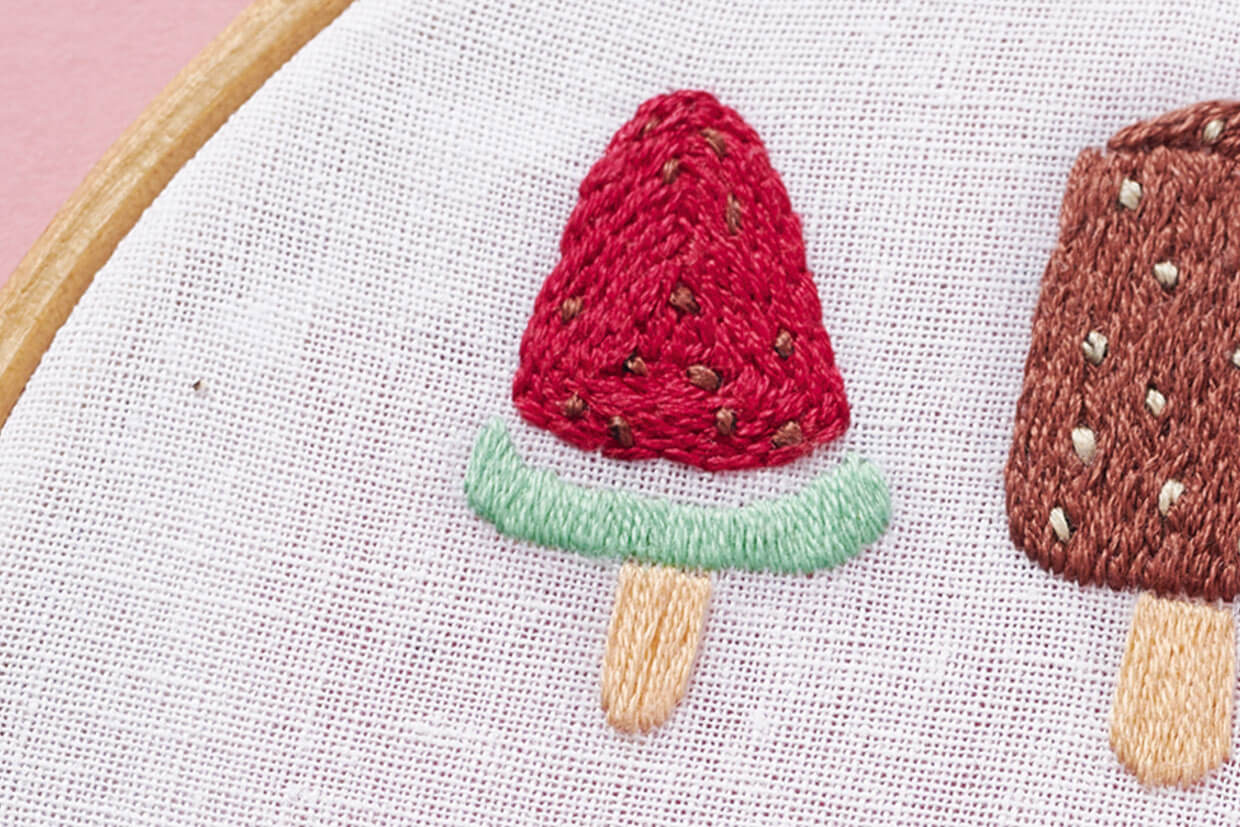
Watermelon lolly: work the watermelon flesh in Long and Short Stitch using three strands of raspberry. Work a row of Backstitch around the edge using the same thread, then keep stitching rows inside the previous row of stitches until you reach the centre. Work the rind in Satin Stitch using three strands of mint. Work the pips as Straight Stitches using two strands of chocolate and the stick in Satin Stitch using two strands of dark apricot.

ice cream embroidery watermelon

Step 2

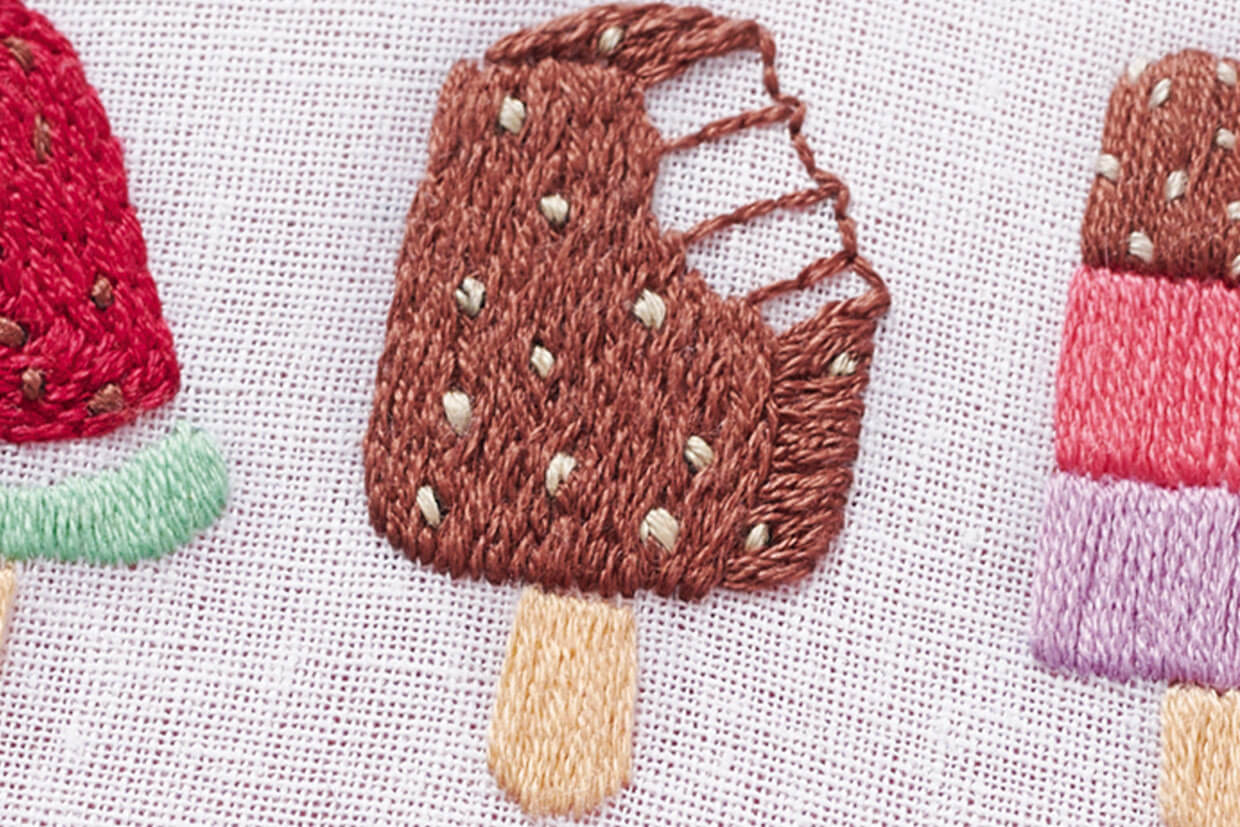
Chocolate lolly: work the ice cream using three strands of chocolate. Work the front section in vertical rows of Split Stitch and the sides in horizontal rows of Satin Stitch. Work the chocolate chips as pairs of Straight Stitches using two strands of beige. Work the stick in the same way as step 3 of the ‘Treats purse’.

ice cream embroidery choco

Step 3

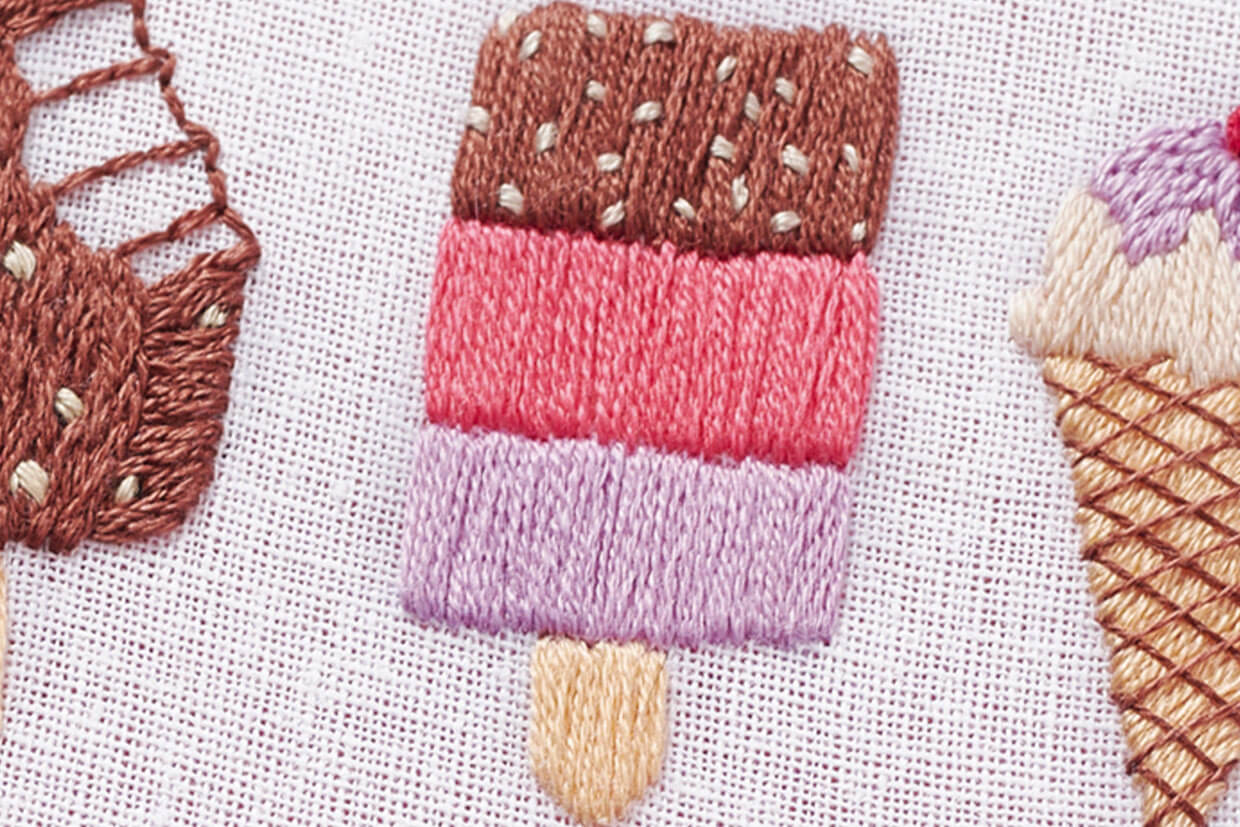
Neapolitan lolly: work the lolly in vertical Satin Stitch using three strands of chocolate, pink, then light mauve. Work the Straight Stitch sprinkles using three strands of light apricot. Work the stick as before.

ice cream embroidery neo

Step 4

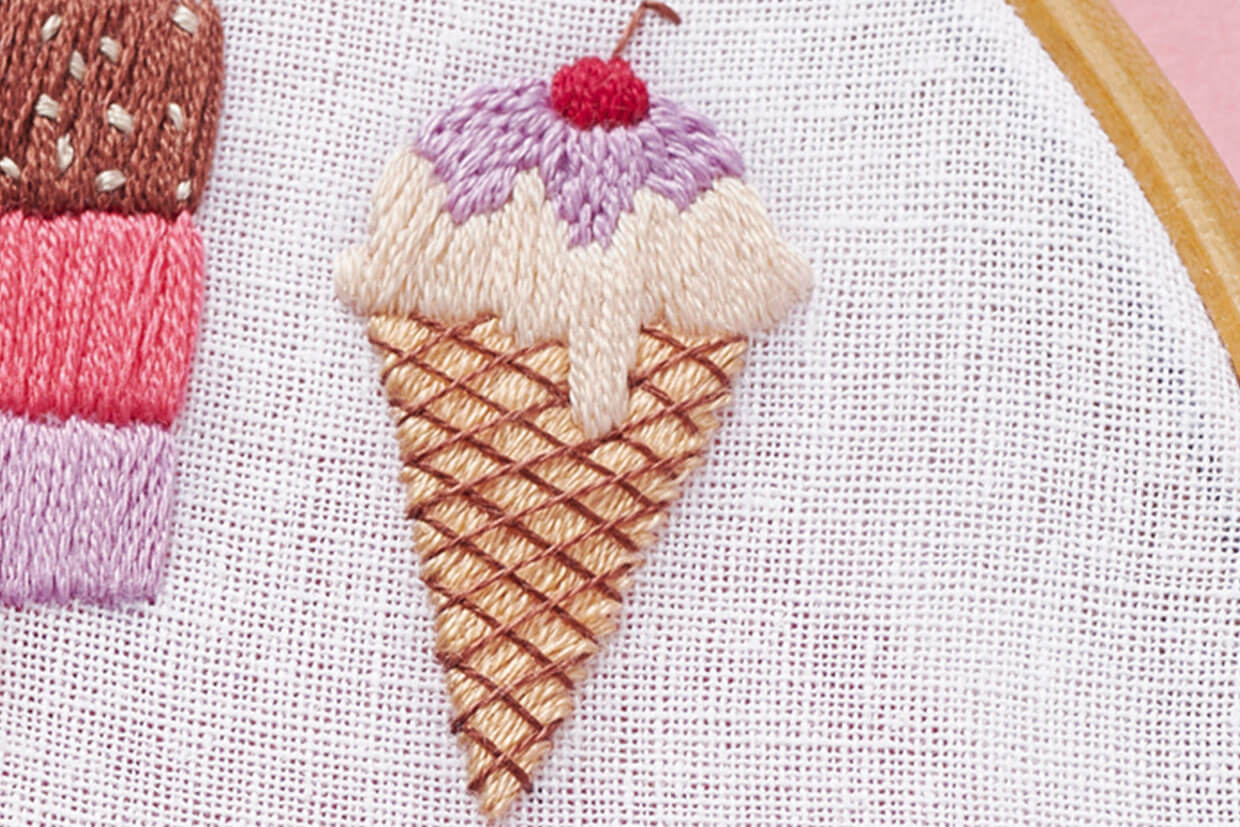
Cherry-topped cone: fill the cone in Satin Stitch using two strands of dark apricot and add
the detail in Straight Stitch using two strands of chocolate. Work the ice cream in Satin Stitch using three strands of light apricot, then work the sauce in Long and Short Stitch using three strands of light mauve. For the cherry, work Satin Stitch using two strands of raspberry, and work the stem in Straight Stitch using two strands of chocolate.

ice cream embroidery cherry cone

Step 5

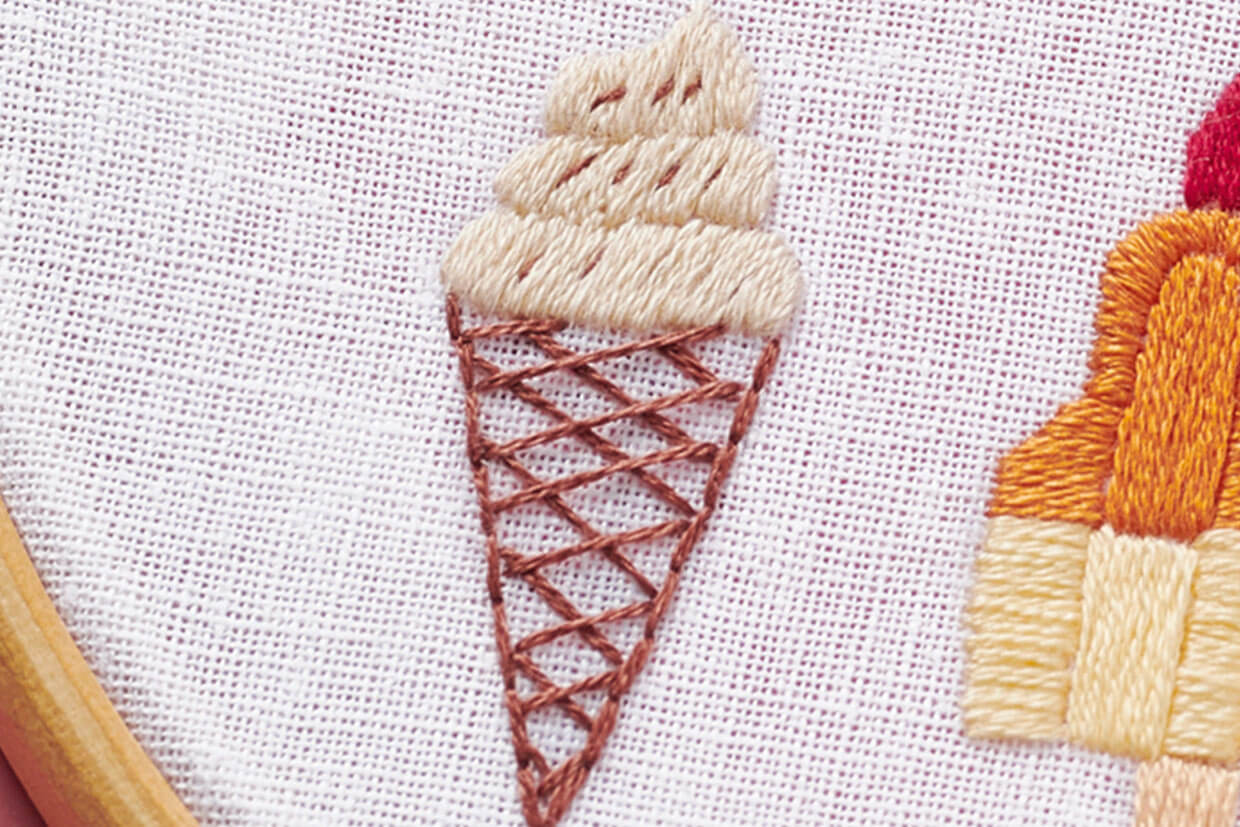
Whipped cone: work the cone in Straight Stitch using two strands of chocolate. Work the ice cream in Satin Stitch using three strands of vanilla.

Use two strands of chocolate as Straight Stitches to make the sprinkles.

ice cream embroidery whippy

Step 6

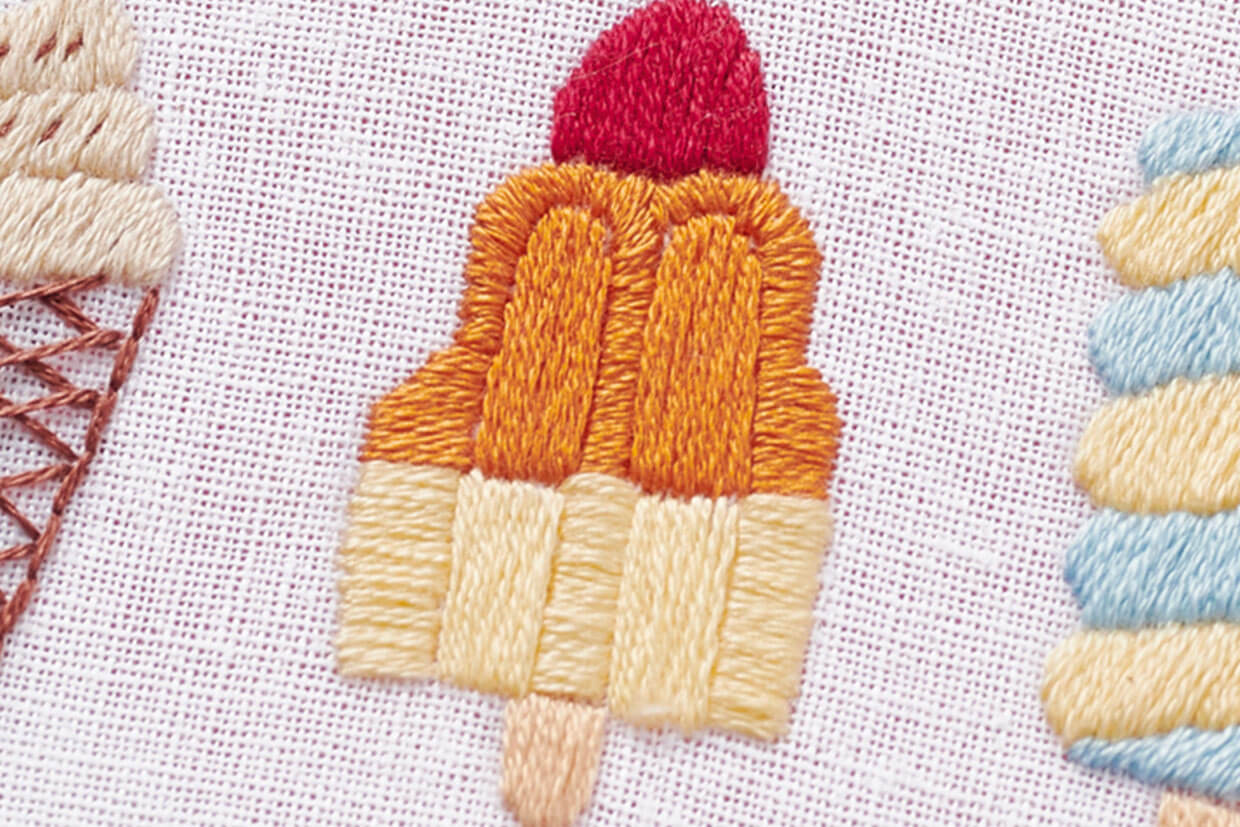
Rocket-shaped lolly: work the lolly in Satin Stitch using two strands of raspberry, then orange with lemon at the bottom. Work the stick as before.

ice cream embroidery rocket

Step 7

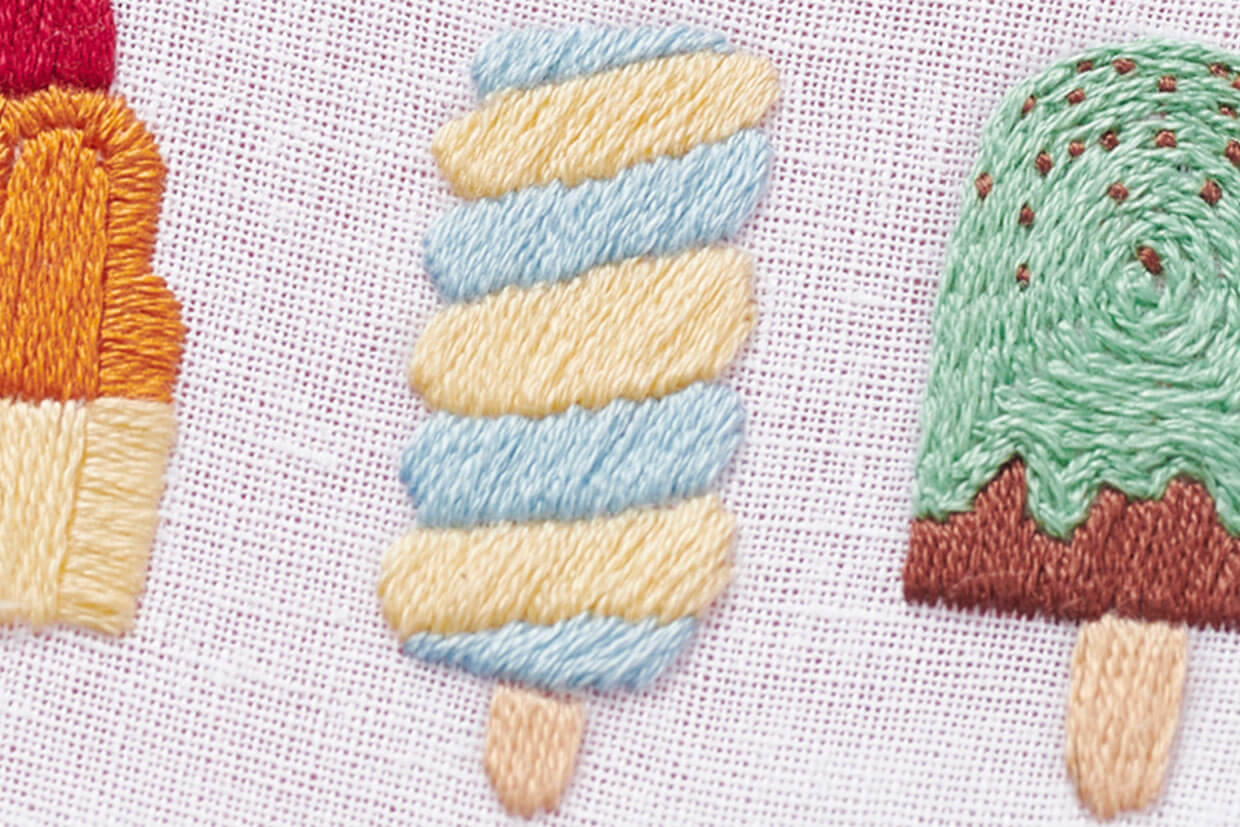
Spiral lolly: Work Satin Stitch using three strands to work the sections, alternating between blue and lemon. Work the stick as before.

ice cream embroidery twister

Step 8

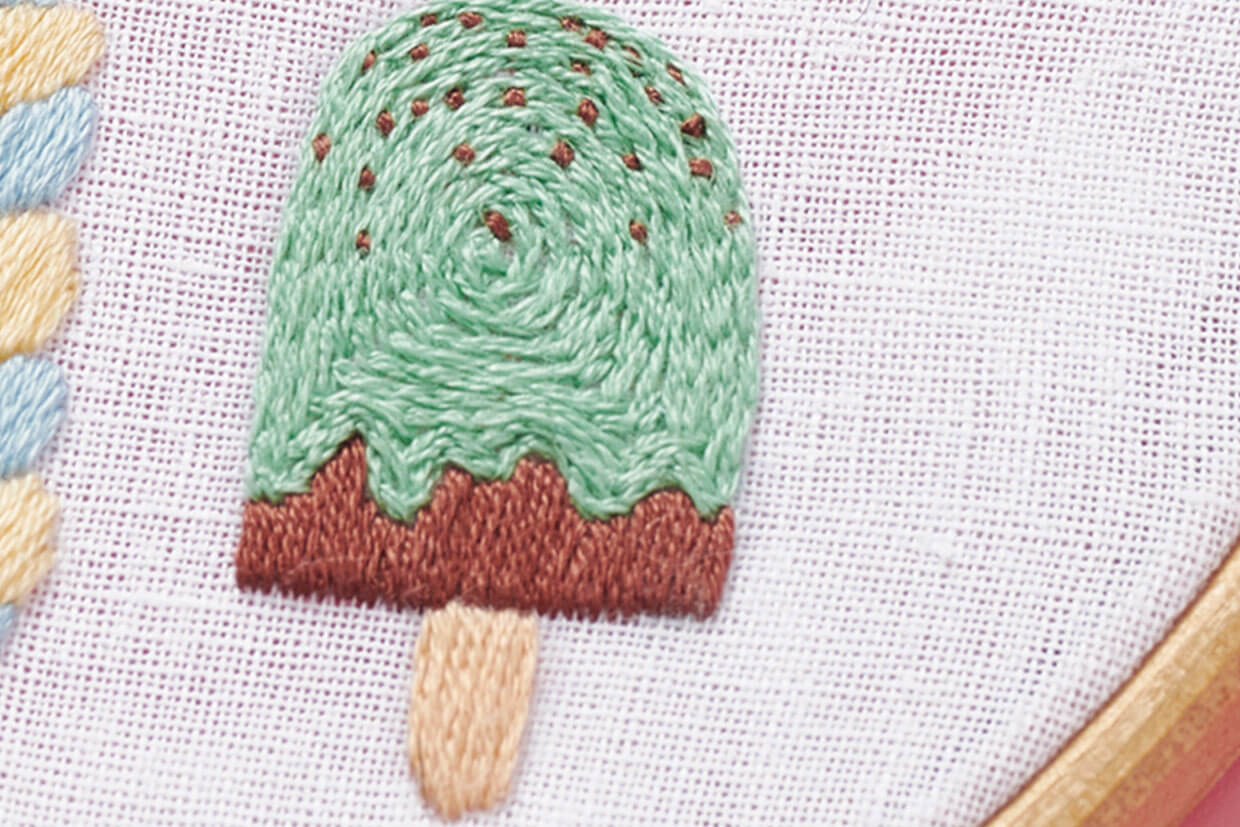
Mint choc lolly: Fill the green section with rows of Split Stitch using three strands of mint worked from the outside inwards. Work the bottom section in Satin Stitch using two strands of chocolate. Work the sprinkles as Straight Stitches using two strands of chocolate. Work the stick as before.

ice cream embroidery mint

We hope you loved the ice cream embroidery as much as we do! Don’t forget to get yourself a real one (or two) whilst on your trips to the beach this summer. If you loved the summer feeling this embroidery gave you, try some of our other free summer patterns, the pineapple embroidery will add a little tropical to your day or this buzzing bee embroidery to brighten up any room. Try out this cute embroidered pet bandana to get your pets summer-ready! If you’re looking for more of a challenge give this unique octopus embroidery a go. Practice your straight stitch with the bright and fun sun embroidery design. If you’re also into machine embroidery or would like to find out more about it take a look at our guide to the best embroidery machine