Step 1
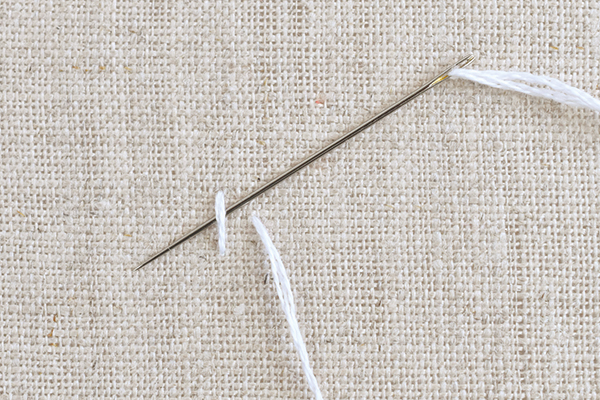
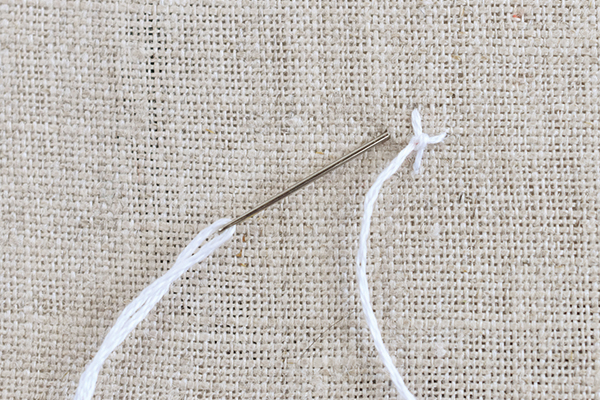
This embroidery knot is similar to a cross stitch with a knot in the centre. Start by making a vertical straight stitch. Come up to the right of this stitch. Keeping the needle above the working thread, slide the needle under the vertical stitch
. 
Step 2
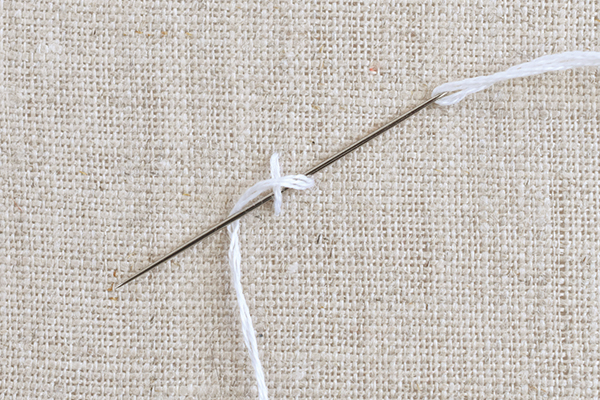
Wrap the working thread over the end of the needle, then over the tip of the needle. Hold the working thread taut around the needle as you pull it through, tightening the embroidery knot around the vertical stitch.
Step 3
Bring the needle back down through the fabric to the left of the vertical stitch. You should end up with a cross with a knot in the centre. If the stitch isn’t even, you can often adjust the knot a little by moving it with your needle.
Step 4
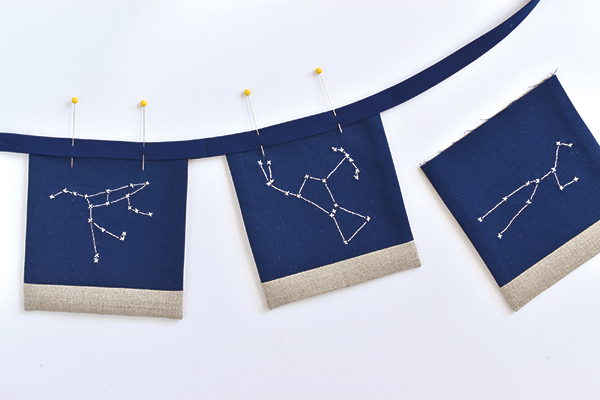
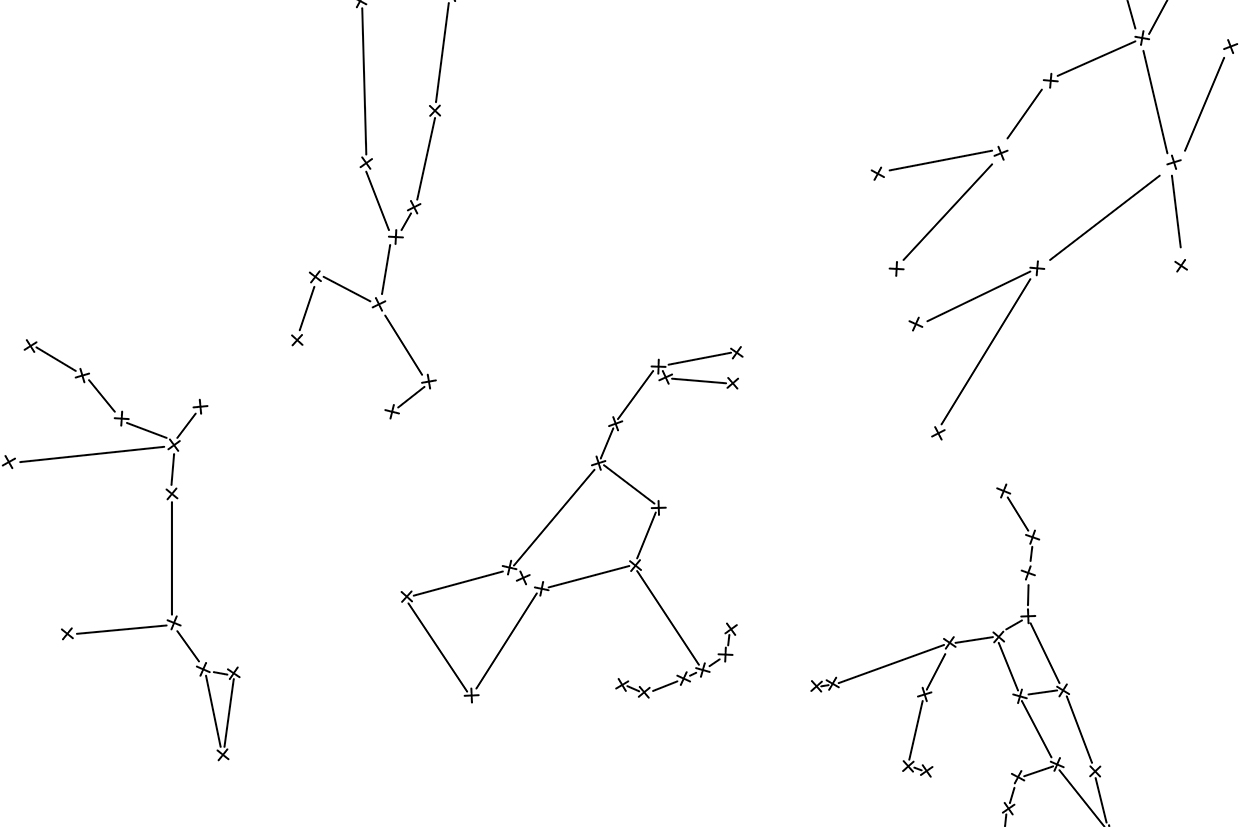
Download, print and cut out the constellation templates. Cut the quilting cotton into squares to fit your embroidery hoop. We cut a square for each of the 11 constellation designs, each measuring 25x25cm (10x10in). For each cotton piece, cut a 12x14cm (43/4×51/2in) piece of linen.
Step 5
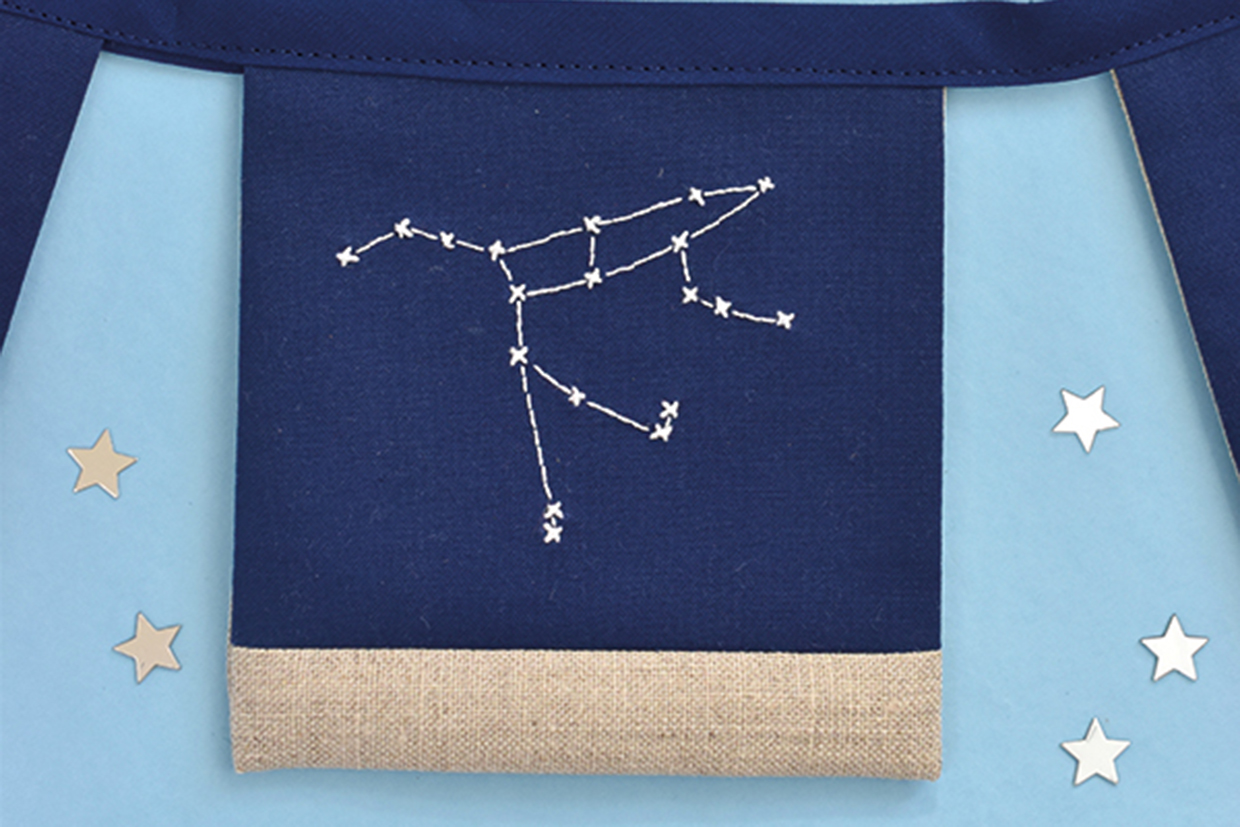
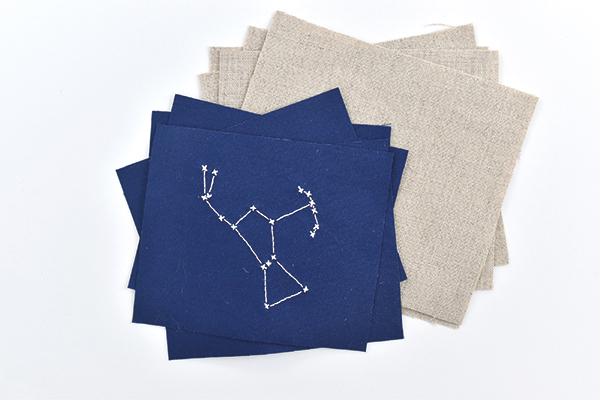
Embroider the constellations on the cotton pieces. Use four-legged knots with three strands of stranded cotton for the stars, and back stitch with one strand of thread for the lines. Trim the pieces down to 12x10cm (43/4inx4in).
See our How to backstitch article for advice on working this stitch.
Step 6
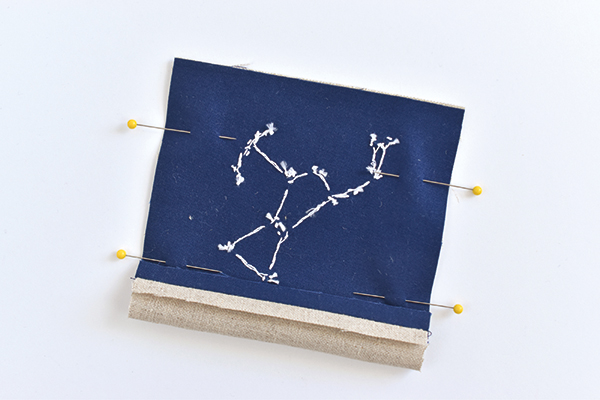
To make each flag, sew a piece of linen to the bottom of an embroidered piece with right sides (RS) together and press the seam open. Fold the bottom edge of the linen up to the top edge of the navy fabric. Pin and sew the two sides. Clip the lower corners to reduce bulk, then turn the flags RS out and press.
Step 7
Starting approx 20cm (8in) from the end, pin the flags inside the fold of double-fold bias tape. Space the flags 2cm (3/4in) apart, then trim the end of the bias tape approx 20cm (8in) from the other end.
Sew along the length of the bias tape, 3mm (1/8in) from the open edge. Fold each end of the bias tape over about 5cm (2in) and sew to make a hanging loop.
