Free botanical embroidery bookmark pattern
Tracing the leaf design
Step one
Download and print the Free fishbone stitch botanical bookmark pattern template
Step two
Place the main fabric right side (RS) up on top of the template. The design should be positioned centrally beneath the fabric.
Step three
Trace over the outlines lightly in pencil or with an erasable pen.
Working the leaf embroidery
Step one
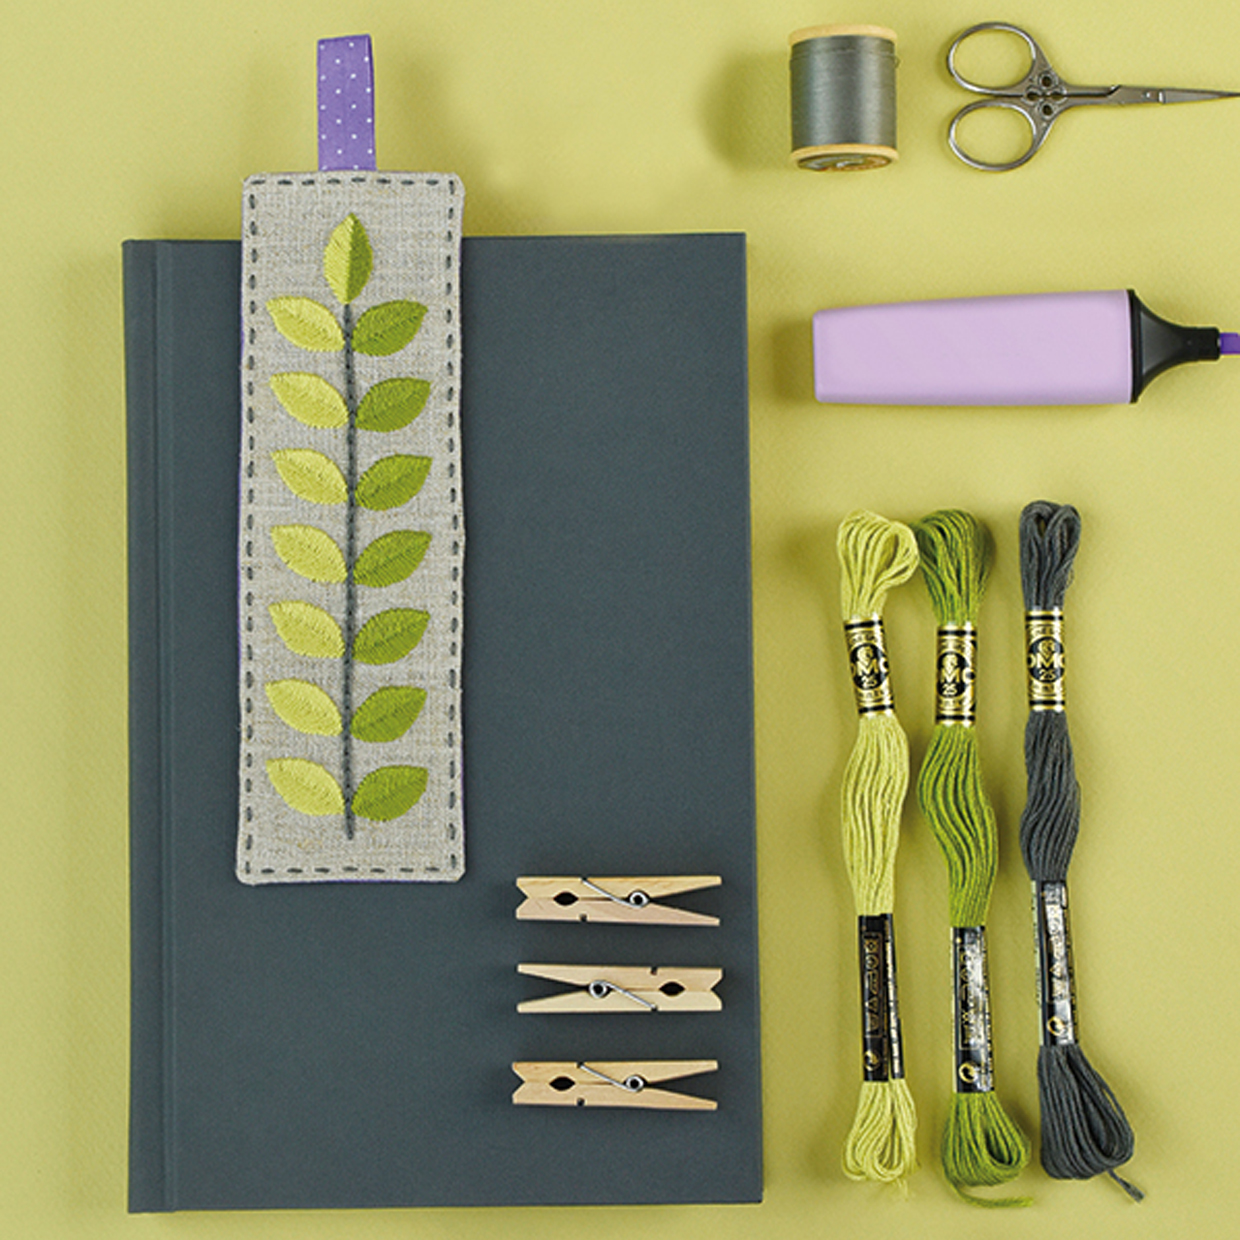
Use three strands of stranded cotton for all the stitching as this will fill the design area well. If you want to use a different thread then practise a few stitches first on spare fabric.
Step two
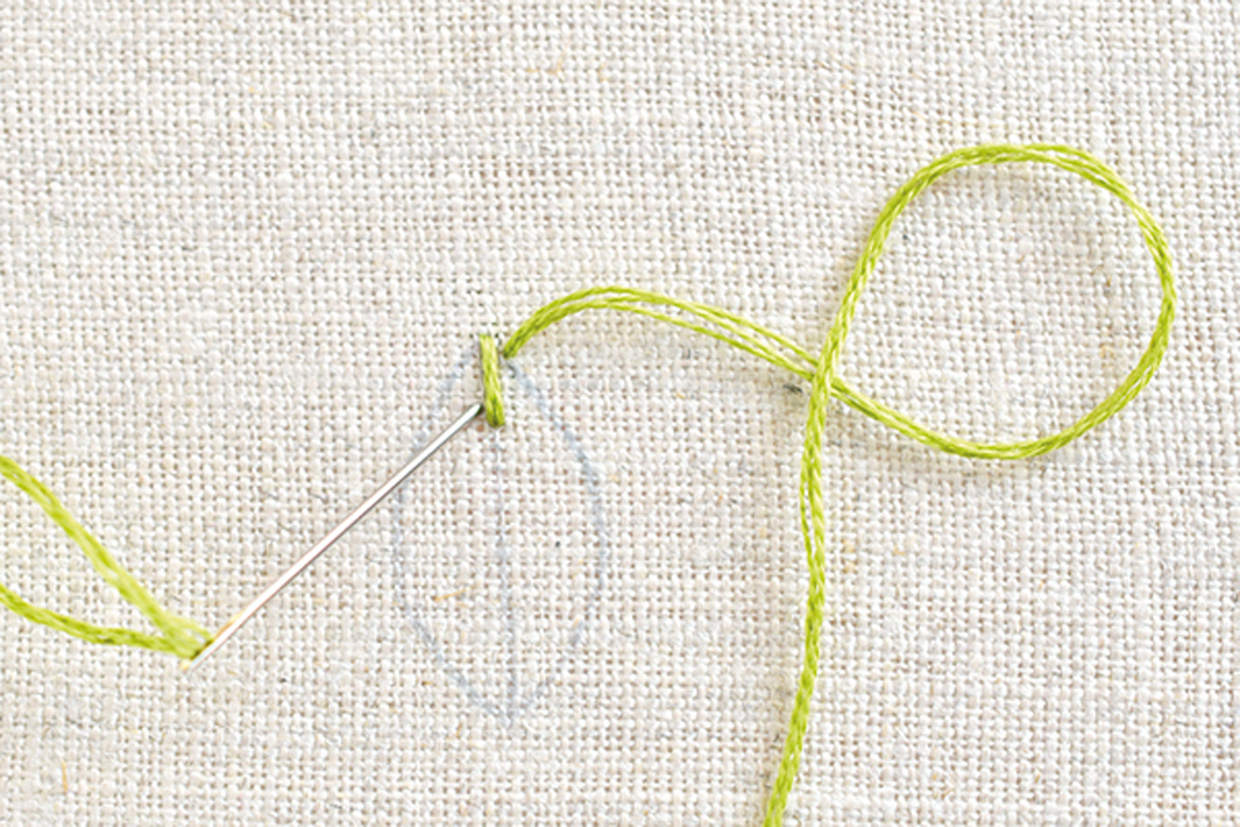
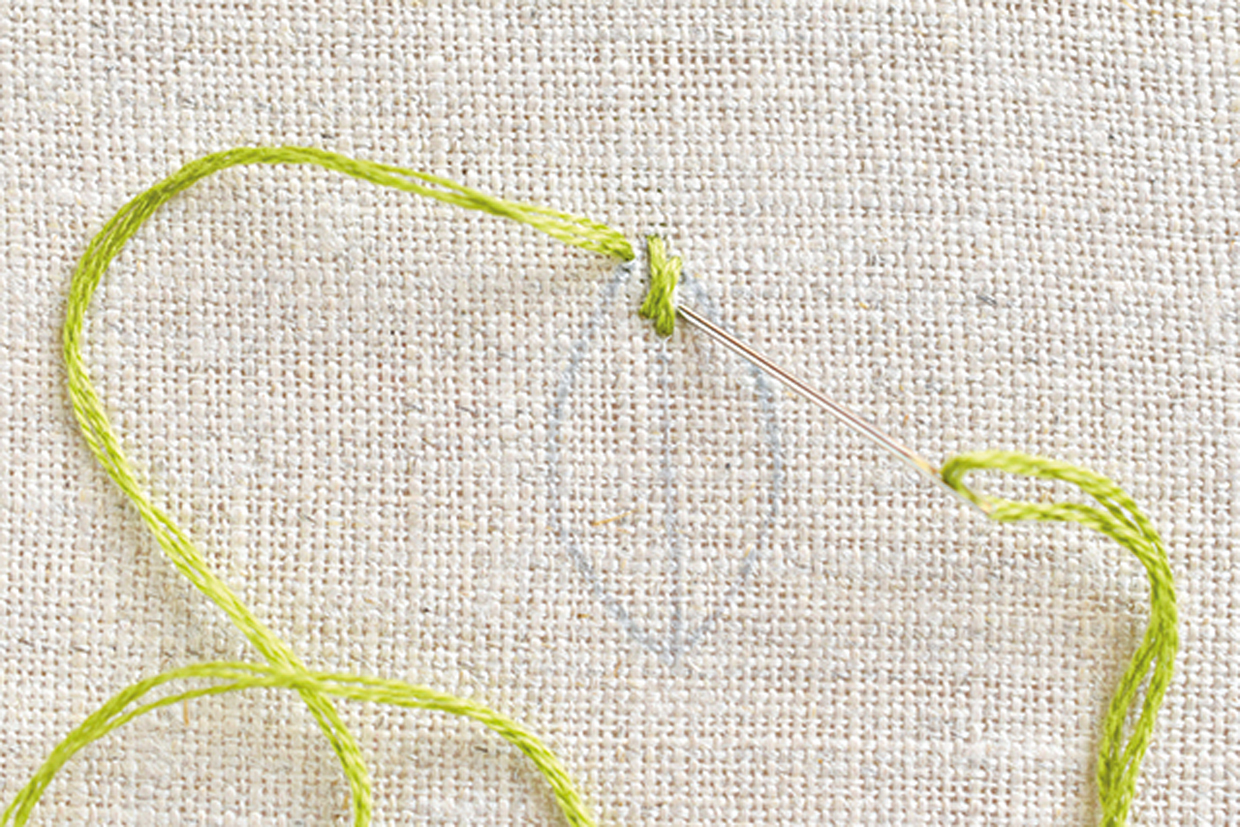
Embroider each leaf in fishbone stitch using two shades of green. The leaves on the right are worked in dark green and the leaves on the left in light green.
Step three
To stitch the top leaf with both shades, work with both colours at the same time using two needles, alternating between the two sides.
Step four
Stitch the centre line in chain stitch using grey stranded cotton.
Making the bookmark
Step one
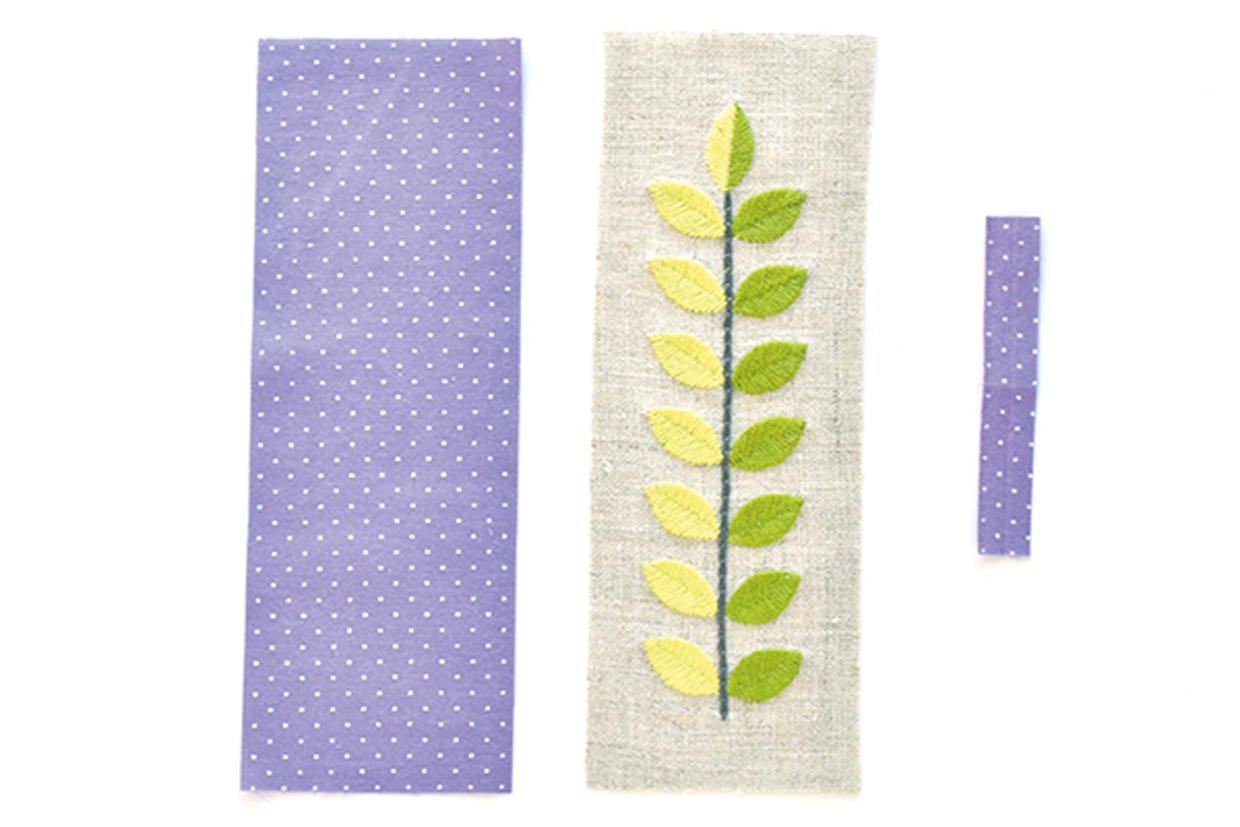
Trim the embroidered linen to 18×6.5cm (71/8×25/8in), making sure that the design is placed centrally.
Step two
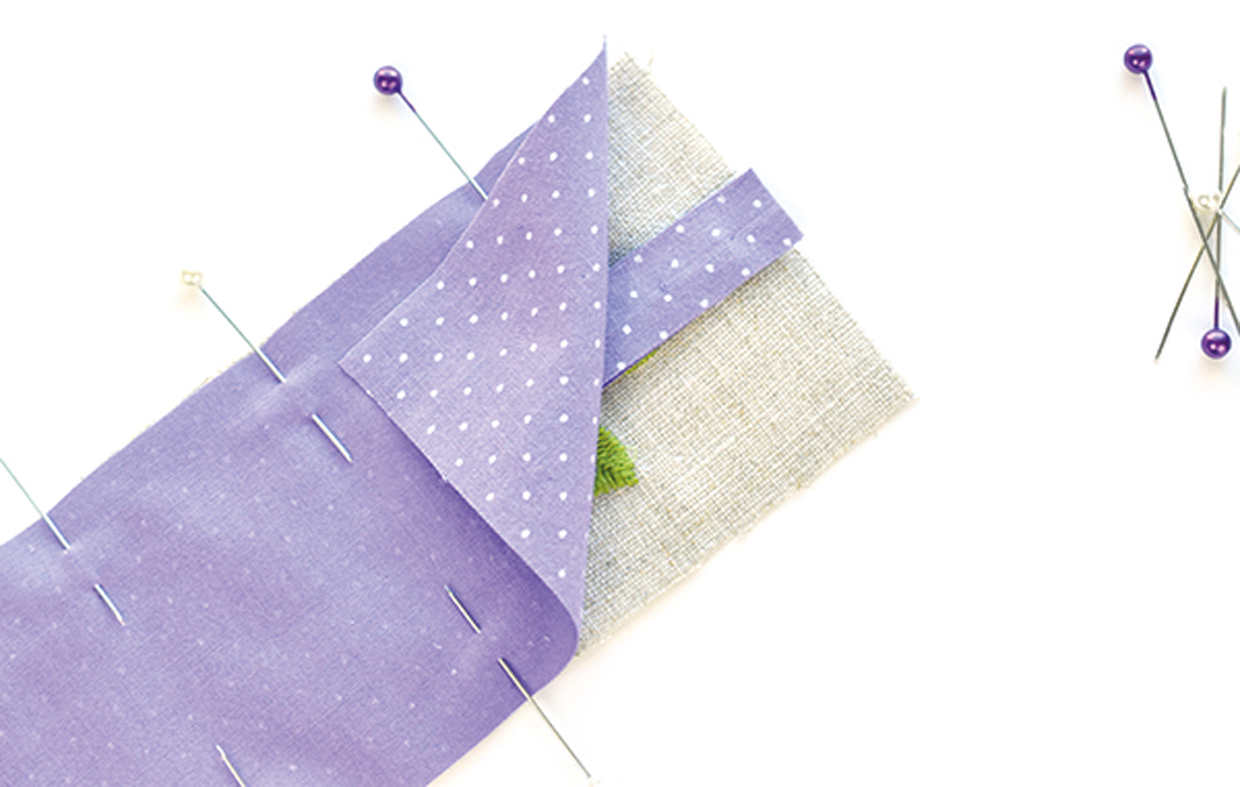
Pin the front and back of the bookmark with RS together.
Step three
Fold the ribbon in half and pin it at the centre of the top of the fabrics between the layers with the raw ends matching up with the fabric edge.
Step four
Sew the fabrics together using a 5mm (1/4in) seam allowance, trapping the ribbon loop in place as you go, and leaving an opening in the centre of one long side for turning.
Step five
Trim the corners to reduce bulk.
Step six
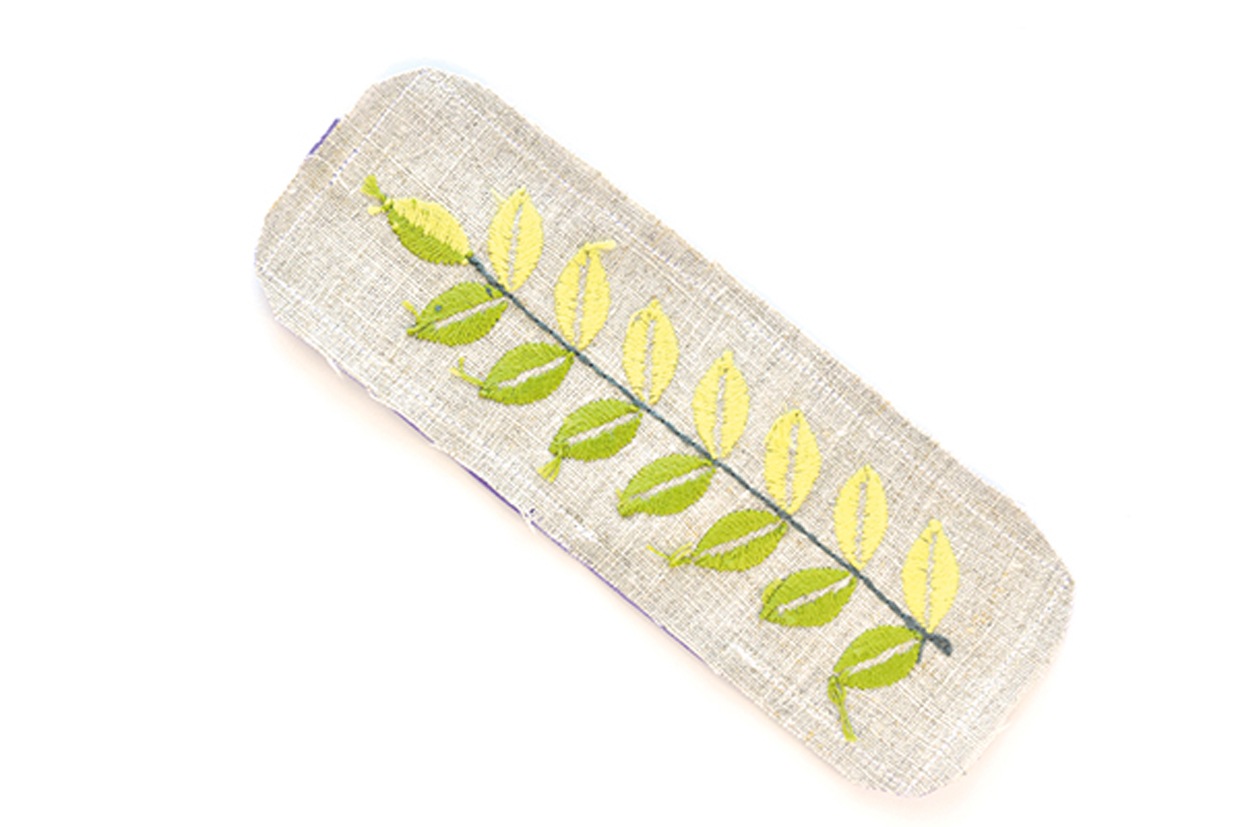
Turn the bookmark RS out then fold the edges of the turning gap to the inside.
Finishing off
Step one
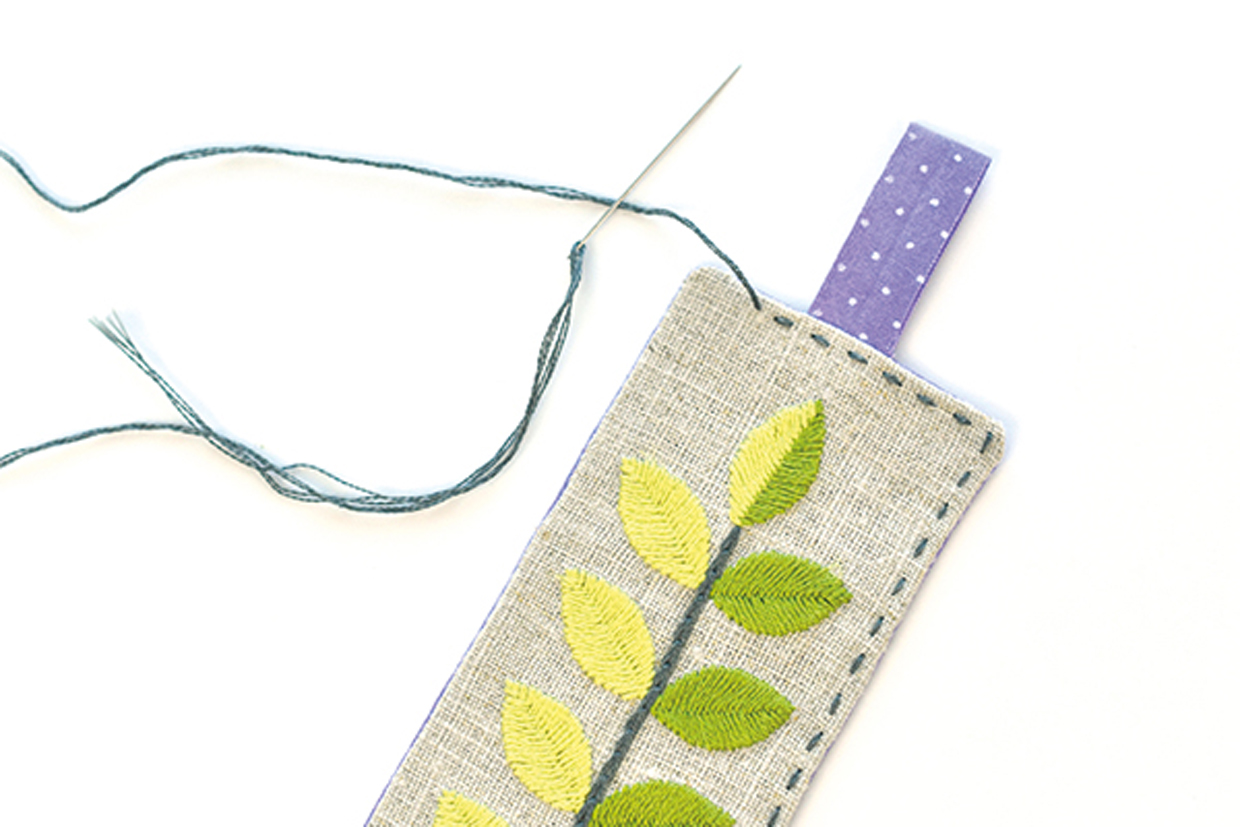
Stitch around the edge of the bookmark with running stitch using three strands of grey stranded cotton.
Step two
Keep your stitches close to the edge to decorate and hold the turning gap closed.
