Free needle weaving DIY tooth fairy pillow

Free needle weaving DIY tooth fairy pillow

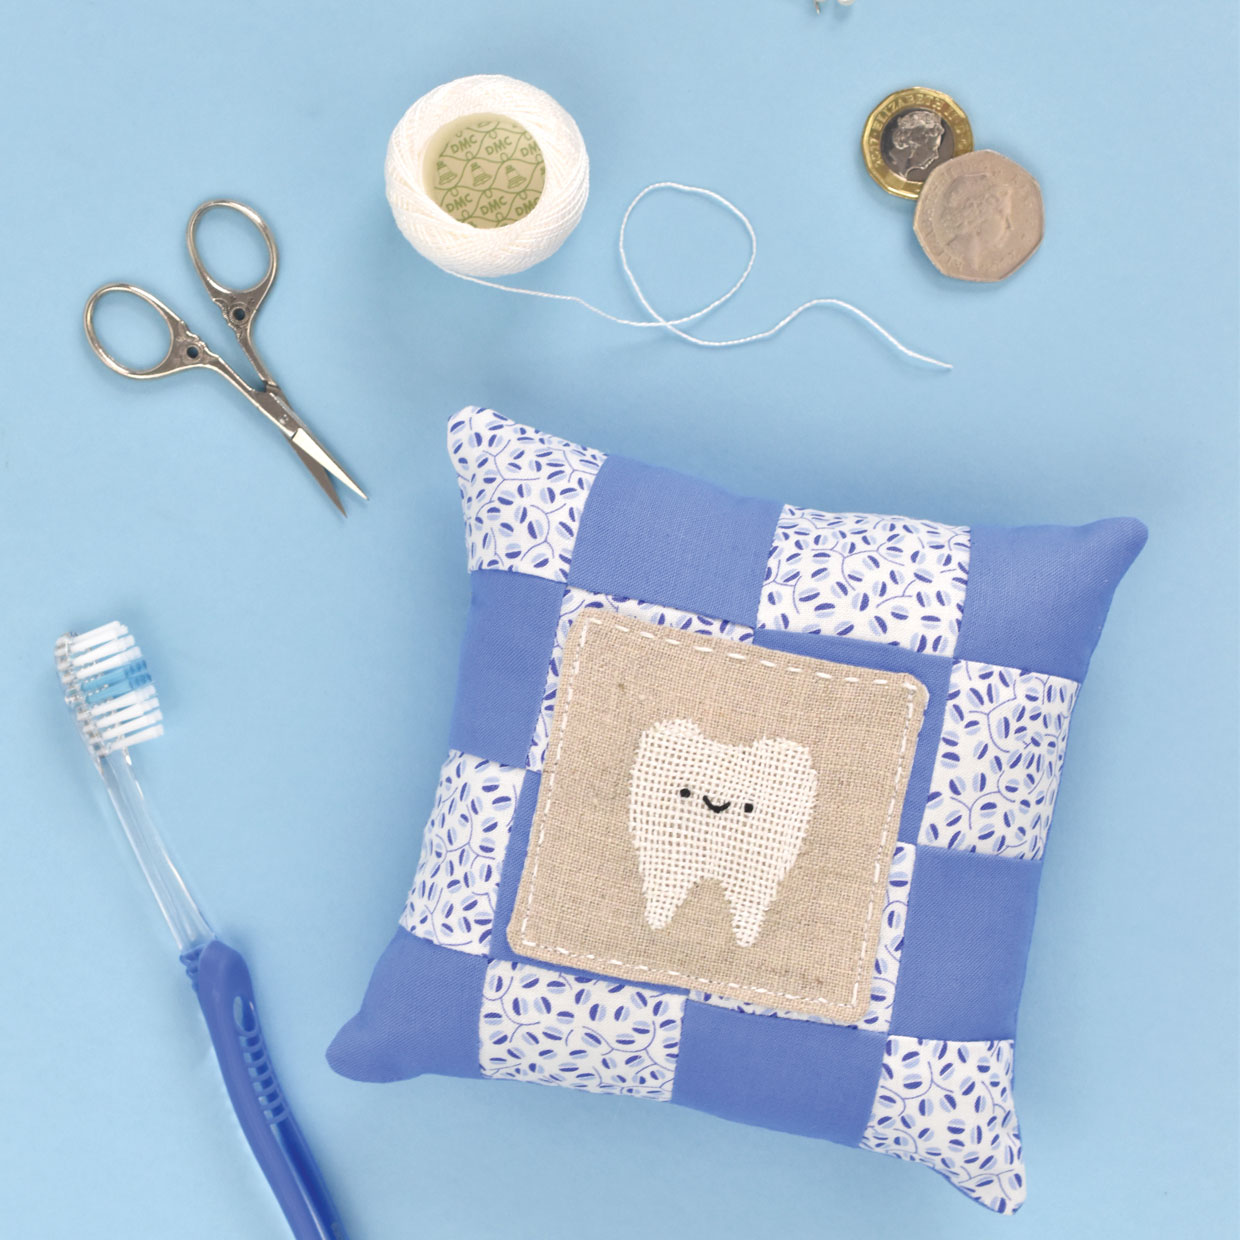
Give the tooth fairy something to smile about with Mollie Johanson's cute pillow embroidered in needle weaving stitch.

Try 3 issues of Simply Sewing magazine for £10!

Published: July 3, 2020 at 7:00 am

We think you'll be addicted once you've completed our 'how to do needle weaving tutorial' - it might seem a bit complicated at first but once you've got the hang of it you'll be weaving with that needle in no time! Once you're comfortable with your new stitch technique, why not try making our free tooth fairy pillow pattern too! And once you're finished, don't forget to browse all of the other embroidery patterns for free here on Gathered.

You will need

  • Linen fabric: 7.5x7.5cm (3x3in)
  • Quilting cotton A: 20x20cm (8x8in)
  • Quilting cotton B: 20x30cm (8x12in)
  • White perle cotton size 8
  • Black stranded cotton
  • Toy stuffing

Notes

Use a 6mm (1/4in) seam allowance unless otherwise stated.

You will need to download and print the Free needle weaving DIY tooth fairy pillow pattern template

How to do needle weaving

You will need:

  • Linen fabric
  • Quilting cotton
  • Perle cotton
  • Black stranded cotton
  • Toy stuffing

Step 1

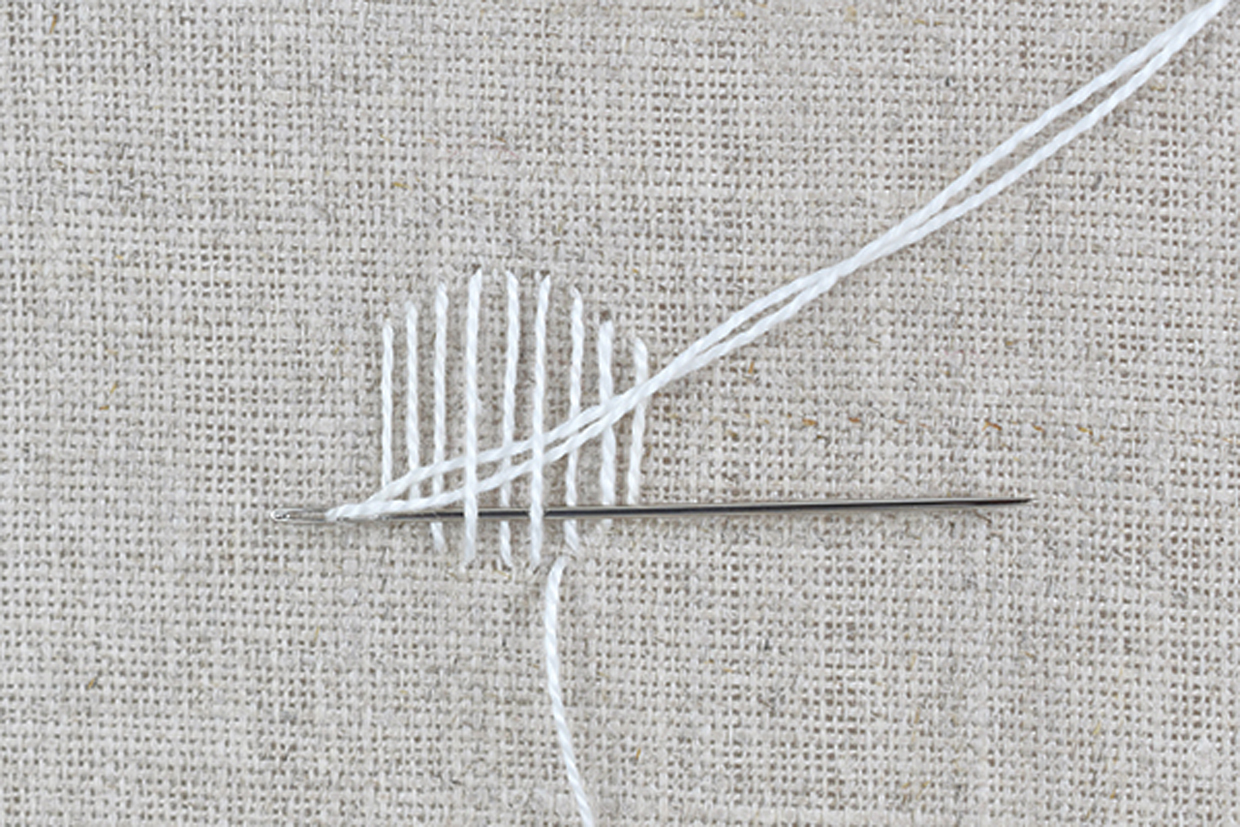
Stitch a series of vertical lines within the shape you want to fill. Come up at the top of the shape, down at the bottom, then up at the bottom of the shape and down at the top. Repeat until the shape is filled. Make the stitches close together or further apart, but be sure to space them evenly. Bring the needle up at one edge of the shape and begin weaving the embroidery thread through the vertical stitches. Pushing the eye of the needle through prevents the point from catching or snagging the threads.

How_to_do_needle_Weaving_step_01

Step 2

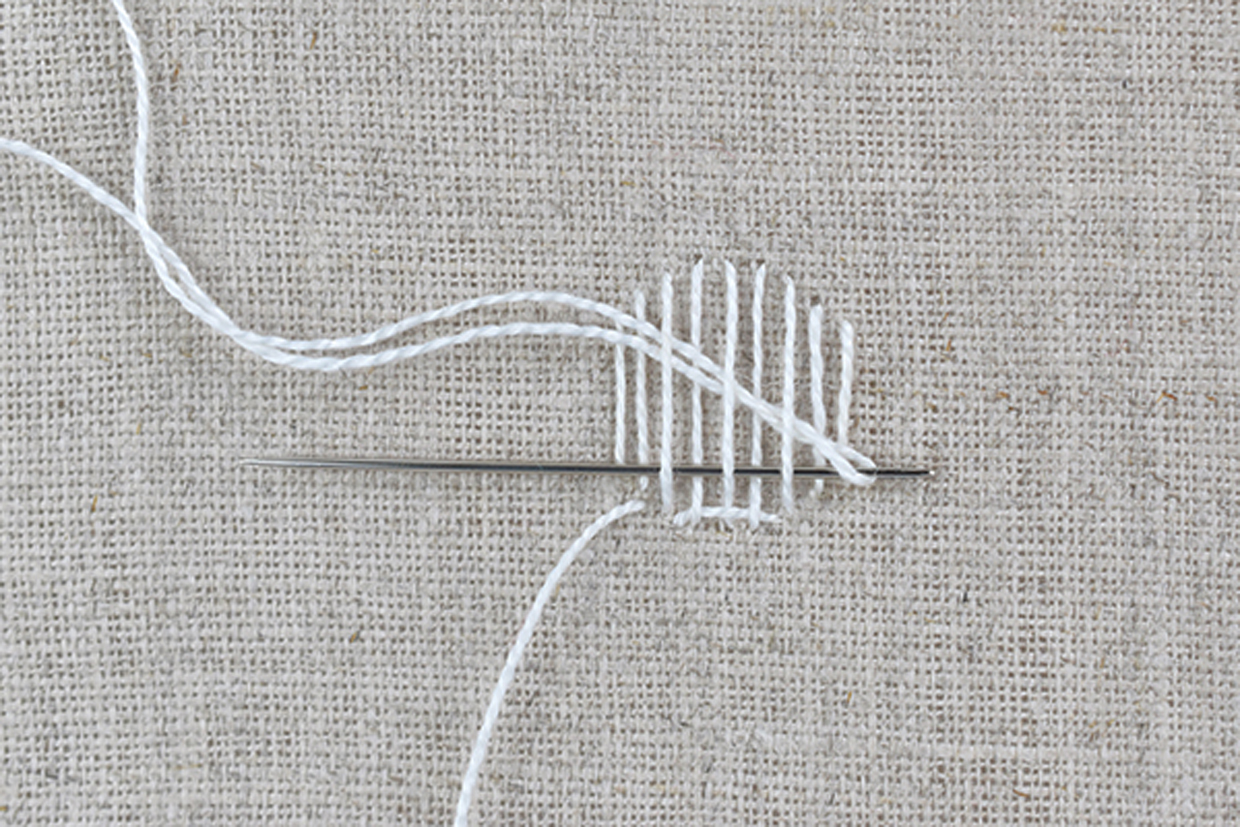
When you reach the end of the row, go back down through the fabric. Come back up a short distance from the first row of weaving. Depending on the shape, this may be either a shorter or longer line of weaving. Weave the embroidery thread through this next row, making sure that you start so that the needle goes under all the previous places where it went over, and vice versa. Go back down at the end and continue filling in the area with weaving, keeping the rows even and straight.

How_to_do_needle_Weaving_step_02

Free tooth fairy pillow pattern
Free Tooth Fairy Pillow Pattern

Cutting out

Step one

From quilting cotton A cut:

  • Patchwork front: eight 5x5cm (2x2in) squares.
  • Pocket lining: 7.5×7.5cm (3x3in).

Step two

From quilting cotton B cut:

  • Patchwork front: eight 5x5cm (2x2in) squares.
  • Backing: 16x16cm (61/2×61/2in).

Making the tooth fairy pillow

Step one

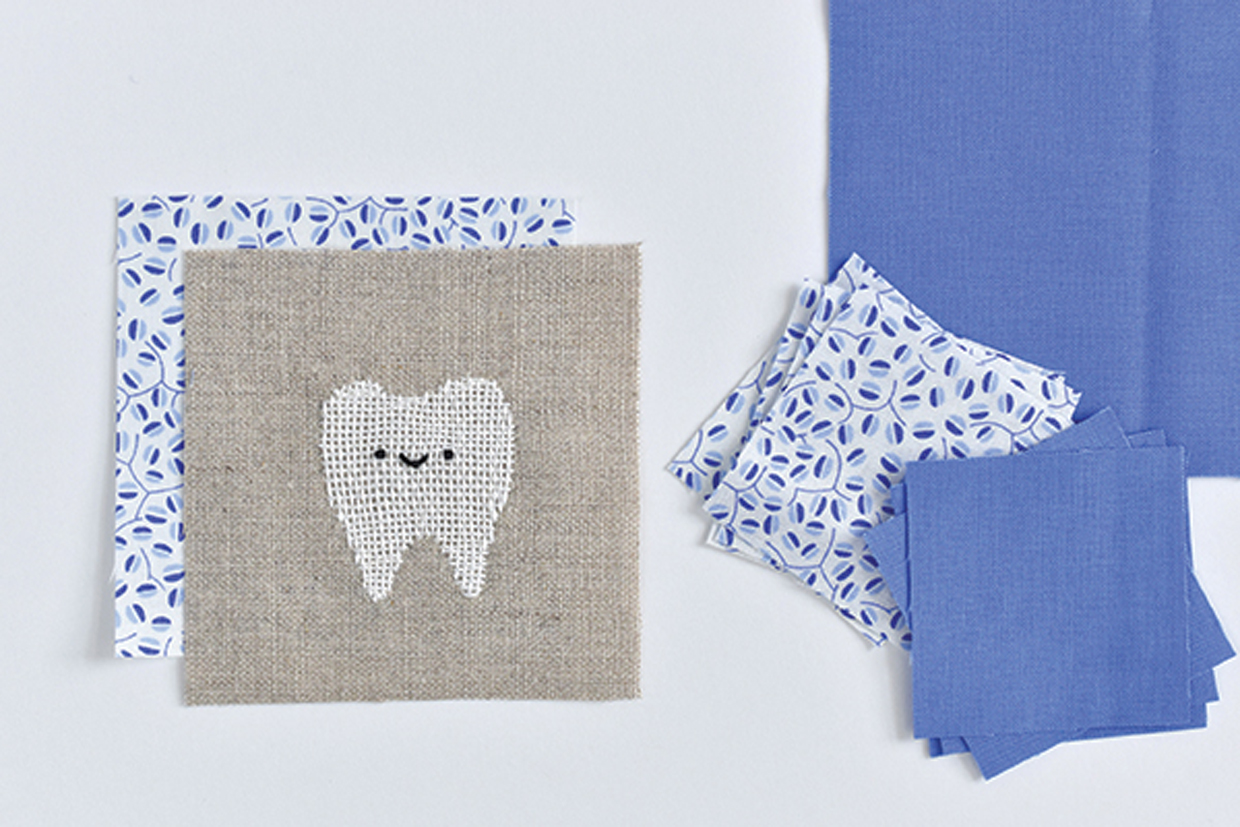
Embroider the tooth design on the square of linen. Stitch the tooth with needle weaving and the face with French knots and a scallop stitch. Use the white perle cotton for the tooth and three strands of black stranded cotton for the face.
How_to_do_needle_Weaving_step_03

Step two

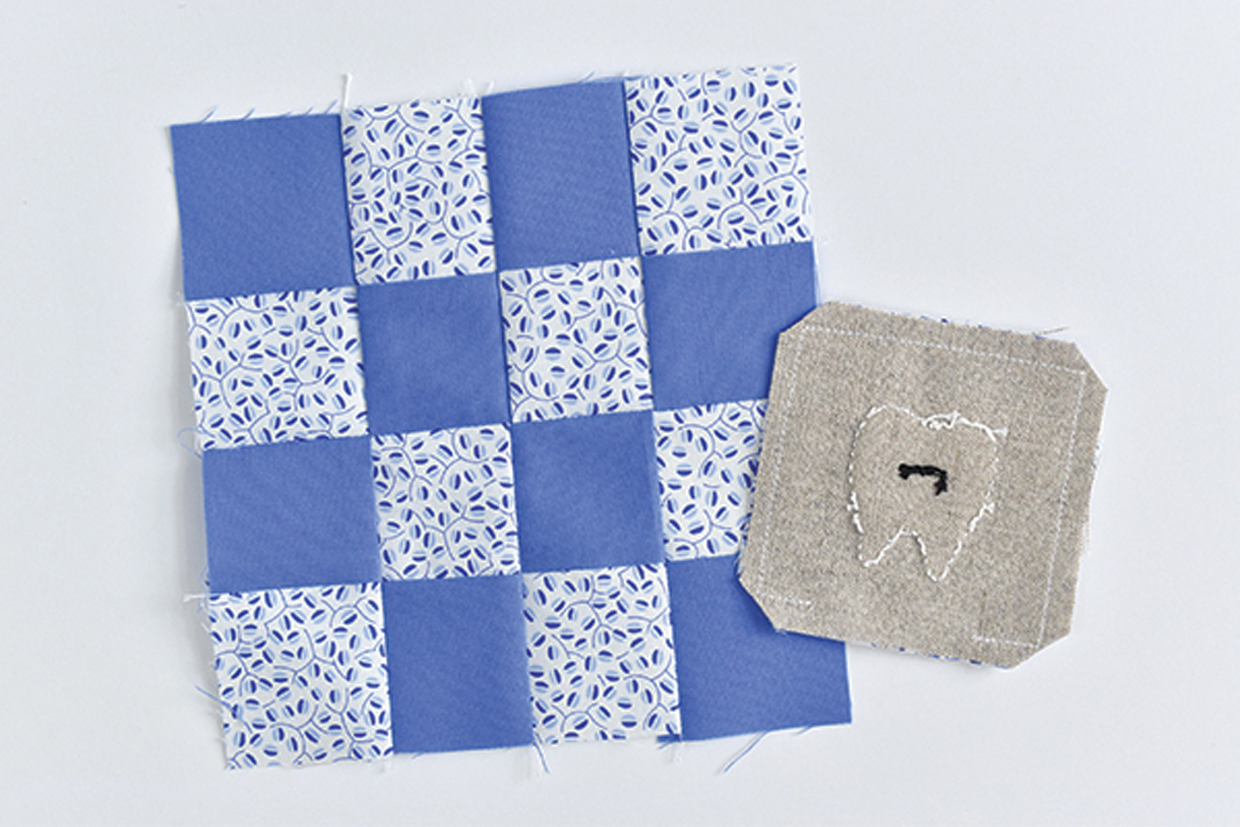
Sew the patchwork front fabric A and fabric B squares of quilting cotton together in a 4×4 checkerboard, using a 6mm (1/4in) seam allowance. Refer to the images for placement.

Step three

Sew the embroidered linen and the pocket lining quilting cotton piece with right sides (RS) together, leaving an opening at the bottom for turning. Clip the corners to reduce bulk, then turn it RS out. Press the edges of the seam allowance at the opening to the WS.
How_to_do_needle_Weaving_step_04

Step four

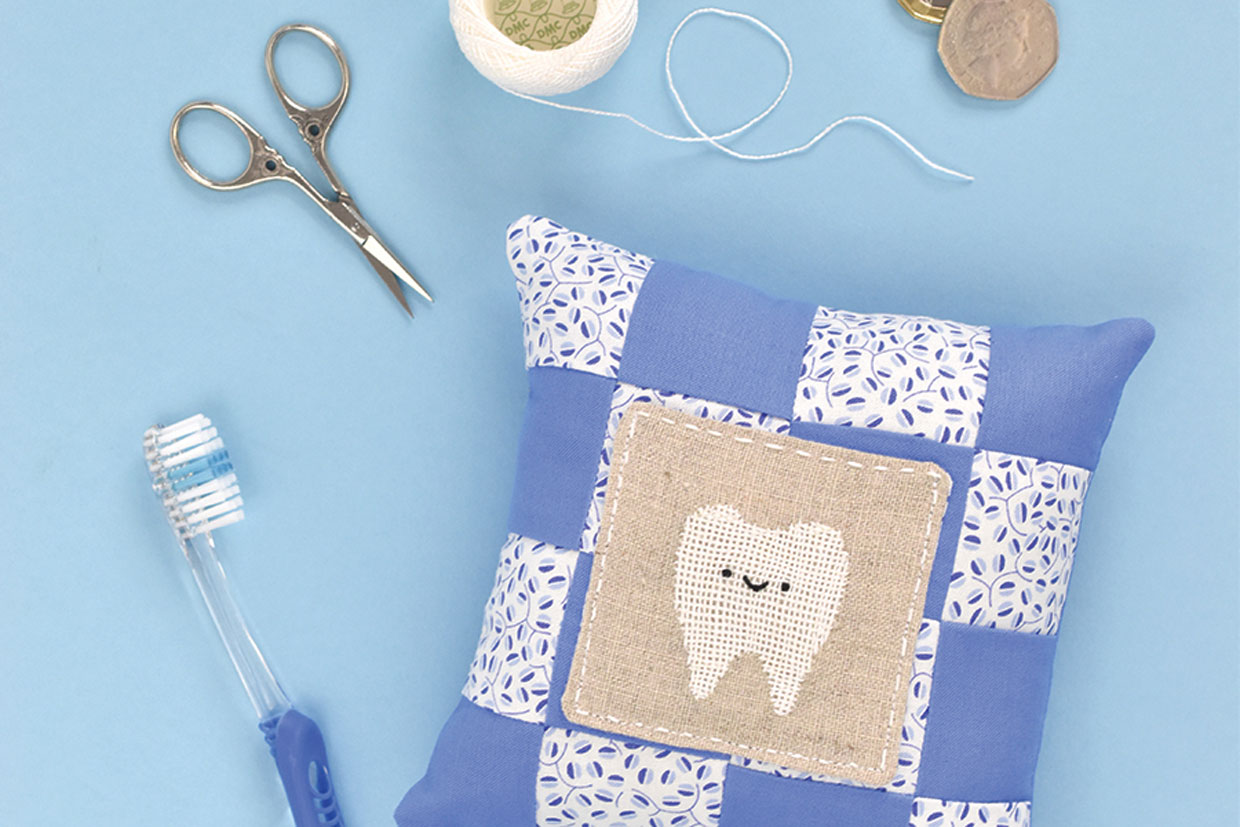
Pin and sew the embroidered pocket to the middle of the patchwork square, stitching along the two sides and bottom edge 3mm (1/4in) in from the edges. Stitch around all four sides with perle cotton and running stitch. As you stitch across the top of the pocket, stitch only through the pocket itself and not through to the patchwork backing to leave an opening.
How_to_do_needle_Weaving_step_05

Step five

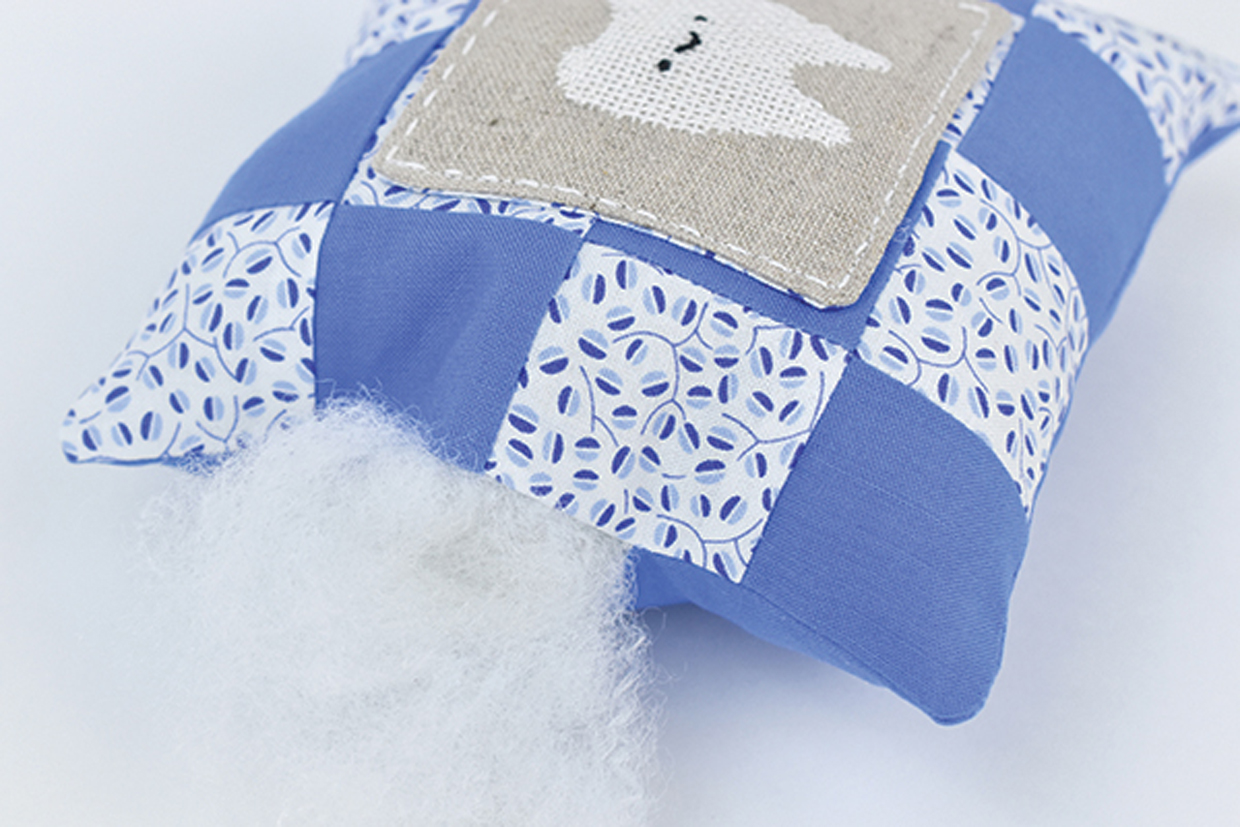
Sew the front of the pillow to the backing quilting cotton square with RS together, leaving an opening for turning. Clip the corners and turn the pillow RS out.

Step six

Fill the pillow with stuffing until firm, then stitch the opening closed.
How_to_do_needle_Weaving_step_06