Are you looking to spruce up a plain item of clothing or give an old garment a new lease of life? Adding embroidery to your clothes is the perfect way to do this.
The technique is very easy and works exactly the same way as any other hand embroidery. Depending on the design and the fabric type you can either use a hoop or simply stitch straight onto the fabric.
To transfer your design there are a few techniques you can use. We'll go into a bit more detail on this below.
Jump to:
- Transferring your embroidery design
- Top tips for embroidery on clothes
- Finishing your embroidery on clothes
- How to wash embroidered clothes
- Embroidery on clothes projects to try
How to embroider clothes: The ultimate guide
Transferring your embroidery design
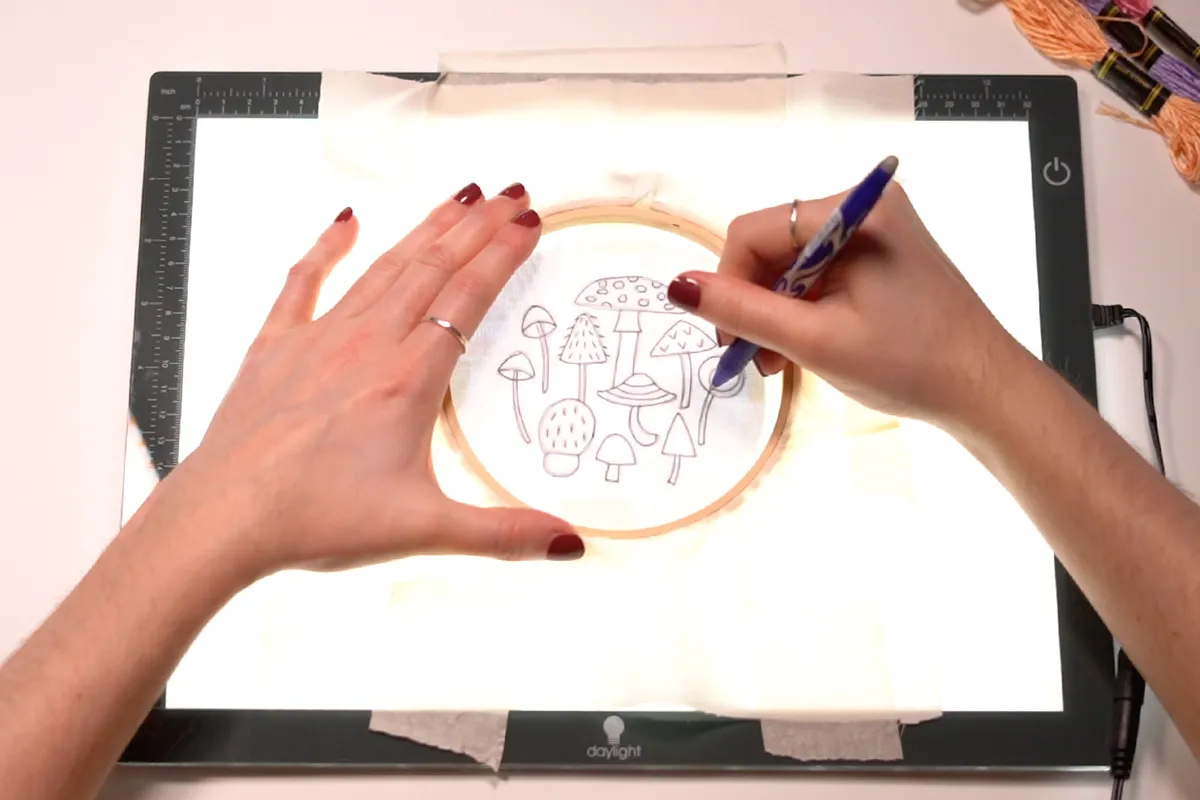
Lightbox and embroidery pen
You will need to transfer your design onto your fabric. An embroidery pen is the simplest choice if you are working from a template.
An embroidery pen is a heat-erasable pen that will remove with heat once you have finished your embroidery. Just run an iron over your work once you want the pen to disappear, or even blasting with a hairdryer can do the trick!
Put the template onto a light box and put the garment on top, then use your embroidery pen to draw the template design on the fabric just like in our how to transfer an embroidery design tutorial.
We'll show you how to transfer your design using a Daylight lightbox, as seen below.
Iron-on transfer
Using an iron-on transfer is another easy way to transfer a design ready to embroider on clothes, but this does rely on your having a transfer of the design you want to embroider on clothes.
Most issues of Love Embroidery magazine come with a set of iron-on transfers, so if you want to try this technique, pick up a copy.
Iron-on transfers are easy to pick up online too and are ready to be transferred onto your clothing. We love these positive statements which contain ten designs, all with a beautiful modern style to them. We think they'd look fabulous on a t-shirt.
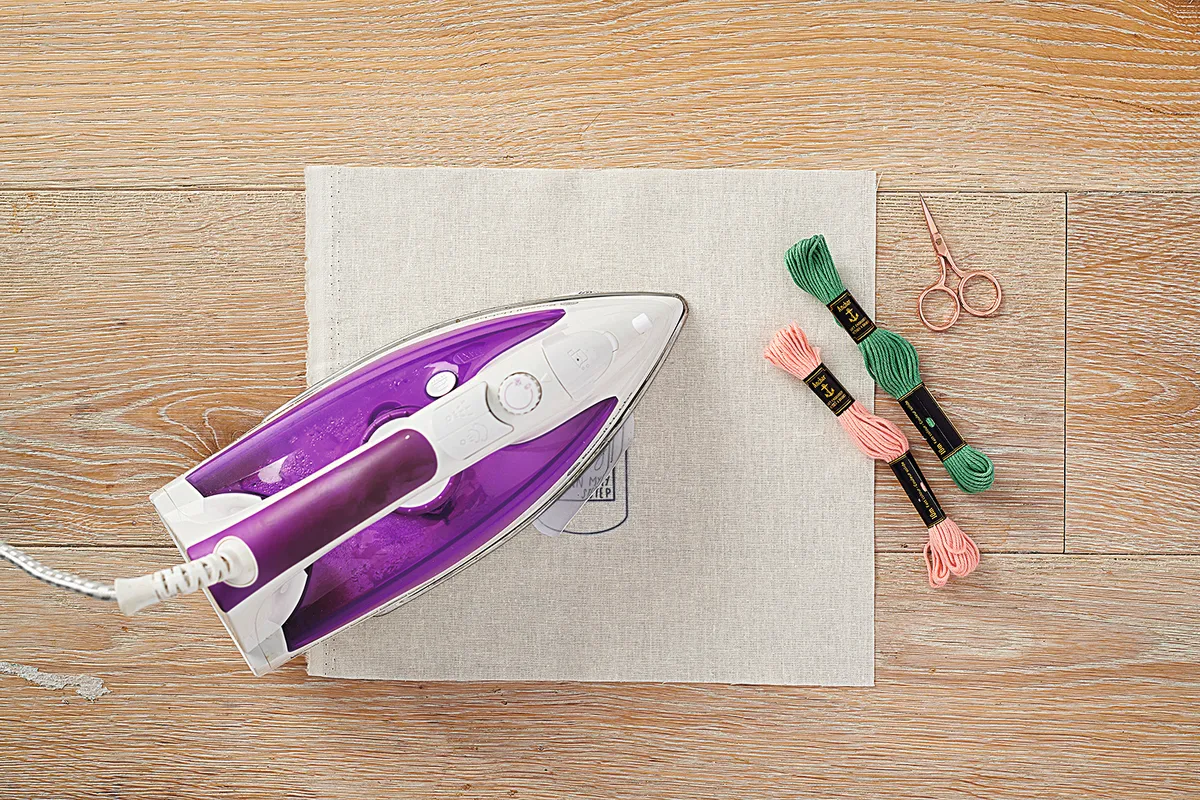
DMC Magic paper (water-soluble stabiliser)
Another really effective method is using water-soluble stabiliser. This is a lightweight, slightly perforated paper that stays on the fabric as you embroider. Once you’ve finished stitching, you soak it with the fabric and it dissolves.
As this method requires soaking, you will need to make sure that your fabric can be washed and that your thread is colourfast. Some of these stabilisers allow you to print directly onto them using a laser printer for more accurate designs.
You can also draw or trace directly onto it with the image the right way up (you don’t need to print in reverse), like with this DMC Magic paper. Once the design is on the stabiliser cut it out, then peel the backing off and stick it to your fabric. You can now embroider along the lines in the usual way through the thin stabiliser and into the fabric.
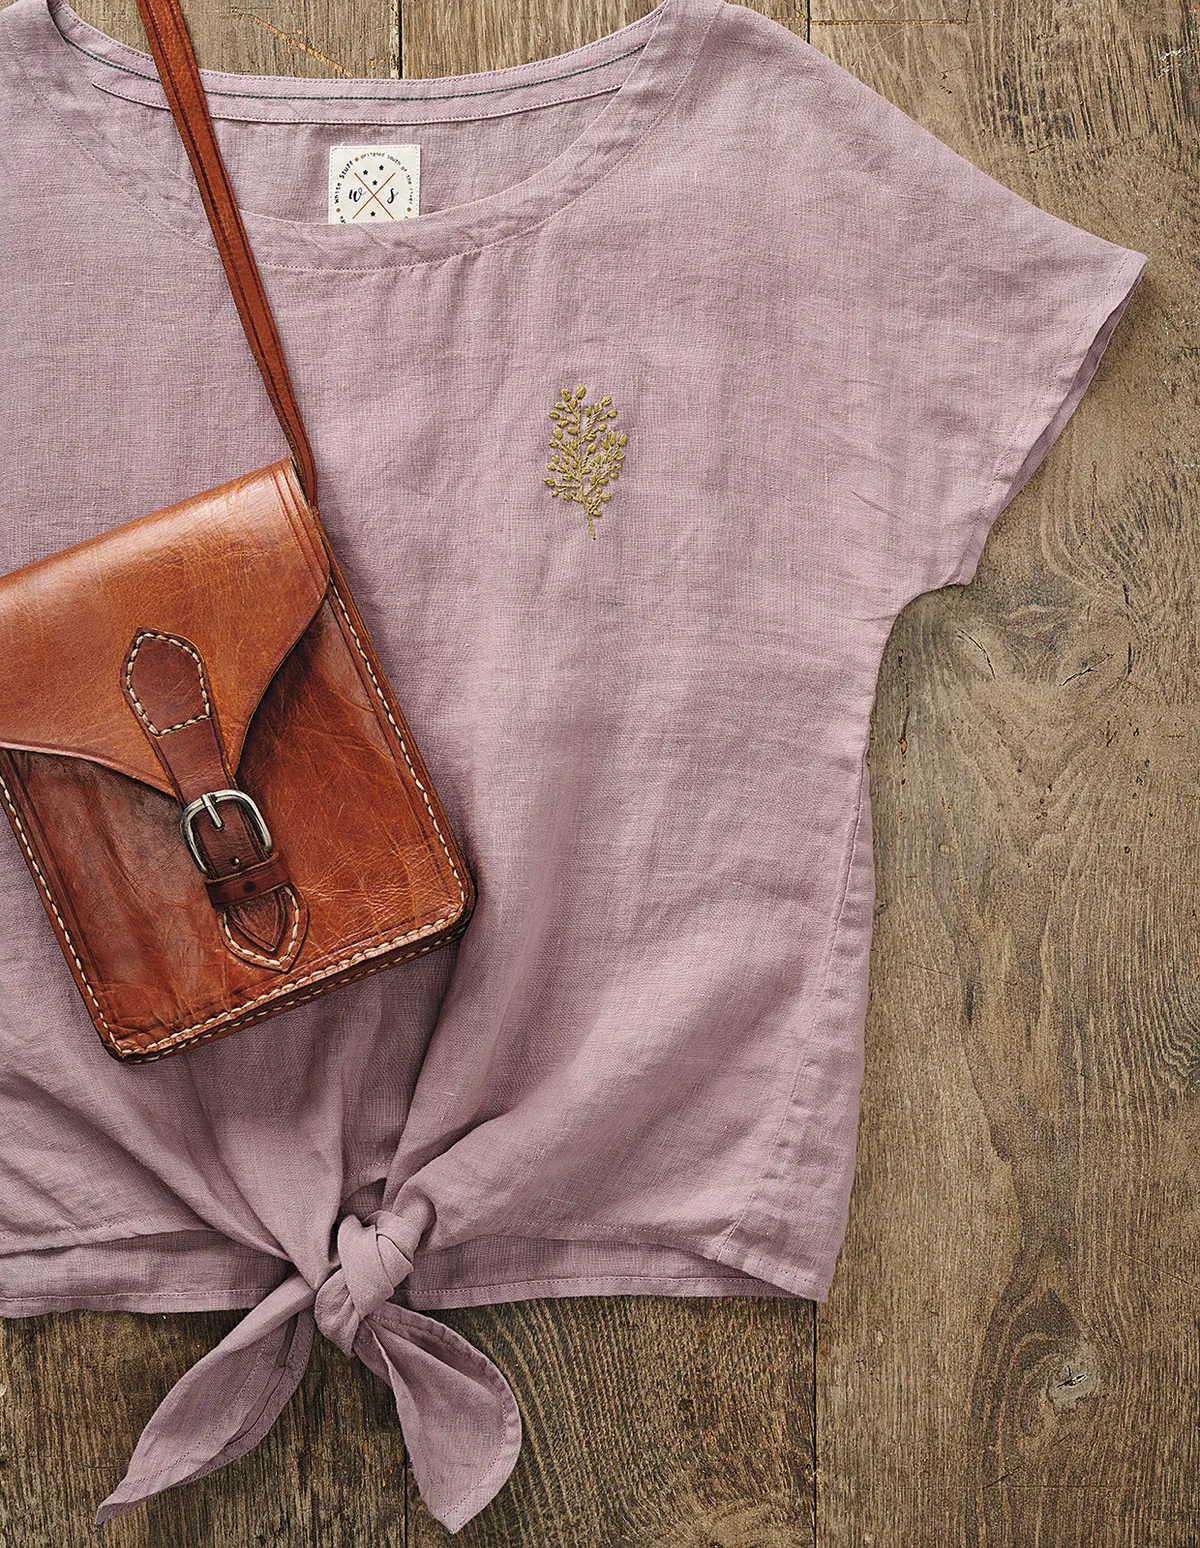
Did you know that embroidery is a form of mending?
Learn how to use embroidery to fix your garments by heading over to our guide to mending clothes.
Top tips for embroidery on clothes
Now you have transferred your design using one of the above methods, it's time to stitch! the technique you use will depend on your fabric and the type of garment. Here are a few tips to help:
Choose your fabric
The best types of fabric to stitch onto are woven materials (those without stretch) like linen, cotton and denim.
Use thicker needles
If you are stitching with material like denim, it's best to use a thicker needle to help you push through the fabric. Try these Chenille needles from Hobbycraft, which are sharper, thicker and have a bigger eye than a standard needle.
Stitch types
Avoid using delicate stitches as these won't withstand washing, and will lose tension over time. We'd also recommend working with a higher number of threads to create bold, visible stitches on your clothing.
Using an embroidery hoop
You can use an embroidery hoop if you wish, but just ensure your stitches are where you want them to be. Be careful of your tension too, if you remove the hoop the tension may lessen causing your stitches to loosen.
If you can work without a hoop, you'll have a better idea of how your finished stitching will look and be able to gauge the correct tension.
Finishing your embroidery on clothes
If the fabric is stretchy or lightweight then press a piece of medium-weight interfacing onto the back of the area you want to embroider, cutting it a little bigger all round than the finished embroidery.
How to wash embroidered clothes
Looking after your embroidered clothes in the right way will ensure their longevity and keep them looking vibrant for longer.
We'd always recommend hand washing your embroidery pieces, as machine washing can quickly ruin these delicate items.
It's super simple, take some mild detergent in a bowl of lukewarm water. Allow your garment to soak for 15 minutes, gently swish around, rinse in cool water and set to dry.
Embroidery on clothes projects to try
We have some great projects showcasing how to embroider on clothes for you to try here on Gathered! Start here for some great projects and patterns to get you excited about the world of embroidery on clothes.
1. Embroidered socks tutorial
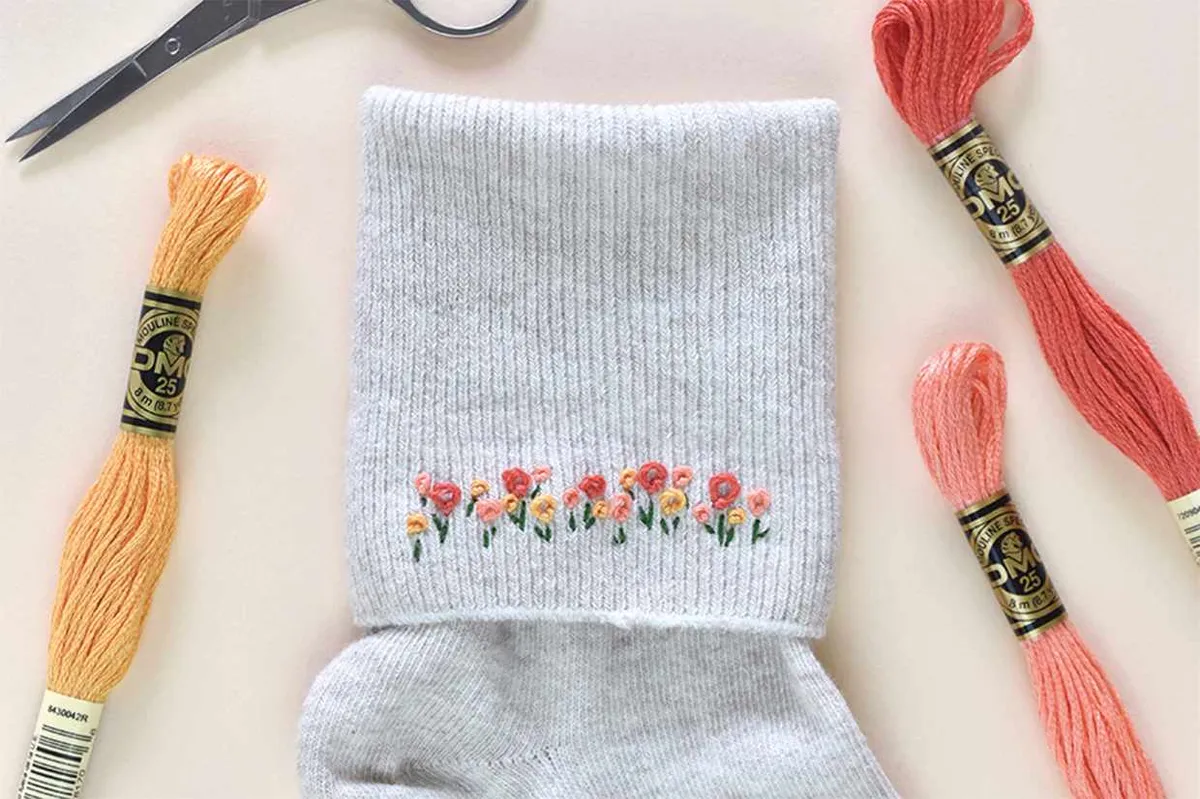
Treat your feet to embroidered socks personalised with a dainty floral motif, stitched in Peking knots. Mollie Johanson shows you how it is done with this step-by-step embroidered sock tutorial. Discover How to embroider socks tutorial.
2. Embroidered Converse
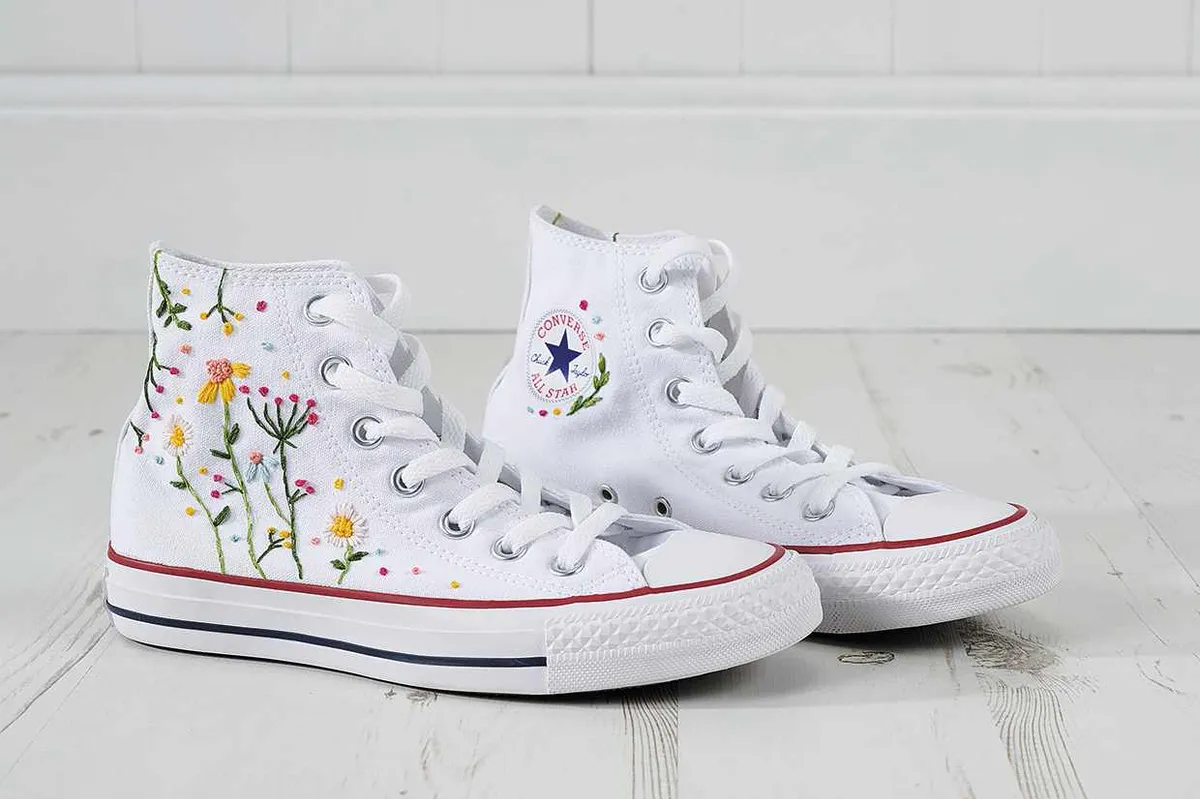
Take a plain pair of Converse and transform them into something special. We’ll show you how to embroider Converse and add florals to your high tops! The process will be explained step-by-step, from the transfer of the design to the type of stitch you'll use. Along the way, you'll find some helpful tips and tricks.
Add flowers to your feet with these brilliantly embroidered Converse! Find out how to add embroidery on Converse tutorial.
3. Cute cat pocket embroidery
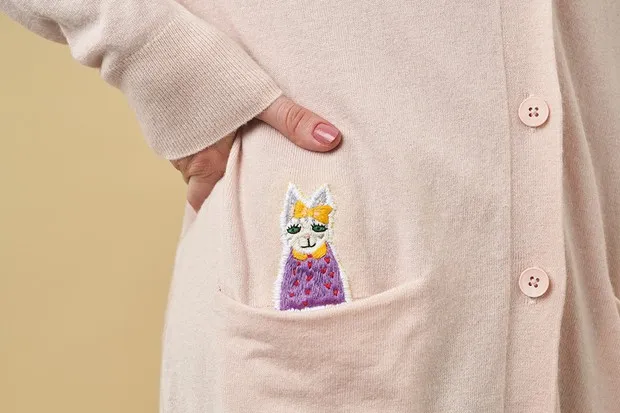
Want to add cat embroidery on clothes? Of course, you do! We've got this cat embroidery tutorial to teach you have to add cats to all your pockets. These quirky designs from Lana Red which take any cardi and make it incredible!
4. Embroidery on a denim jacket
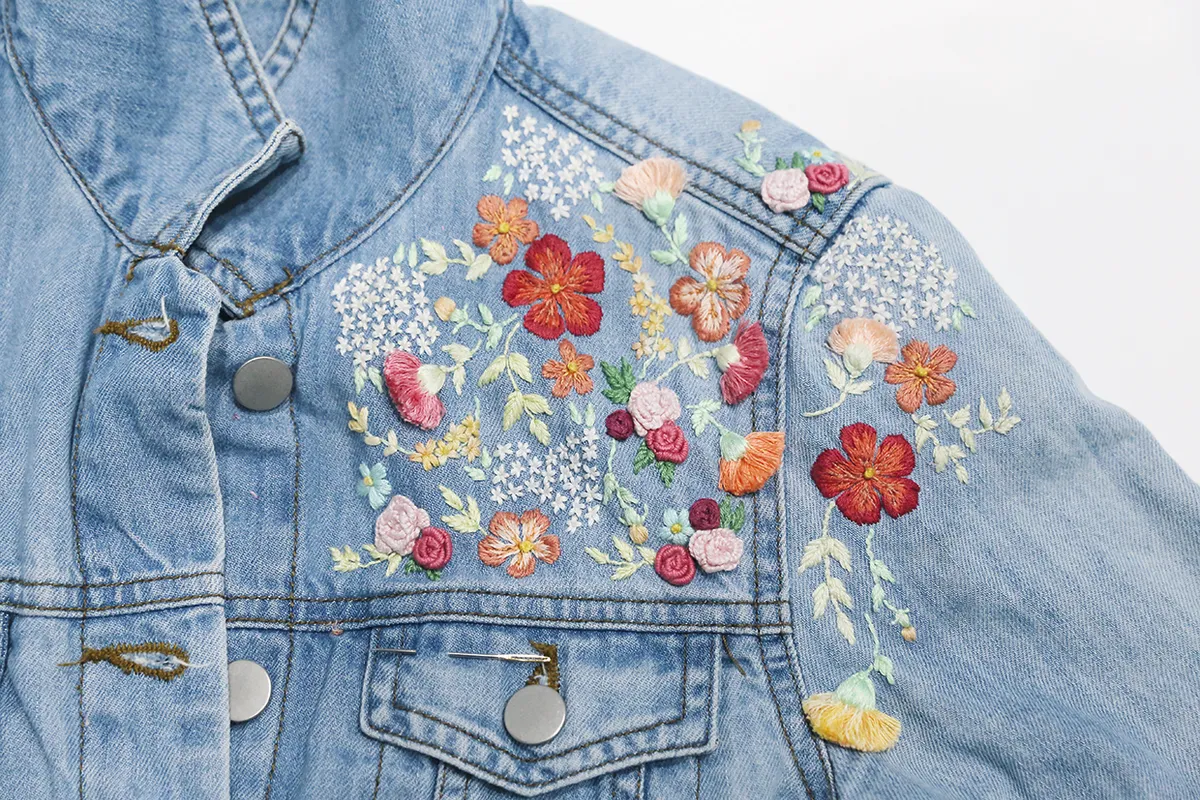
Embroidery on denim is a classic! Demin and embroidery are such a beautiful pairing. The faded wash of this jacket looks beautiful combined with the vibrant and detailed florals creating a colourful explosion.
Update a faded denim jacket with these gorgeous embroidery flowers designed by Rachael Dobbins.
5. Embroidered scarf tutorial
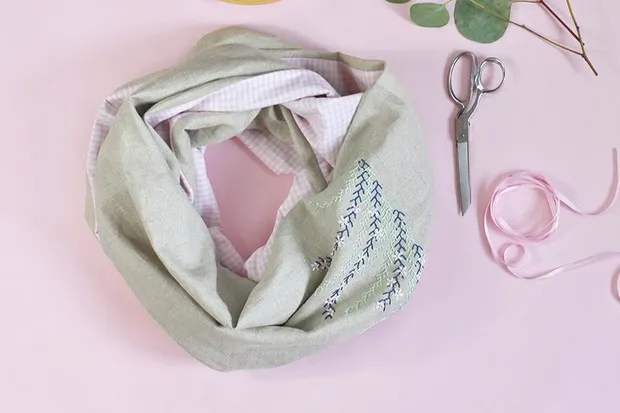
Not only will you find out how to add this delicate pattern to your favourite scarf, but we'll also show you exactly how to make the scarf yourself! If you prefer then use our free pattern to update a plain scarf in your wardrobe
Add embroidery on clothes to your look with our easy Feather stitch scarf.
6. Embroidered dungarees for kids
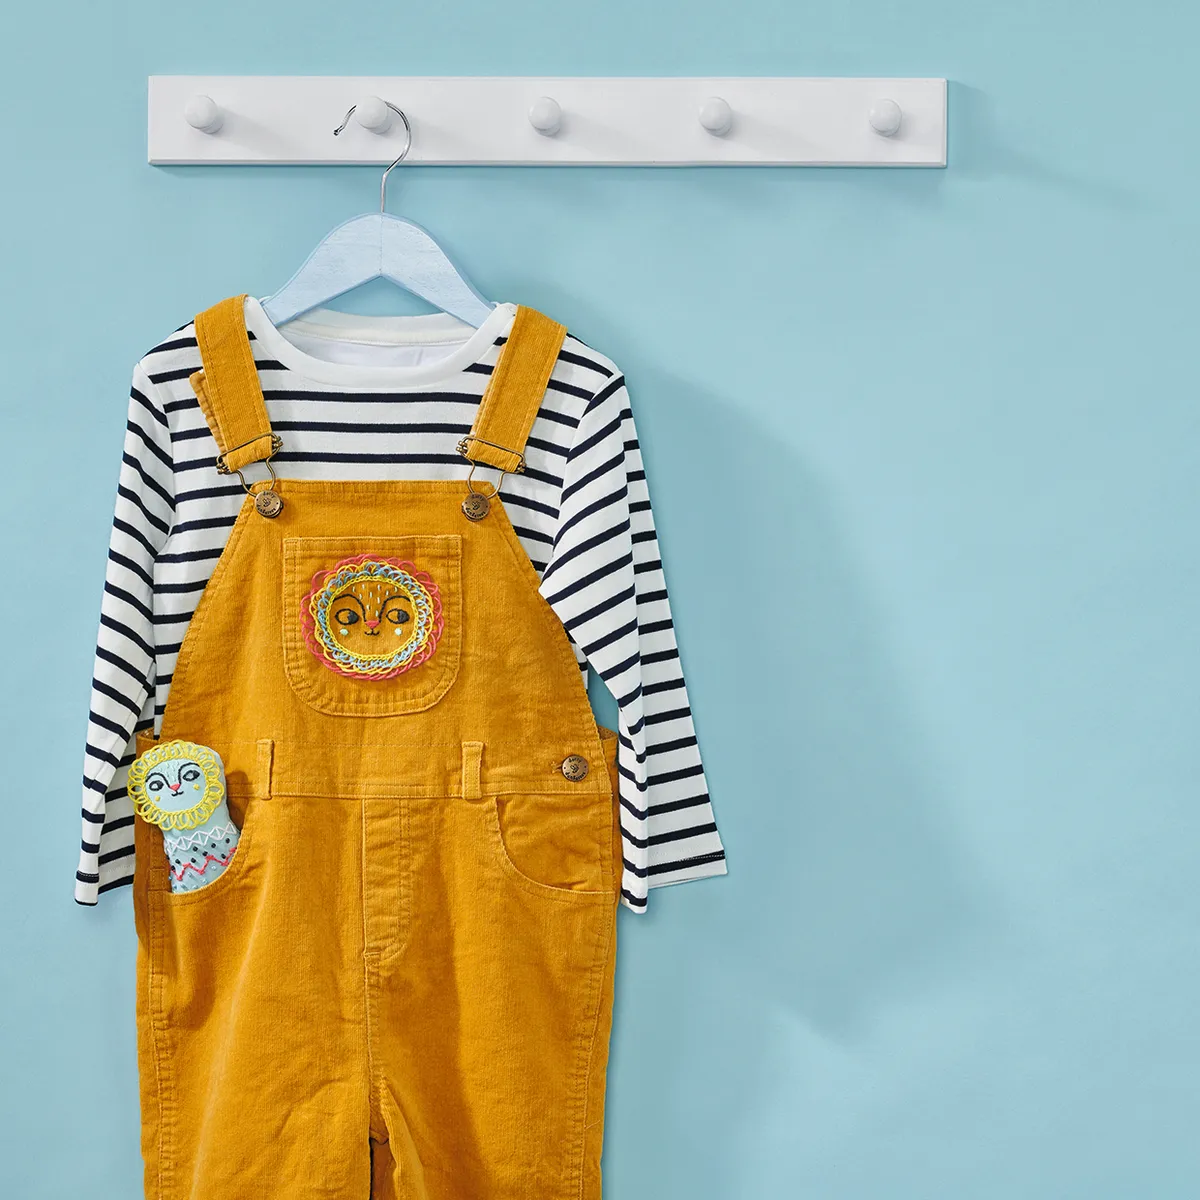
Kids will love this cheery embroidery animal motif- stitch a lion on a favourite outfit and make a plushie matching it.
Our embroidery animal can be added to the front of dungarees, or loop stitched into a T-shirt, the pocket of a favourite pair of jeans, or even a hat.
7. Embroidered bucket hat for kids

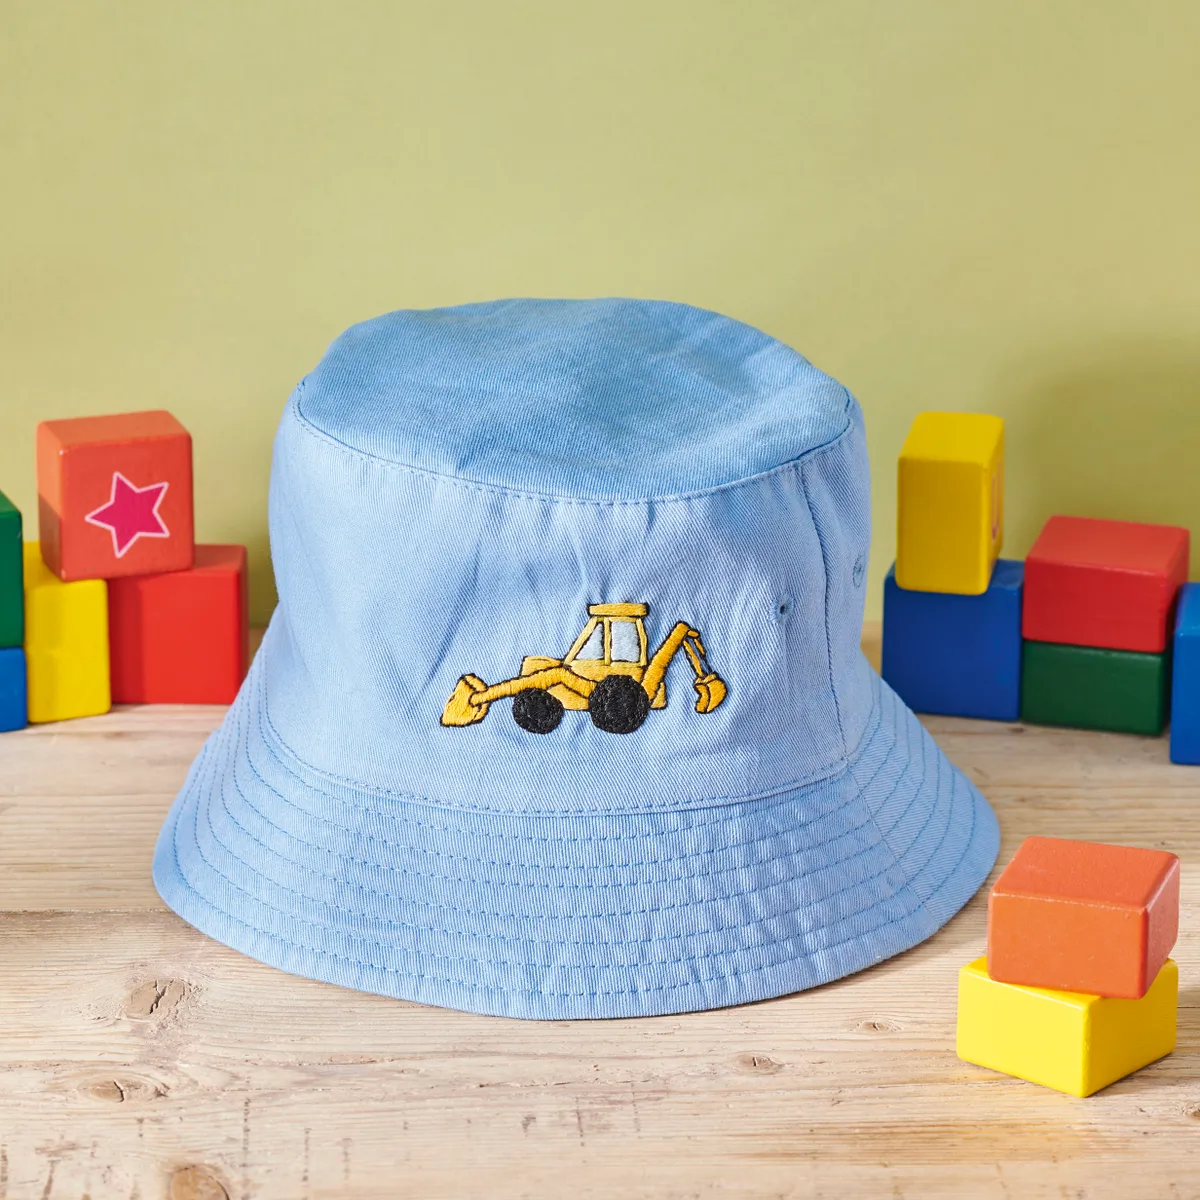
Add a splash of summer to kids' clothes with this fun digger bucket hat. With simple stitches, this project is a breeze! We stitched it onto a plain blue hat, but you can choose any colour which suits your little one! Get the full embroidered hat tutorial.
8. Embroidered jeans for a cute festival look
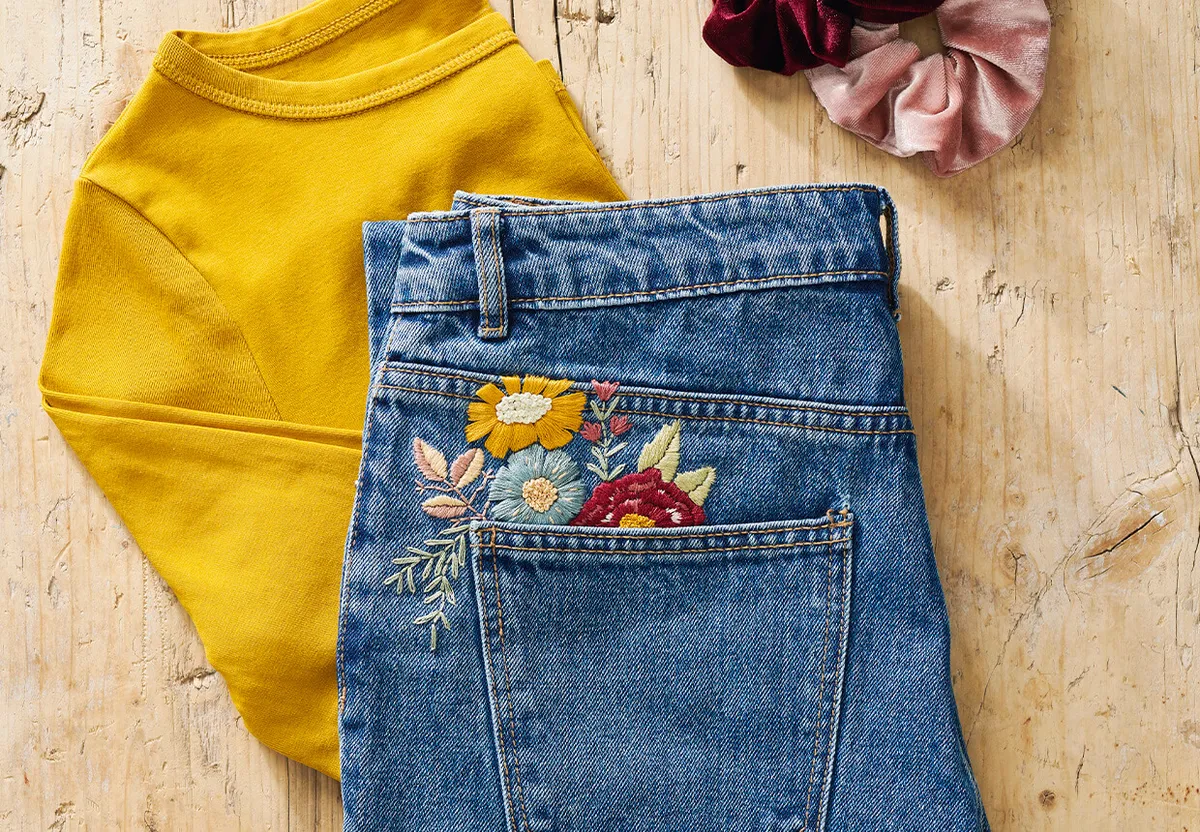
Embroidered jeans are just gorgeous! These vintage-style jeans are taken to a whole new level with the beautiful embroidered flowers. Update your jeans in time for summer and festivals.
Demin is a little different to embroider on, as the material is thicker than cotton or linen. In this guide, we'll show you some top tricks for stitching on tougher fabrics.
9. Embroidered shoes with a rainbow pattern
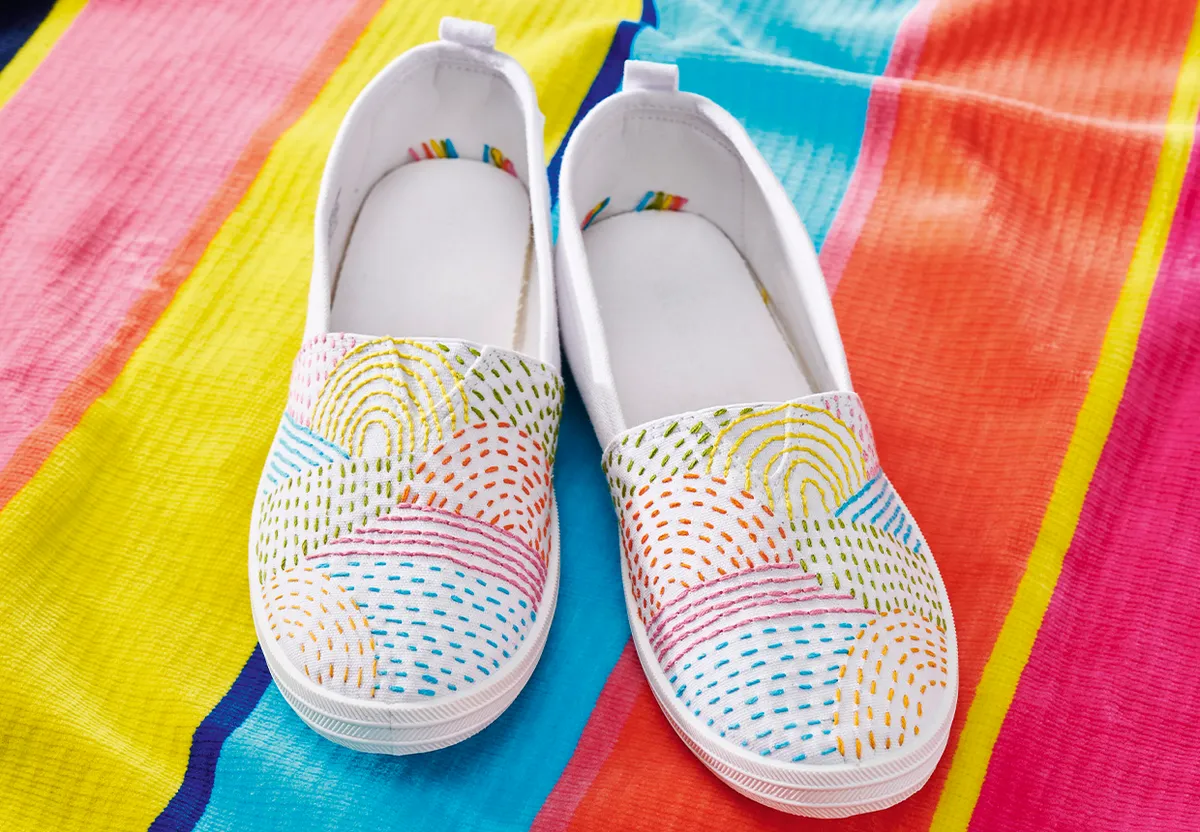
Use a Sashiko-style embroidery to add a splash of colour to your white kicks. This embroidered shoe pattern is super quick to create and ideal for festivals.
We've used a plain white pair of shoes with bold bright stitching, but you can also take this pattern and use whichever colours you like. We find that contrasting colours work best, for example, white thread on black shoes.
10. Embroidery on a t-shirt: Beautiful buttery embroidery design
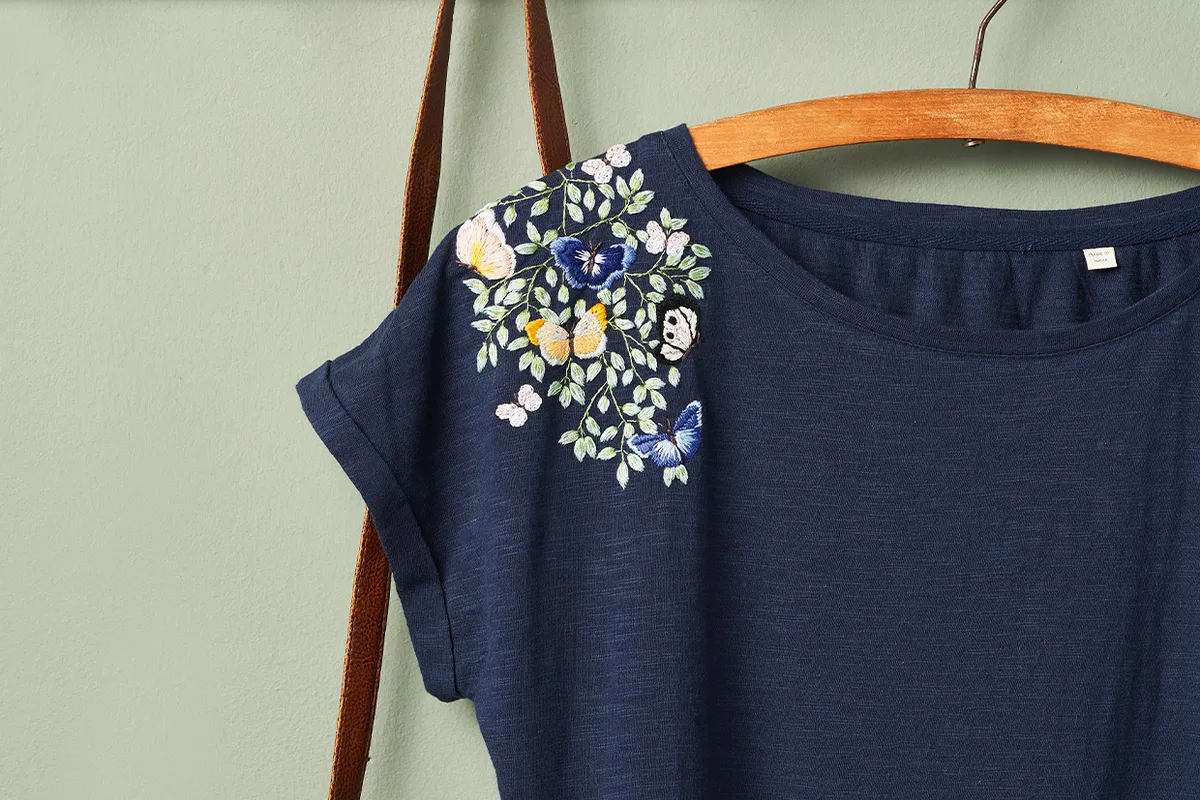
Give your t-shirts an elegant twist with this delicate butterfly embroidery design draped over one shoulder. In this project, you'll be challenged to take your embroidery skills to the next level with delicate leaves and vibrant butterflies.
We have guides to all of the stitch types within the tutorial, so don't feel intimidated by a variety of stitches.
11. Stitch a strawberry jumper
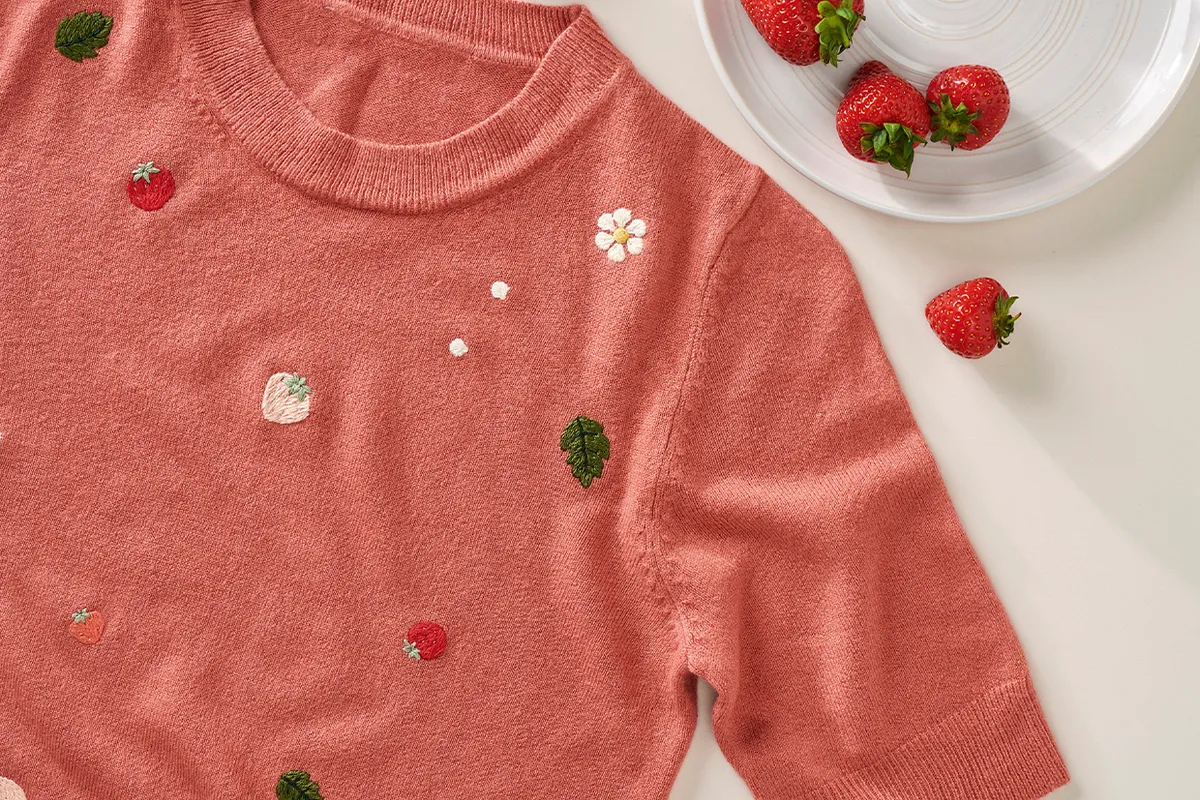
Strawberries floating through the air are the epitome of summer. With this cute strawberry embroidery design by Cathy Eliot, you can add sweet summer motifs to a jumper. Give your favourite top or jumper a summery twist by stitching mini strawberries, daisies, and foliage.
12. Embroidered scrunchies for summer
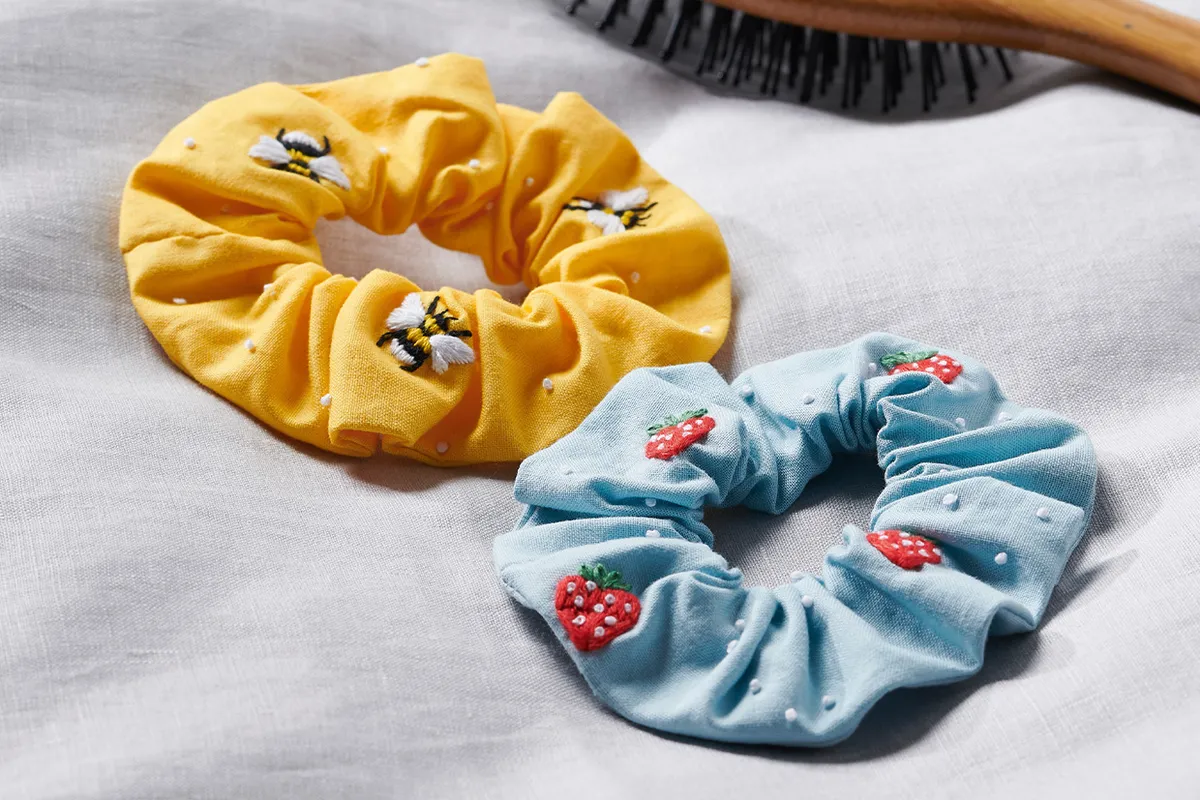
Not strickly speaking clothing, but embroidered accessories are just as much fun to make! Here are two embroidered scrunchies designed by the talented Anna Alicia!
You have the option to select between a sky blue fabric with charming summer strawberries or a mustard yellow fabric decorated with a soft bumblebee.
Why embroider clothes?
Adding embroidery to garments can give a whole new lease of life to them. It works especially well with older clothing you don't wear anymore. We all love an eco-friendly project, so goodbye fast fashion and hello upcycled embroidered clothes!
What's next to embroider?
The joy of embroidery is that it can be applied to almost any fabric! With our guide to embroidery letters, you'll not only learn how to stitch beautiful lettering, but we'll show you how to apply to a jumper.
