Embroider a DIY coin purse

Embroider a DIY coin purse

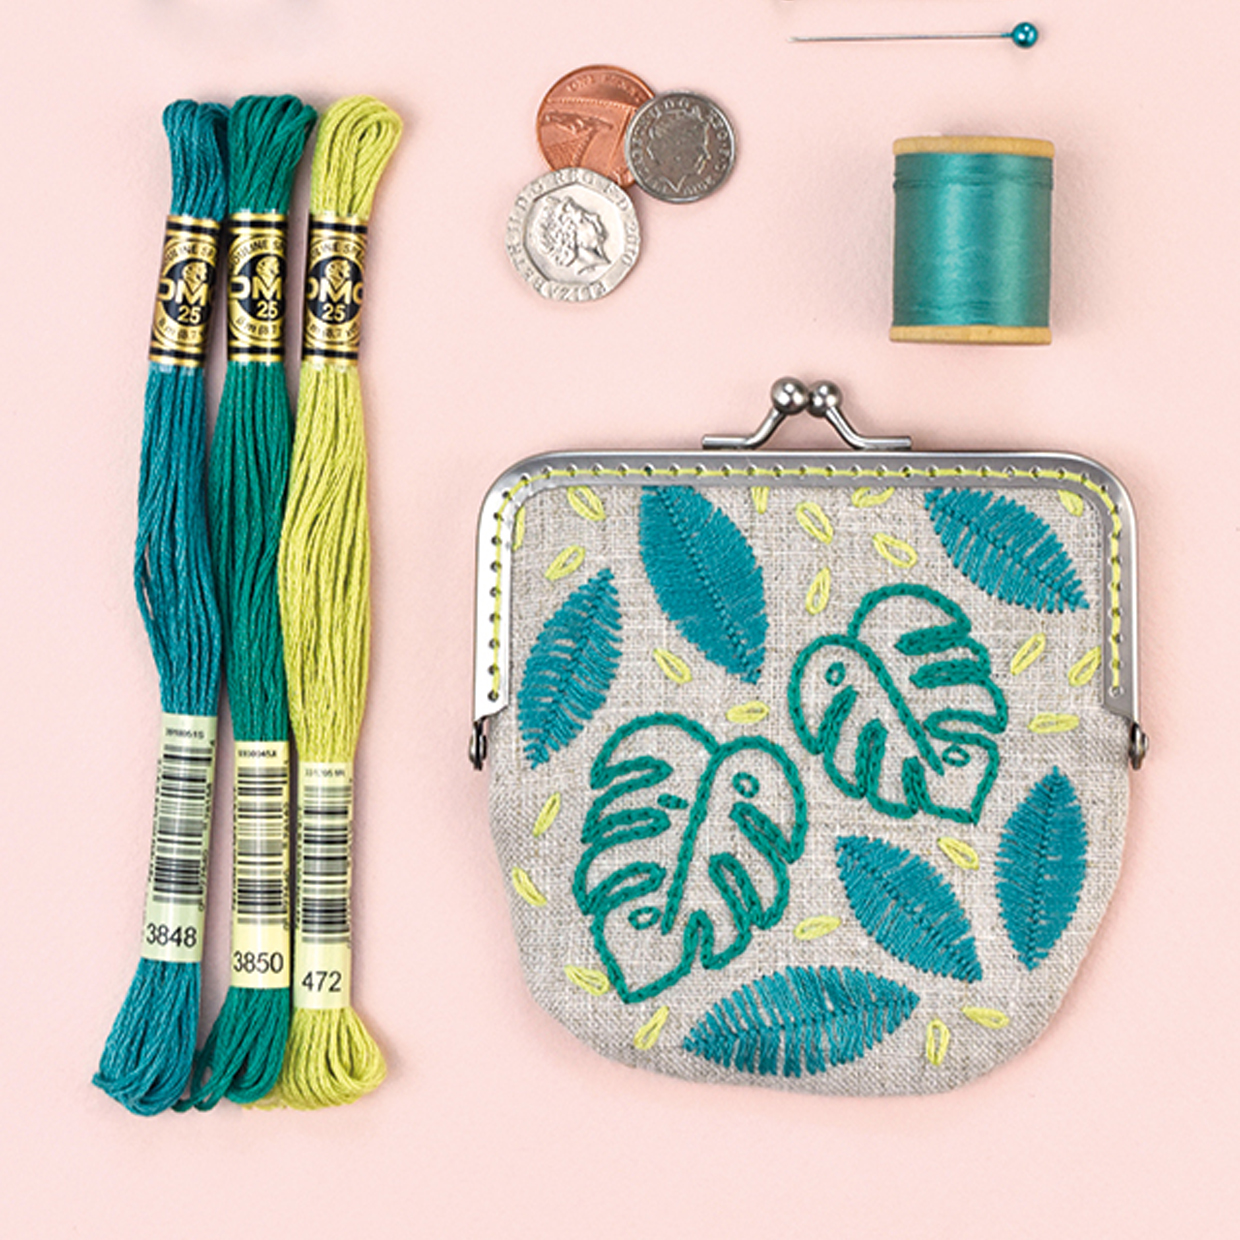
Carry tropical vibes with you wherever you go with Mollie Johanson’s botanical DIY coin purse embroidered in Roumanian stitch.

6 issues of Simply Sewing magazine for £14.99|Save 78%!

Published: June 7, 2020 at 8:00 am

Roumanian stitch is a fantastic embroidery technique for adding a bit of texture and fullness to your projects. In this project we'll start off by going through the Roumanian stitch, then use your new stitch technique to make a DIY coin purse.

If you fancy learning more, you might also like our how to make a coin purse tutorial

You will need

  • Linen fabric: 25x25cm (10x10in)
  • Backing fabric: 25x25cm (10x10in)
  • Stranded cotton: green shades of your choice
  • Rectangular purse frame: 10cm (4in)
  • Matching thread
  • Basic sewing kit

Notes

Use a 1cm (3/8in) seam allowance unless otherwise stated.

You will need to download and print the Roumanian stitch DIY coin purse pattern template.

Roumanian Stitch

You will need:

  • Linen fabric
  • Backing fabric
  • DMC stranded cotton
  • Matching thread
  • Rectangular purse frame
  • Basic sewing kit

Step 1

Mark a line where you would like the center of the leaf to be. Come up from the back on the left side, approx 1cm (3/8in) away from the marked line.

Step 2

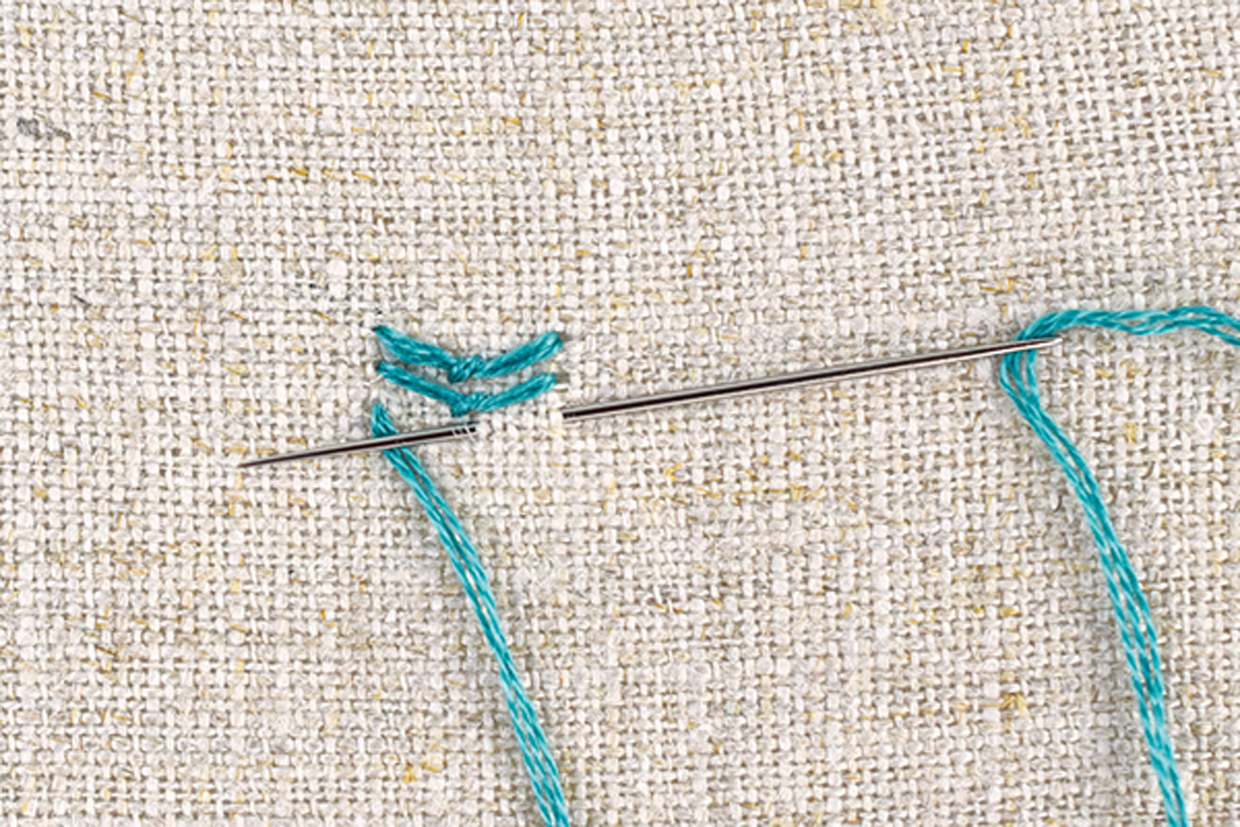
Take the needle down on the right side of the line approx 1cm (3/8in) away from the marked line, then back up just to the right of the center line. Work with the thread under your needle as it comes back up.

Roumanian_Stitch_DIY_Coin_Purse_Step1

Step 3

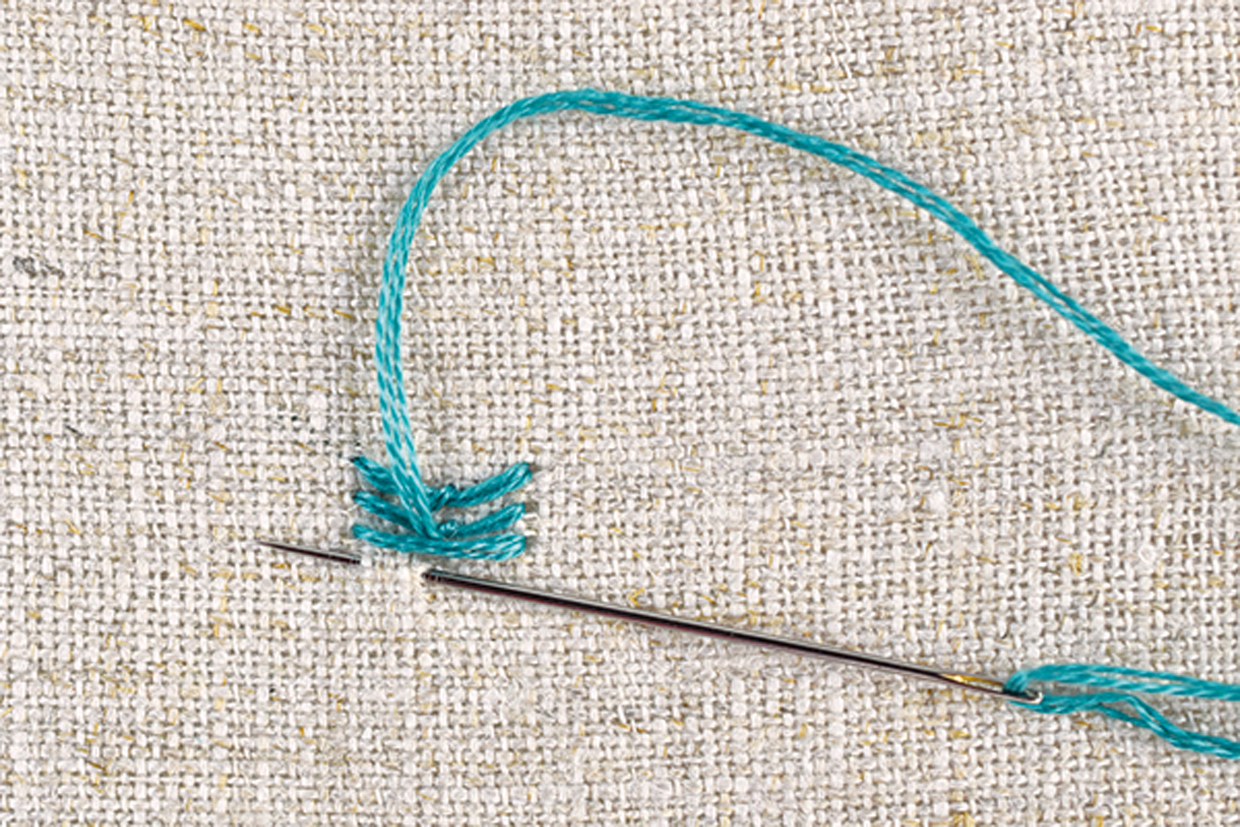
Take the needle down just to the left of the center line, going over the first stitch. Then come back up on the left side, approx 1cm (3/8in) away from the marked line, ready to start on the next stitch.

Roumanian_Stitch_DIY_Coin_Purse_Step2

Step 4

Repeat this process, spacing the stitches as near or far from each other as you’d like, and with the horizontal stitches straight or forming an angle. You can also make the center ‘tacking’ stitch wider for a different look.

DIY Coin purse

Roumanian_Stitch_DIY_Coin_Purse_complete

Embroidering the leaves

Step one

Trace the leaf layout from the template onto the linen fabric.

Step two

Embroider the small leaves with bright green stranded cotton and detached chain stitch.

Step three

For the large tropical leaves use deep green stranded cotton and chain stitch.

Step four

Use medium green and roumanian stitch for the remaining leaves. Vary the leaf sizes by stitching closer or further away from the line.

Making the purse

Step one

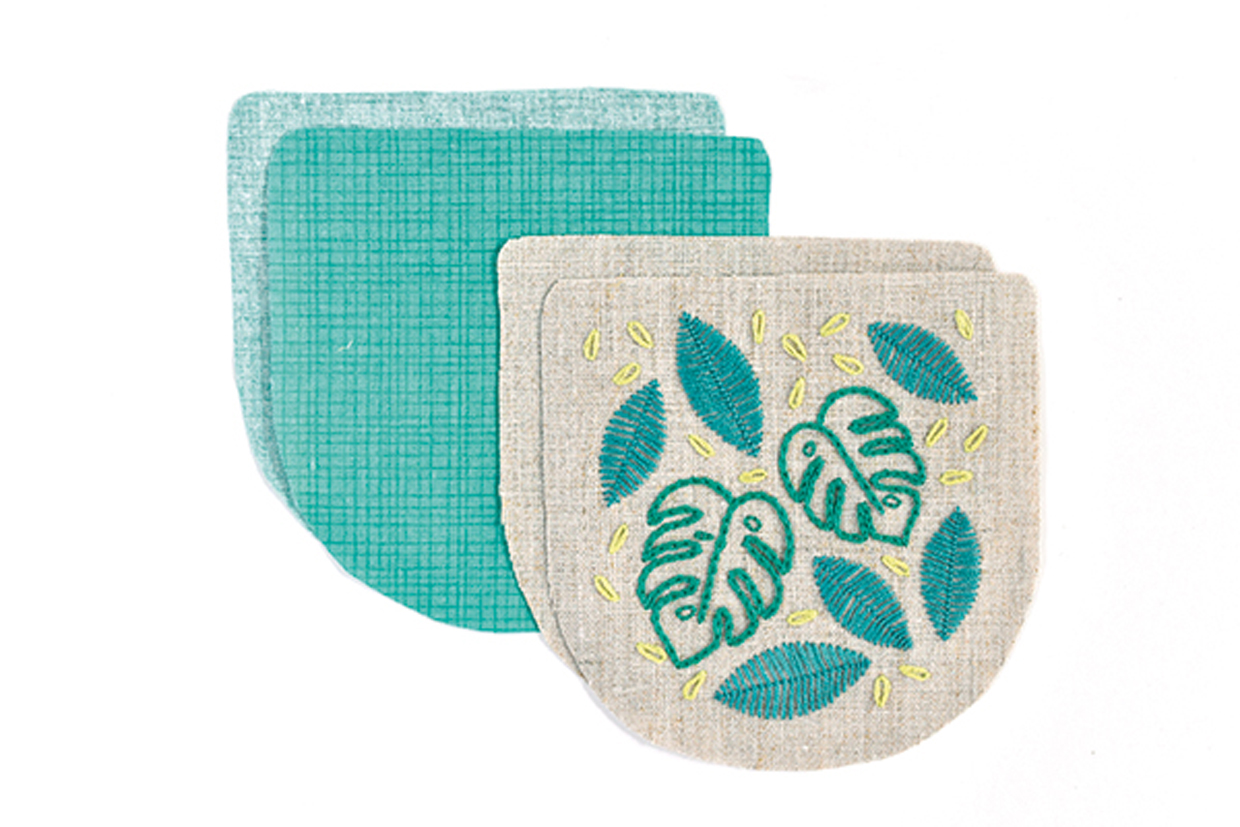
Using the template, cut out one piece around the embroidery for the coin purse front, one plain linen piece for the coin purse back and two pieces from the lining fabric for the lining.
Roumanian_Stitch_DIY_Coin_Purse_Step3

Step two

Measure and mark each side 5cm (2in) down from the top straight edge. With right sides (RS) together, sew around the bottom of the linen pieces and the lining pieces, starting and ending at the markings.

Step three

Turn the lining RS out.
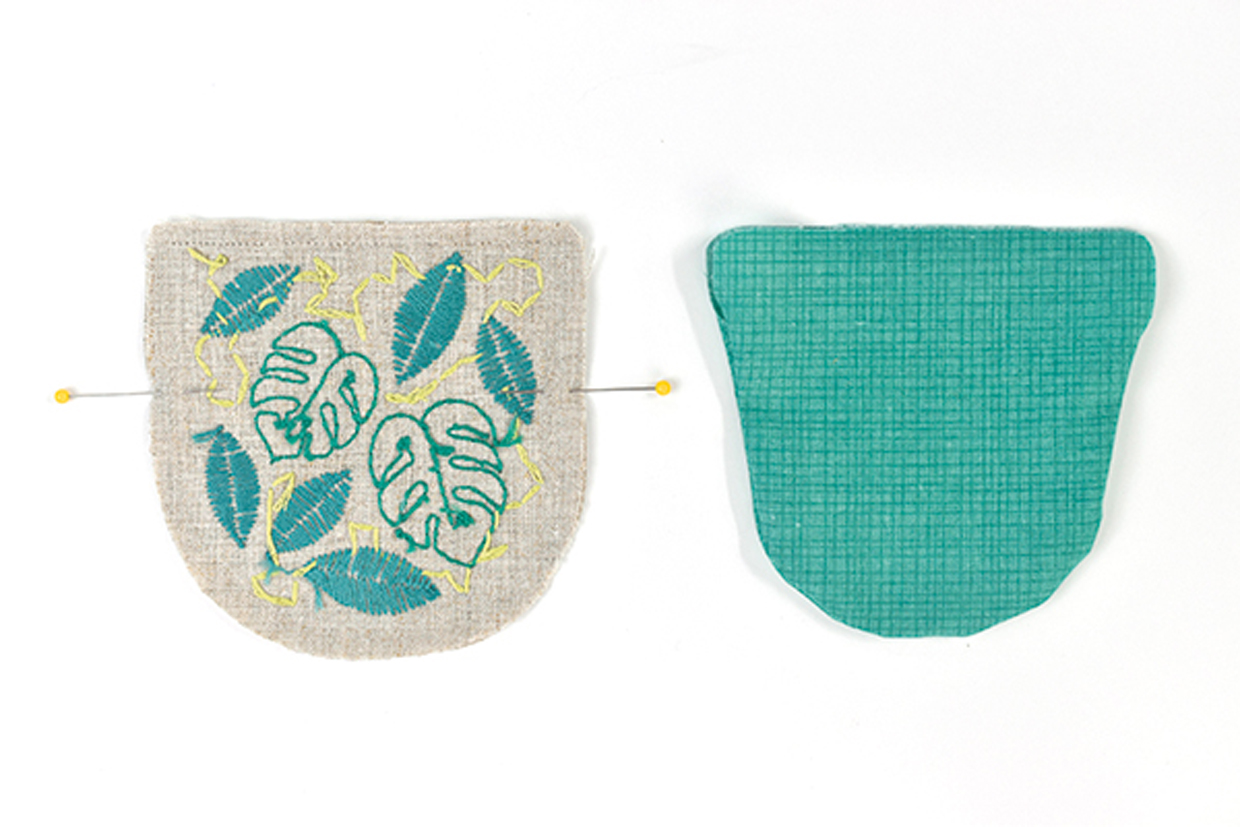
Roumanian_Stitch_DIY_Coin_Purse_Step4

Step four

Insert the lining into the linen piece and pin the top edges together with RS facing.
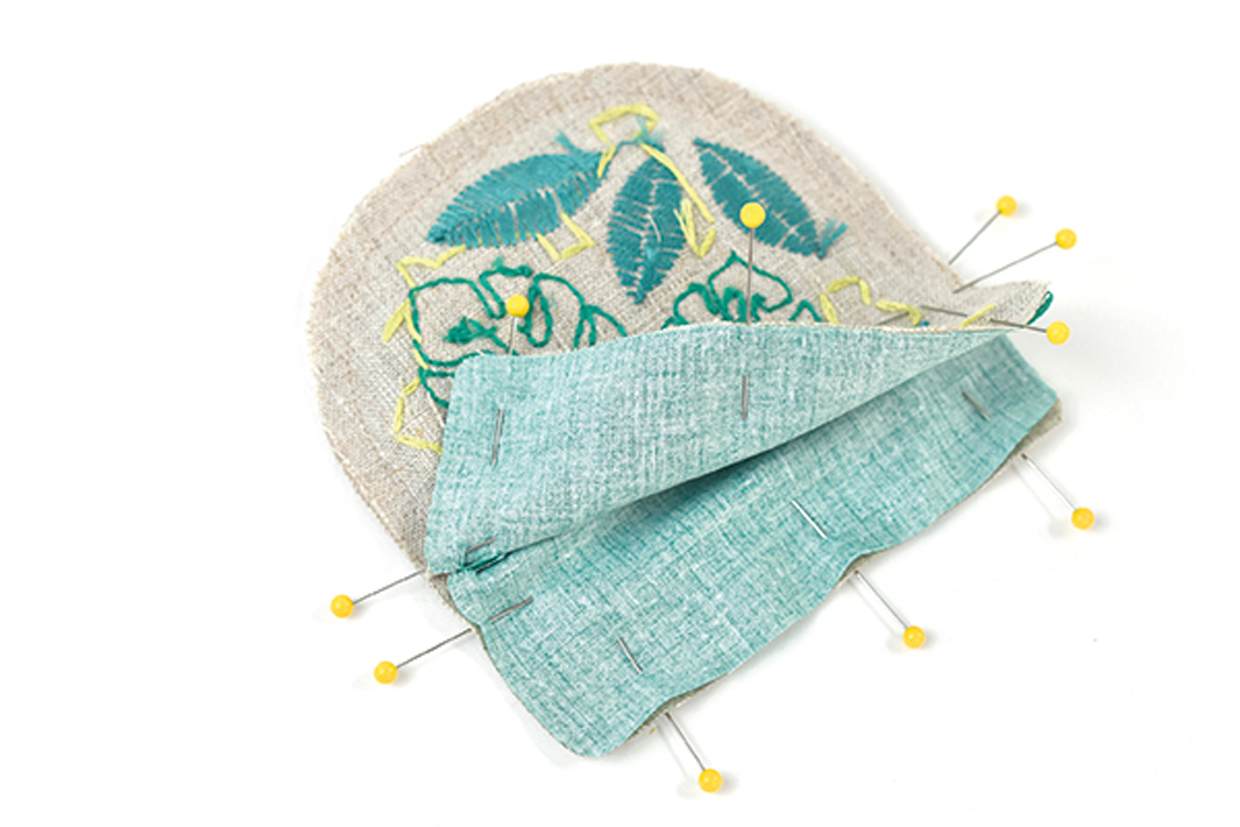
Roumanian_Stitch_DIY_Coin_Purse_Step5

Step five

Snip into the seam allowance of the lining to make it easier to sew the edges close to the first seams.

Step six

Sew across the top of the front pieces and then repeat for the back pieces, leaving a 5cm (2in) turning gap.

Step seven

Turn the coin purse RS out and slip stitch the turning gap closed.

Finishing off

Step one

Push the top edges of the coin purse into the snap frame. Tack the purse to the frame with a large whip stitch.

Step two

Stitch through the purse and the frame with running stitch, then go back and fill in the gaps as shown in the photo.

Step three

Repeat on the other side of the frame, then remove the tacking stitches.
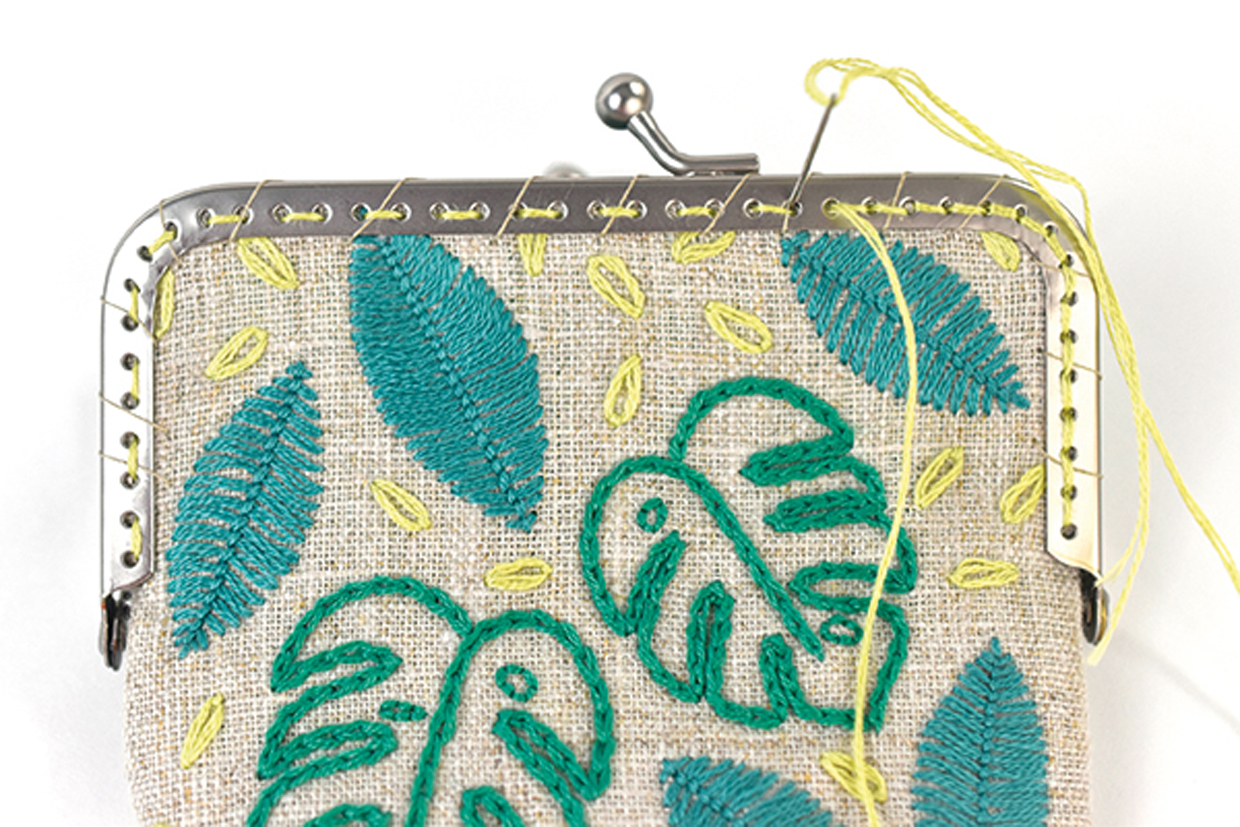
Roumanian_Stitch_DIY_Coin_Purse_Step6