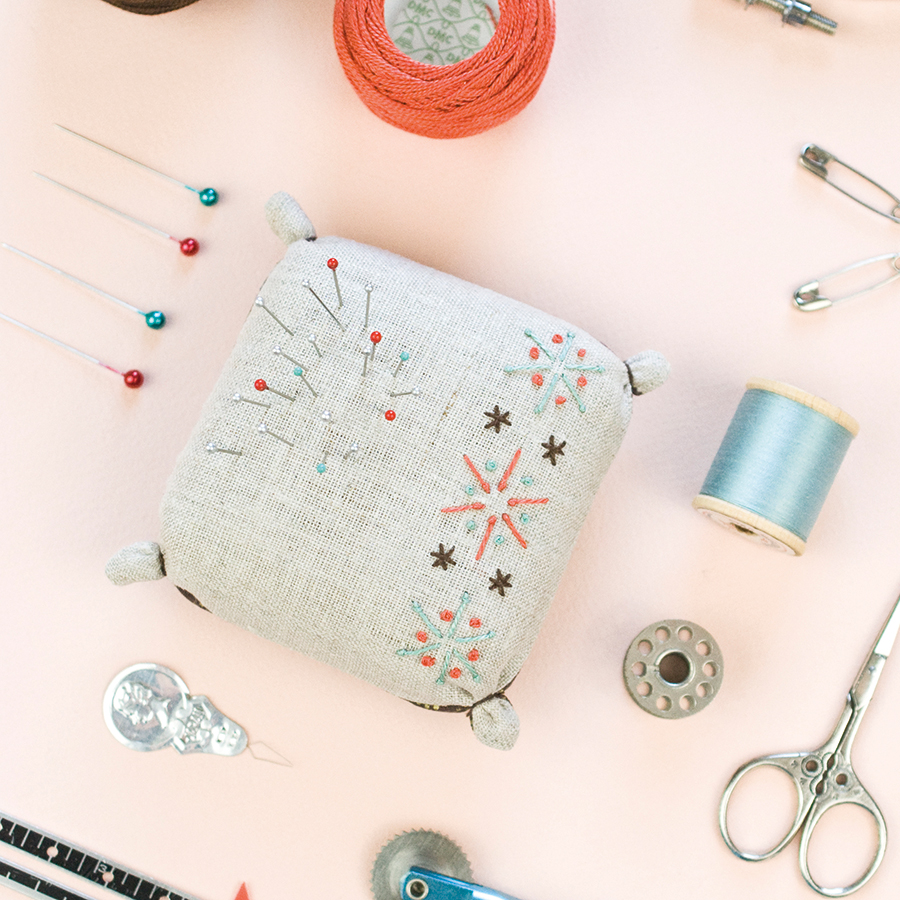
How to work pistil stitch
Step 1
Bring the needle up through the fabric at one end of the stitch. Wrap the working thread around the needle twice, just as you would with a French knot.
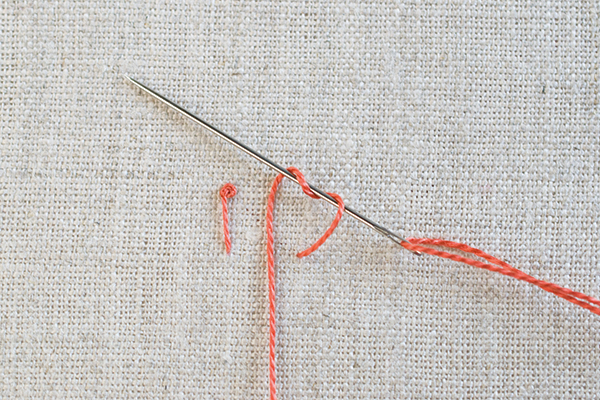
Step 2
Insert the needle in the fabric at the other end of the stitch. Keep the needle part way through the fabric as you start to pull the working thread taut.
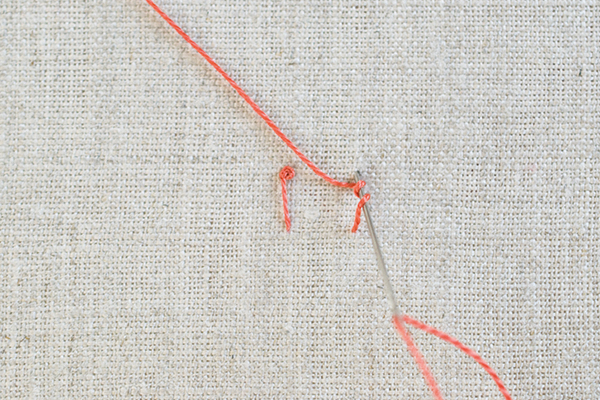
Step 3
Hold the working thread with one hand as you pull the needle through the rest of the way.
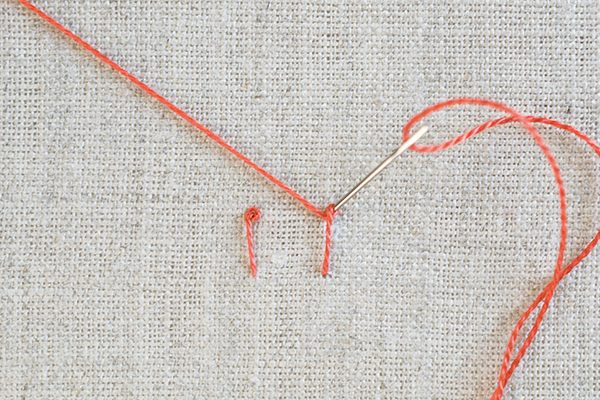
Step 4
Continue pulling the thread through as the knot at the end of the pistil stitch tightens.
Tracing the design
Step 1
Trace the embroidery template from our Pistil stitch embroidery pattern
Step 2
Place the main fabric centrally on top and hold in place with masking tape.
Step 3
Trace over all the lines using a pencil or an erasable pen. If you can’t see the design very well then simply tape the template and fabric onto a window so the light shines through.
Working the embroidery
Step 1
Using one strand of the Perle cotton, start by working the Pistil stitch stars following the pistil stitch instructions above.
Step 2
Work the dots between the stars as French knots in a contrast colour.
Step 3
The small stars, which are between the large pistil stitch stars, are worked as three straight stitches crossing over each other in the centre to form little star shapes.
Making the pincushion
Step 1
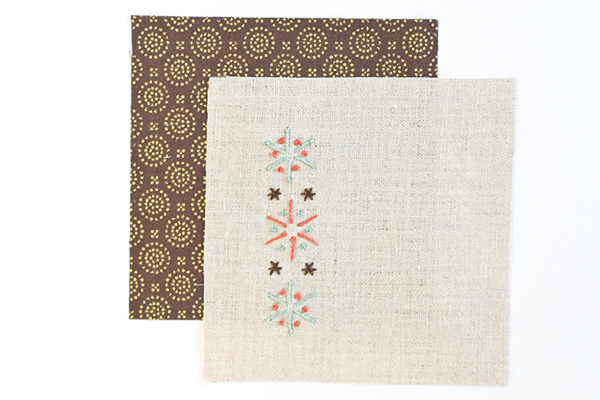
Trim the stitched fabric to 11x11cm (43⁄8 x 43⁄8 in) with the design placed centrally.
Step 2
Pin the stitched fabric and backing fabric right sides (RS) facing.
Step 3
Sew together, leaving a 2.5cm (1in) gap in the centre of one side for turning and backstitch at the start and finish to secure.
Step 4
Trim the corners and turn the pincushion RS out, poking the corners into shape.
Step 5
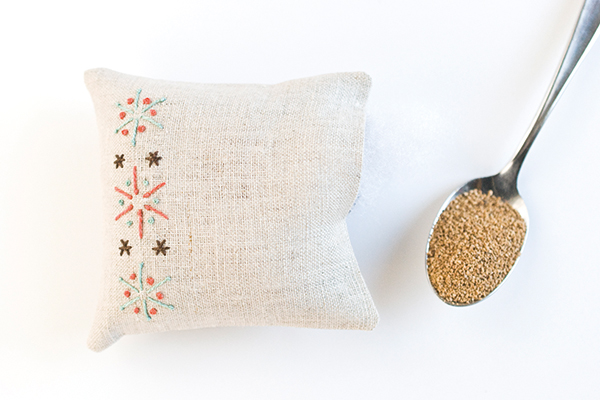
Fill the pincushion, alternating between polyester stuffing and crushed walnut shells or your choice of pincushion filler.
Step 6
Slip stitch or ladder stitch the opening closed for an invisible seam.
[pullquote quote="Crushed walnut shells make a great filler as they keep your pins sharp - you can find them in pet shops." /]
Tying the corners
Step 1
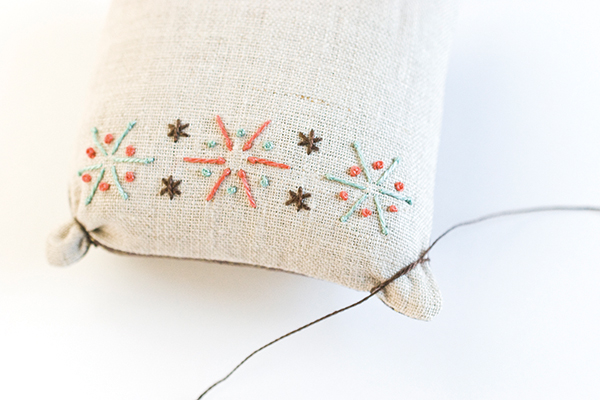
Finish the corners by wrapping each one wiht Perle cotton and tying with a doubled knot on the underside.
Step 2
Trim the excess thread to finish.


