Step 1
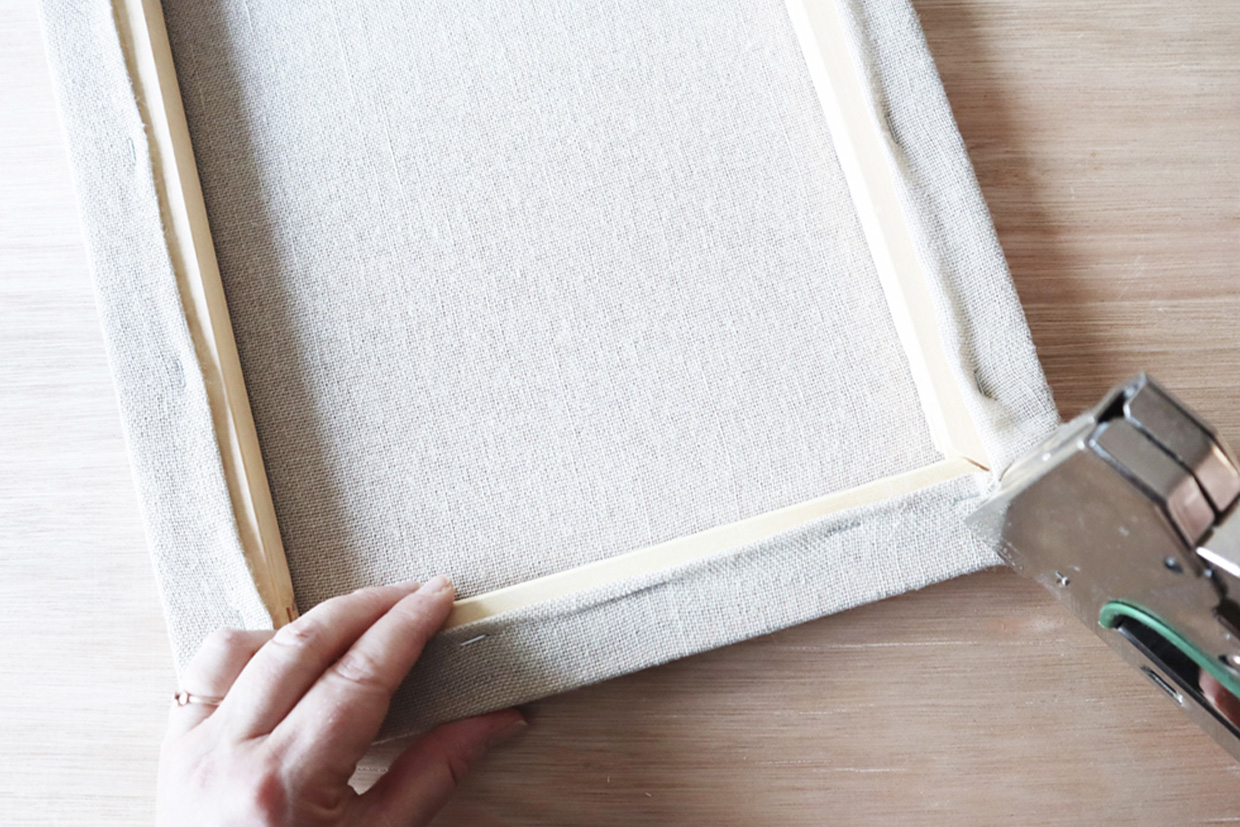
Begin by slotting the stretcher bar frame together, then place the frame on top of
your fabric and trim with a 5cm allowance. Fold and stretch your fabric, then secure it in place with a staple gun or drawing pins. It is important to make sure the fabric is taut like a drum.
Step 2
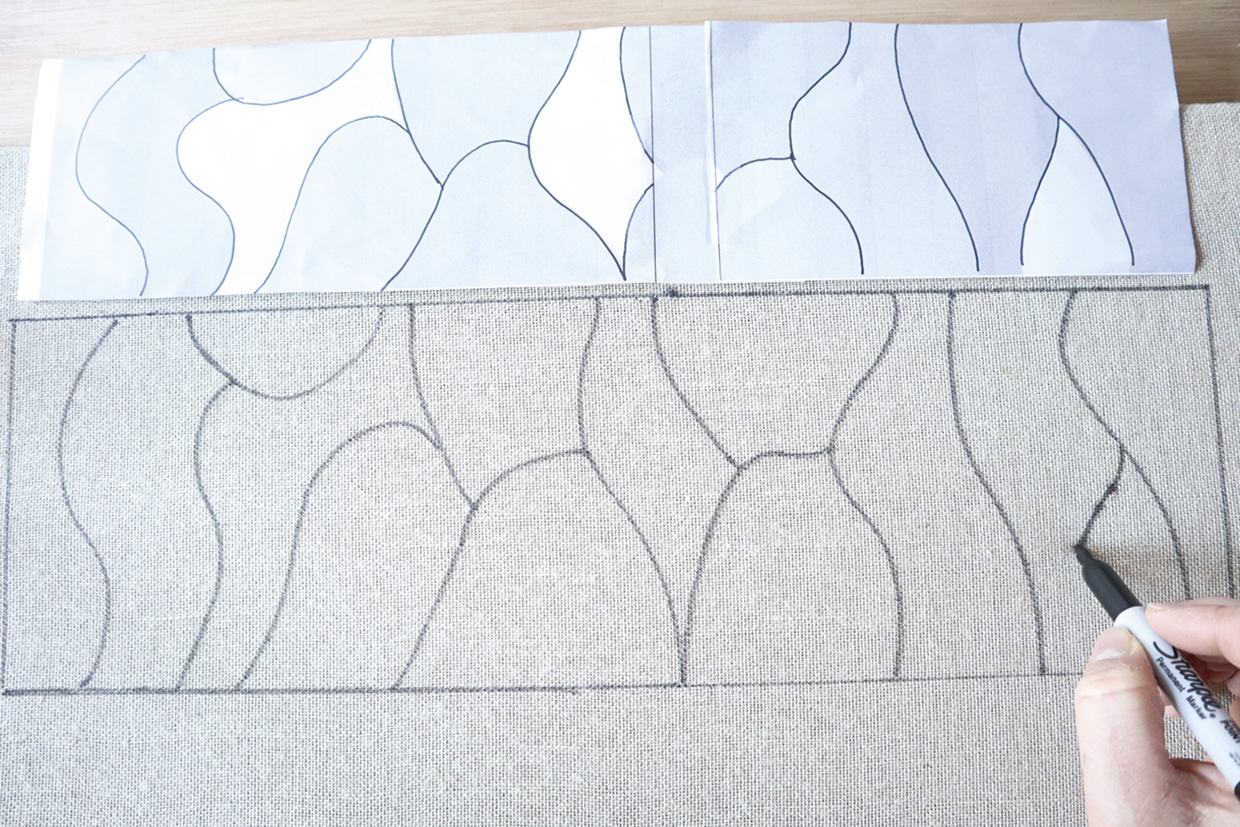
Transfer the design onto the punch needle fabric using your preferred method. Draw over the lines with a marker pen, then turn your frame over and re-draw the outline on the back if it is not visible through the fabric. If you are using a different-sized plant pot, wrap a blank A4 piece of paper around the pot, marking the top and bottom edges and use a tape measure to work out the circumference. Use a ruler to mark out a rectangle shape from these measurements, cut out and mark its outline on the fabric. Then, freehand draw the design onto your fabric (using the template as a reference), adjusting to scale.
Step 3
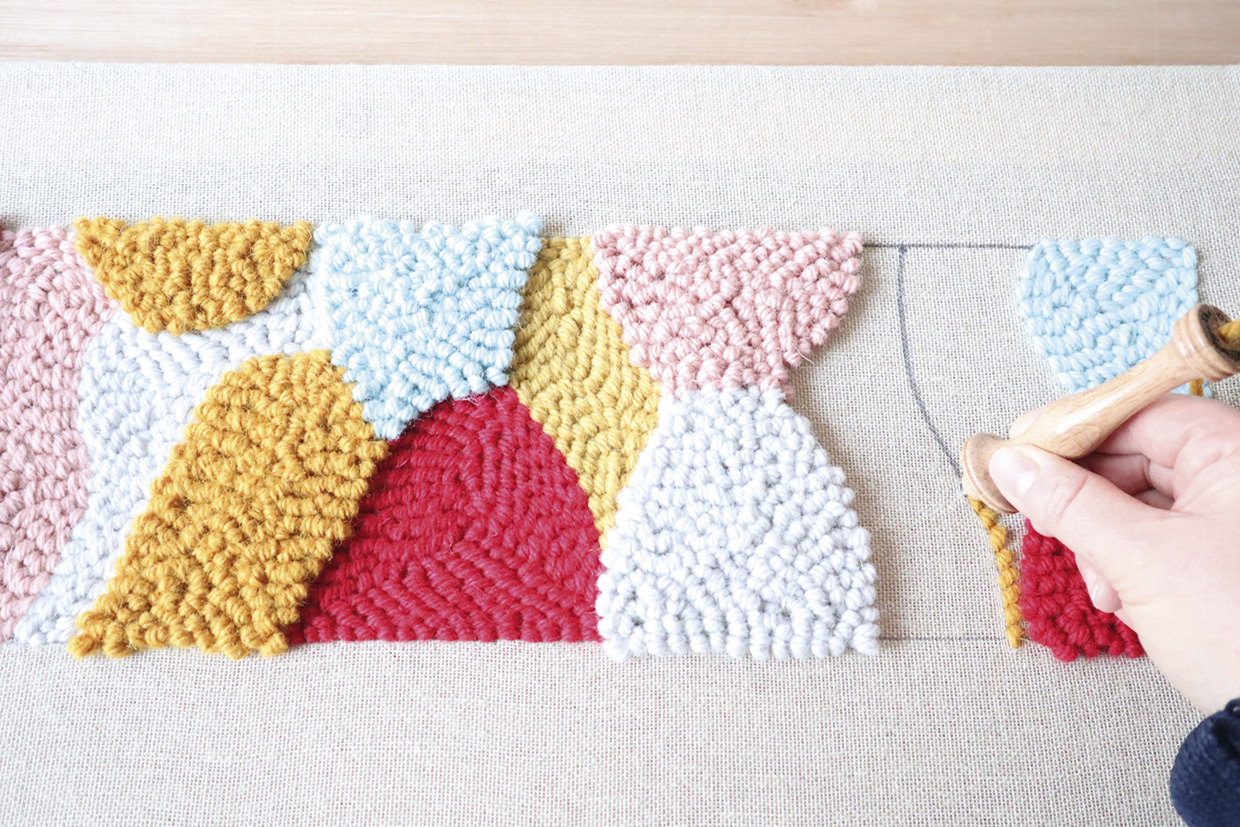
To create this design you will need to punch the design onto the front and back of the frame to get the combination of flat and loop stitches. You will also need to switch between the five colours, making sure not to put the same colour next to itself – you might want to plan this out on some paper before you begin stitching.
Start by working the area you want to do using flat stitch. When you punch on the front of the frame your stitching will display as flat stitches. Outline the shape first then fill in the rest of the shape.
How to do punch needle embroidery
If you’ve never used a punch needle before, begin by threading one end of the yarn through the hole at the end of the punch needle from the open shaft side and out through the flat side, pulling about 30cm through it. Take the other end of the yarn which is attached to the skein or ball and pull it down into the slot in the handle. Keep pulling it until the yarn lies inside the slot and you have about 3cm of yarn coming out of the eye. Hold the punch needle like a pencil and punch it straight down into the fabric so that the shaft of the needle has gone all the way down and the handle meets the fabric. This forms the start of the first stitch, because the punch needle makes a loop of yarn on the reverse side of the fabric.
The loops are held in place by the tension of the fabric, so make sure you keep this taut. Bring the needle back out and move along 5mm. Take care not to bring the needle out too far as you will pull the loop out. Move the needle along the line or area you want to fill, making small running stitches as you go.
Check out our helpful guide to punch needle embroidery for more advice
Step 4
To end your stitch, turn your frame over, create some slack and snip your yarn, pull the needle through gently. This will keep the front flat side neat because the tails and loops will be on the same side of the design when you’re finished.
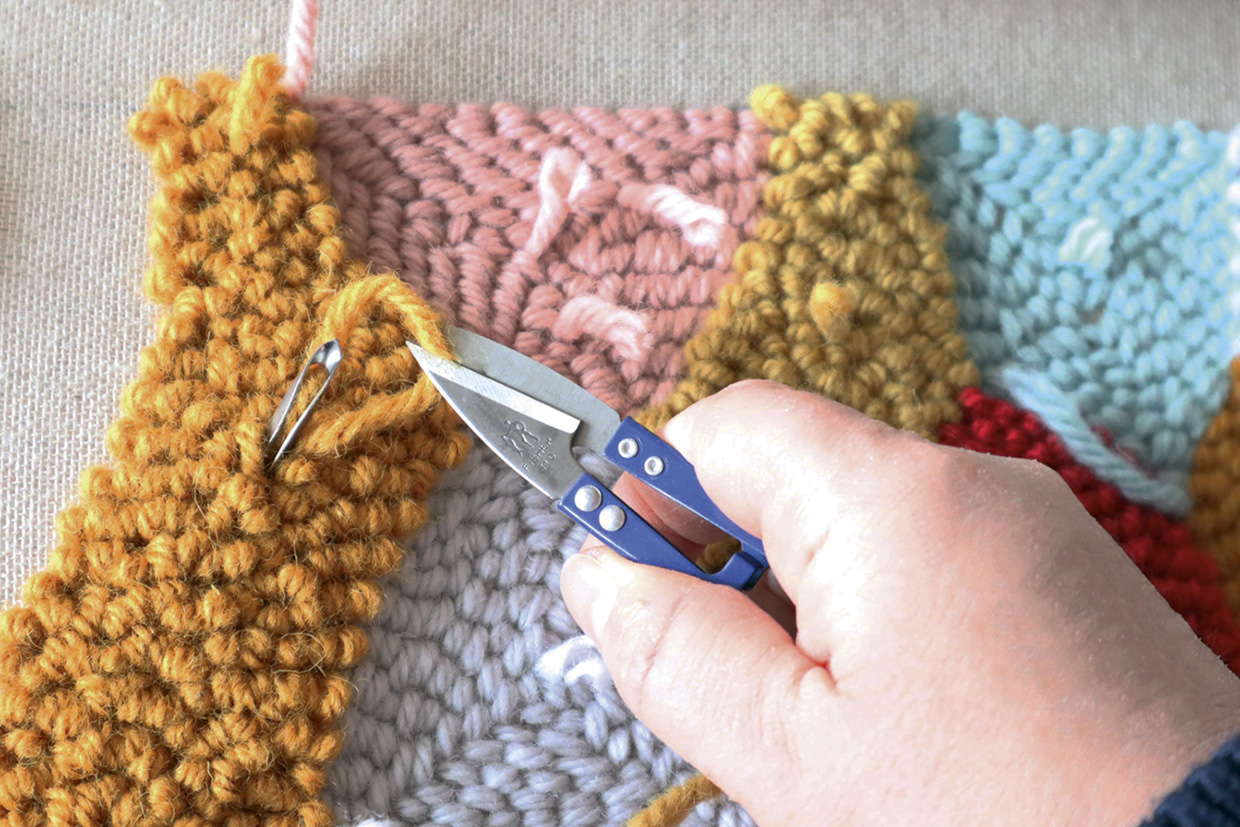
Step 5
The technique to work the loop stitches is the same as that outlined for the flat stitches, except you will be working on the back of your frame instead, keeping your yarn tail at the front.
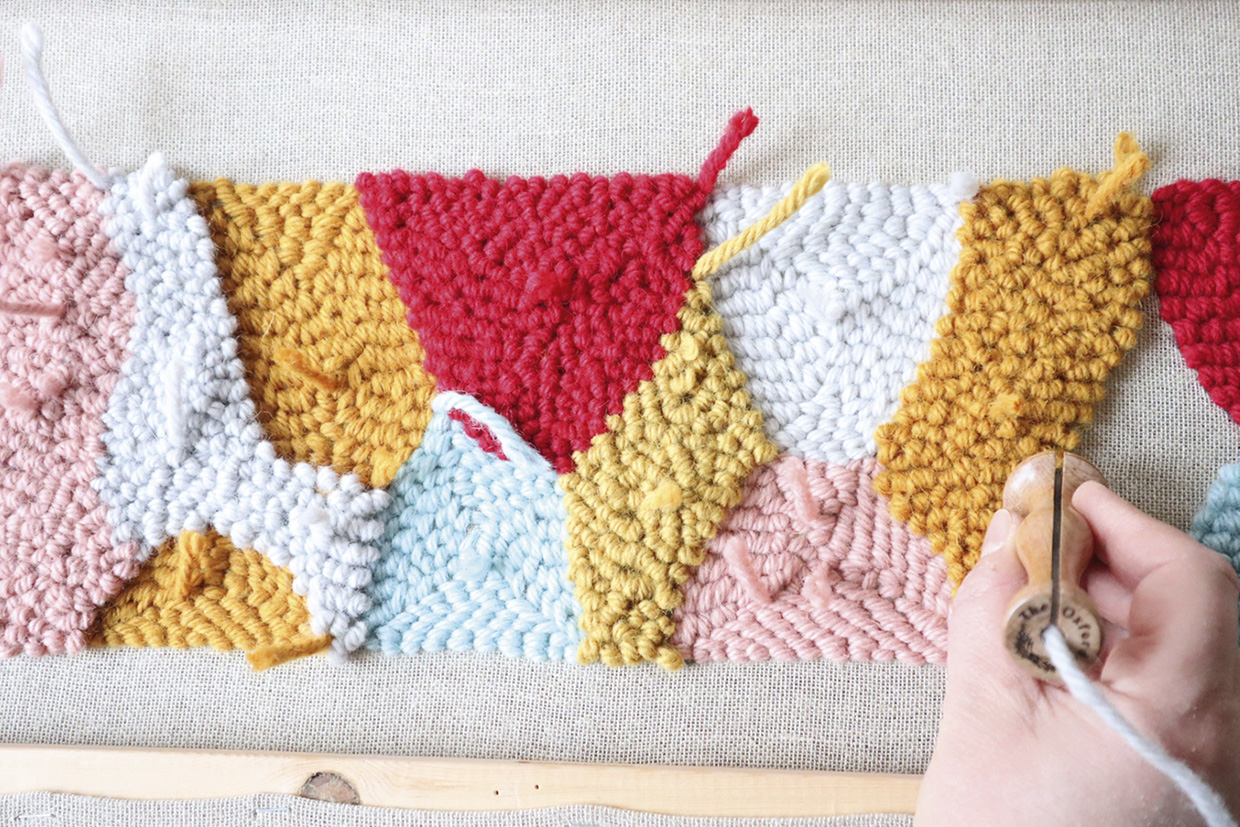
Step 6
To end your stitch after your last punch, hold onto the base of the yarn and lift the needle up to create slack and snip your yarn off.
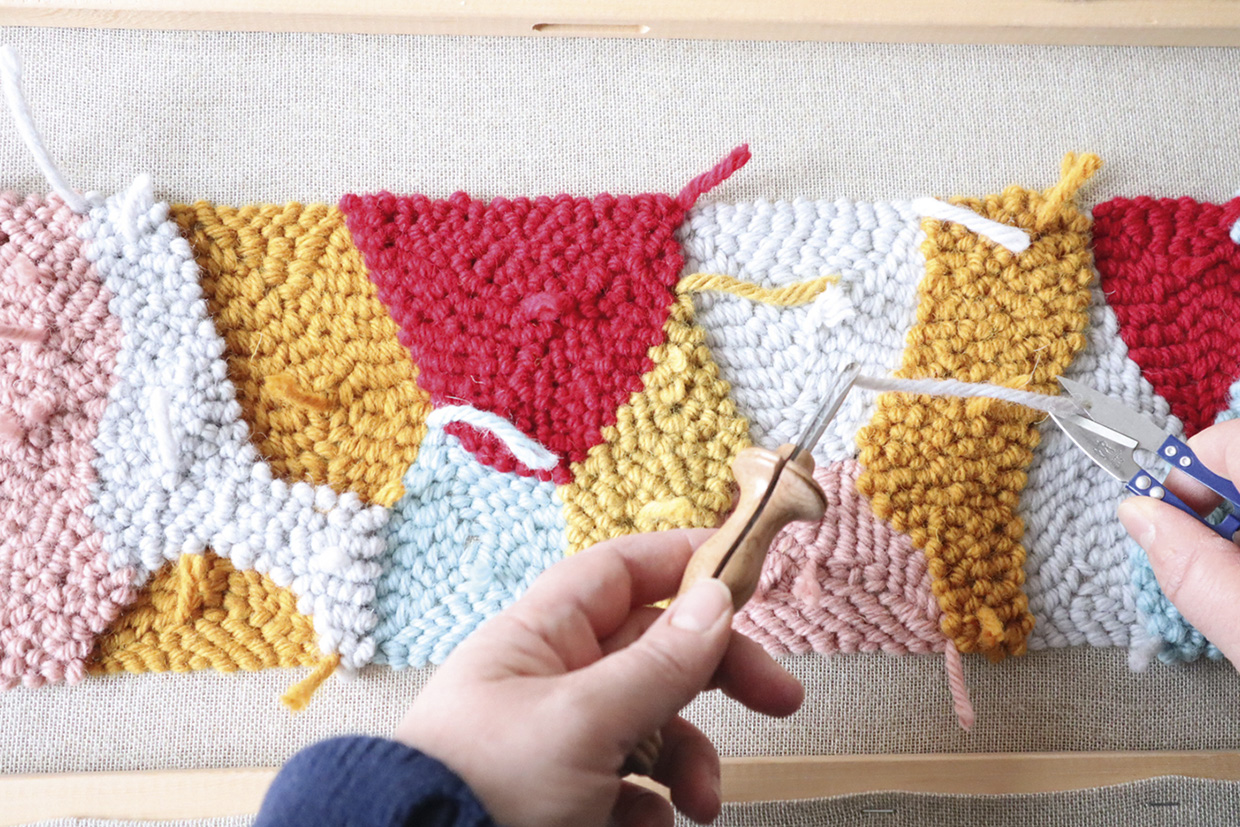
Step 7
Once you have finished your design, snip away the yarn tails so that they are flush with your yarn and hidden among the stitches. Then, carefully remove the fabric from the frame.
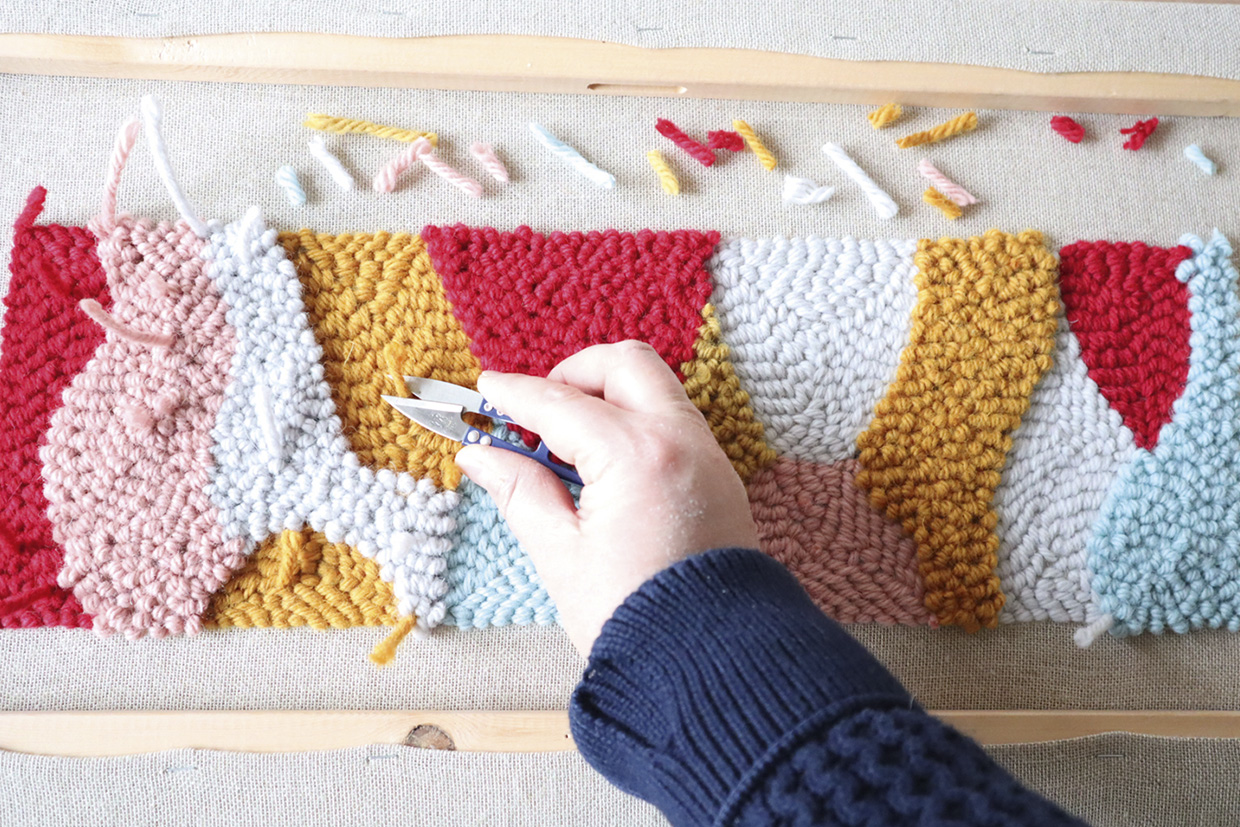
Step 8
Cut around your punch needle piece leaving a 5cm seam allowance. Lay it on top of your linen backing cloth and cut around to make it the same size. Pin the right side of your punch needle creation to the backing fabric. Using a zipper foot on a sewing machine (or working by hand if you don’t have a machine), sew a seam along the top edge and both sides, as close to your yarn as possible without sewing through it.
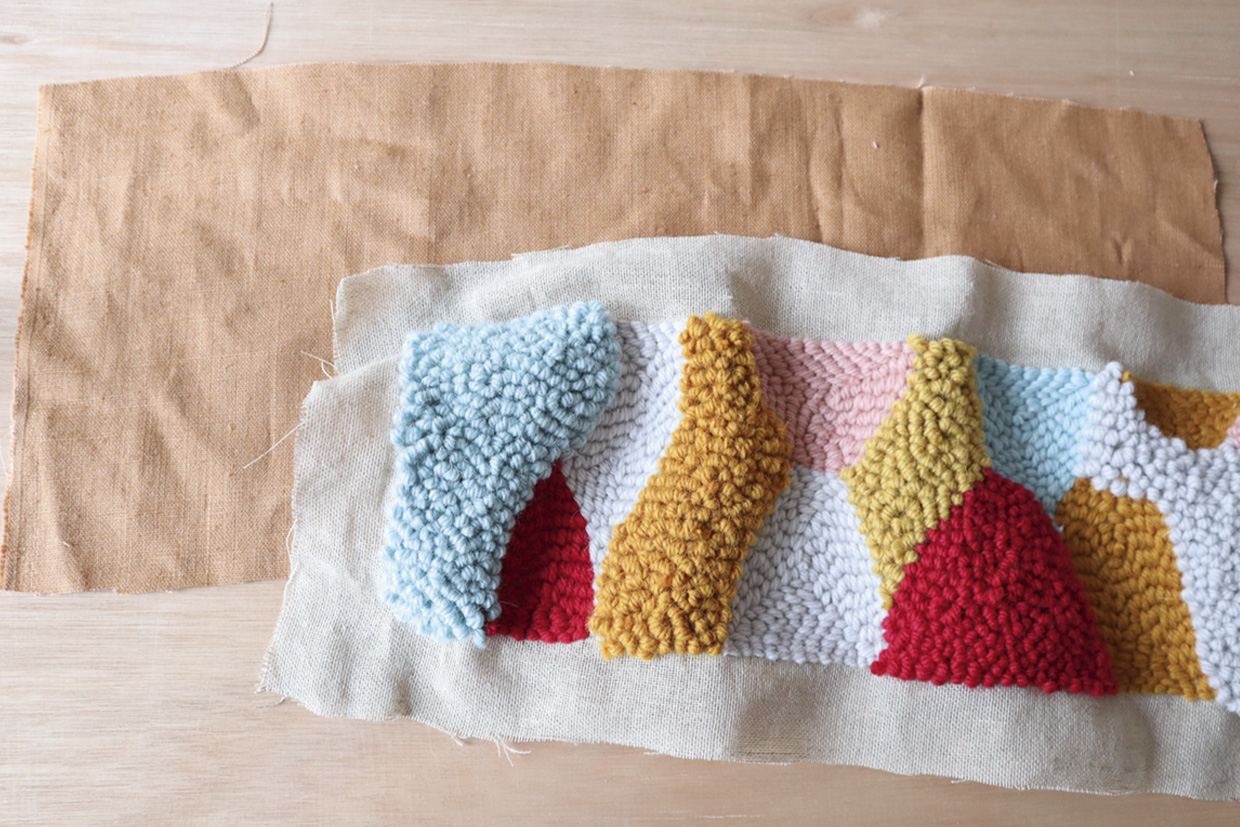
Step 9
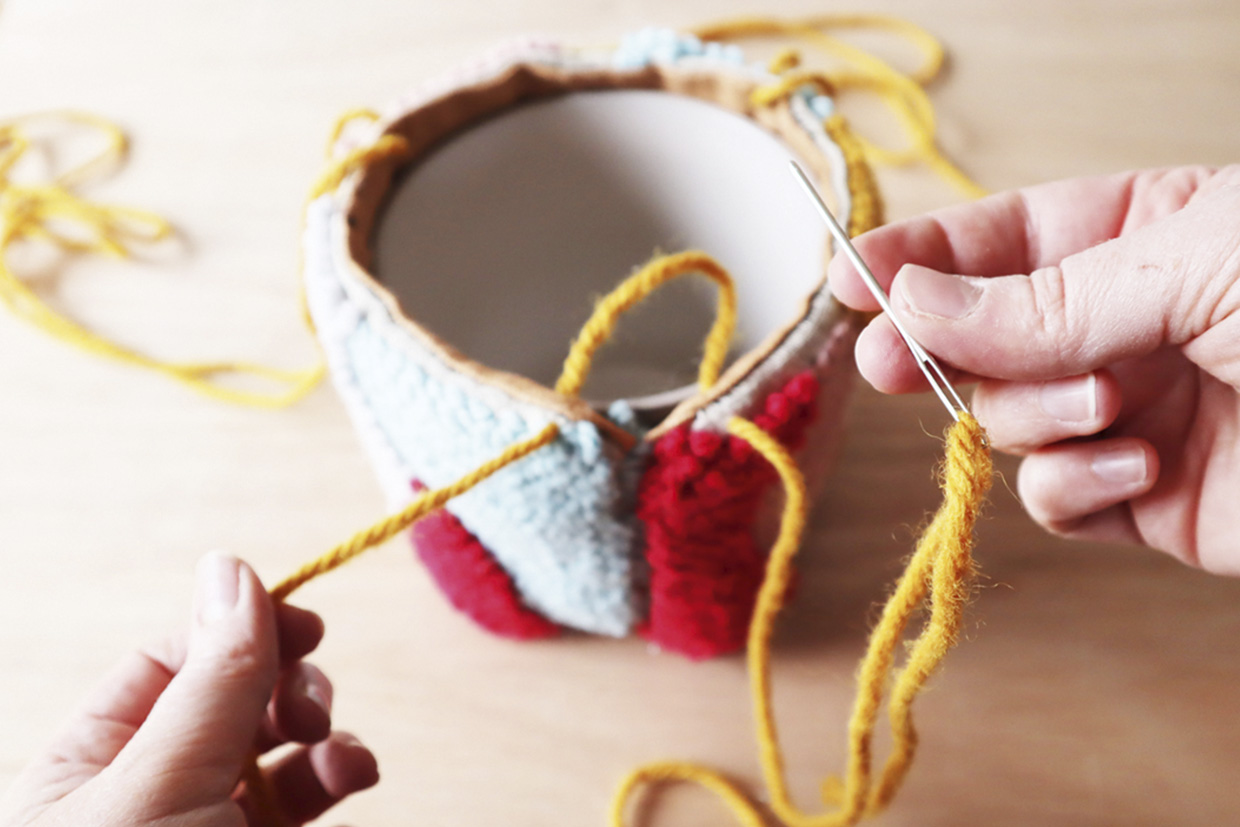
Stitch two side edges of the plant pot together, use a yarn needle and whipstitch the ends together, working from the inside. Start from the bottom and work your way up.
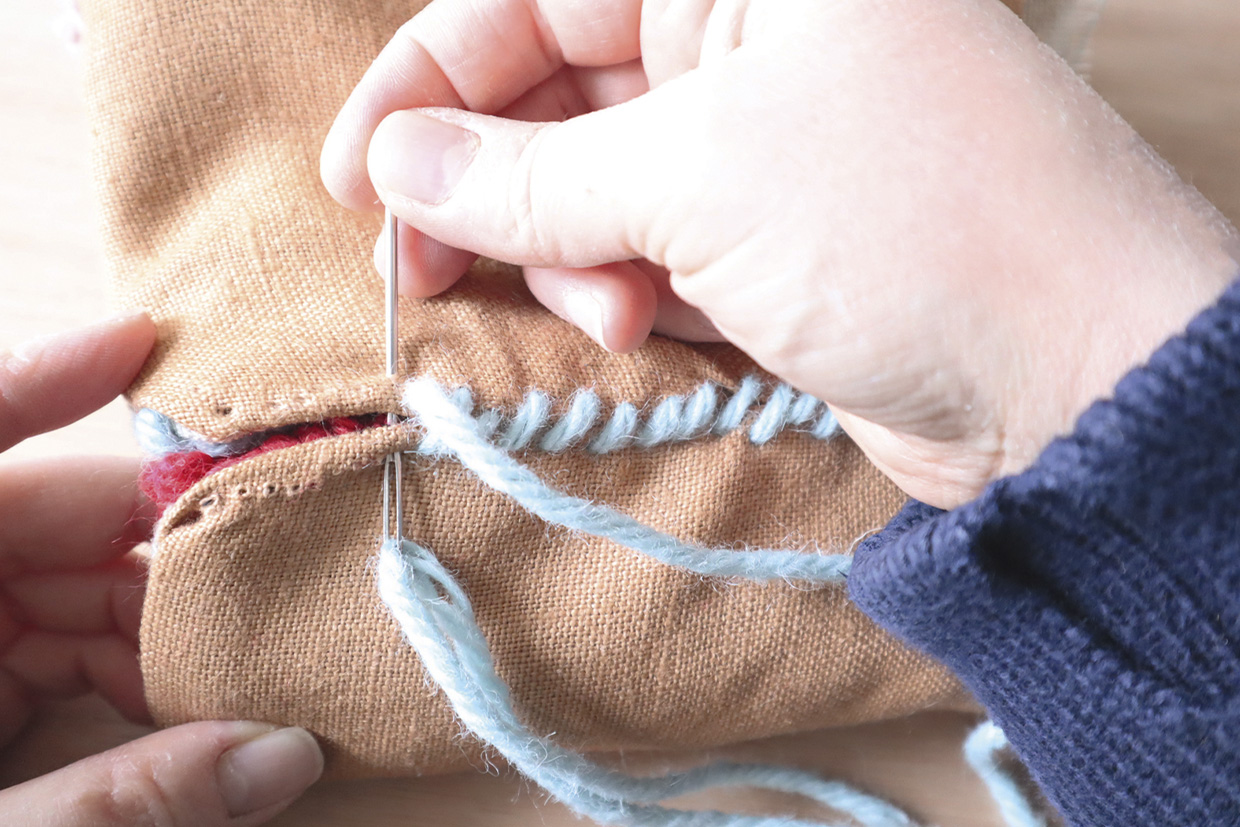
Step 10
Turn your plant pot upside down on your backing cloth and draw around it to make the base circle. We used one piece of linen and one of canvas to make a strong base. Cut out the circle, leaving a 4cm border of fabric. Using a sewing machine or working by hand, sew the two base cloths together with a 3cm seam.
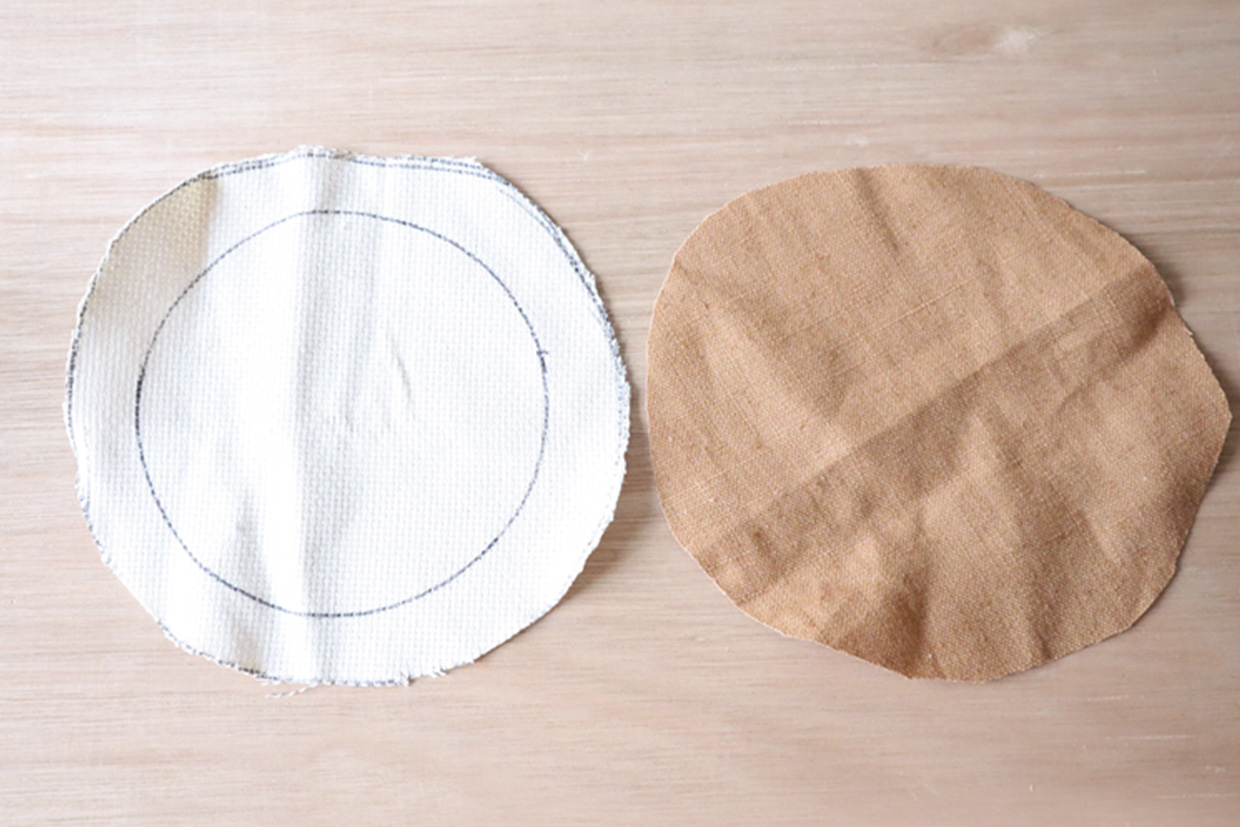
Step 11
With the piece inside out, sew the base to the pot with running stitch, using six strands of thread doubled over. Roll over the edges of the punch needle fabric and sew all pieces together. You may find it helpful to turn your plant pot upside down and place the pieces on top of the plant pot whilst sewing the two together.
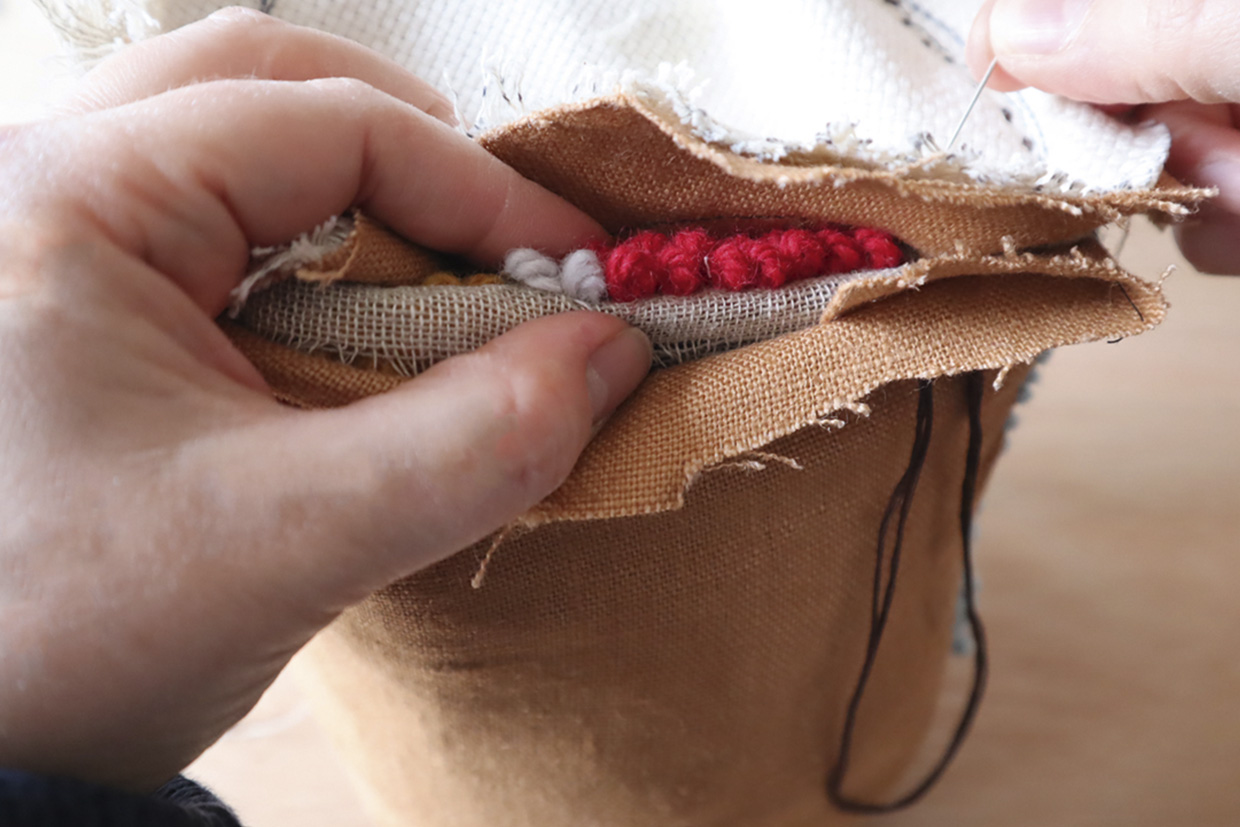
Step 12
Turn through, then, using a tapestry needle, run three lengths of yarn through six points around the pot (each length goes through two points) and tie the strands together at the top.
