Constellation embroidery patterns

Constellation embroidery patterns

Light up your home with Jessica Marquez's beautiful constellation embroidery patterns!

Try 6 issues of your choice of craft magazine from just £9.99

Published: September 23, 2021 at 2:00 pm

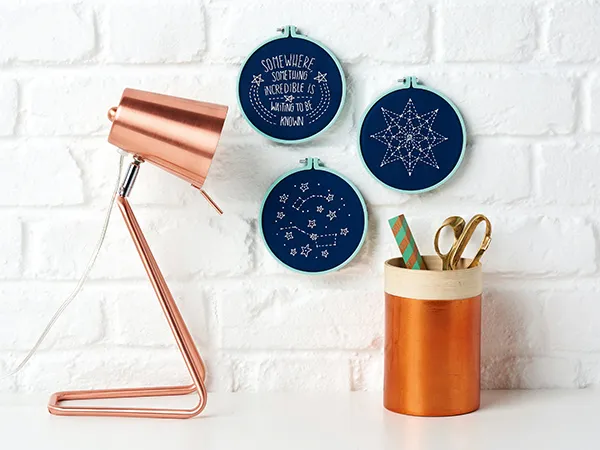
Dream of the night skies with Jessica Marquez's three constellation embroidery patterns. There's nothing better than gazing at the stars on a warm evening and we enlisted Jessica to recreate that feeling with her embroidery patterns. She's designed three different constellation embroidery patterns so you can choose your favourite or stitch them all! Download, print and transfer the designs onto your fabric then start stitching.

If you're new to the world of embroidery don't worry. Check out our embroidery for beginners guide and our complete collection of embroidery stitches to learn how to do all the stitches in our free embroidery projects.

Can't get enough of the constellation trend? Then make sure you head over to our constellation crafts. There's everything from diy string art so you make your star sign from string constellation to sparkly star cushions. But now it's over to Jessica for her sweet constellation embroidery patterns...
You will need:

Constellation embroidery pattern

You will need:

  • Thread
  • Embroidery hoop
  • Fabric

Step 1

constellation embroidery step 1

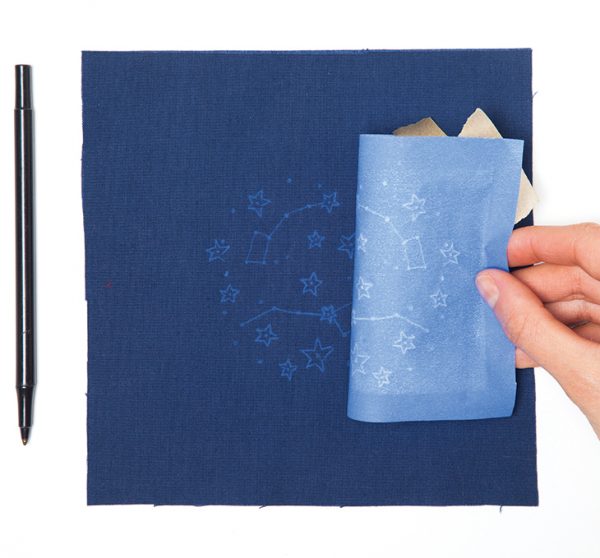
Iron the fabric smooth. Layer transfer paper face down over your fabric (we like Saral transfer paper in blue). Place the pattern on top of the two layers and tape or pin in place. Using a dull pencil or stylus, trace over the pattern. Check your work before removing the pattern to make sure all the lines have transferred and are dark enough.

Step 2

Use 2-3 strands of floss and this stitch guide to embroider your patterns:
Text – Backstitch
Lines – Running stitch
Stars –  Backstitch
Dots  – French knots

French knots

Step 1

constellation embroidery step 2
constellation embroidery step 3

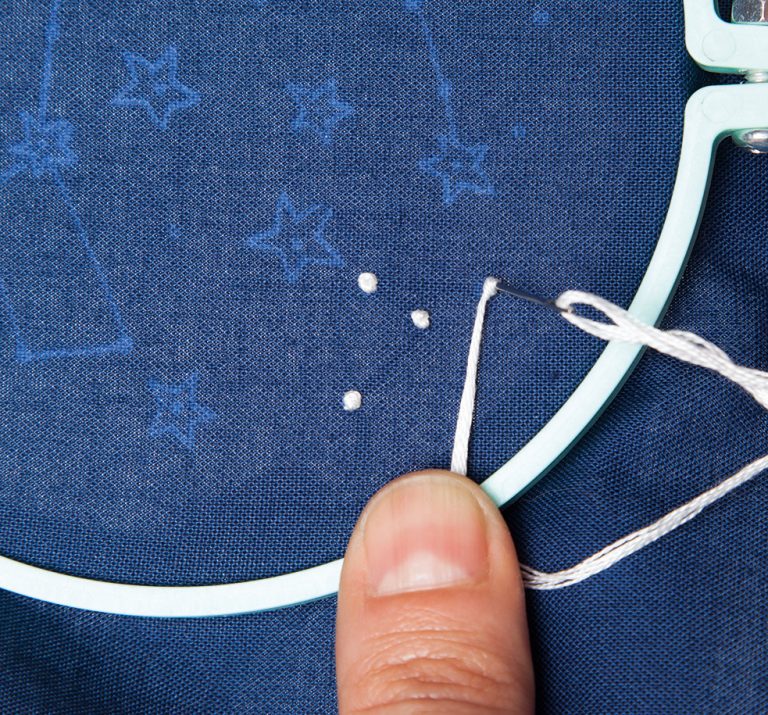
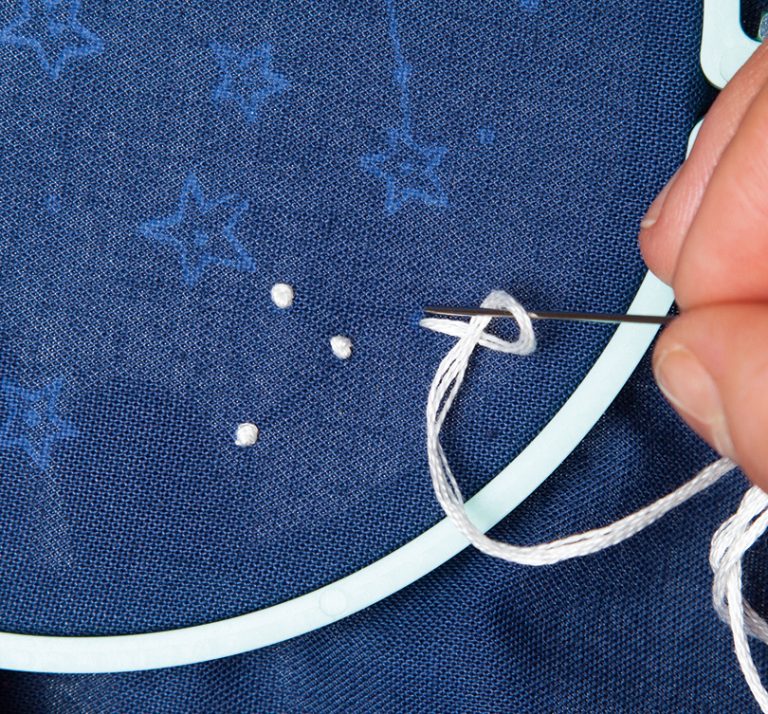
French knots can be tricky at first, but are great for texture once you get the hang of them. Come up through the fabric and create a few inches of tension on your thread using your hoop holding hand. Place your needle on top of the thread and wrap around it twice. Place your needle into the fabric next to the hole you came up through (but not directly in it or it’ll pop through). Slide the thread down to meet the fabric so it resembles a neat knot around the needle. Push the needle through while holding the tension with your hoop holding hand. Pull through smoothly.

Backstitch

Step 1

constellation embroidery step 4

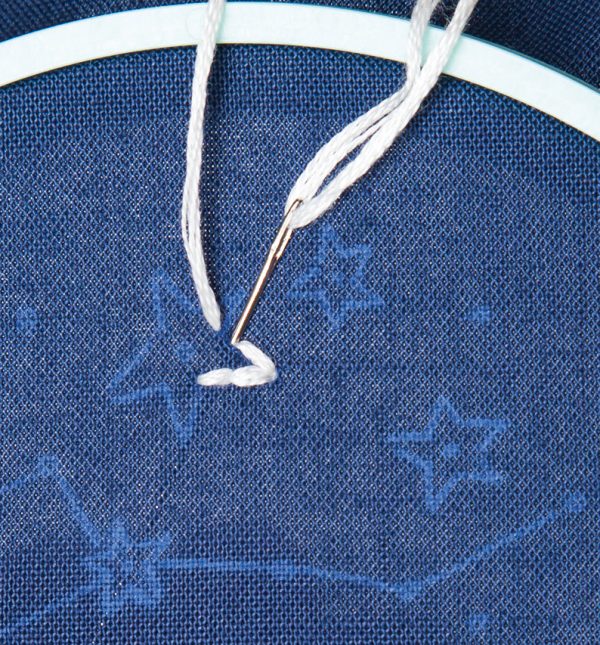
Backstitch is great for text because it creates smooth, continuous lines. Come up through the fabric, make a forward stitch and pull through. Come up a stitch length ahead of your last stitch and then go back down into the end of the last stitch to make one continuous line.

Running stitch

Step 1

constellation embroidery step 5

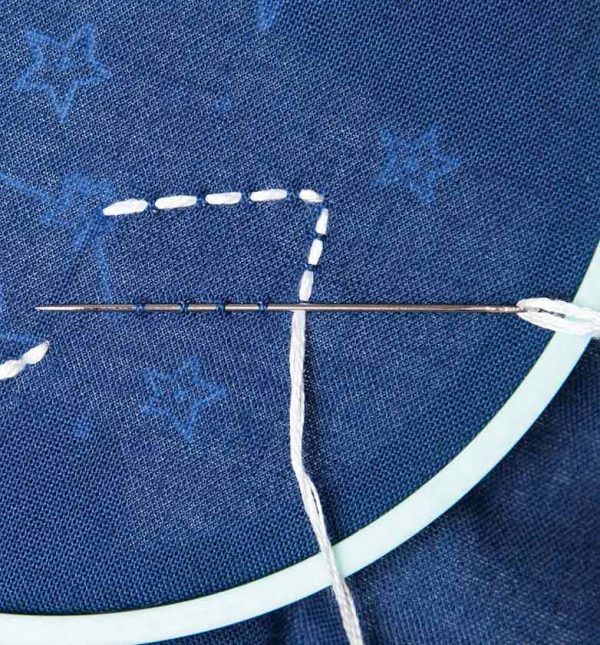
Running stitch is simple – it’s basically dashed lines, but the outcome is graphic and adds a lot of texture. To make the running stitch, come up through the fabric and gather a few stitches onto your needle by picking up a few pinches of fabric and pulling through.

Step 2

constellation embroidery step 6

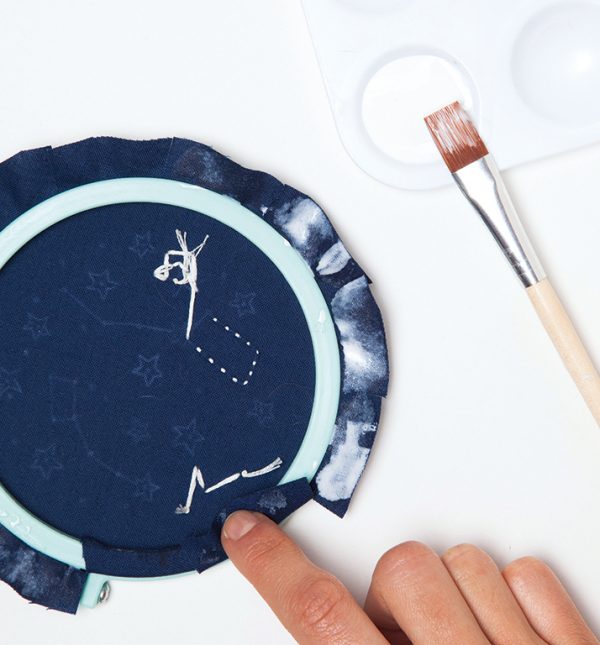
Once you’ve finished stitching you can frame your piece in your hoop. Cut the excess fabric to about 1cm (½”) on the reverse side of the hoop. Cut into 2.5cm (1″) tabs. Paint fabric glue on the tabs and adhere to the back of the embroidery hoops. Hang and admire your work.

Your beautiful embroidery constellation is complete, congrats! Give it as a gift if you’re feeling extra lovely and share this constellation embroidery pattern with your stitchy pals. For more fun embroidery projects head to our floral embroidery hoop, deer embroidery pattern, and our bicycle embroidery pattern.