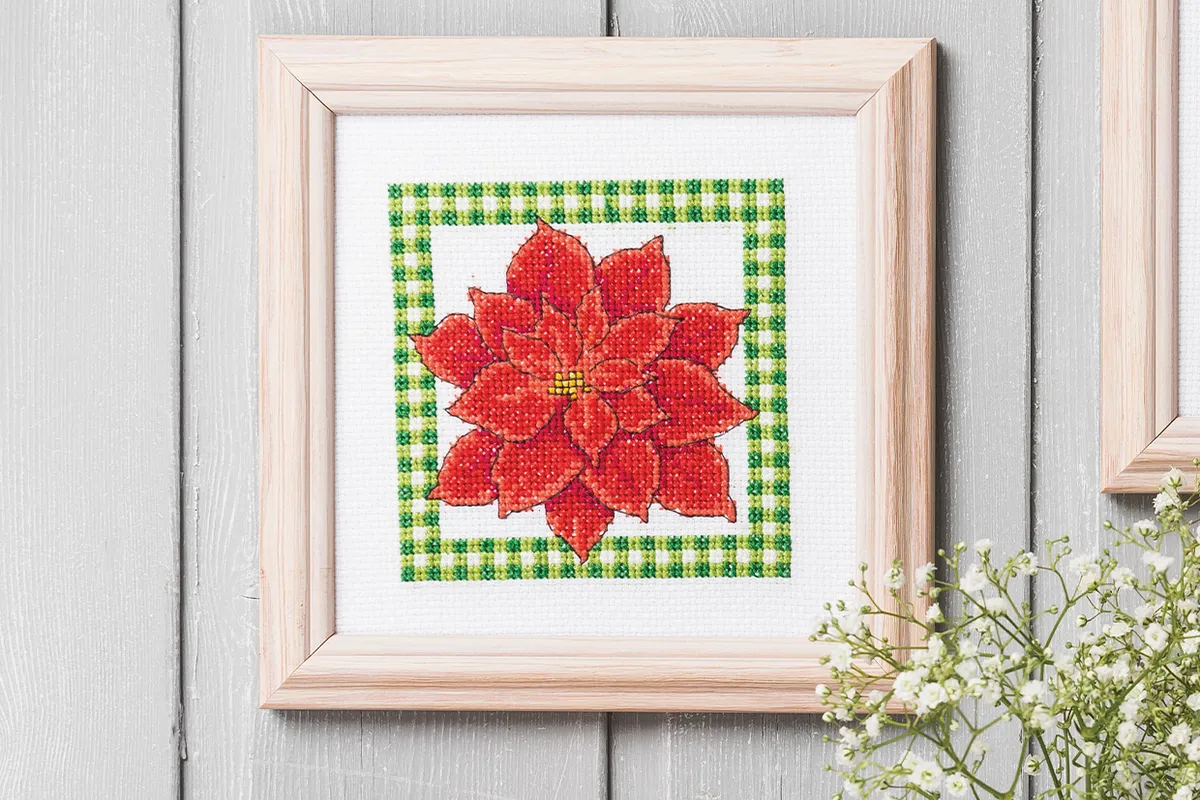
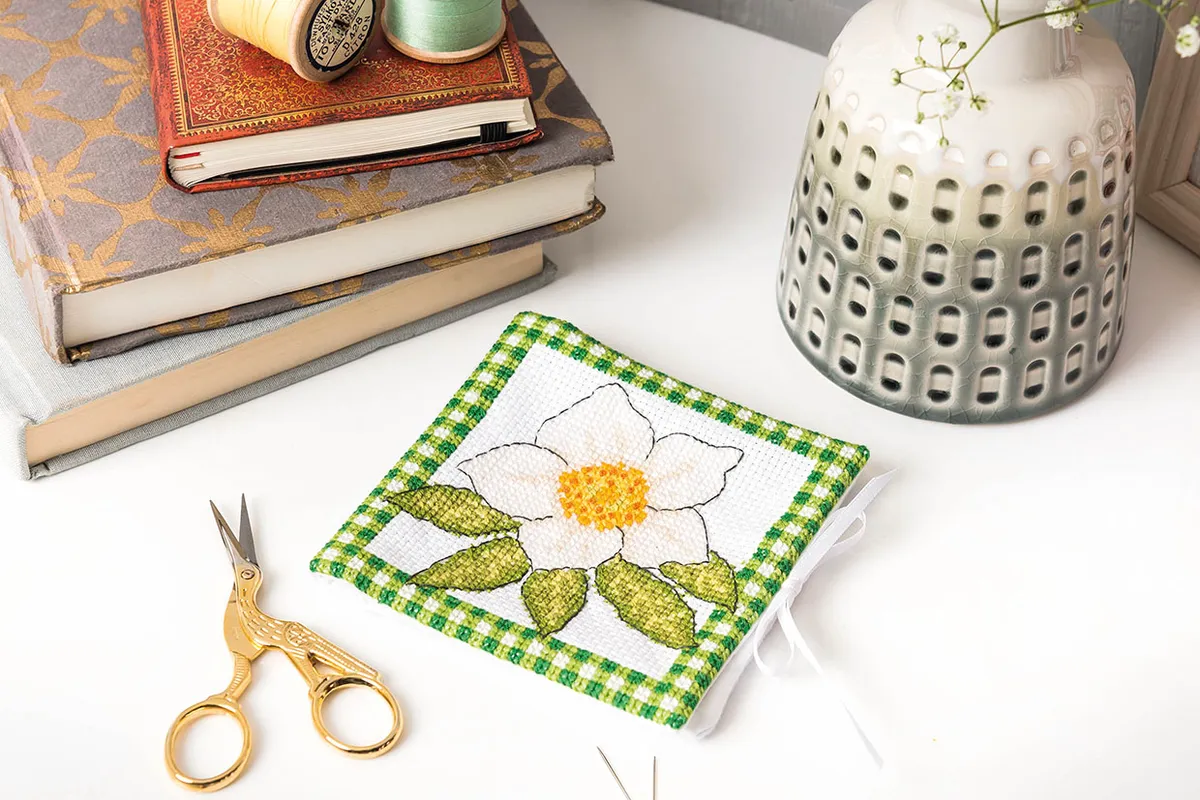
It’s always so cheering to see those brave little flowers and berries that come out in the winter months, brightening up our homes and gardens, reminding us that spring is just around the corner. In punchy reds and greens, the poinsettia cross stitch is similarly uplifting. These winter flowers are lovely and quick to stitch up, mainly using whole stitches and backstitch.
If you’re looking for some last-minute Christmas gifts to stitch, these would be perfect for garden-loving friends and family. They make fab little needlecases, pincushions or coasters, and the great thing about these designs is, even though they’re seasonal, they’re not too Christmassy so they’ll be enjoyed long after any festive decorations are put away.
Once you have finished your poinsettia cross stitch, you will just need to decide what you want to do with it, below you will find instructions on making it into a needlecase. You can also frame your finished design which would make a wonderful all year round decoration.
This poinsettia cross stitch is suitable for beginners, if you are new to cross stitching, however, we have lots of helpful guides available, find out how to cross stitch or learn more about cross stitch needle sizes.
This poinsettia cross stitch design was created by Amanda Gregory as part of a set of 4 winter florals and was first published in The World of Cross Stitching issue 262.
Poinsettia cross stitch fact box:
- Stitching Time - Approx.10-12 hours each
- Type of Stitches - Cross stitch, fractionals, backstitch, French knots
- Ease of Stitching - Advanced beginner/intermediate
What you’ll need for the Poinsettia cross stitch:
- Zweigart* 14-count white aida measuring 25x25cm (9¾x9¾in) for each design
- Stranded cotton as listed in the key
- Size 24 tapestry needle
- Frames of your choice with minimum apertures of 14x14cm (5½x5½in)
- Backing fabric felt and ribbon of your choice from local stores, (for the needlecase)
Poinsettia cross stitch pattern
Click the link to download the free Poinsettia cross stitch pattern. The download is an A4 PDF containing the poinsettia pattern and an accompanying key.

Finish your Poinsettia cross stitch pattern as a needlecase
- Cut your finished design out using a pair of sharp fabric scissors, with a 1cm (½in) border. Cut out a piece of backing fabric to match.
- Pin your stitching to your backing fabric, right sides facing. Make sure that your stitching is facing downwards and sew the two together along the right-hand edge, using a 1cm (½in) seam. Now open it out to create a larger rectangular panel, and press the seam open.
- Cut out a piece of felt the same size as your front panel and pin both together with right-sides facing. Sew a 1cm (½in) border on all four sides, leaving a 3cm (1¼in) gap for turning.
- Turn through and sew up the gap, with a slip stitch. Finish by hand-stitching two pieces of white ribbon, each on the inside edges of your needlecase covers, so that you can tie it closed.

If you loved the poinsettia cross stitch Christmas design and want to get stuck into more festive cross stitch, try these amazing 150 cross stitch patterns, you’ll find something to suit all types of stitchers. If you want some other Christmas crafts, try these adorable gnome cross stitch bookmarks to keep your Christmas reading safe. We have this adorable kawaii cross stitch pattern, featuring a Christmas hot chocolate, the perfect way to keep cosy this Winter. If you want a way to personalise your Christmas cards, try the festive ABC. Looking for more gift ideas? Then check out these cute needle minders which are perfect as a cute gift to keep needles safe. We also have this lovely rundown of our favourite modern cross stitch kits or the Christmas cross stitch kits which contain everything you need to complete your project, ideal for those new to the cross stitch. If you want more inspiration for cross stitch ideas be sure to browse through our large collection of free cross stitch patterns, there is something for everyone!
