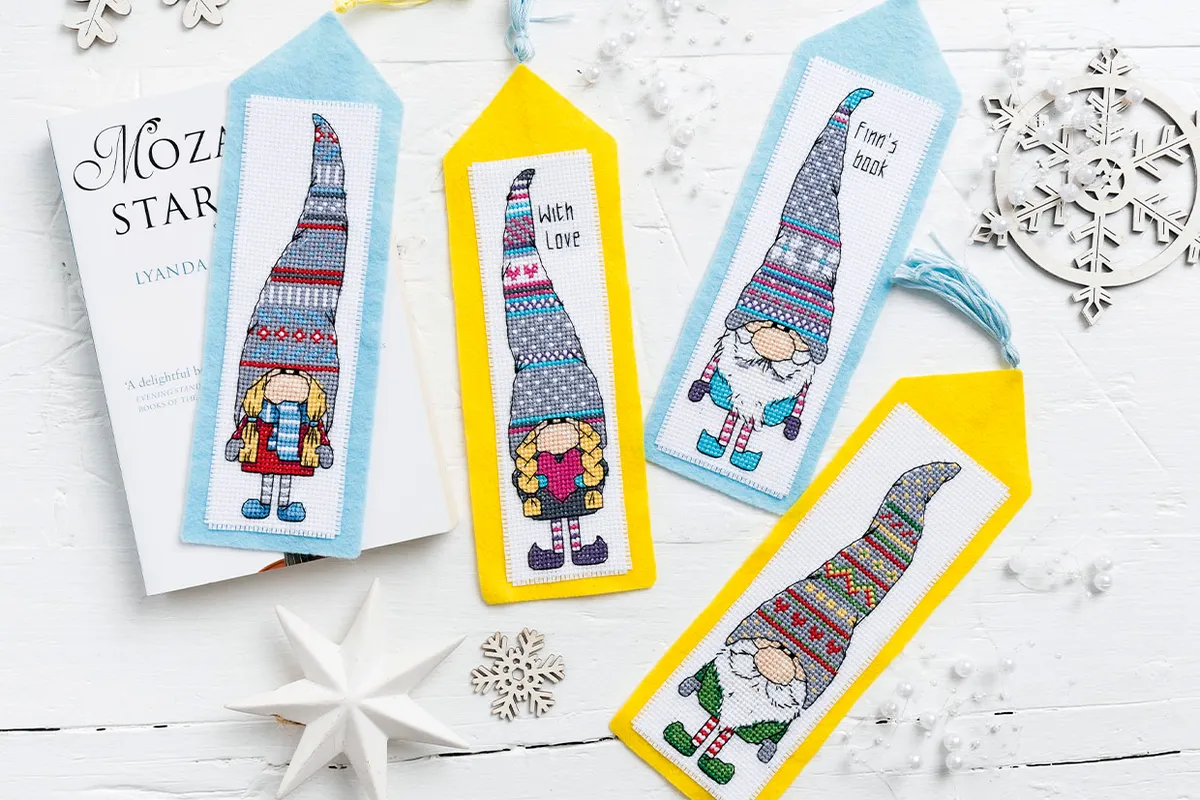
Free Christmas gnome cross stitch bookmark pattern
Magic is sweeping through the land with this cute cross stitch gnome, designed by Rhona Norrie, which can be made into a bookmark to protect your favourite novels.
With their cute round noses, tall towering caps, and big bushy beards, the tomte are gnome-like creatures from Swedish folklore (also known as nisse in Norway and tonttu in Finland). These Scandinavian mythological characters are domestic sprites who act as secret guardians for the household, protecting them from misfortune… and now here they’ll be defending your books from losing your place.
- 5 ways to stop fabric fraying
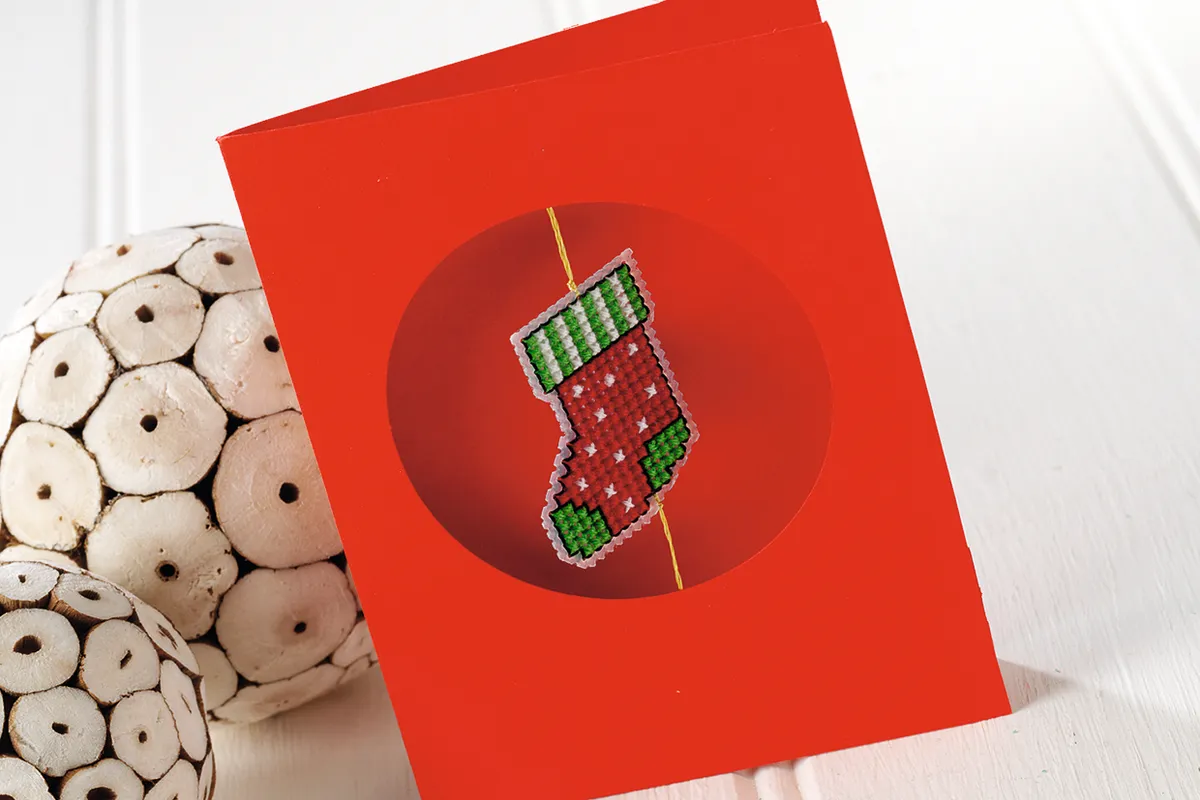
- Stitch pretty beaded Christmas tree cross stitch cards
- How to cross stitch on clothes and tote bags
All four of these beautiful gnomes have been designed by the talented Rhona Norrie. The blue gnome with the bushy beard can be downloaded for free, plus, the backstitch alphabet so you can personalise your bookmark or add your own friendly greeting.
If you can't get enough of these gnomes you can get the other 3 gnomes in issue 286 of The World of Cross Stitching, which you can still buy as a digital copy through our app.
If you are new to cross stitching or want to refresh your skills, check out our how to cross stitch and our useful guide to cross stitch needle sizes, for everything you need to get started on your next project.
Gnome cross stitch fact box:
- Stitching Time - Approx. 8-10 hours
- Type of Stitches - Cross stitch, fractionals, backstitch
- Ease of Stitching - Beginner/advanced beginner
Download your free Gnome cross stitch template
Click the link to download the free gnome cross stitch template. The download is an A4 PDF containing one design.
How to make a cross stitch bookmark
You will need
- Your completed cross stitch on aida
- Felt
- White thread
- Iron-on interfacing (medium weight)
- Pins
- Tassel (optional)
Step 1
Trim your fabric leaving a two aida block border around your stitching on all sides, then carefully fray the outermost block with a pair of tweezers – pull the strands out one by one, to prevent warping the threads.
Step 2
Cut a piece of medium-weight iron-on interfacing slightly smaller than the un-frayed area of the fabric, and affix it to the back of your stitching following the manufacturer’s instructions.
Step 3
Cut a piece of felt slightly bigger than your stitched fabric, leaving an extra 3cm border at one end. To create a point, find the middle of one of the short ends with a ruler and mark with a pin. Following the photo as a guide, snip the edges of the felt into a point meeting up with your pin marking.
Step 4
Attach your stitched piece centrally to the felt using dressmaker pins – be careful to always place them through the holes in the aida and avoid spliting the blocks or pierce through your stitches. Use running stitch in white thread to attach your stitching to the felt, sewing around the outside edges. Remove the pins when finished.
Step 5
Attach a coordinating coloured tassel to the point using a few secure stitches at the back of the felt to finish.
Enjoy a cross-stitch Christmas!
If you adore the gnome cross stitch and want to get stuck into more festive cross stitch, try these amazing Christmas cross stitch patterns – we promise you won't be short of inspiration.