Top tips for steek success

Top tips for steek success

Steeking is commonly used in Fair Isle knitting when working in the round. Achieve neat results without fear by following Mary Henderson’s advice.

6 issues of The Knitter magazine for just £9.99|Save 79%

Published: October 1, 2020 at 12:59 pm

The term ‘steek’ refers to a set of techniques used in preparation of cutting a knitted fabric. These techniques can involve knitting, sewing, knotting or crochet to reinforce the edge to be cut. Steeking is typically used in Fair Isle knitting, when the fabric has been worked in the round. Steeks are used to create openings in the tube of fabric, such as for armholes, necklines, or the front openings of cardigans and jackets.
Top tips for steek success
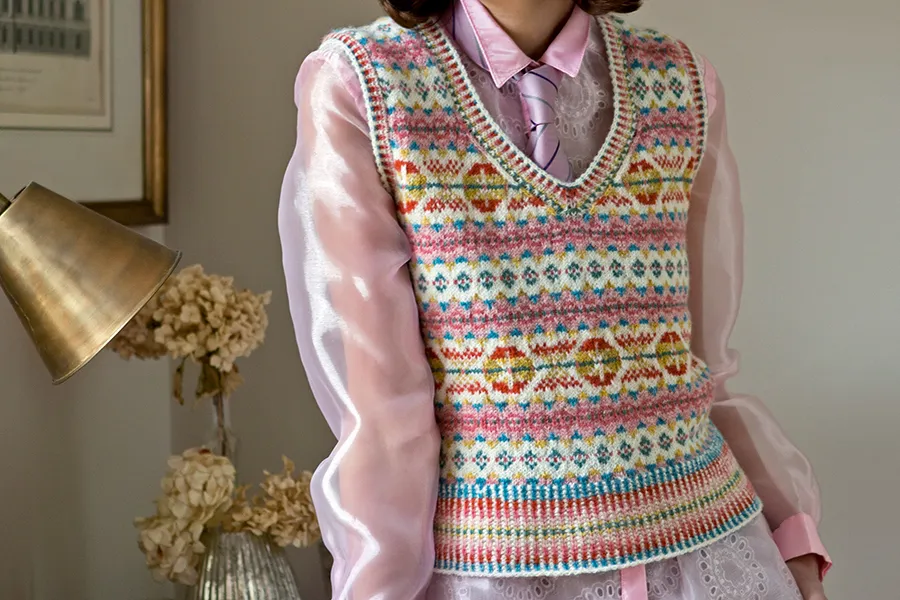
Steeks are used in Alcott by Mary Henderson, from issue 56 of The Knitter.

Fundamentals

A garment is knitted in the round to the shoulders, with extra columns of stitches (steeks) added at the front (for cardigans/jackets), at the neck, and at the armholes.

For cardigans, a steek can be introduced either after the lower ribbed hem, or right from the start. The number of stitches in the pattern instructions will include the extra steek stitches, with stitch markers denoting the boundaries of the steek (for example, there might be 252 sts for the body plus 9 sts for the steek).

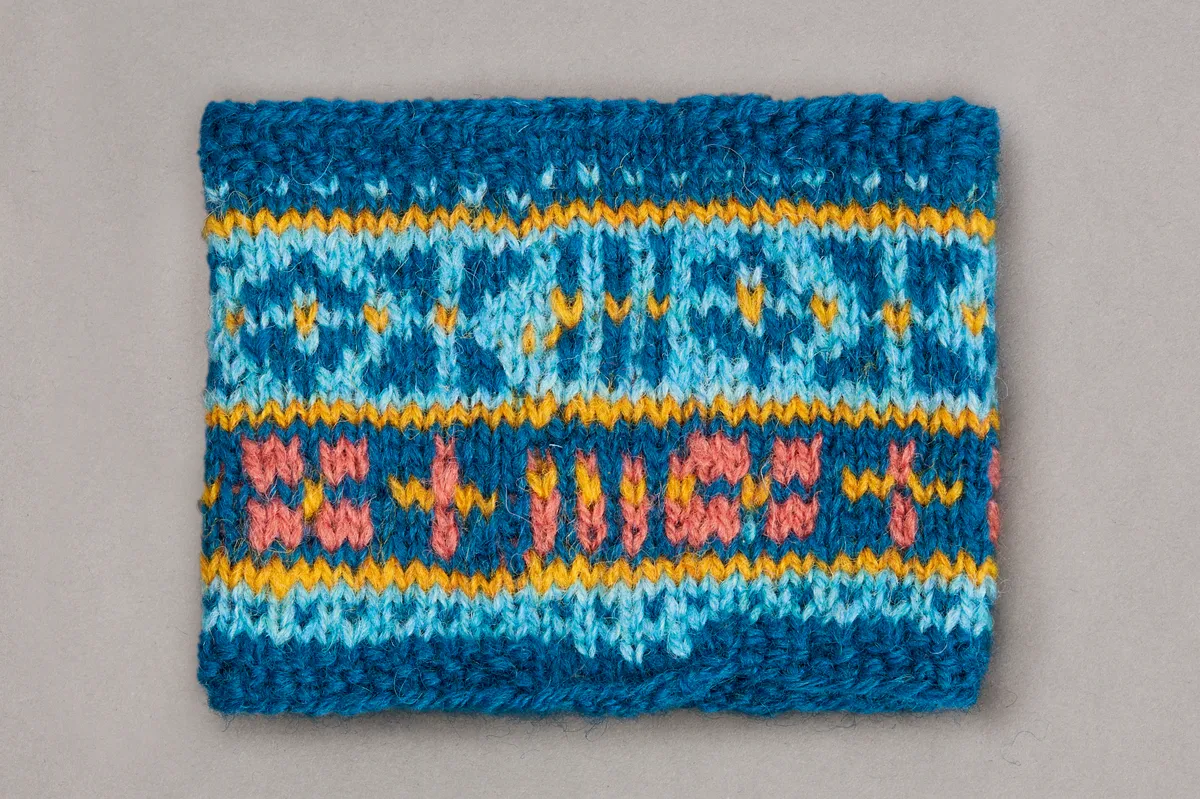
There will be a chart for the garment and another chart for the steek, which will look like ‘tramlines’ in the colours used in the rounds of the garment.
Steeks step 1
Here you can see that the steek looks like 'tramlines'.

Once the cardigan steeks are set up, you’ll knit in the round to the armholes, where stitches for the armhole opening are either cast off or placed on a holder and armhole steek stitches are cast on. In my patterns, the decreases for both armholes are worked on the same round, which gives consistency, and are worked two stitches in from the steek marker. The number of stitches within the steek remains constant throughout, so it is useful to have stitch markers on either side of each steek.

You’ll continue knitting in the round until the shaping for the neck opening, before placing neck stitch(es) on a holder and casting on the neck steek stitches, which will be the same number as for the armhole. Both side shapings of the neckline are worked on the same round, again for consistency and two stitches in from the steek marker.

Once finished, these stitches will create a neck facing and will enable a neck rib/trim to be added, but remember when folding and stitching it in that you’ll need to leave room to get your head in!

The benefit of knitting in the round for multi-coloured stranded garments means that the right side is always facing the knitter, which makes following a chart easier. It helps to achieve an even tension, which doesn’t always happen when knitting and purling in rows. In addition, it avoids the difference in tension that can occur if the body is worked in the round and the upper front and back are worked separately in rows.

Cutting the piece of knitting you have spent hours working on is understandably daunting! However, careful consideration and the proper preparation will ensure a successful outcome. For best results consider the following:

  • Use wool, preferably 100% wool. Other fibres may not have the ‘sticky’ quality of wool, and may unravel if cut, even after reinforcing. Shetland wool and other 100% wool 4ply yarns are the ideal options. Silk, acrylic and cotton yarns will unravel, so are not a wise choice for cutting.
  • Steeks create a facing which provides a neat finish to hide all those yarn ends. Bear in mind though that steek facings can create bulk around necks and armholes.
  • Always read through the pattern instructions to gain an understanding of the processes involved. Make sure you have the correct materials (yarn, needles, stitch markers, sharp scissors and anything else mentioned in the pattern).

Reinforcing the steek

There are several ways to reinforce and finish steeks. This Masterclass will use a pattern for a small mug hug to demonstrate the crochet method. Alternative steek techniques are also given, though, so have a read through and decide which ones you would like to try.

Note that the needle and crochet hook sizes given in this section refer to the Jamieson & Smith 2ply Jumper Weight yarn used for the mug hug pattern.
Crochet method

Step 1

Always use a smaller crochet hook than your project’s knitting needle, to give a neat edge. A larger hook will cause the edge to ruffle and look untidy.

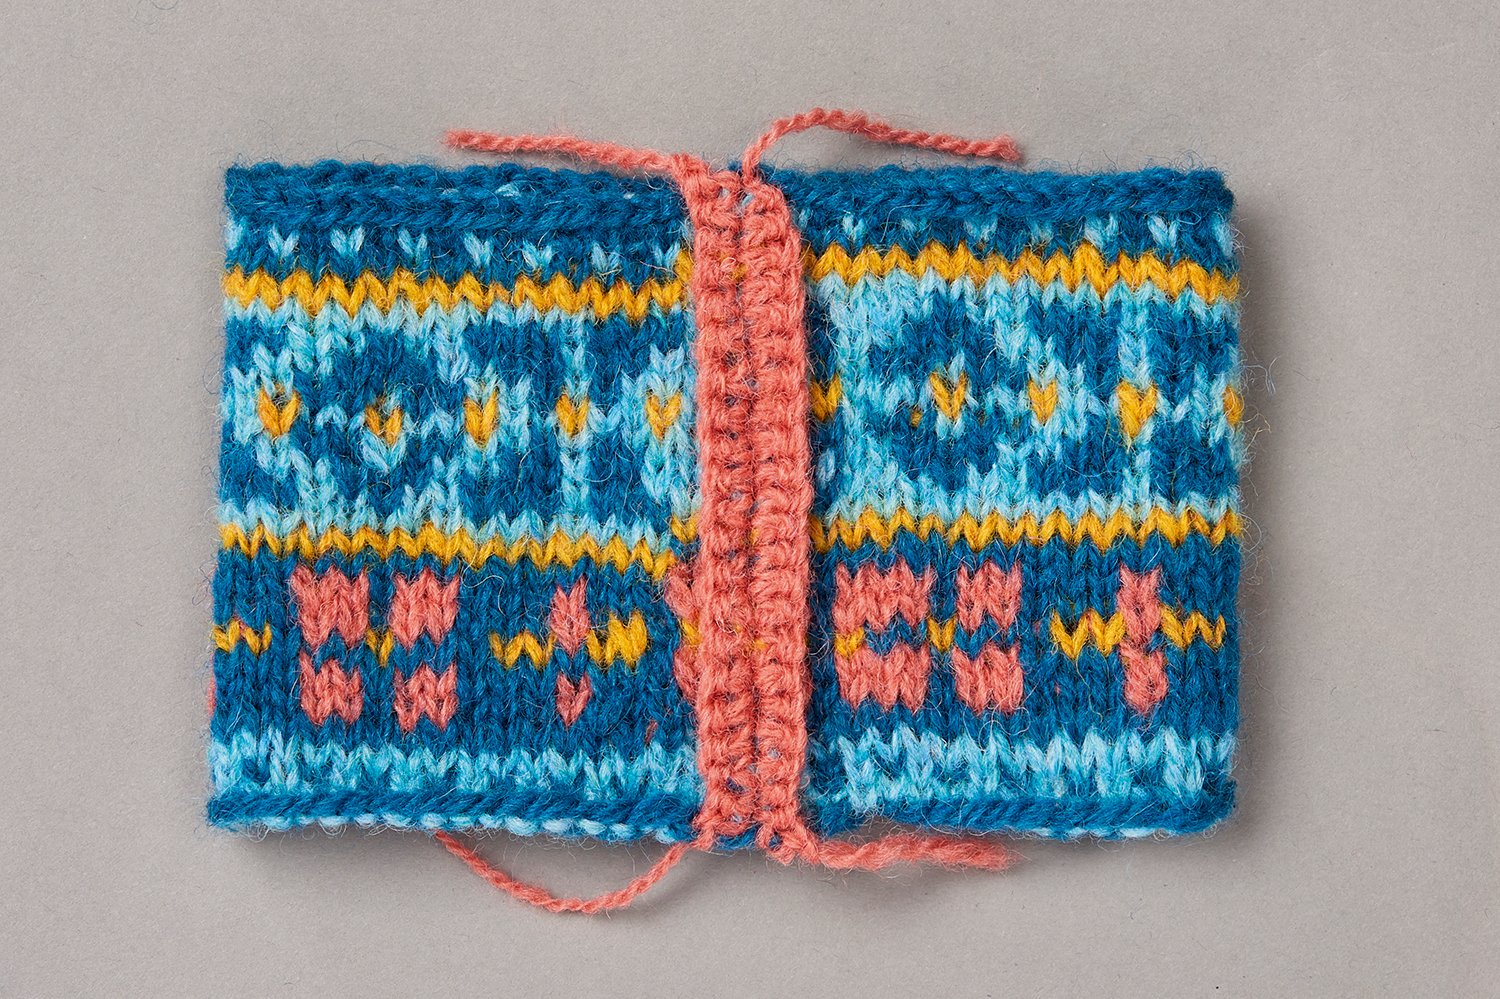
Using a 2mm crochet hook and yarn in a contrasting colour, work double crochet (US single crochet) each side of the centre steek stitch, leaving a ladder between the two columns of crochet.

Steeks step 2
Work double crochet each side of the centre steek stitch.

Step 2

Cut up the ladder between these columns, taking care not to cut the crochet. Fear not: it won’t unravel! To add button bands or an edging, continue as follows: With 2.5mm DPN and the colour of your choice, pick up and knit approx 3 sts for every 2 rows along the column of sts between the last steek st and the first st of the pattern repeat. Work edging in desired pattern. Cast off with a 3mm needle to create a flexible edge.

Steeks step 3
You can now add a button band or edging if you wish.

Sewn method

Step 1

Both hand and machine sewing are suitable for steeking. When the piece is complete, sew a zigzag line or two straight lines either side of the centre steek stitch before cutting. Sew a decorative tape along the edges to protect the cut edges.

Wrapped loop/wound method

Step 1

This technique is described in Sarah Don’s 1979 book, Fair Isle Knitting. In place of the steek stitches, wrap the yarn around the right-hand needle 8-10 times, then work the round.

On the next round, drop the wrapped stitches and wrap the same number of stitches, alternating the contrast and main colours and resuming on the other side of the opening. The edges can be loose, but cutting and tying the ends as you go does help to stabilise the knitting and neaten the finish.

Steeks step 4
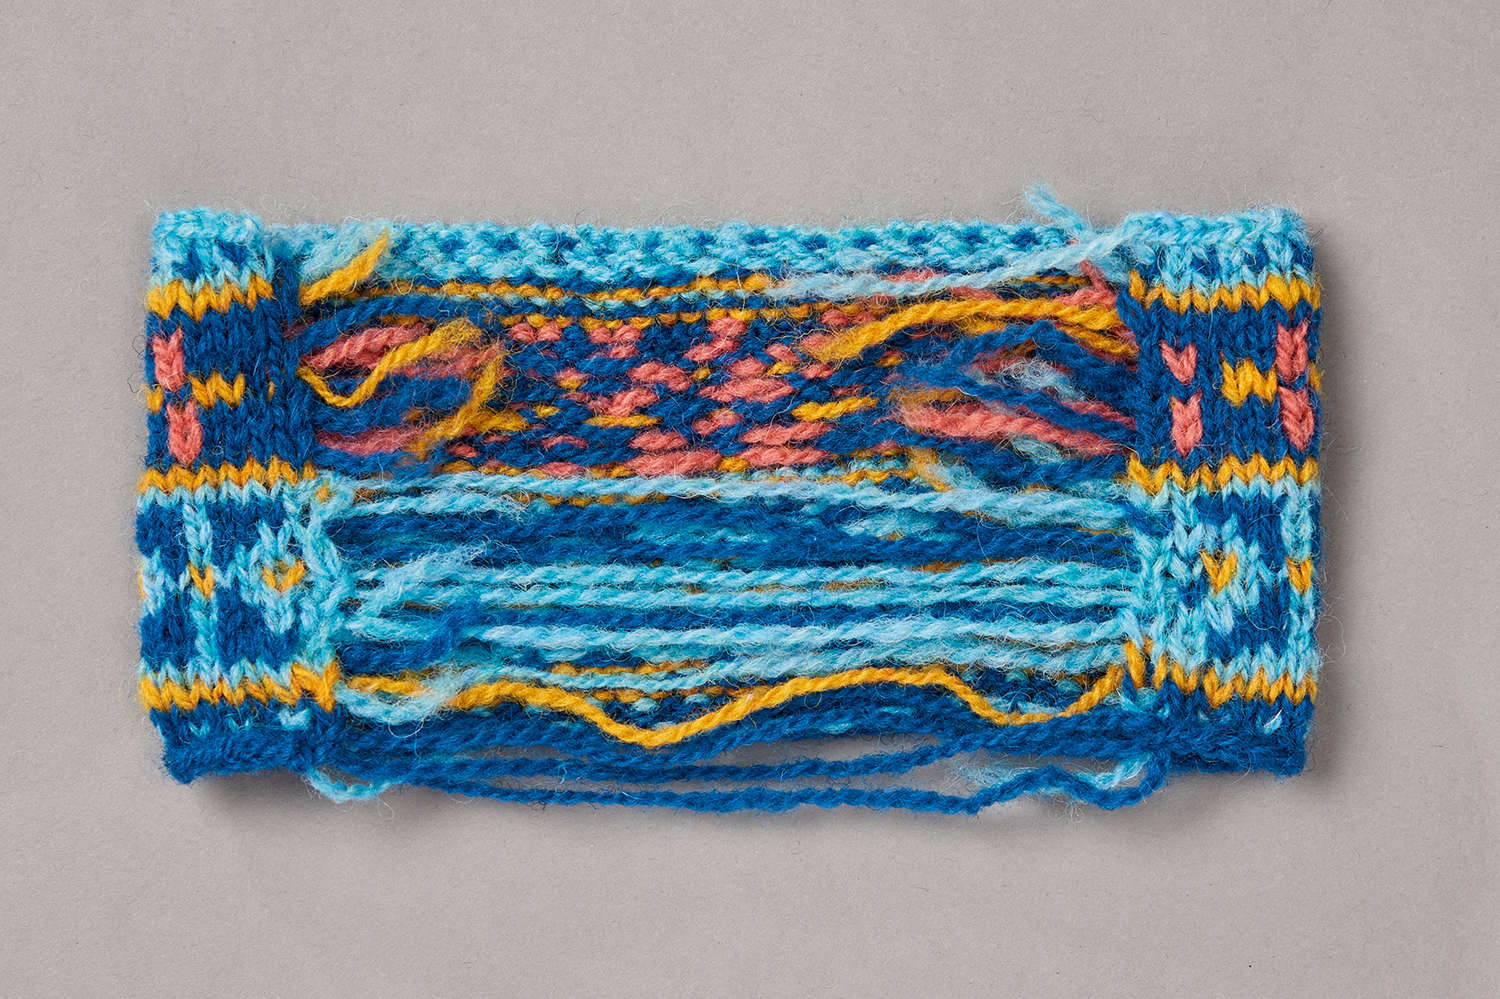
Wrap the yarn around the RH needle to create a wide ladder, then cut the stitches.

Step 2

This method creates a wide ladder of stitches, which means it can be wasteful of yarn. (An alternative to this technique is to always knit with the right side facing and cutting the working yarn at the end of each round. This helps to avoid loose stitches between DPNs when knitting in the round.)

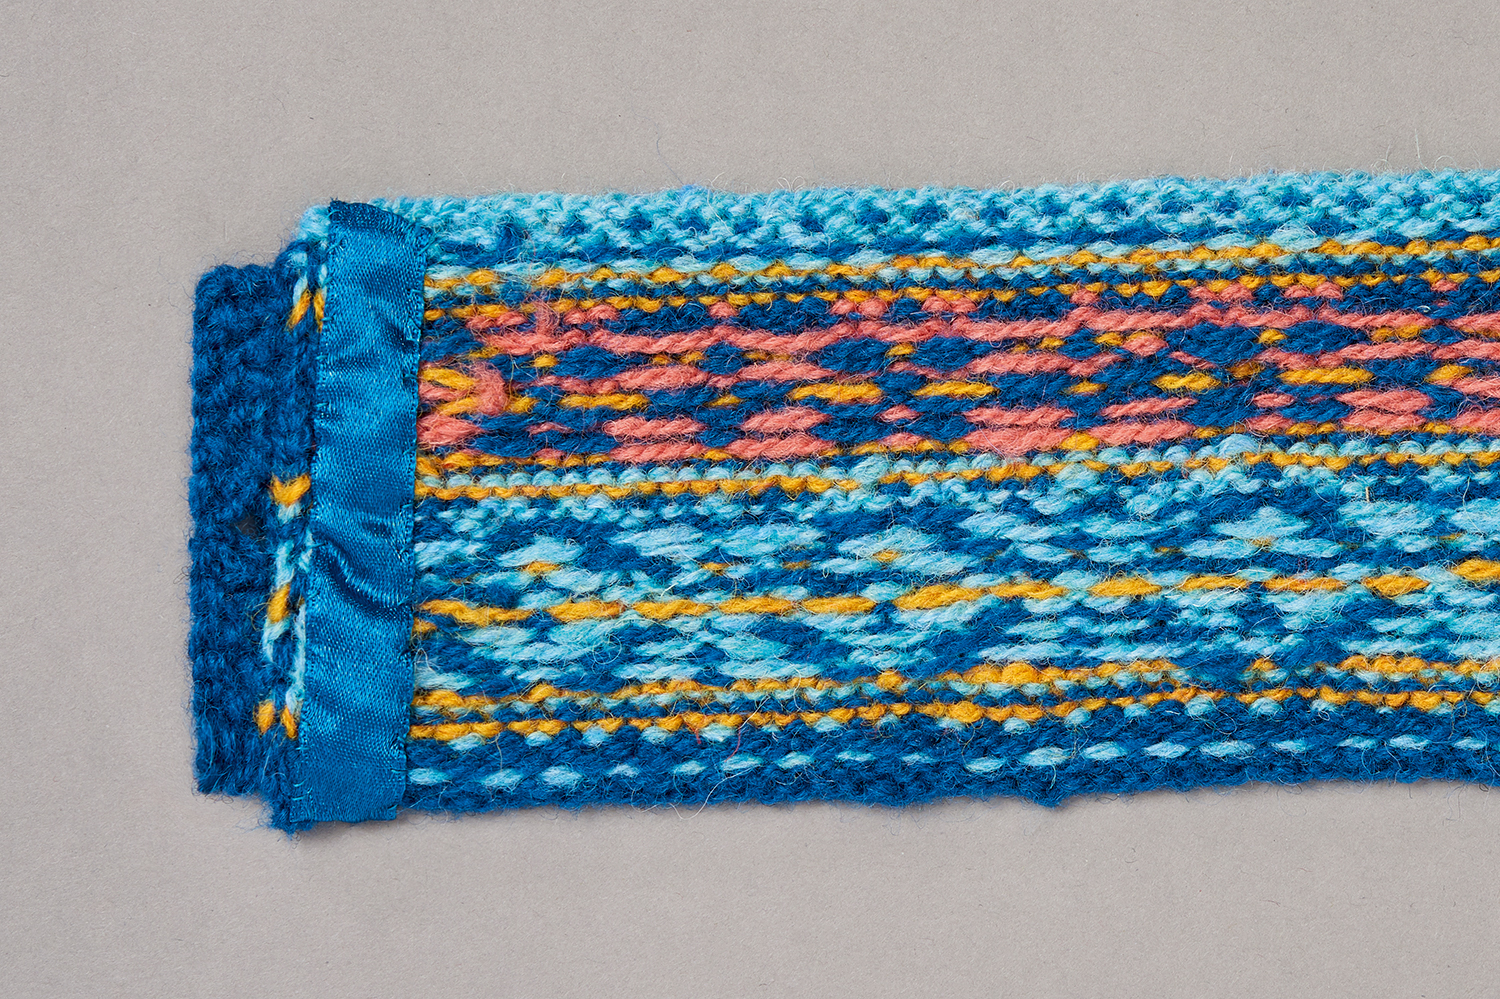
When the piece has reached the desired length, cut and tie the loops dividing the right and left fronts and sew in the ends. Sewing ribbon on the inside to cover the cut fabric and tuck in cut ends really gives the garment a neat finish.

Steeks step 5
Sew ribbon on the inside, covering the cut, for a neat finish.

‘Just cut it’ steek

Step 1

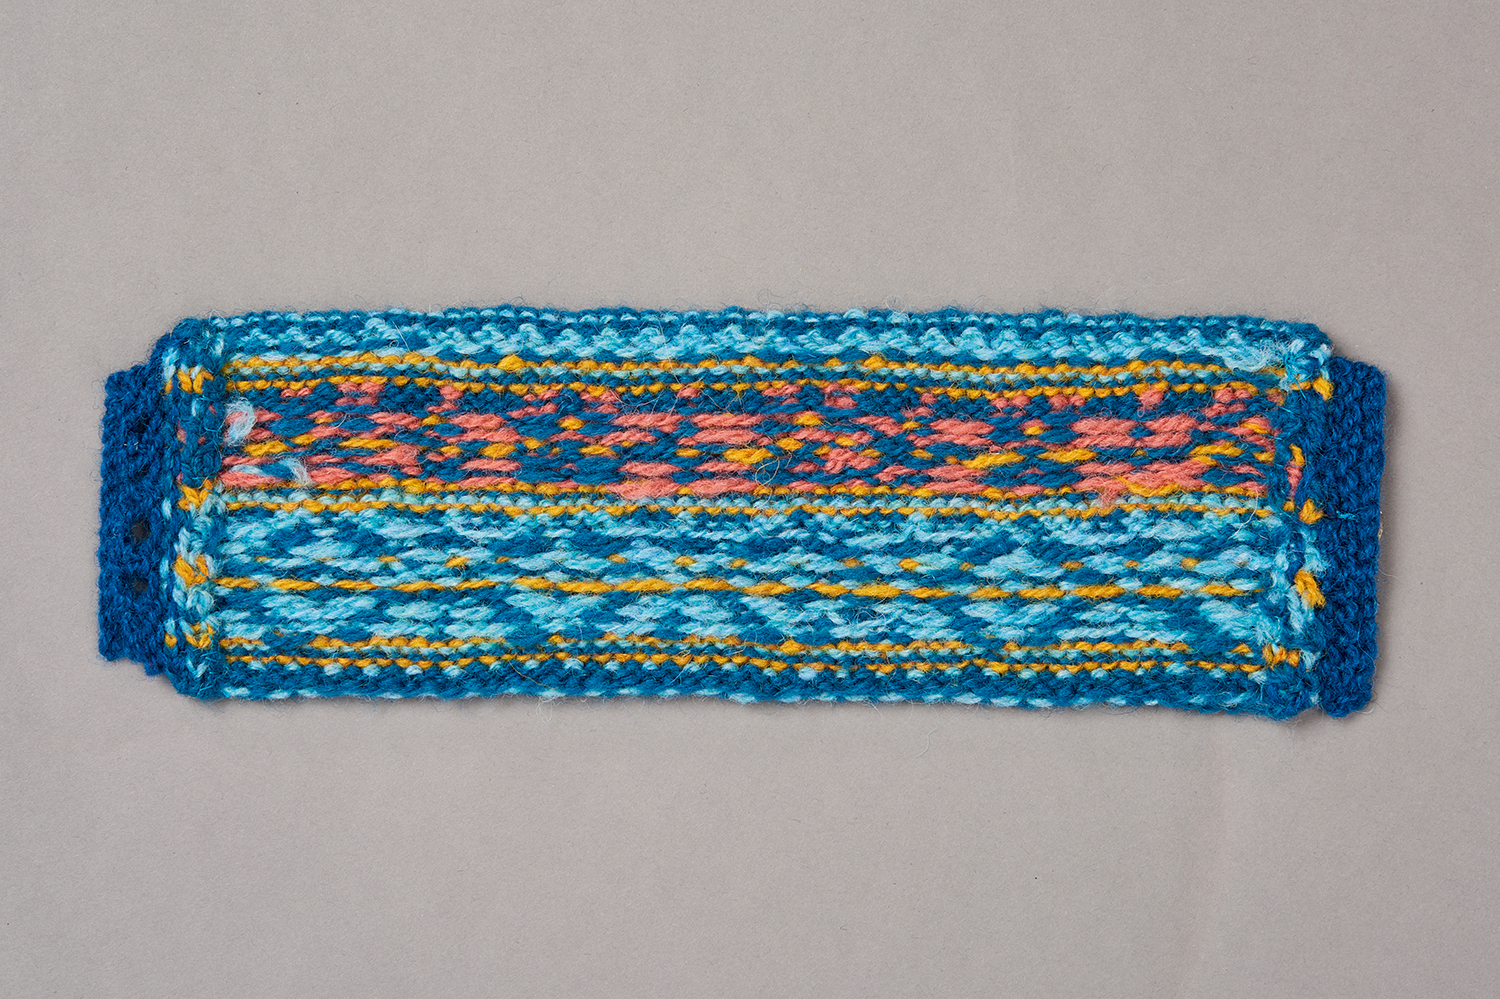
The Fair Isle samples I create for my designs are knitted in the round with an extra stitch at the beginning and end of each round. I then cut up between these stitches, taking care to knot colour change ends. Heavier and non-Shetland blends of yarn would tend to unravel, but not the trusty Jamieson & Smith Jumper Weight! A finishing option for this method is to bind the raw edges by turning the edges to the inside and sewing a ribbon over them.

Steeks step 6
For a ‘just cut it’ steek, work an extra stitch at the beginning and end of each round.

Step 2

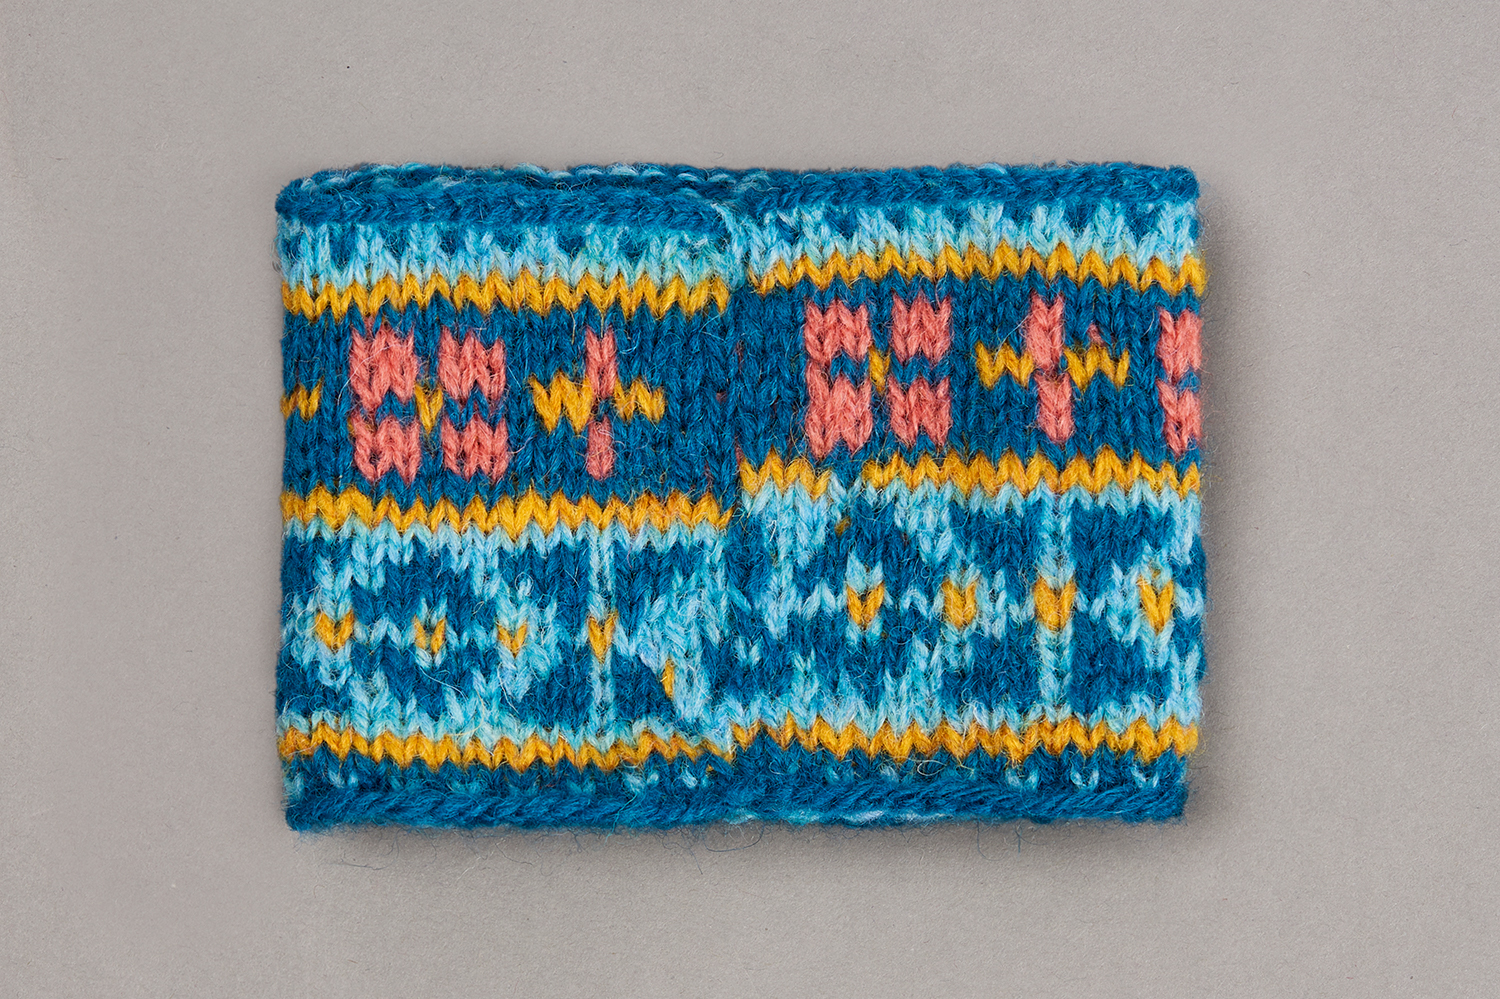
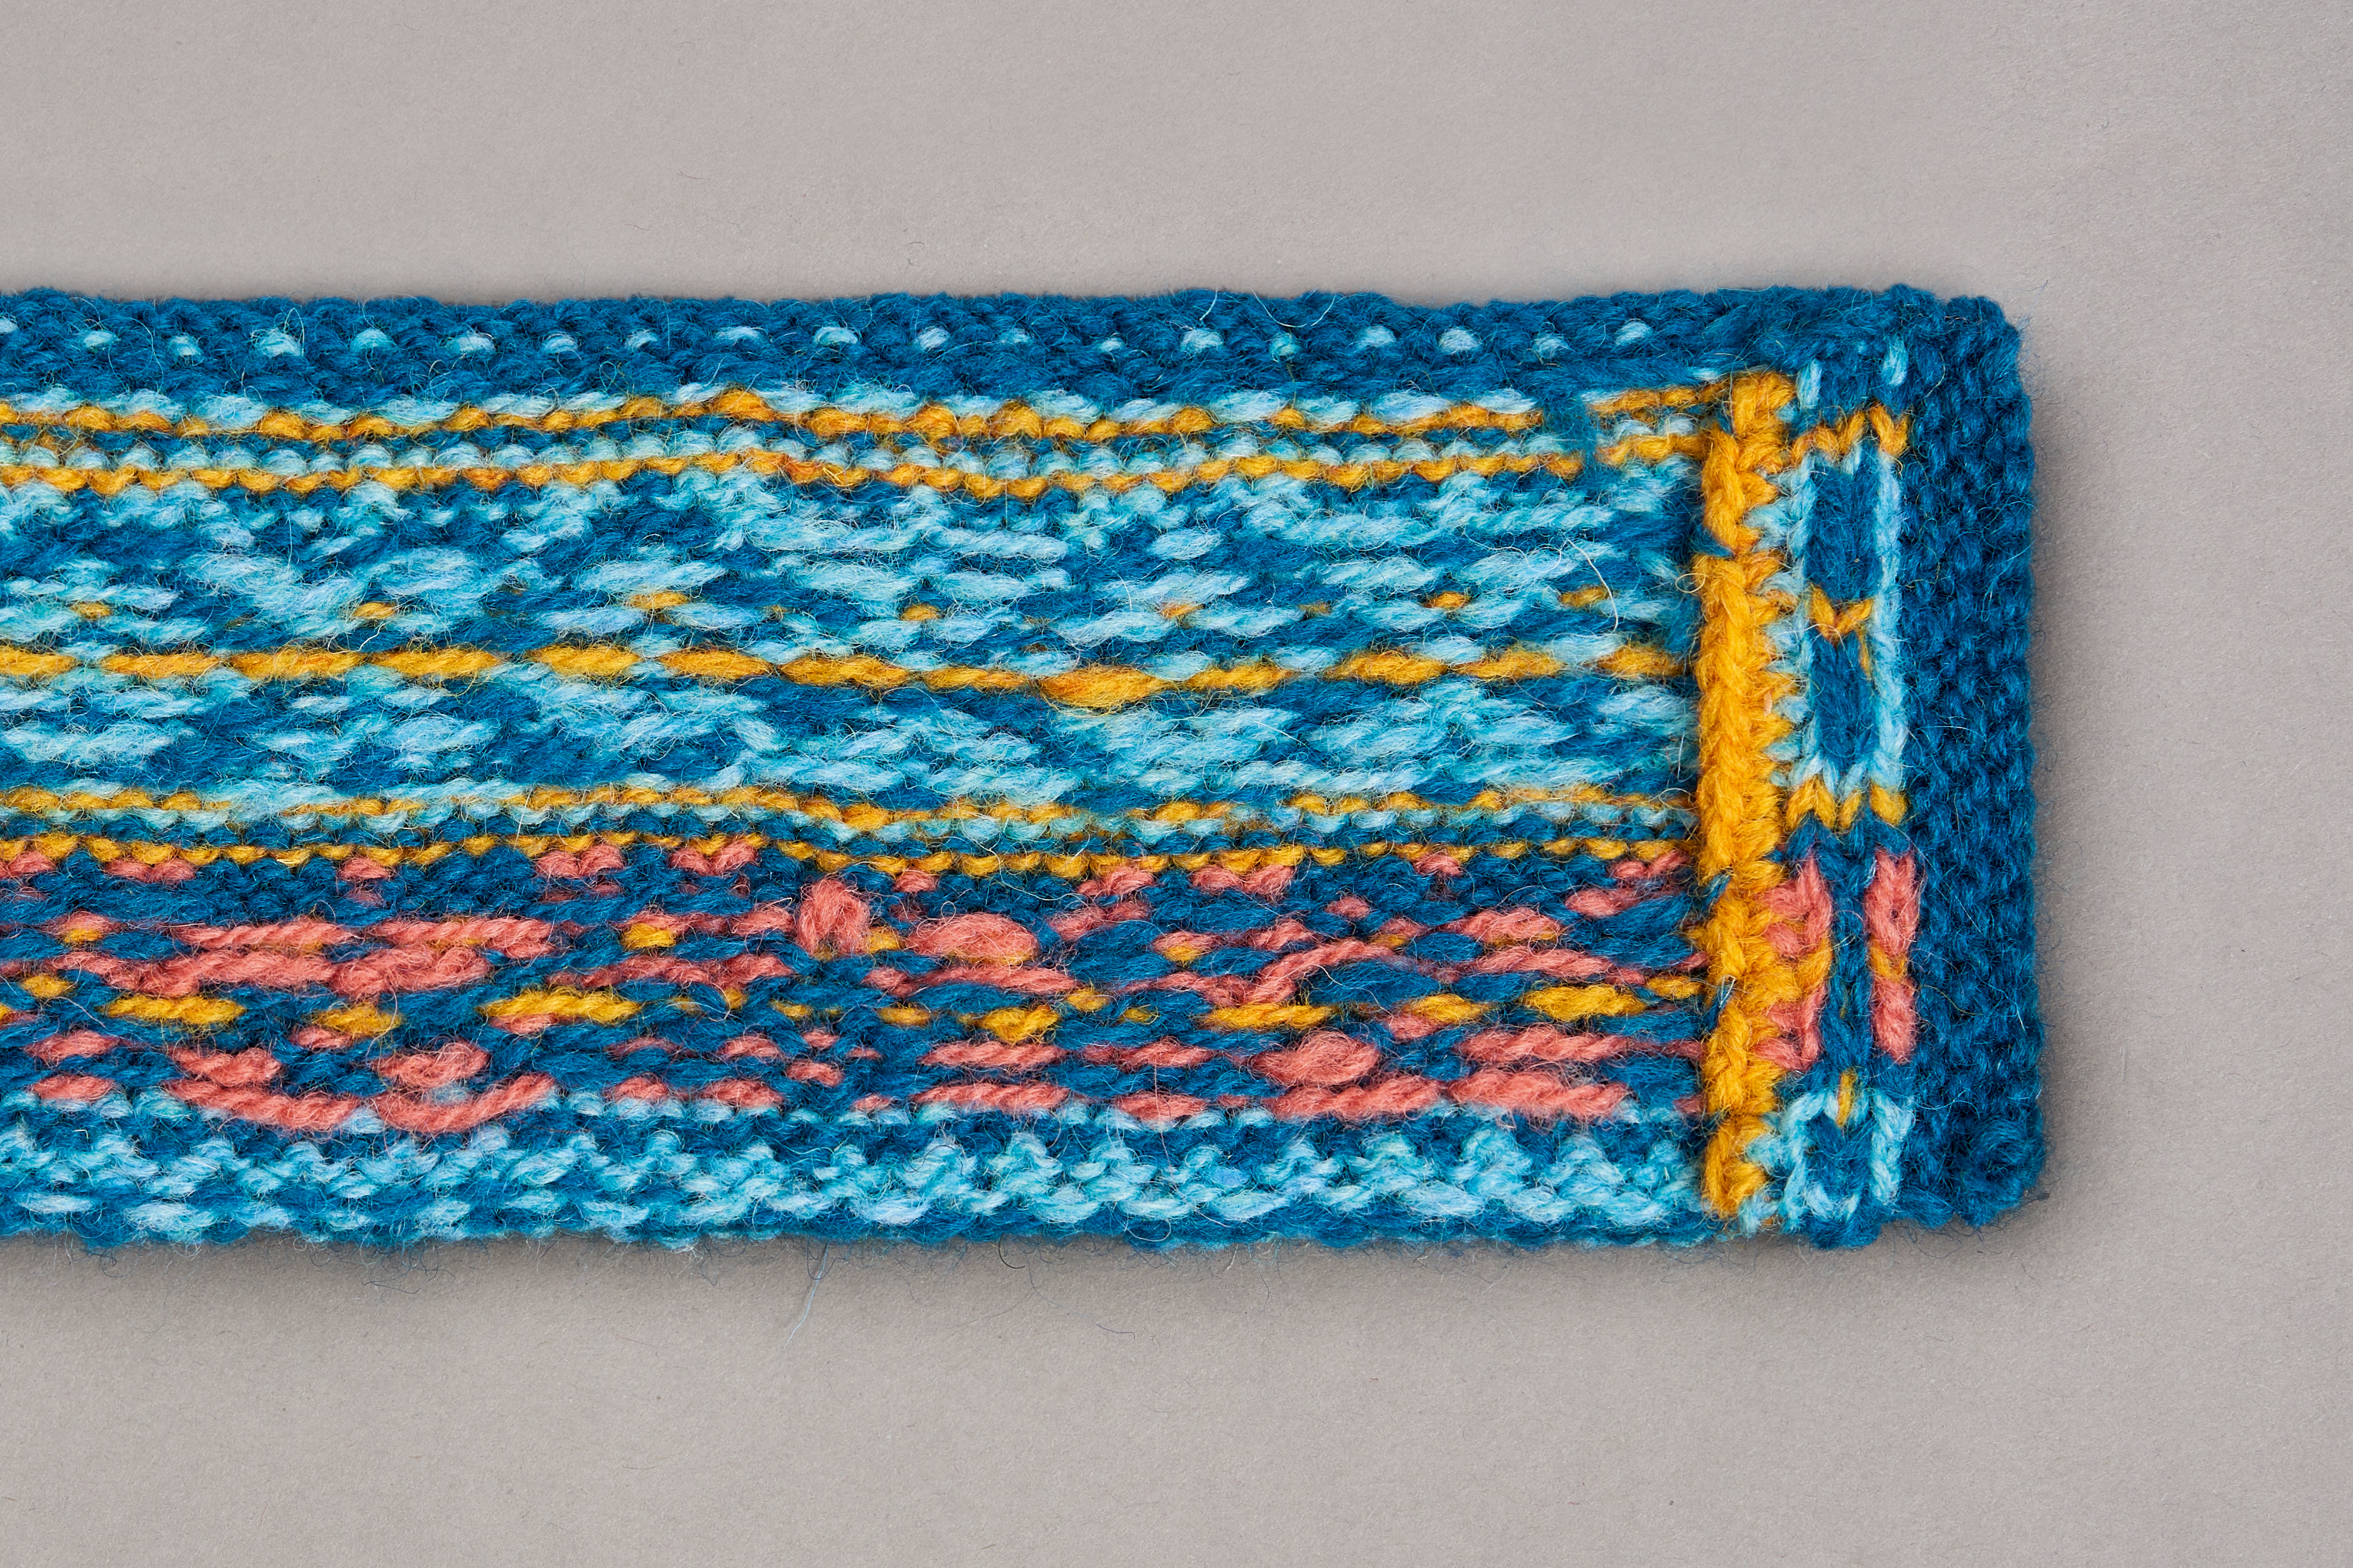
Our mug hug sample is knitted using this method, using a extra st each side in place of the seven steek stitches. It has been finished by folding over the raw edges which are hand-stitched in place. Button bands have been added at the end.

Steeks step 7
The raw edges are folded over and hand-stitched in place.

Post knitting steek

Step 1

A plain wool jumper can be converted into a cardigan using this ‘afterthought’ method. Pick the centre line down the front of the jumper, and crochet two parallel lines either side of it. Cut up the middle, fold over three stitches either side to the WS and pick up and knit along the edge for the buttonband, marking out the location of the buttons. Repeat on other side for the buttonhole band.

Final thoughts

Before starting your project, ask yourself whether steeking is appropriate for your chosen pattern. Will it make the process of knitting the garment easier, and improve the garment’s finishing?If you wish to use a steek, there are merits and drawbacks to the five methods we have discussed here. In my opinion, knitted steeks (either reinforced with crochet or the sewn method) provide continuity and consistency in knitting; the crochet edge gives a durable finish, and is reasonably quick to do.

For those who have a sewing machine, sewing vertical lines and finishing with zigzagged edges is a faster method. For those who prefer hand sewing, cutting up the central stitch, folding over and hand sewing the edge with a ribbon finish gives a lovely finish.

The wound method can seem untidy and a bit wasteful of yarn, but it may suit your knitting style better.

Further Reading

  • Alice Starmore’s Book of Fair Isle Knitting (Dover Publications, 2009). This book has excellent instructions and illustrations, and really sets the steek in the context of a Fair Isle garment (sweater, cardigan, waistcoat).
  • Principles of Knitting by June Hemmons Hiatt (Touchstone, 2012)
  • Kate Davies has lots of really useful tutorials with illustrations on her website at www.katedaviesdesigns.com/tutorials