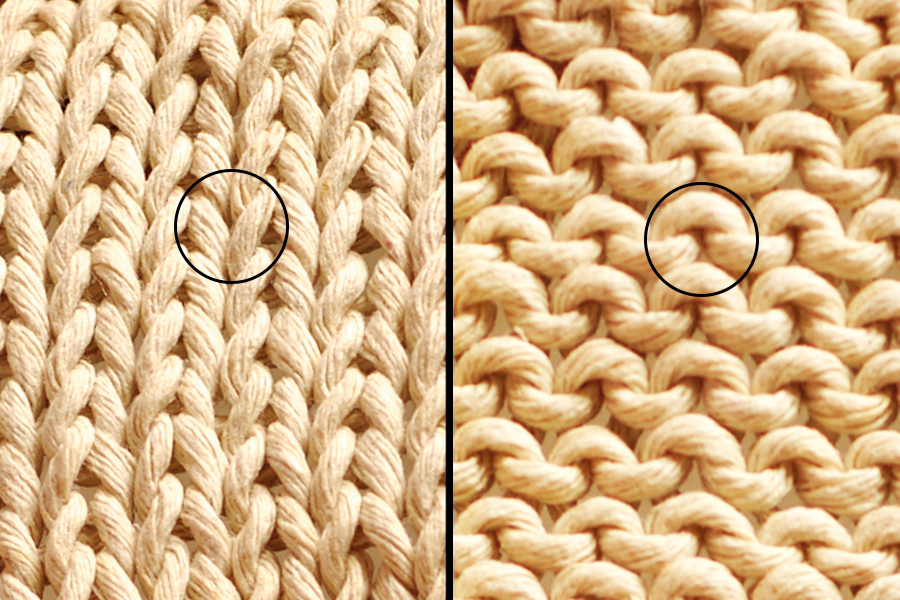
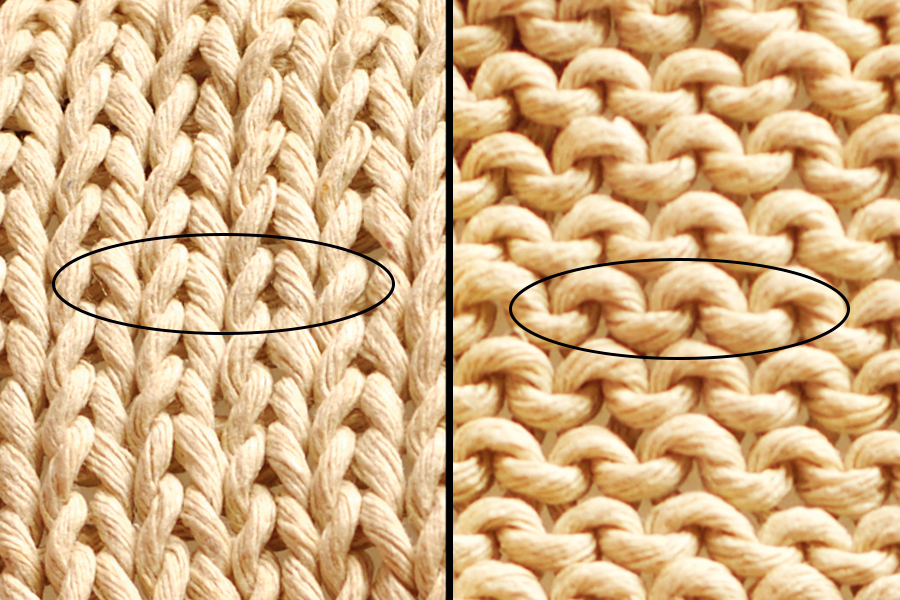
After garter stitch, the next stitch pattern for you to master in your knitting is stocking stitch (also known as stockinette stitch). Stocking stitch is the most commonly used pattern in knitting.
In knitting patterns, this will be abbreviated to st st. See our knitting abbreviations post for a full list of pattern abbreviations.
In this guide we'll explain about stocking stitch, reverse stocking stitch and how to count rows in this stitch, plus answer the question 'why is my knitting curling?'. To head straight to any of those sections, click on the links below.
- How to knit stocking stitch
- What is reverse stocking stitch?
- Why is my knitting curling?
- How to count rows in stocking stitch
What is stocking stitch in knitting?
Below is an example of what stocking stitch fabric looks like. On the wrong side of the fabric, it looks similar to garter stitch, but the wavy bumps are much closer together. On the right side of the fabric, all the stitches form ‘V’ shapes.
Knowing whether you’re working a right side or wrong side row is vital to making sure you complete a pattern correctly.
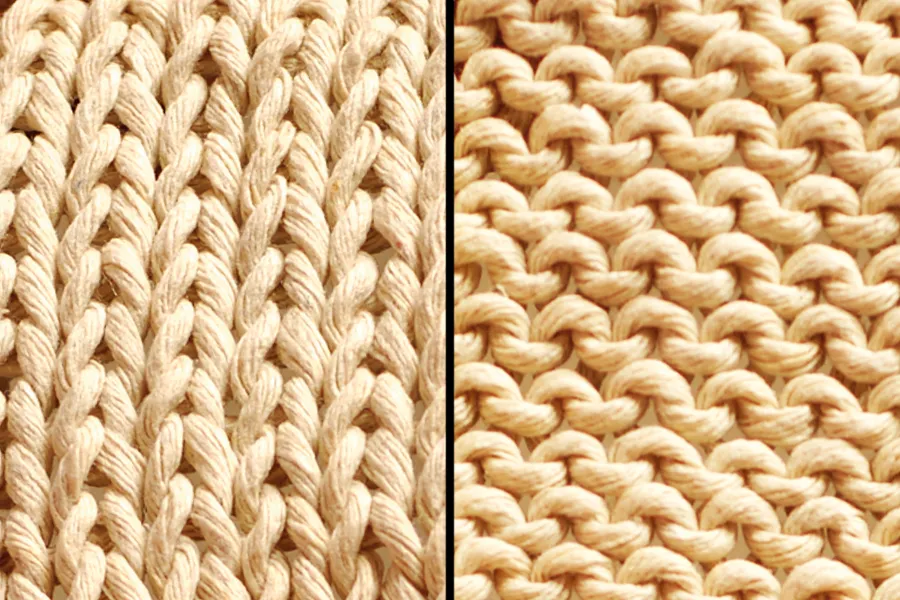
Stocking stitch has the knitting abbreviation ‘st st’ and is sometimes called stockinette stitch, especially in the US. It’s simple to create and is the style everyone associates with knitwear.
This stitch makes a smooth, flexible fabric, perfect for toys or softly draping jumpers. Fabric knitted in stocking stitch is also perfect for children's knitting patterns because it washes well, it’s warm and it has no loops where tiny fingers and toes could get caught.
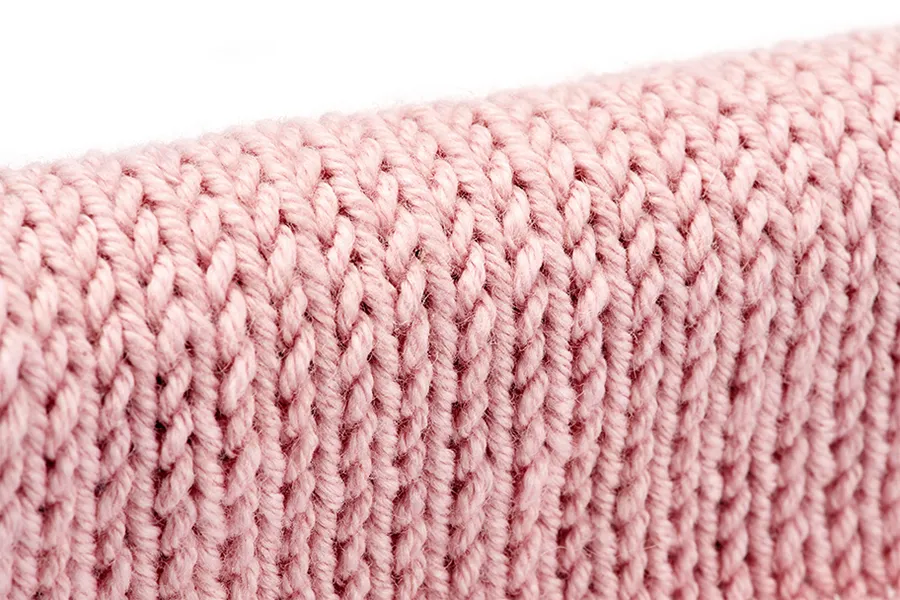
Why not practise making stocking stitch fabric using our instructions below, then have a go at one of our easy beginner knitting patterns?
How to knit stocking stitch
Follow along with our video to see hands in motion making the stitches you need to work stocking stitch in knitting.
To work stocking stitch, you simply knit all the stitches of one row, then purl all the stitches of the next row, then knit a row, then purl a row, and so on, alternating rows of knit and purl. (Find out how to do a knit stitch and purl stitch with our guides.)
Here's what the pattern looks like written out:
Cast on required number of stitches.
Row 1 (RS) Knit.
Row 2 (WS) Purl.
Repeat rows 1 & 2 until desired length is reached.
How to knit stockinette stitch in the round
When you're working in the round the right side of the fabric is always facing you, so to create stocking stitch you just knit every row. No purl stitches needed!
Here's the pattern for stocking stitch in the round:
Cast on required number of stitches.
Row 1 (RS) Knit.
Row 2 (RS) Knit.
Repeat rows 1 & 2 until desired length is reached.
What is reverse stocking stitch?
Sometimes patterns ask you to use reverse stocking stitch (abbreviated as ‘rev st st’). Put simply, this is where the side with the wavy bumps becomes the right side. This creates a totally different look that’s very popular.
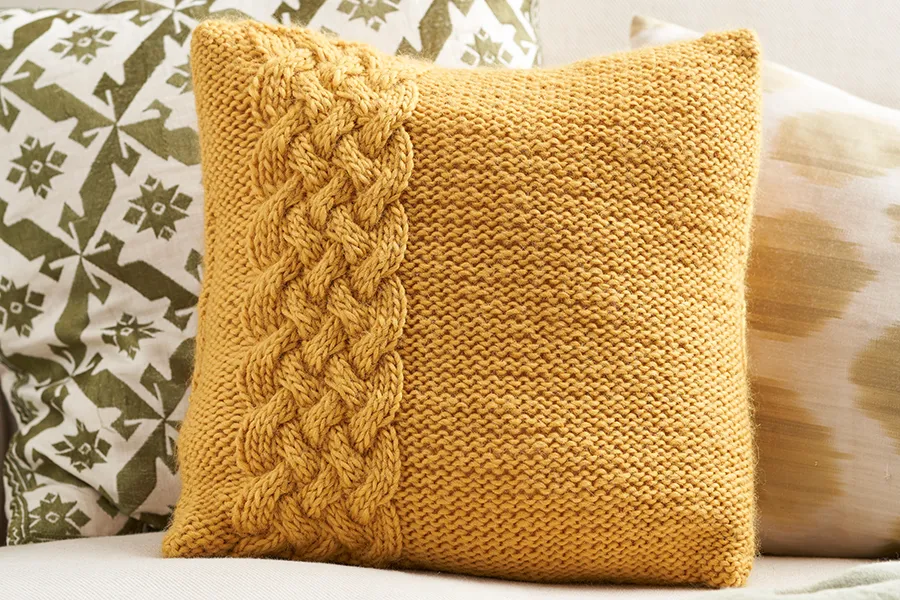
When you're working reverse stocking stitch, you'll start with a purl row, rather than a knit row, like this:
Cast on required number of stitches.
Row 1 (RS) Purl.
Row 2 (WS) Knit.
Repeat rows 1 & 2 until desired length is reached.
How to knit reverse stocking stitch in the round
To work it in the round you need to purl every row. Here's the pattern:
Cast on required number of stitches.
Row 1 (RS) Purl.
Row 2 (RS) Purl.
Repeat rows 1 & 2 until desired length is reached.
Don't like purling? Try working regular stocking stitch in the round (by knitting every row) and then turning your work inside out when you've finished!
Why is my knitting curling?
Have you noticed that your stocking stitch fabric always wants to curl up? Don’t worry – you’re not doing anything wrong. It’s just the way stocking stitch is!
Knit and purl stitches are slightly different sizes, and this means that any knitted fabric which has all the knit stitches on one side and all the purl stitches on the other (like stocking stitch and reverse stocking stitch) will roll.
For this reason it’s best not to use it for narrow knitting, such as scarves, because you’ll end up with a tube. It’s also not a good idea to use it at the edge of a garment, for example, unless a curled-up hem is the look you’re going for.
How to stop stockinette stitch curling
While the curl of stocking stitch can be an attractive design feature, it’s incredibly frustrating if your fabric starts to roll up when you don’t want it to.
The easiest way to prevent the fabric from curling is to stop it from happening in the first place – by adding a border using a stitch pattern that lies flat.
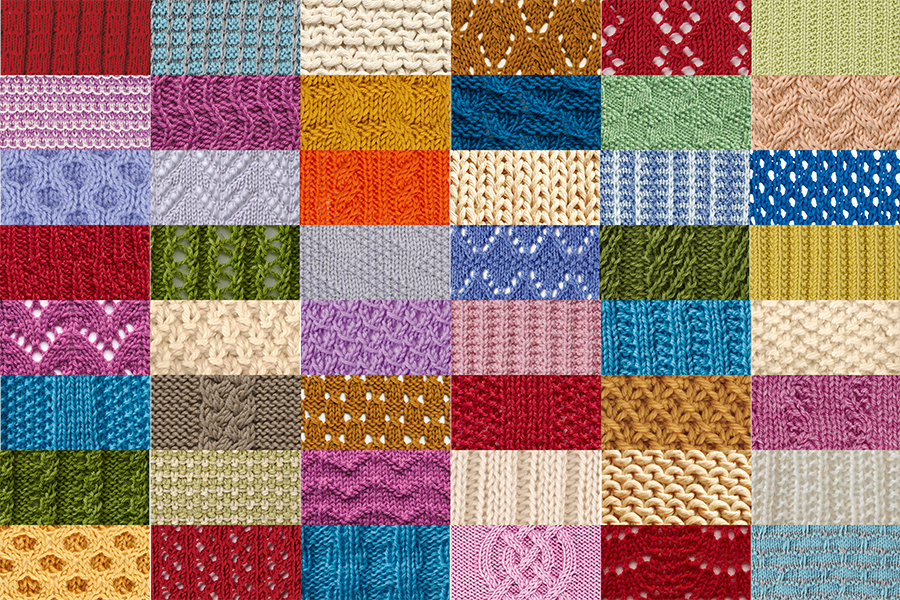
Any pattern where the knit and purl stitches are fairly evenly distributed on each side of the fabric will work for this purpose. One of the most popular options is ribbing, which also has the advantage of being stretchy so it’s perfect for hems and cuffs. If you’re handy with a crochet hook or want a decorative border, you could add a crochet edge to prevent curling instead.
Here are a few different stitches to try:
But what if you’ve already cast off your project? Unfortunately it’s a lot harder to fix curling fabric after the fact, but there are a few things that can help:
1. Blocking
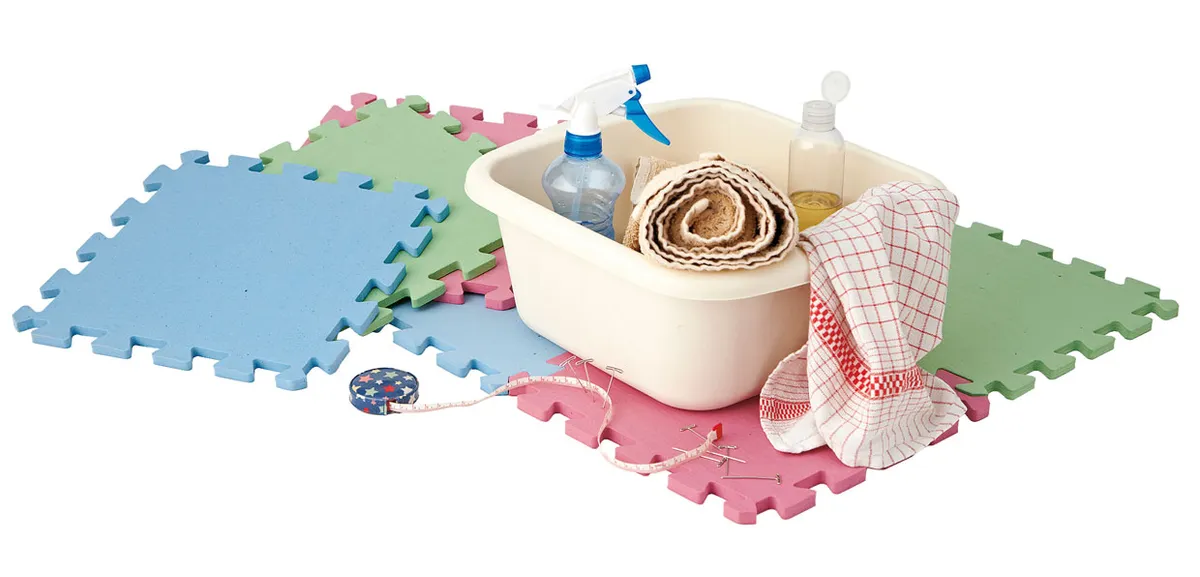
If you know how to block knitting projects, you may have noticed that it’s incredibly effective for flattening lace and smoothing cables, but it has a limited effect on stocking stitch, and what effect it does have is temporary.
The exception is projects made in acrylic yarn, which can be ‘killed’ by heating with an iron. This will flatten out that pesky stocking stitch roll, though it also changes the look and feel of the fabric, so do a swatch and proceed with caution!
2. Adding a border
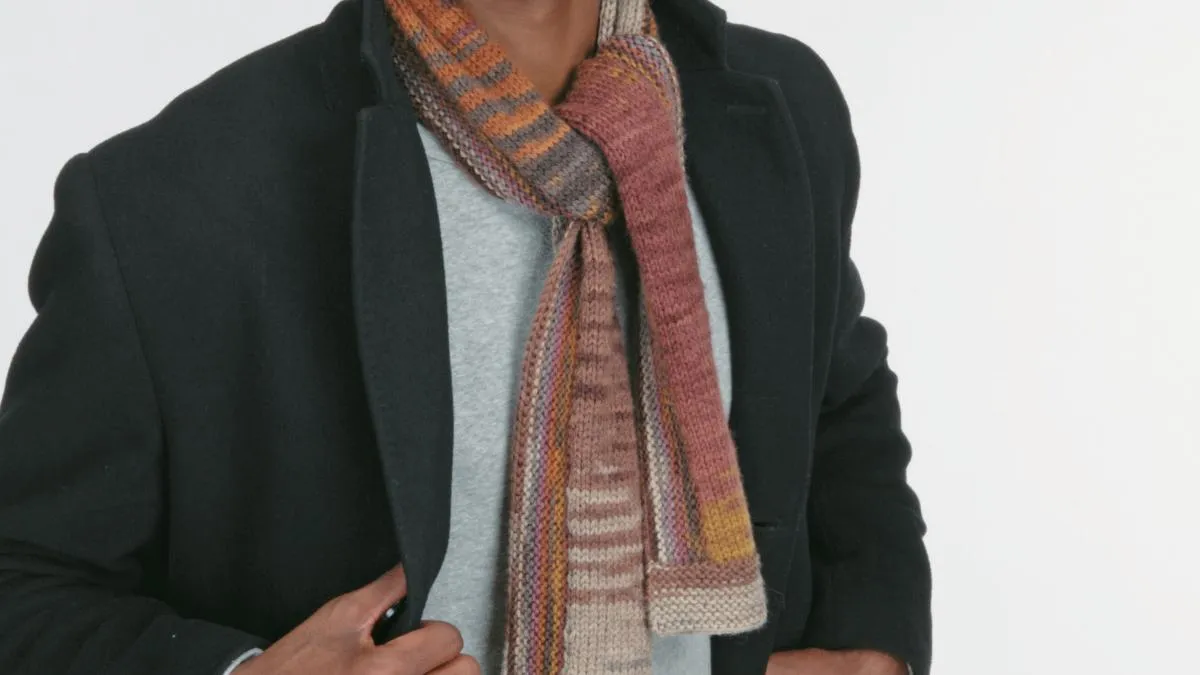
Another option is to pick up stitches around the edge of your finished item and add a knitted or crocheted border using one of the stitches given above. Be aware that the border will need to be at least 2½cm wide, so may affect the finished look and fit of your piece.
Decorative additions such as tassels and fringes can also help add weight and prevent curling.
3. Sewing a fabric lining
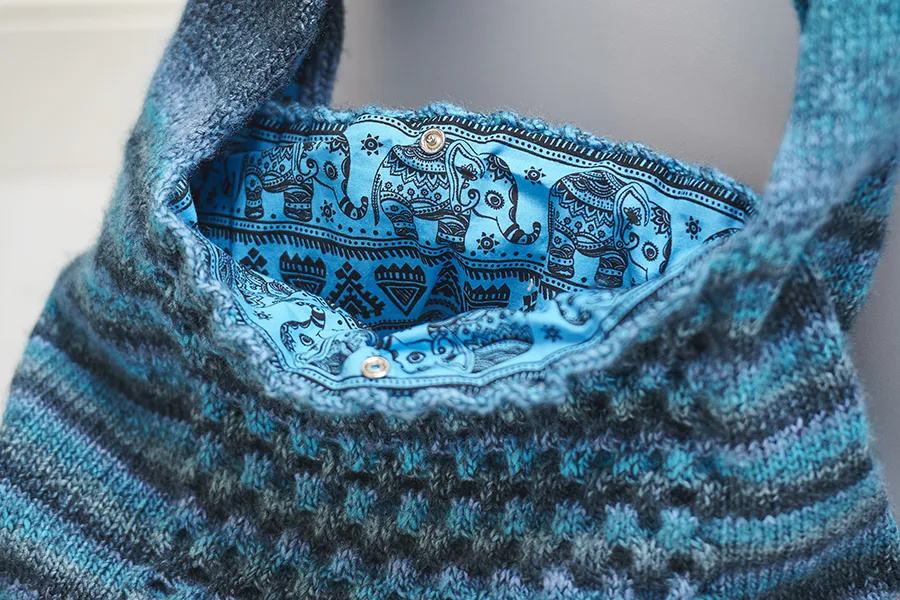
Backing your knit with a fabric lining is a good way to stop it from rolling up, and if you use a patterned fabric it can be really effective visually too.
Knit up a swatch using leftover yarn and try out a few different options (cotton, fleece, felt and so on) to see what works best for your project.
4. Leaving it alone
If all else fails, there’s always our favourite fallback for so many knitting mistakes: leave it be and call it a design decision. No one will ever know…
