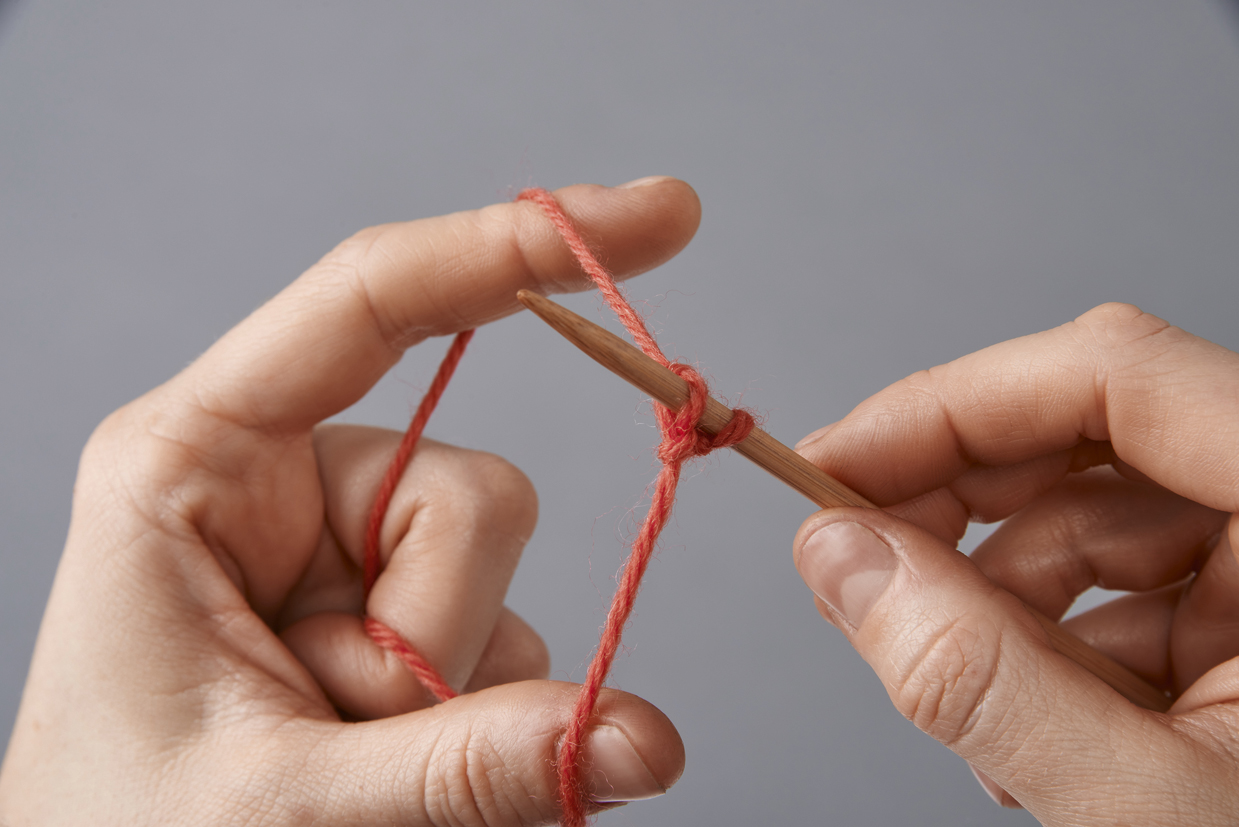
Create stretchy cuffs with the German twisted cast on

Create stretchy cuffs with the German twisted cast on

The German twisted cast on creates strong, stretchy edges that are perfect as cuffs on socks, mittens and more. Follow Faye Perriam-Reed's expert guide.

6 issues of The Knitter magazine for just £9.99|Save 79%

Published: March 28, 2023 at 1:25 pm

The German twisted cast on is a great method to use for top-down socks, mittens and other cuffs.

It's strong yet stretchy, which is important if you're looking for a snug, even cuff that isn’t too tight at the cast-on edge.

It starts in a similar way to the long-tail cast on, or the thumb method (see our how to cast on knitting guide to find out how these are done).

The German twisted cast on is fun to do. The first row is nice and easy to work knit stitch or rib stitch into and, because of the added twists in each stitch, the work will spring back into shape nicely after it’s been stretched out.

For an even stretchier edge, try working this over two knitting needles held together in the right hand.

German twisted cast on step-by-step

Follow our guide to learn how to work the German twisted cast on:

You will need:

  • Yarn
  • Knitting needles

Step 1

Take a length of yarn from the ball and fold it in half.

Make a slip knot at the halfway point and place it on the needle.

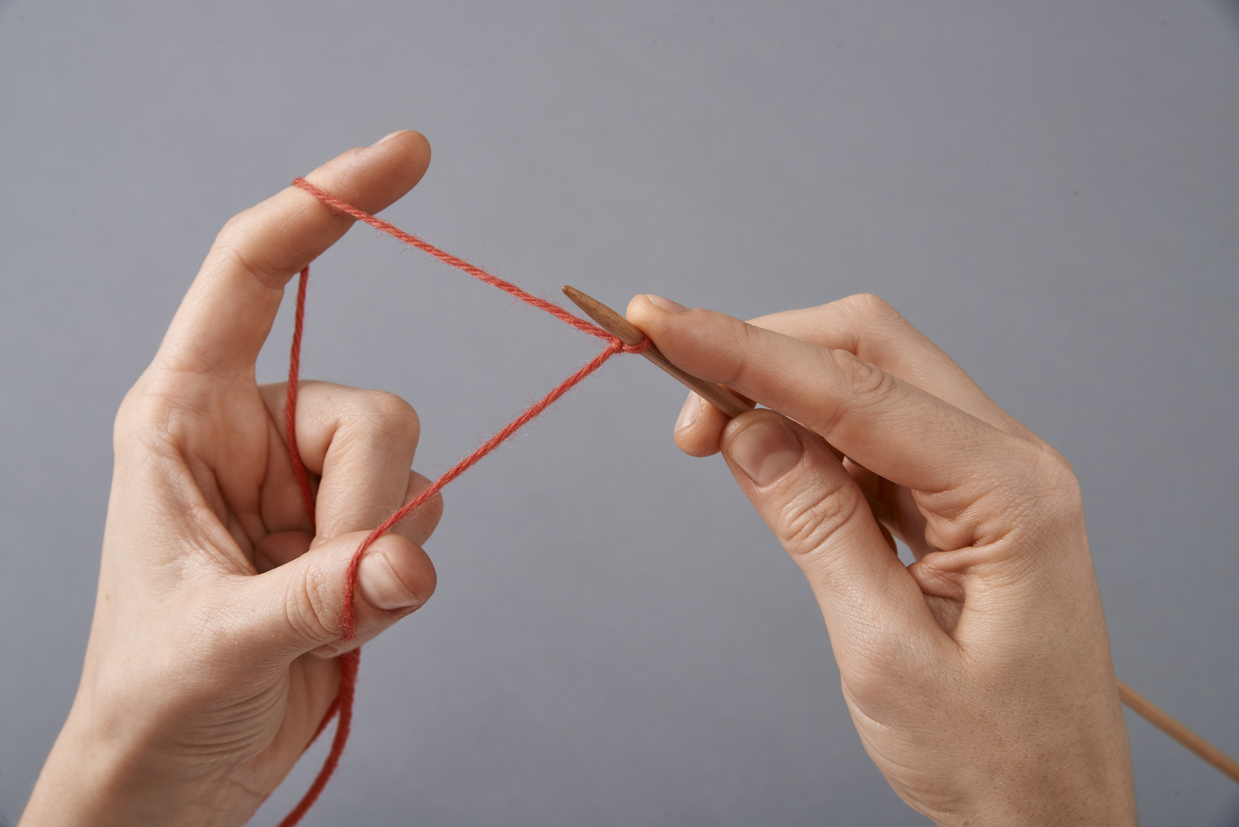
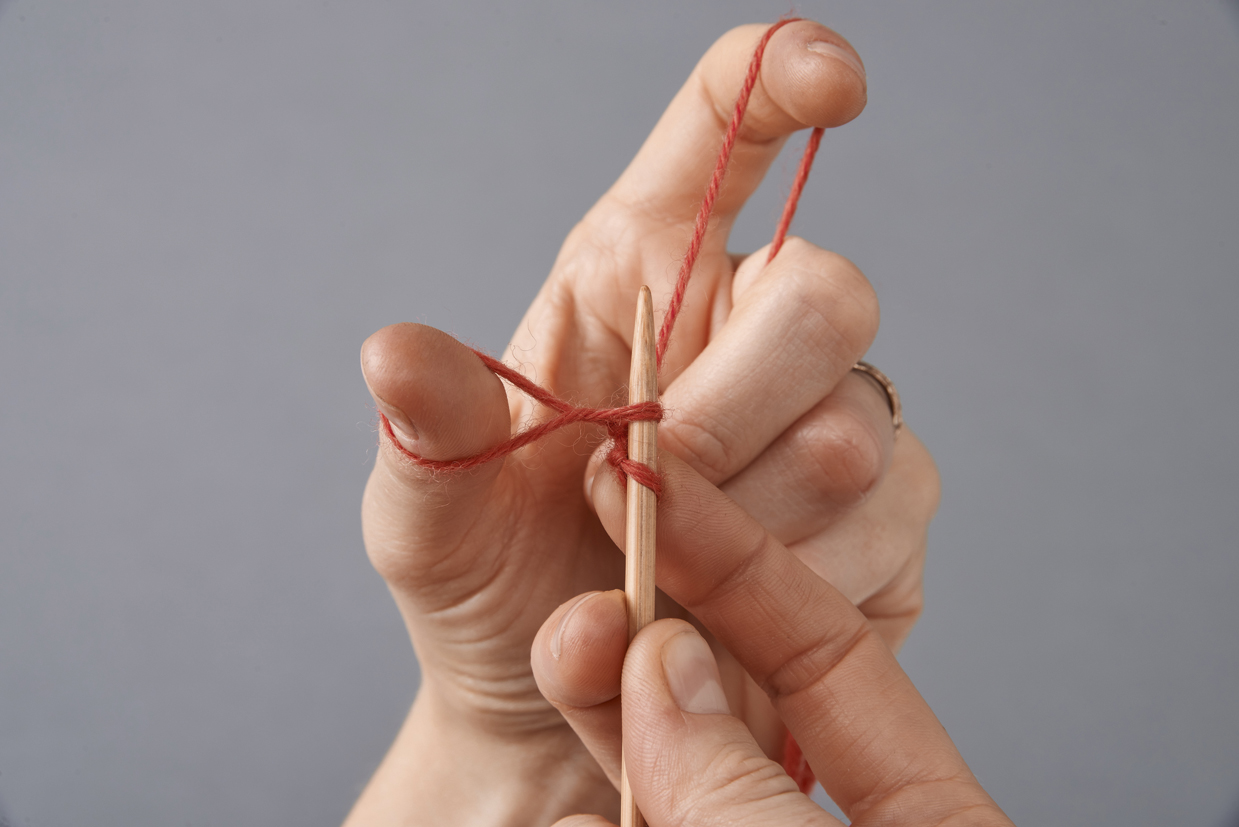
Holding the needle in your right hand, tension the yarn as if you were to work the long-tail cast on; drape the tail end of the yarn over your left thumb and the working end over your left index finger, then grip the two yarns together in your left hand.

German twisted cast on step 1

Step 2

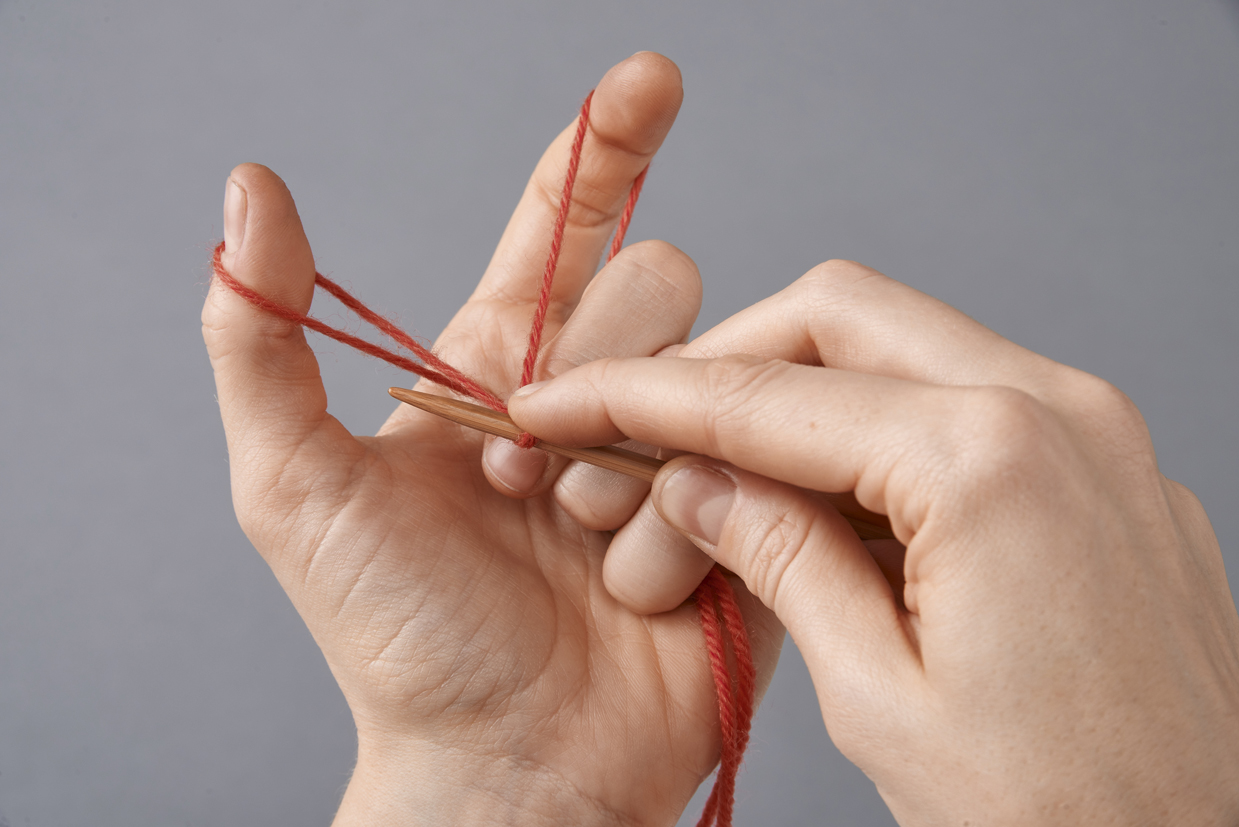
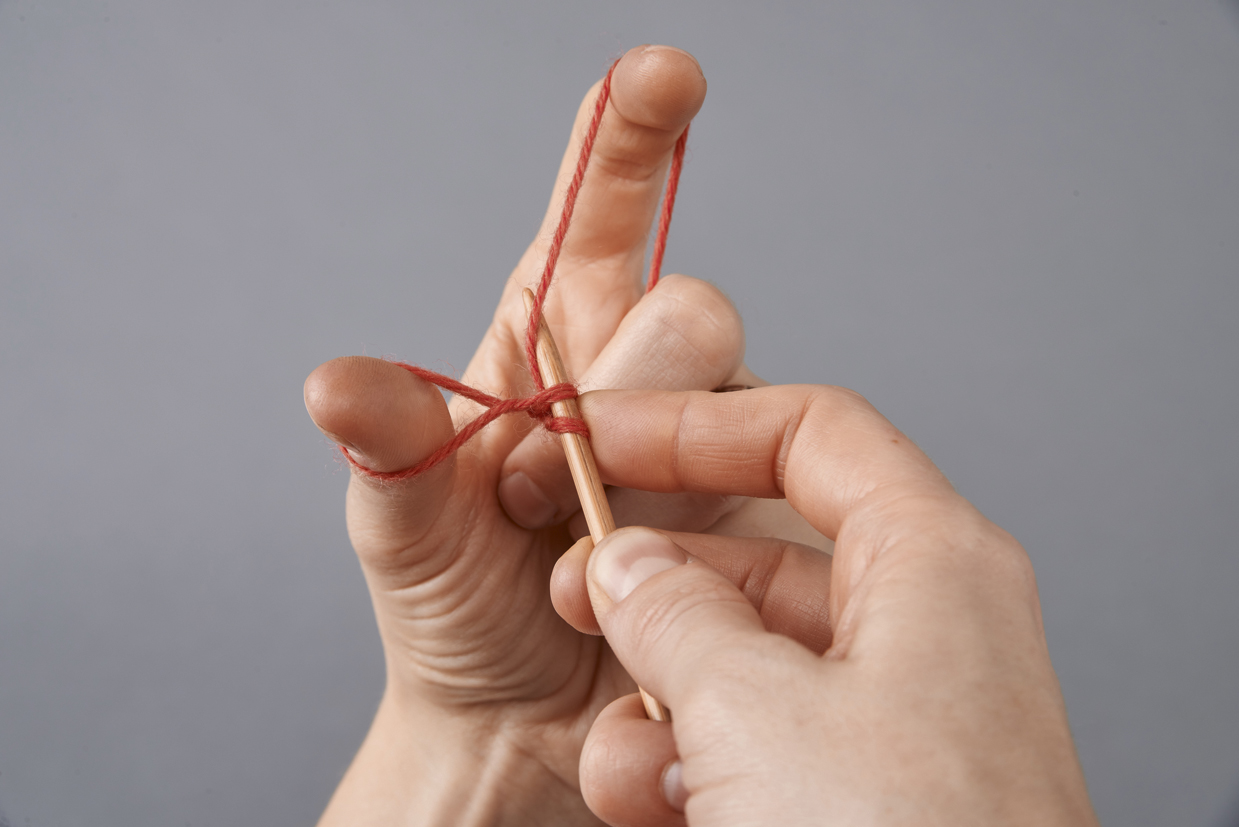
Turn your hand so the palm is facing up and bring the needle down and towards you – you’ll see a little cross above your left thumb.

German twisted cast on step 2

Step 3

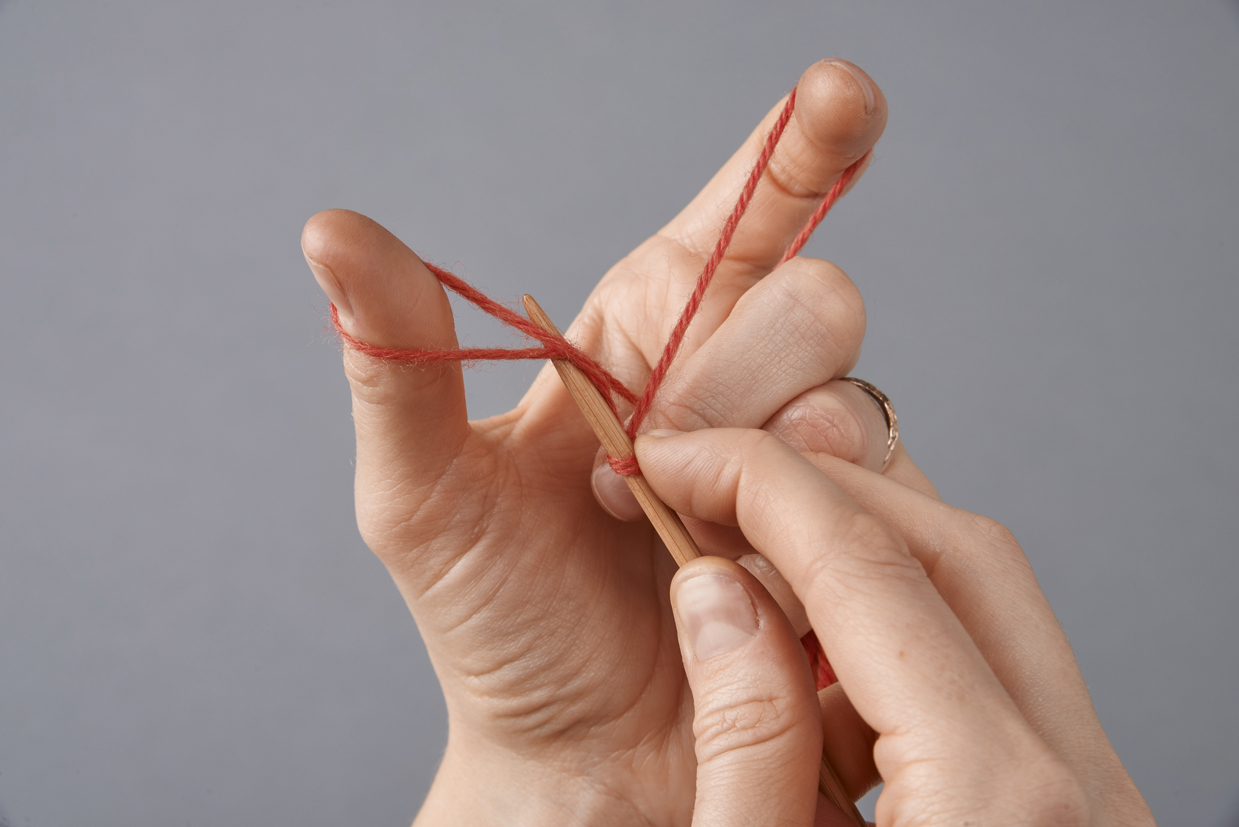
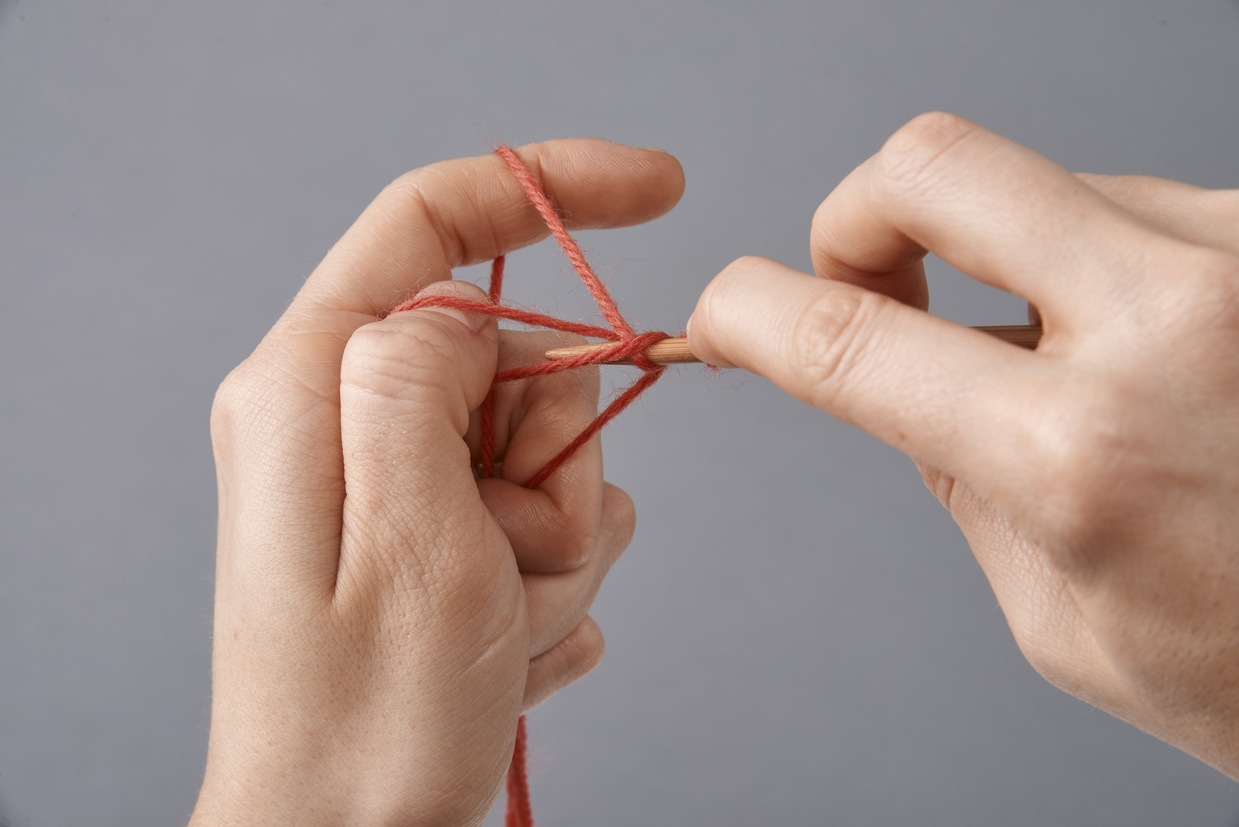
Dip the needle down under this cross and come up the other side.

German twisted cast on step 3

Step 4

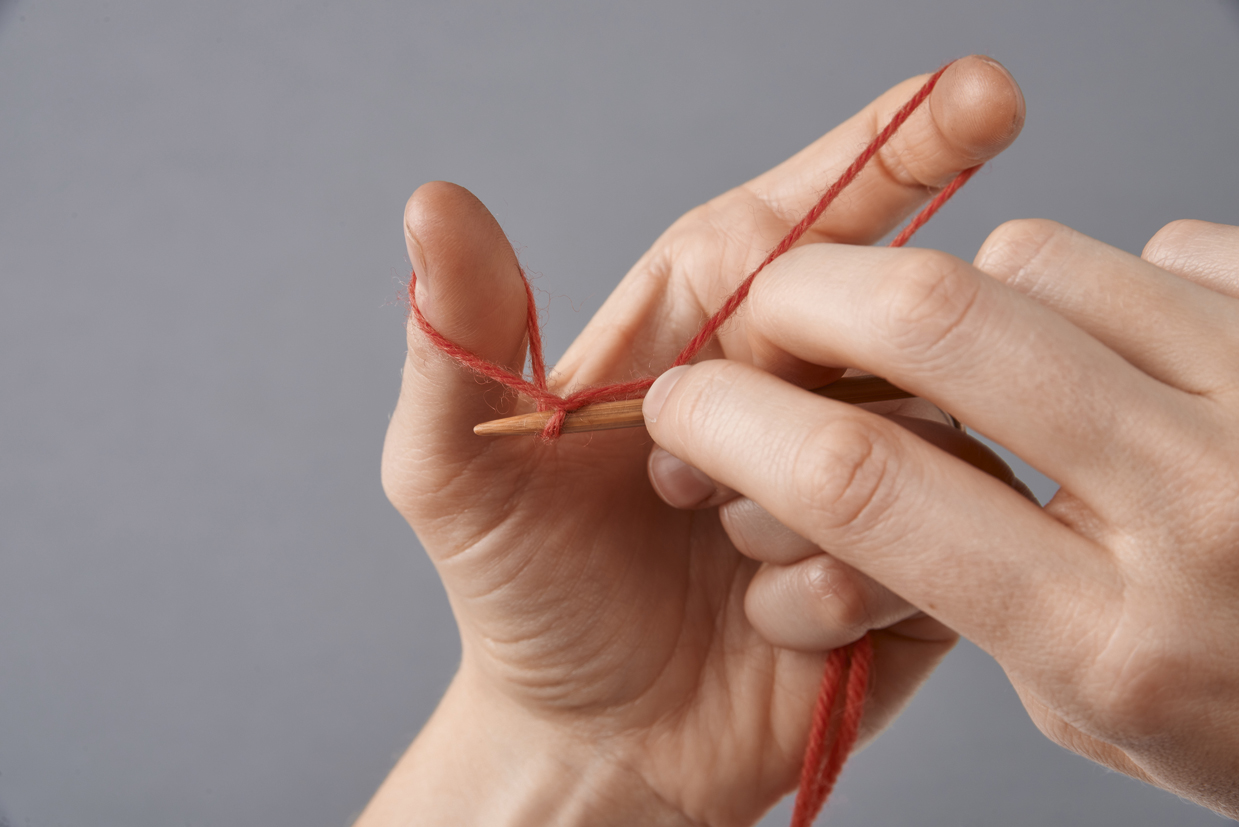
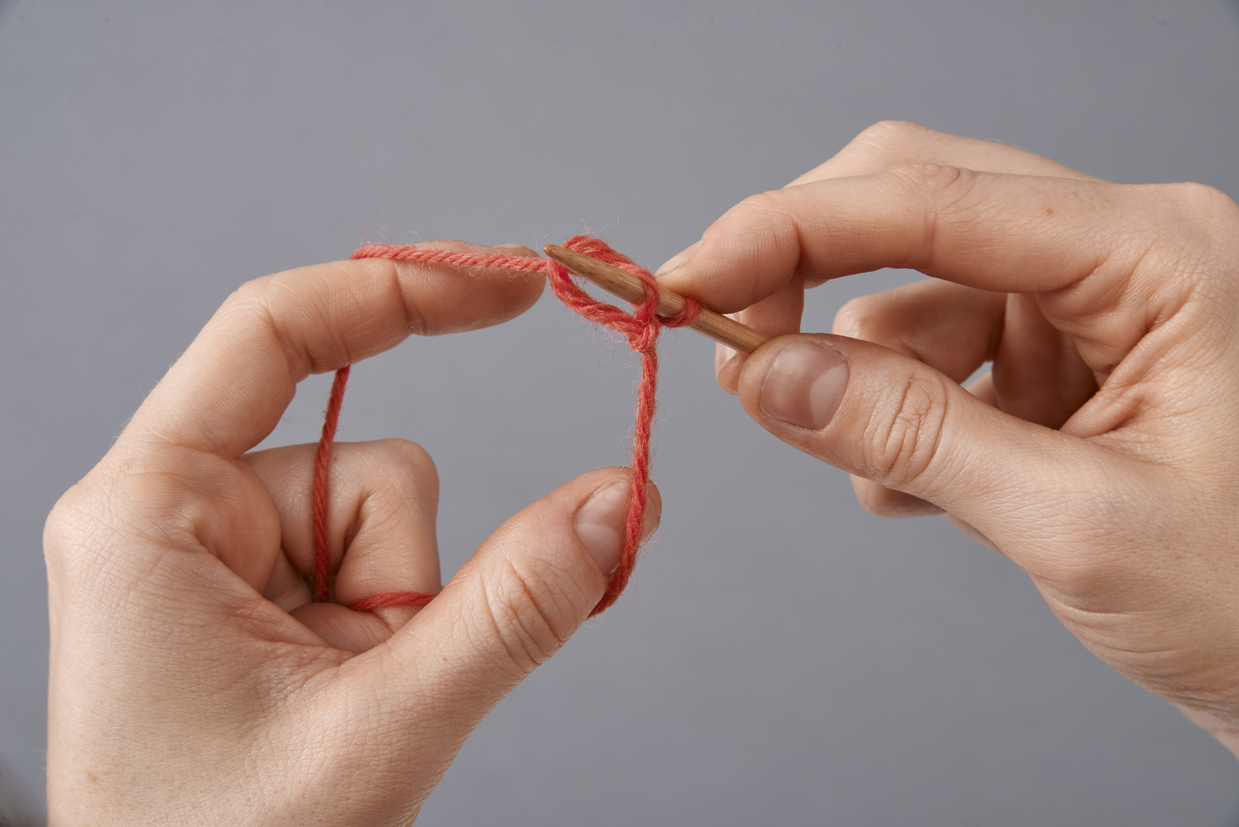
Now take the needle down through the loop by the left thumb and up, pointing towards your index finger.

German twisted cast on step 4

Step 5

Go over the strand on the left side of your index finger and pull this strand towards you…

German twisted cast on step 5

Step 6

…like this.

German twisted cast on step 6

Step 7

You’re going to catch the strand in the little loop that is now sat on the right-hand needle, which looks a little like a stitch, at the same time bending your thumb (which opens this loop up slightly).

German twisted cast on step 7

Step 8

Slip your thumb out and pull the index finger and thumb apart, tightening the new stitch onto the needle.

German twisted cast on step 8

Step 9

The stitch is now created. Repeat from step two.

German twisted cast on step 9

Why use the German twisted cast on?

Before you start any project, it’s worth thinking about which cast on would work best: does it need a rigid, sturdy edge, or would something stretchy be better?

If it’s the latter, the German twisted cast on is a great option.

It takes a bit of practise to master, but if you already know the long-tail cast on the technique will feel familiar.

Try it today and make your socks, mitts and hats fit better than ever!

Learn more cast on methods with Gathered

You can never have too many cast on techniques at your fingertips! Check out our how to cast on guide for more ways to start your knitting.