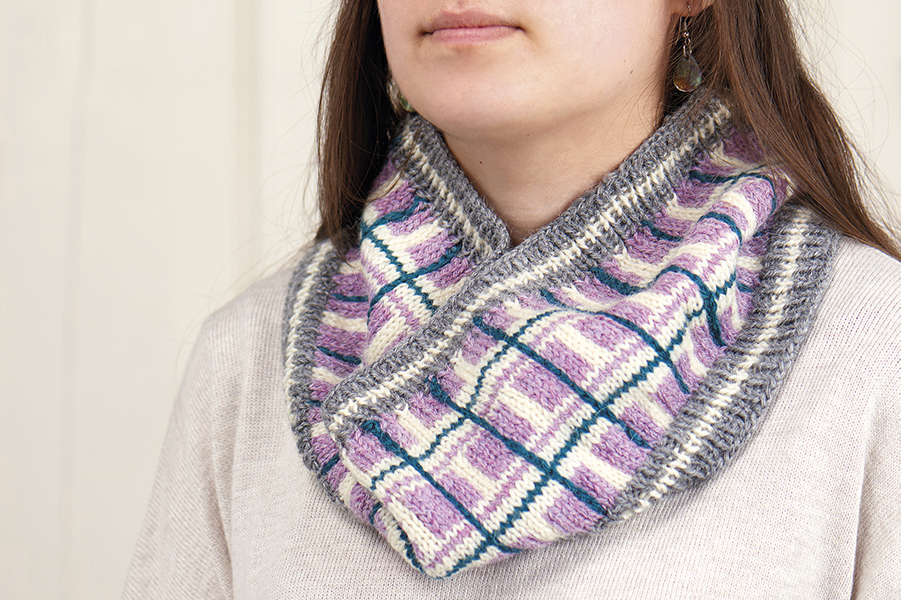
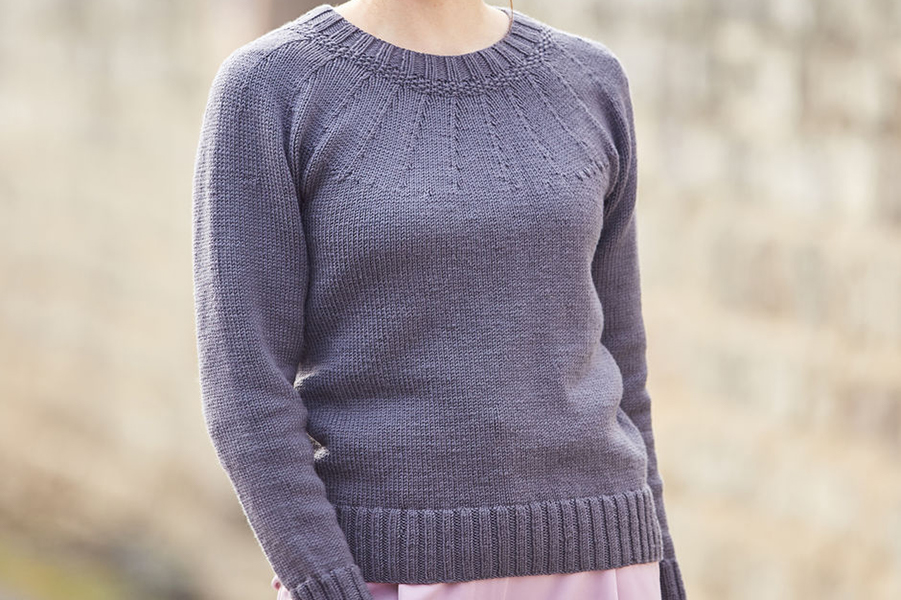
Can you knit in rows? Then you can knit in the round! There’s no great mystery to it and we’ll show you how it's done.
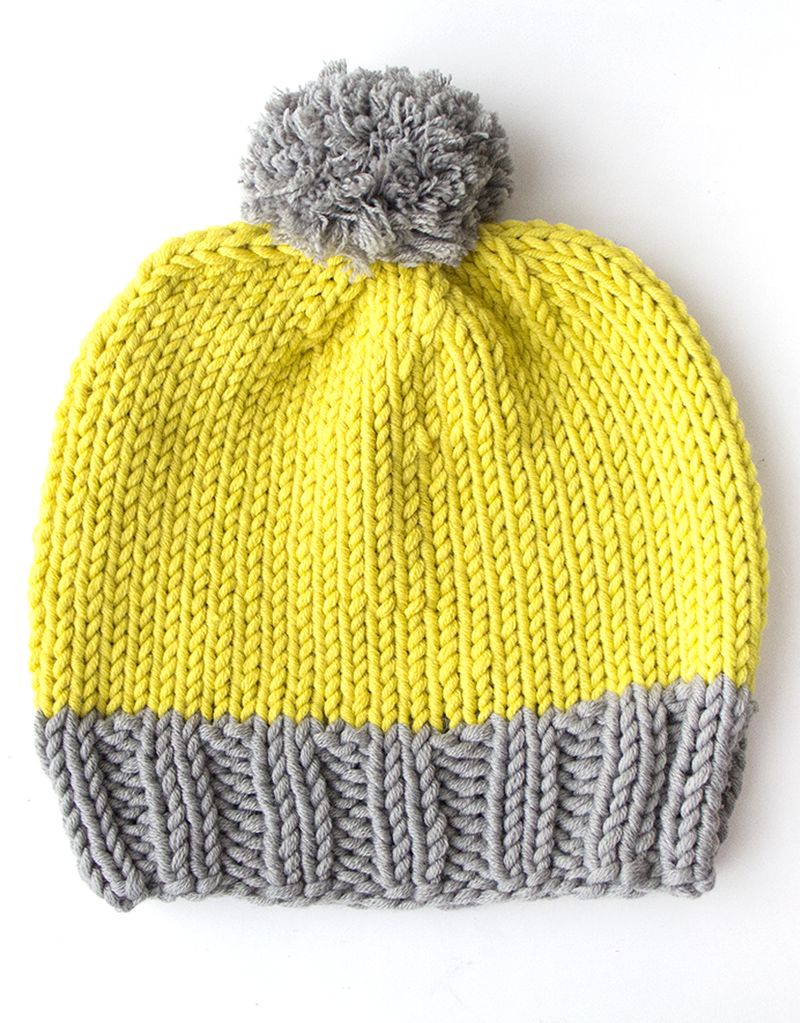
Knitting in the round enables you to create seamless circular fabric and will open up a world of possible projects including hats and socks.
The easiest way of knitting in the round is with a circular needle, so we recommend you try this first. You’ll need to work with quite a lot of stitches so that the stitches cover the entire circumference of the circular needle.
By practising knitting in the round with a circular needle, you’ll quickly get the hang of this useful knitting technique.
Knitting in the round is just like knitting in rows – you need to work every stitch from the start of the round to the end.
To help you keep track of where you are in the round and when you’re at the end of a round, you can use a stitch marker or a knotted piece of spare yarn.
There are lots of different ways of knitting in the round, so in this guide, we’ll introduce you to four methods you can try.
We recommend starting with circular needles, and then moving on to learning other techniques such as using double-pointed needles and the Magic Loop method.
Here's what you'll find in our beginner's guide to knitting in the round:
4 methods for knitting in the round
- How to knit in the round with circular needles
- How to knit in the round with DPNs
- How to knit in the round with two circular needles
- How to knit Magic Loop
Plus everything else you need to know:
Knitting in the round: 4 methods to try
1. How to knit in the round with circular needles
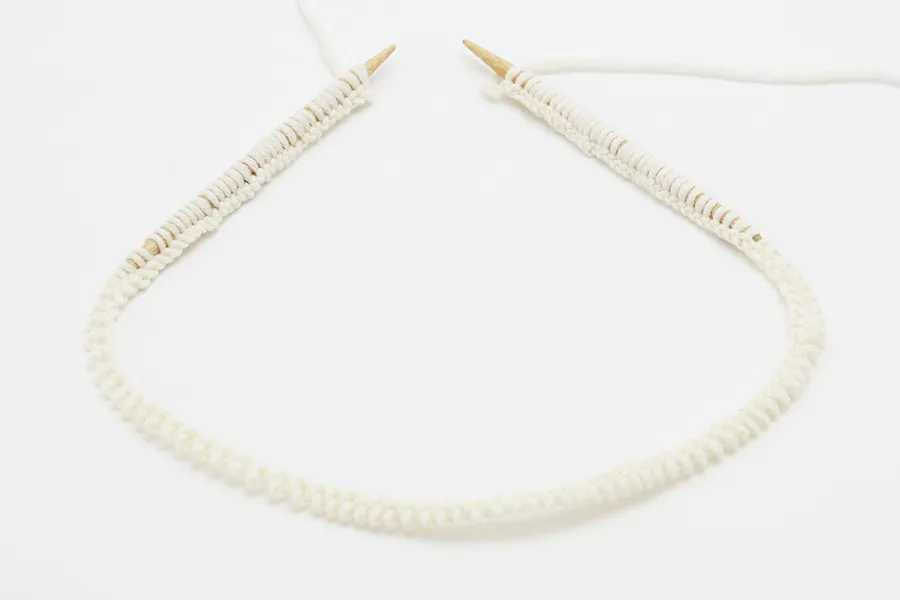
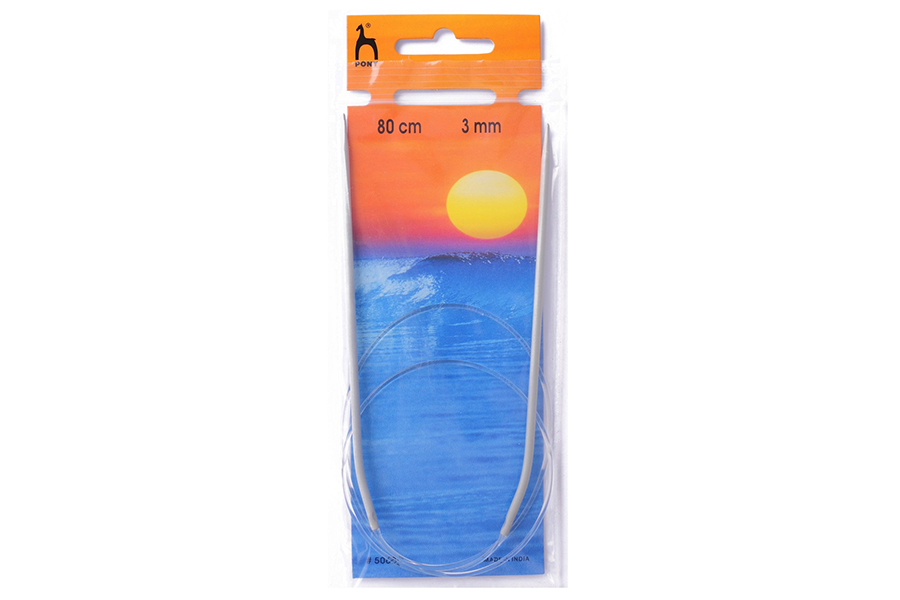
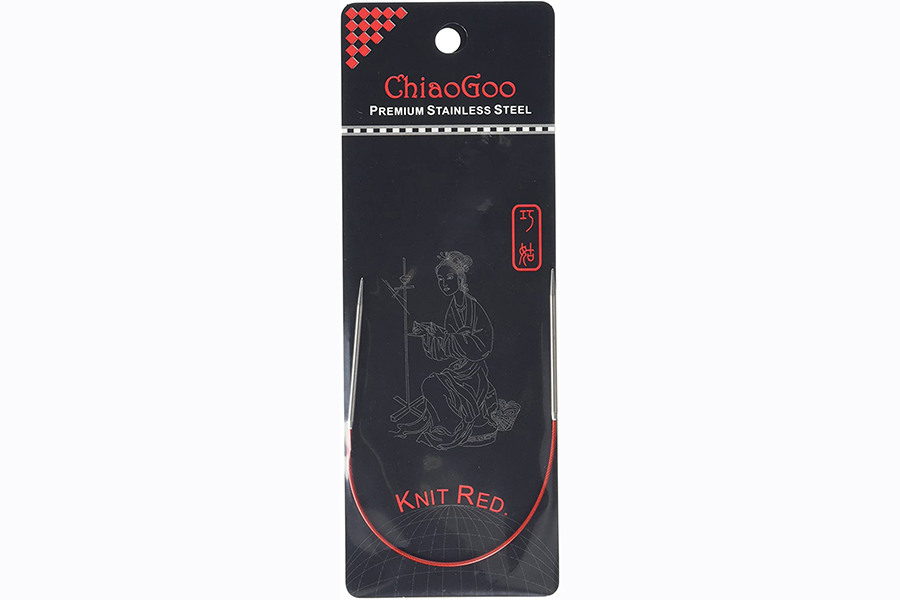
The easiest way to learn how to knit in the round is with circular needles. These are needles that have two needle tips attached by a flexible cord, allowing you to join your knitting into a round.
Circular needles come in a huge range of sizes, from tiny ones designed for knitting socks, to cables of 1m or more.
These can also be used for large projects such as shawls and blankets that are knitted flat, working back and forth just like you would with straight needles.
See our guide to learn all about knitting with circular needles.
2. How to knit in the round with DPNs
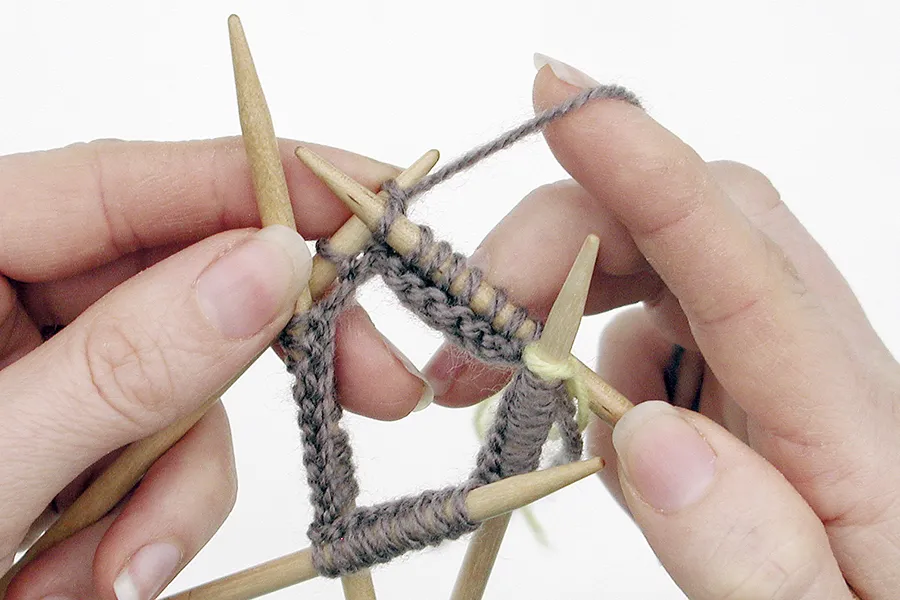
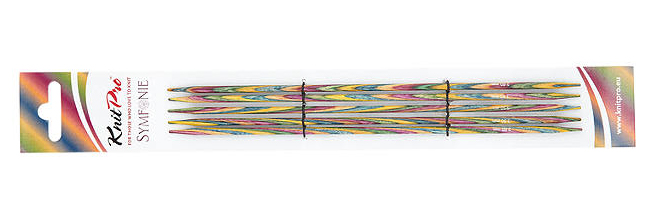
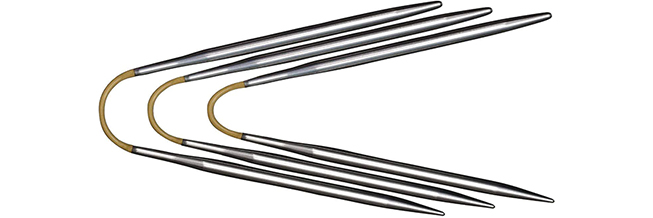
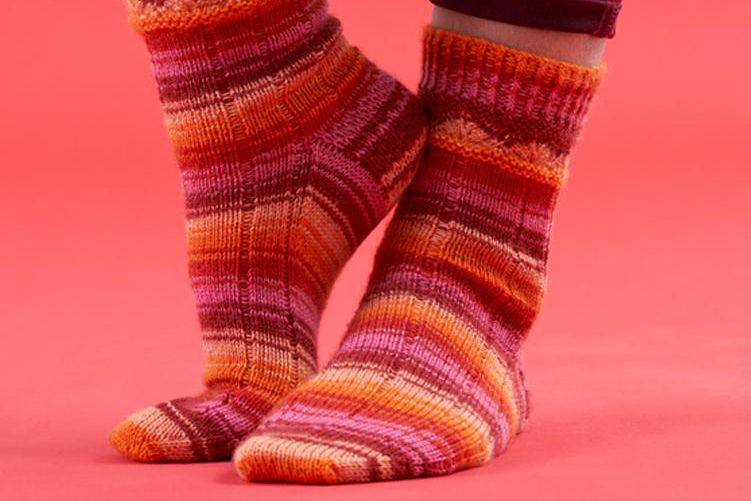
Using a set of double-pointed needles (DPNs) enables you to knit in the round with fewer stitches, to make much smaller items, such as socks and the fingers of gloves.
You may also find it useful to switch from circular needles to DPNs when working small diameters on other projects, including the tops of hats, sleeve cuffs and more.
DPNs come in a range of lengths and are sold in sets of either four or five.
Find out how to knit with double-pointed needles in our in-depth guide.
3. How to knit in the round with two circular needles
This technique is another way of knitting projects with small diameters, including mittens and socks.
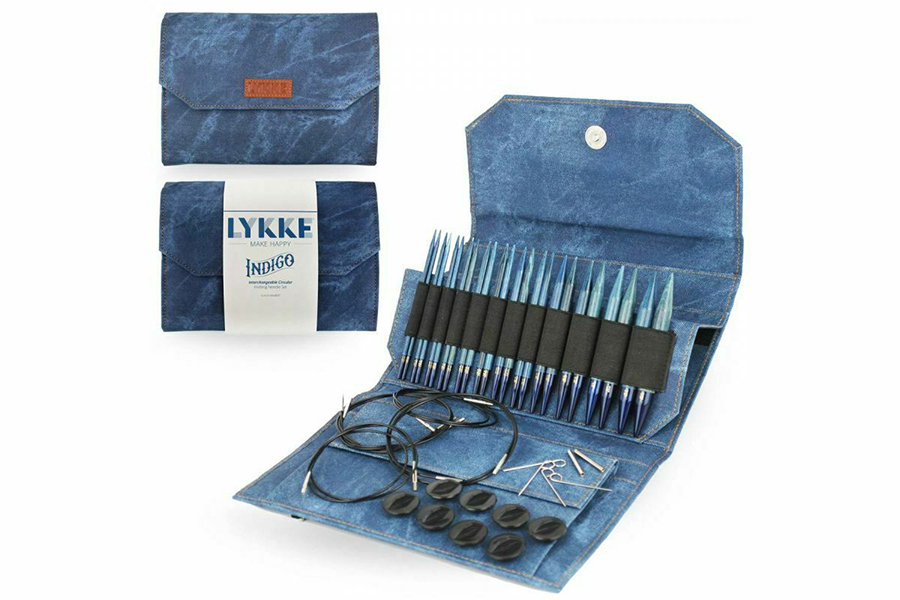
You'll use two circular needles with the same tip size and (ideally) cable length to work your stitches.
Some knitters find this much easier than wrangling multiple double-pointed needles, and less fiddly than Magic Loop, so it's worth learning to see which you prefer.
Learn how it's done in our guide to knitting in the round with two circular needles.
4. How to knit Magic Loop
Need to knit something small but only have a circular needle to hand? Try the Magic Loop method.
This clever technique enables you to work on even the tiniest projects using one long circular needle.
It's probably the trickiest of the four methods to master, though, so set aside a bit of quiet time to get your head around it. Once you've figured it out you won't look back!
Discover all about Magic Loop knitting with our tutorial.
How to join knitting in the round
There are various ways to join your knitting into the round.
You can just start knitting, as we show you in our guide on how to use circular needles. If you use this method, when you finish your project you'll need to pull the end of the yarn you started with to tighten it, and then weave in the yarn end to the knitted fabric to prevent a ladder from forming.
Alternatively, some knitters join the round by swapping over the first and last stitch of the round, lifting one over the other.
Some knitters like to cast on an extra stitch, and then once they’ve knit to the end of the first round, they knit the extra stitch together with the first stitch of the round, to join.
There's no right or wrong way to do it – decide which method of joining knitting in the round suits you and keep practising until you’re happy with the technique.
Knitting in the round: tips and troubleshooting
1. Which way round?
When you work in the round, the right side of the fabric is always facing you. You’ll quickly notice that all you need to do is knit the stitches and you’ll create a tube of stocking stitch fabric. This is perfectly normal and you haven’t done it wrong!
It’s because when you knit in the round, you’re always working the stitches from the right side of the fabric. So if you don't like working the purl stitch, working stocking stitch in the round is the way to go!
2. Why is my knitting twisted?
Perhaps the most important rule of knitting in the round is to make sure your stitches are not twisted before you join them into the round.
Keeping the stitches straight is vital to creating a tube of fabric – if the stitches are twisted, your tube will end up with twists incorporated into it, creating a Moebius ring of fabric. If that’s not what you’re aiming at, you’ll have to start again!
3. Where's the join?
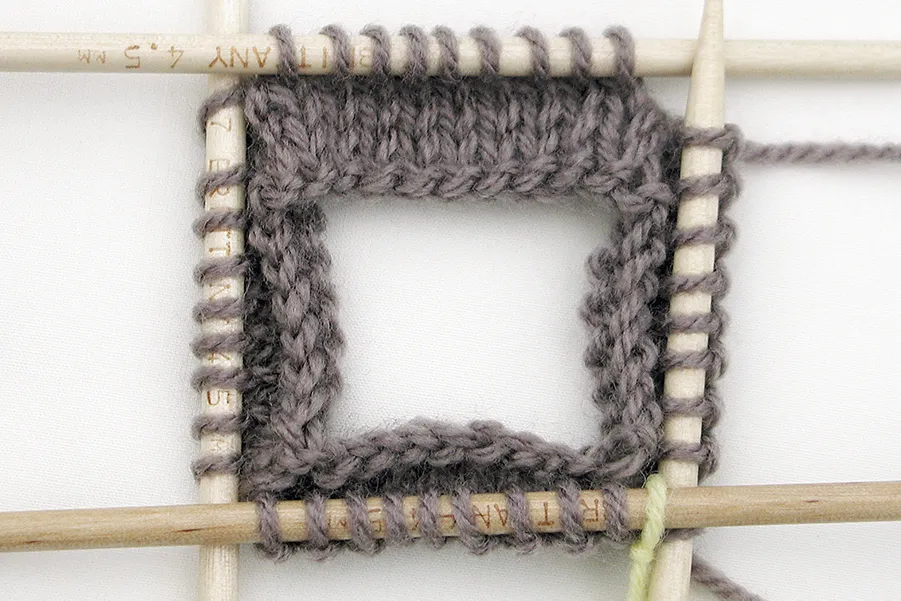
It can be easy to lose track of the join when you're working in endless circles, so to keep track of which round you’re working on, mark the start/end of the round.
Make a slipknot in a piece of spare yarn or use a stitch marker, placing it next to the last stitch you cast on. When you’re knitting, this will indicate the end of the round.
On each round, just slip the marker from the left needle to the right.
4. Why doesn't the pattern match up?
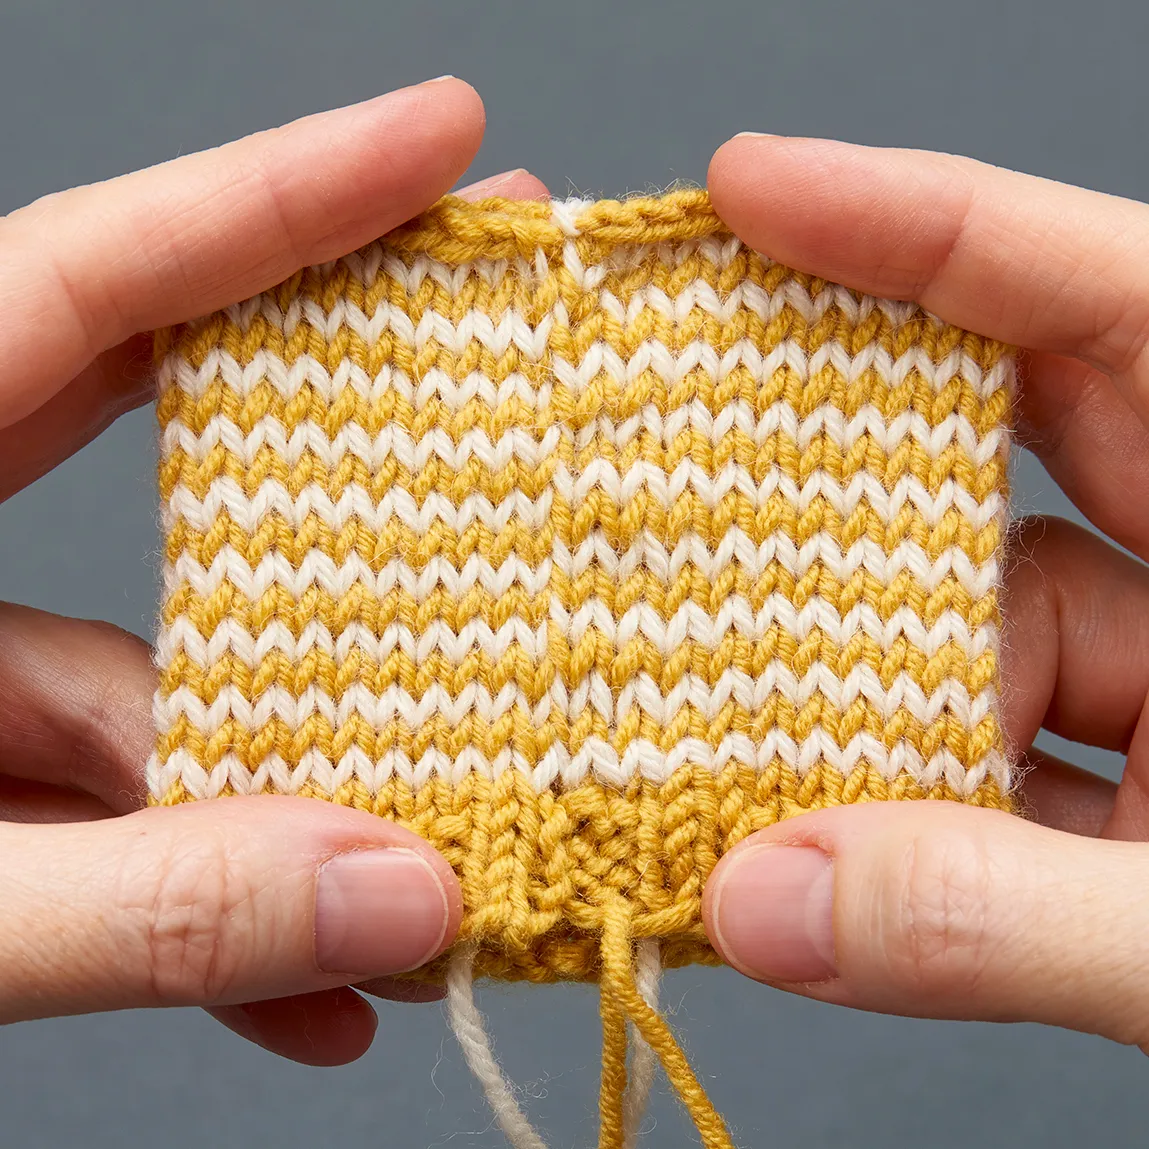
When working any stitch pattern in the round, you’ll find that at the join point of the round, where it starts/ends, there’s a slight jarring of the stitch pattern. This is normal and nothing to worry about when you’re starting out.
The ‘jog’ in the fabric is more obvious in some stitch patterns, such as garter stitch or colourwork stripes, and your pattern may give you instructions on how to fix it.
To get rid of the jog when working stripes see our tutorial on how to knit helical stripes.
5. What's this baggy stitch?
You might notice looser stitches appearing at the start/end of the round, or where the needles meet if you're working on DPNs. These can create 'ladders' in your work. There are a couple of ways you can prevent these ladders from forming.
One is to move the beginning of round stitch marker each round (or clip it onto the stitch rather than hanging it on the needle), so that the yarn isn’t stretched all the time in the same place.
Another is to knit these stitches a bit tighter than the rest, by pulling the yarn tight when you work the first stitch of the round or the first stitch on a new needle.
You’ll also find that washing and blocking the finished item (see how to block knitting projects) will help the stitches to even out.
Knitting in the round: basic stitch patterns
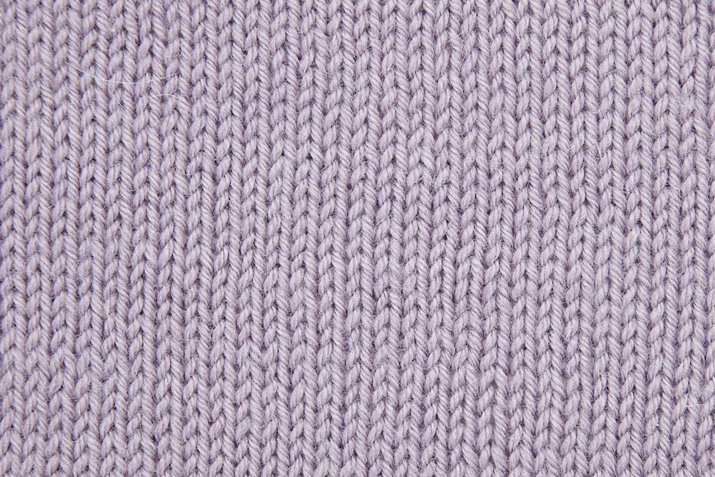
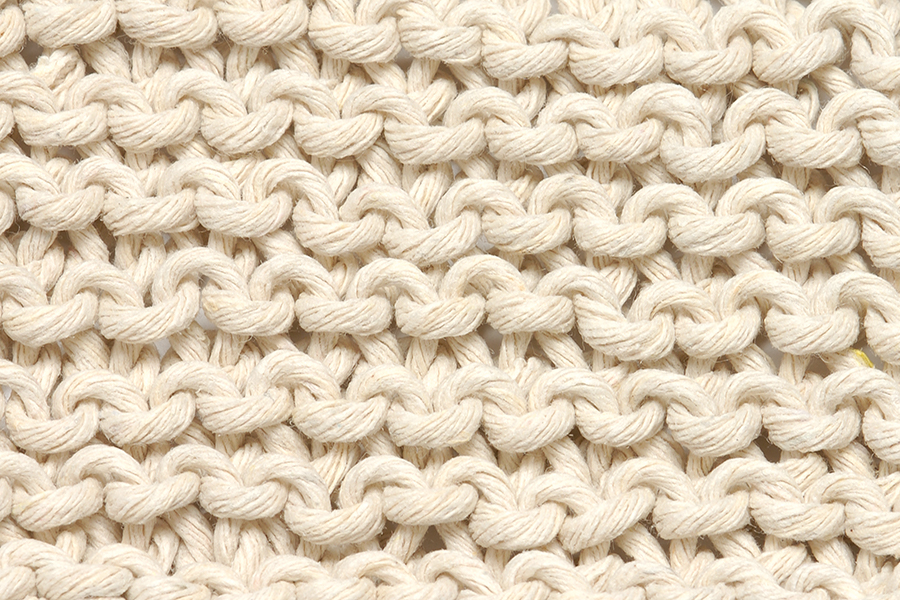
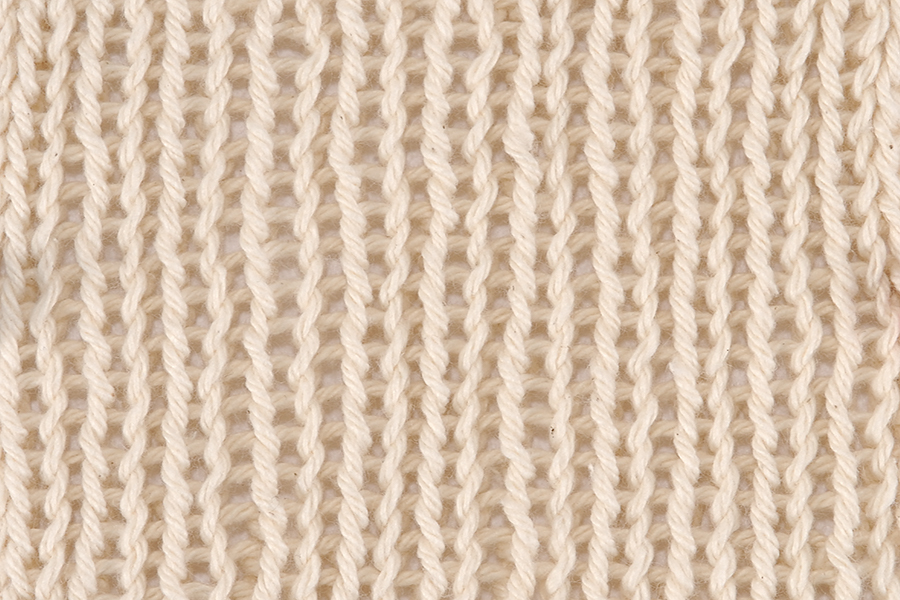
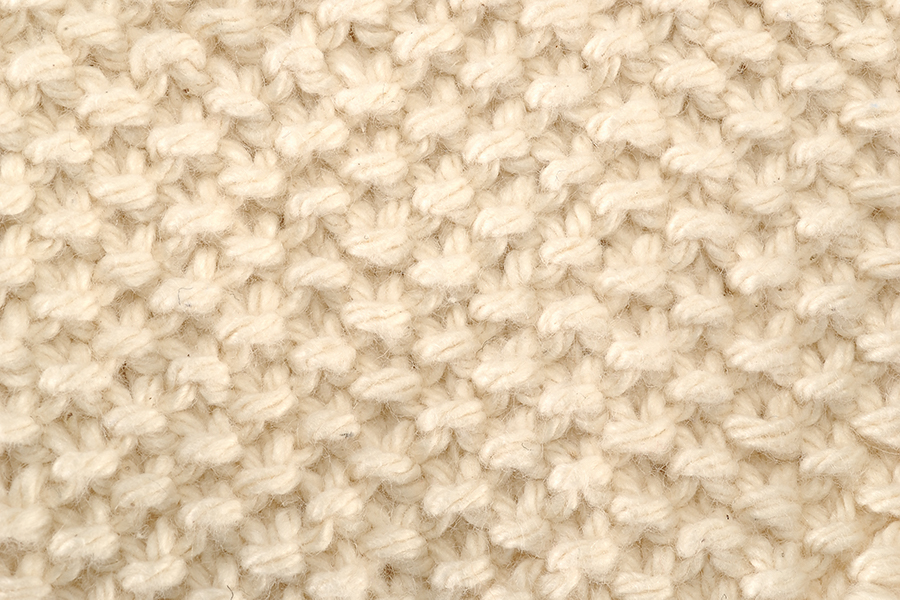
When you work in the round, every round is worked on the right side of the fabric. So if you knit each stitch, you’ll get stocking stitch – purling each stitch creates reverse stocking stitch.
Make tubes of the four main stitch patterns (below) to see how they work.
After a bit of practice, you’ll also find that it’s possible to convert patterns from flat knitting into circular knitting, by reversing the stitches on the wrong-side rows (purl sts need to become knit sts, etc).
The best thing is to experiment with your patterns and see what happens!

