Step 1
Create the octopus’s head
Ready to go? Let’s get kraken! Start by working the head, marking the positions of the eyes so you know where to attach the safety eyes later.
In this section, you’ll be increasing using kfb (knit front and back) and decreasing with k2tog (knit two together). If you’re not familiar with these, Gathered’s how to increase a stitch in knitting and how to decrease in knitting guides will tell you everything you need to know.
Cast on 6 stitches (sts) using 4mm needles and Yarn A.
Row 1 Right Side (RS) Knit.
Row 2 and all following Wrong Side (WS) rows Purl.
Row 3 Knit front and back (kfb) across all sts. [12 sts]
Row 5 *Kfb, K1; rep from * to end. [18 sts]
Row 7 *Kfb, K2; rep from * to end. [24 sts]
Row 9 *Kfb, K3; rep from * to end. [30 sts]
Rows 11–14 Work in stocking stitch (st st).
Row 15 K30, placing the scrap yarn stitch markers on the 13th and 17th stitches – this indicates the eyes’ positions.
Rows 17–24 Beginning with a RS knit row, work in st st.
Row 25 *K1, knit two together (k2tog); repeat (rep) from * to end. [20 sts]
Row 27 K4, (kfb, K3) 4 times. [24 sts]
Step 2
Give your knitted octopus its legs
Next you need to divide your knitting to create the octopus’s legs. You’ll be working on a few stitches at a time, so make sure you have stitch holders handy to hold the remaining stitches.
Row 29 Kfb, K1, kfb, turn, placing rem 21 sts on a stitch holder.
Continue on 5 sts on the needles as follows:
Row 30 Purl.
Rows 31–50 Work in st st.
Row 51 Slip 1 stitch, knit 1 stitch, pass slipped stitch over (skpo), K1, k2tog. [3 sts]
Row 53 Knit.
Row 55 K1, k2tog. [2 sts]
Change to Yarn B.
Row 57 K1, kfb. [3 sts]
Row 59 (Kfb) twice, K1. [5 sts]
Rows 61–82 Work in st st.
Row 83 Skpo, K1, k2tog. [3 sts]
Place these 3 sts on a second stitch holder to be worked later.
Take the 21 sts from row 29 and place next 3 sts back on working needle.
Rep rows 29–83 to form the second leg and place the final 3 sts onto the second holder. Make sure the legs are not twisted when placing onto the holder.
Rep rows 29–83 a further 6 times until eight legs are formed.
Place the now 24 sts on the second holder back onto the working needle and rejoin Yarn A.
Step 3
Join the legs together
Your octopus needs a bottom to sit on, so making this is the next step. Rejoin your knitting under the legs by working three rounds of decreases. Instead of casting off as normal, you’ll thread your working yarn through the remaining stitches and pull it tight.
Continue in Yarn A to end.
Row 1 *K1, k2tog; rep from * to end. [16 sts]
Row 3 (K2tog) across. [8 sts]
Row 5 (K2tog) across. [4 sts]
Cut the yarn and thread it through a tapestry needle, then thread through the remaining 4 sts and pull tightly to finish. Weave in all loose ends.
Step 4
Sew up your cephalopod
Now it’s time to sew the pieces together and bring Inkie to life.
We’ve used safety eyes for our knitted octopus, but you can embroider them using a scrap of black yarn if you prefer. Use embroidered eyes if the toy is for a younger child.
To give your octopus bendy legs, insert a pipe cleaner into each leg before you sew it up.
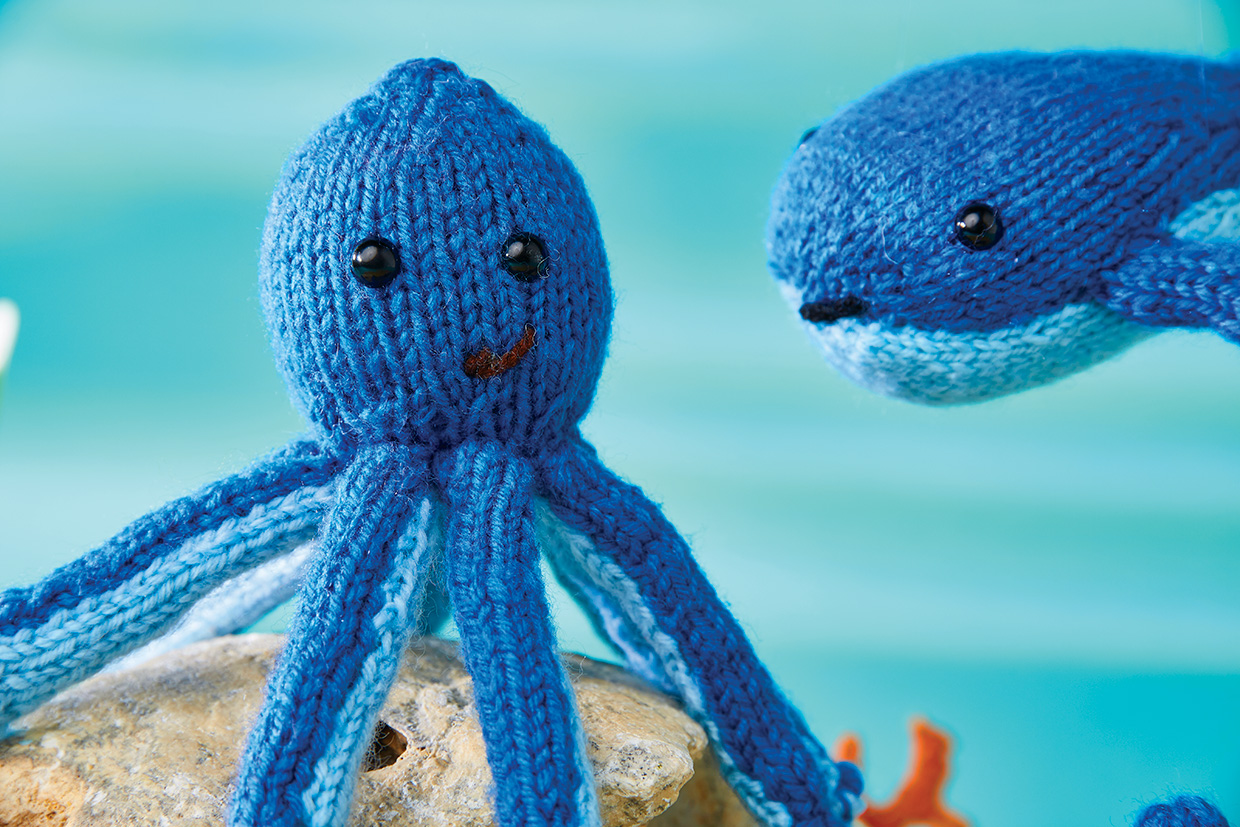
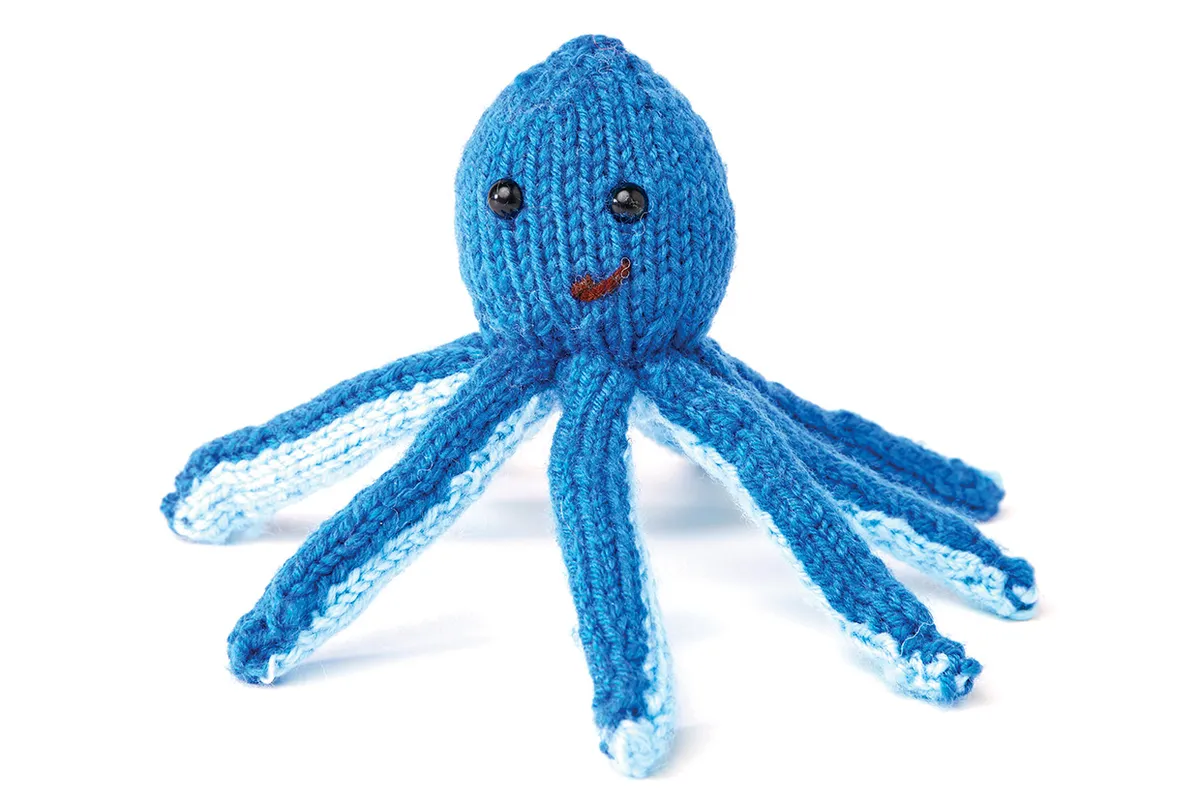
Place each toy eye on the scrap yarn markers added at row 15. Secure into place with the washers and then remove the markers.
Use the brown yarn to embroider a small smile just beneath the right eye, using the picture as a guide.
Using mattress stitch and Yarn A, sew from the cast-on edge down to the leg split. Stuff the body with a small handful of polyester toy stuffing.
Place each leg together with WS facing in and seam with mattress stitch. Once the legs are sewn up, and if required, add more stuffing. Then sew up the rejoined underneath part and weave in loose ends.


