How to knit intarsia cables

How to knit intarsia cables

Faye Perriam-Reed explains how to apply intarsia techniques when working with cable and stripe patterns in this week's Midweek Masterclass.

Try 3 issues of The Knitter magazine for just £7!

Published: July 13, 2020 at 10:43 pm

When you are working vertical intarsia stripes, such as those on Sarah Dennis's 'Chilly Hugs' beer cosies (pictured above, as featured on page 56 of Simply Knitting issue 146), you will need a separate ball or bobbin of yarn for each block of colour. The yarn is not carried across the back of the work, so it is essential to twist the yarns on the wrong side of every row to ensure a neat join between colours. If you always twist the same way, the yarns will untangle themselves on the following row.

How to knit intarsia cables

Step 1

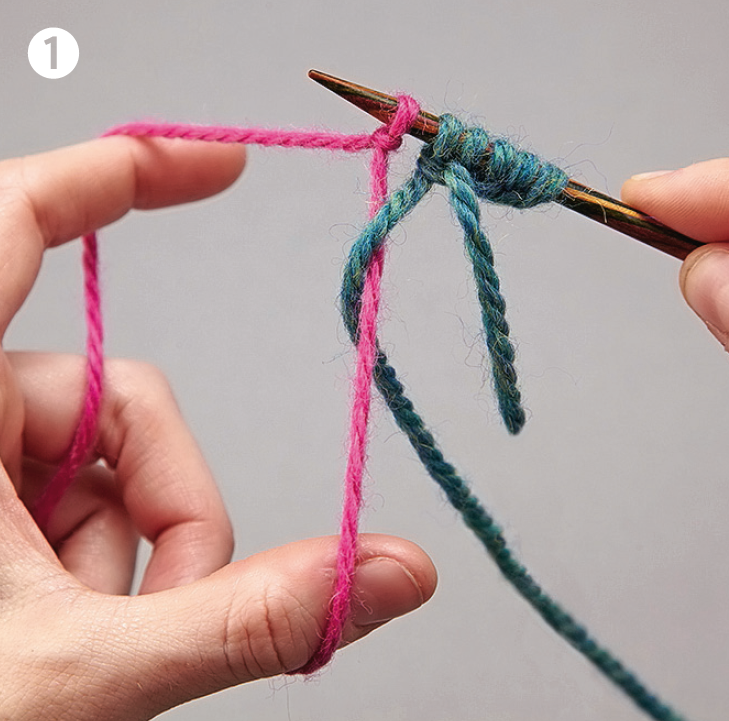
To cast on in stripes, use the long-tail cast-on method in yarn A for the first set of stitches. Change to yarn B, place a slipknot on the RH needle, pick up the strand coming from the ball from underneath the working strand of A, and cast on the next set of stitches. Continue in this manner until all colour blocks are cast on. (Fig 1)

How to knit intarsia cables step 1

Step 2

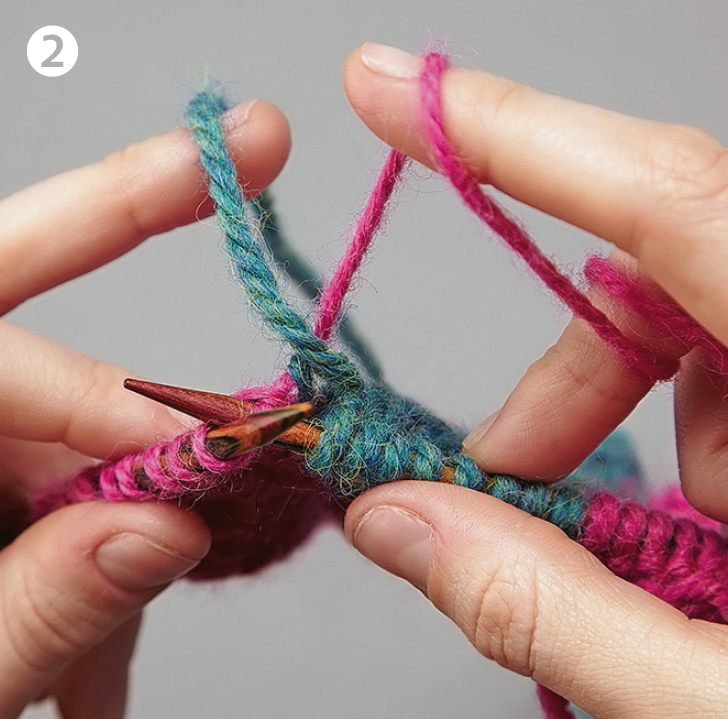
When you come to a colour change in your work and the next stitch is a knit stitch, bring the old colour to the back of the work and pick up the new colour from underneath. Give the yarn a little tug to help prevent holes, and knit the next stitch. (Fig 2)

How to knit intarsia cables step 2

Step 3

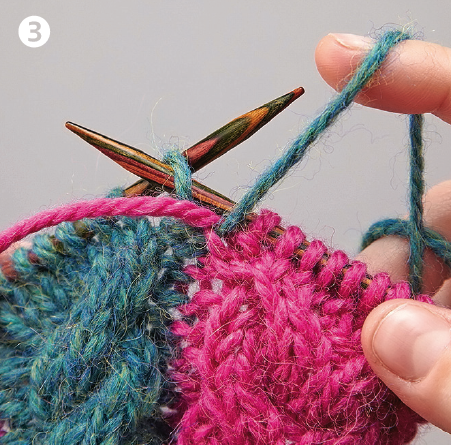
When the next stitch is a purl, bring the old yarn to the front of the work, bring the new yarn under the old colour, tug gently and purl the next stitch. (Fig 3)

How to knit intarsia cables step 3

Step 4

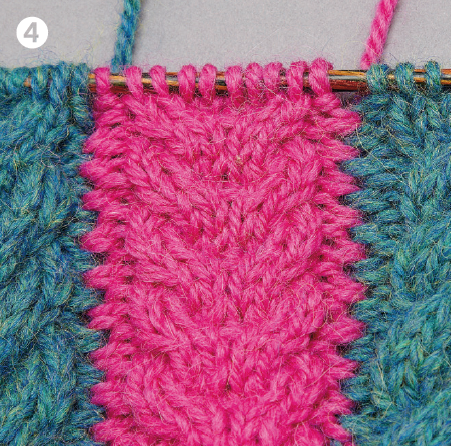
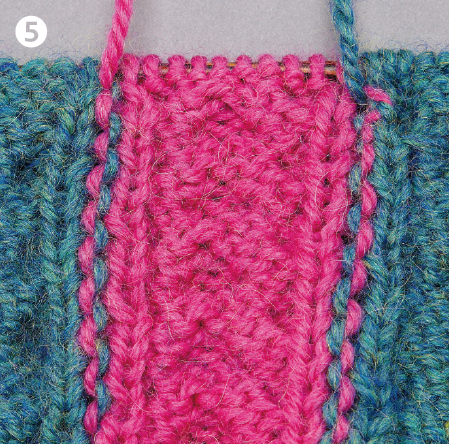
When done properly, you will see the colours neatly interlinked on the RS, and the WS will show what looks like a vertical line of purl stitches. (Figs 4 & 5)

How to knit intarsia cables step 4

Step 5

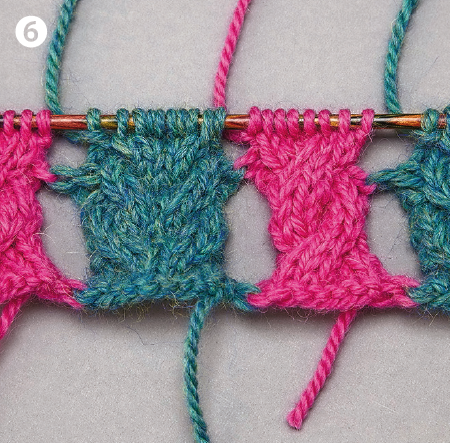
If you don’t twist the yarns on every row, the colour blocks will be separate or be full of holes. (Fig 6)

How to knit intarsia cables step 6