How to finish knitting like a pro
All products were chosen independently by our editorial team. This review contains affiliate links and we may receive a commission for purchases made. Please read our affiliates FAQ page to find out more.

How to finish knitting like a pro

Get perfect knits every time with our guide on how to finish knitting in five simple steps, featuring tips from designer Judy Furlong.

Try 3 issues of The Knitter magazine for just £7!

Published: May 16, 2023 at 7:03 am

To get the best results from your knitting, you need to know how to finish knitting professionally. Casting the final stitches off the needle may feel like the end, but if you want the perfect finish you're not quite there yet!

Finishing is a step that some knitters dread, as it can be time-consuming and fiddly, but we promise it's worth the extra effort to get a result to be proud of.

Are you ready to learn how to finish knitting like a pro? Then let's begin!


How to finish knitting

This guide will help you learn how to finish a knitting project in just a few easy steps.

Not all projects will require all five steps listed below (you might not need to sew up any seams, and may want to skip blocking if you're using a novelty yarn, for example). But if you follow this simple checklist you'll be able to make your projects look their best, fit better and stay in good shape for longer.

In this tutorial we'll show you how to finish knitting in five steps:

  1. Casting off
  2. Weaving in ends
  3. Blocking
  4. Seaming
  5. Finishing touches

How to finish knitting step 1: casting off

The first step to finishing knitting is getting the stitches off your needles. To do this you need to cast off (also known as binding off).

There are many different cast off techniques that you can use, and all of them have different strengths that make them particularly suited to certain types of projects.

For example, if you're knitting a hat or socks, or anything else that requires a stretchy edge, then you need a more elastic cast-off method. Try the sewn cast off or suspended cast off.

Or your project might look better with a stiffer, more sturdy edge; the standard cast off would be perfect for this.

There are also decorative cast offs you can try, such as the picot cast off.

For step-by-step guides to all of these cast off methods, see our guide on how to cast off knitting.
How to cast off knitting Picot 5
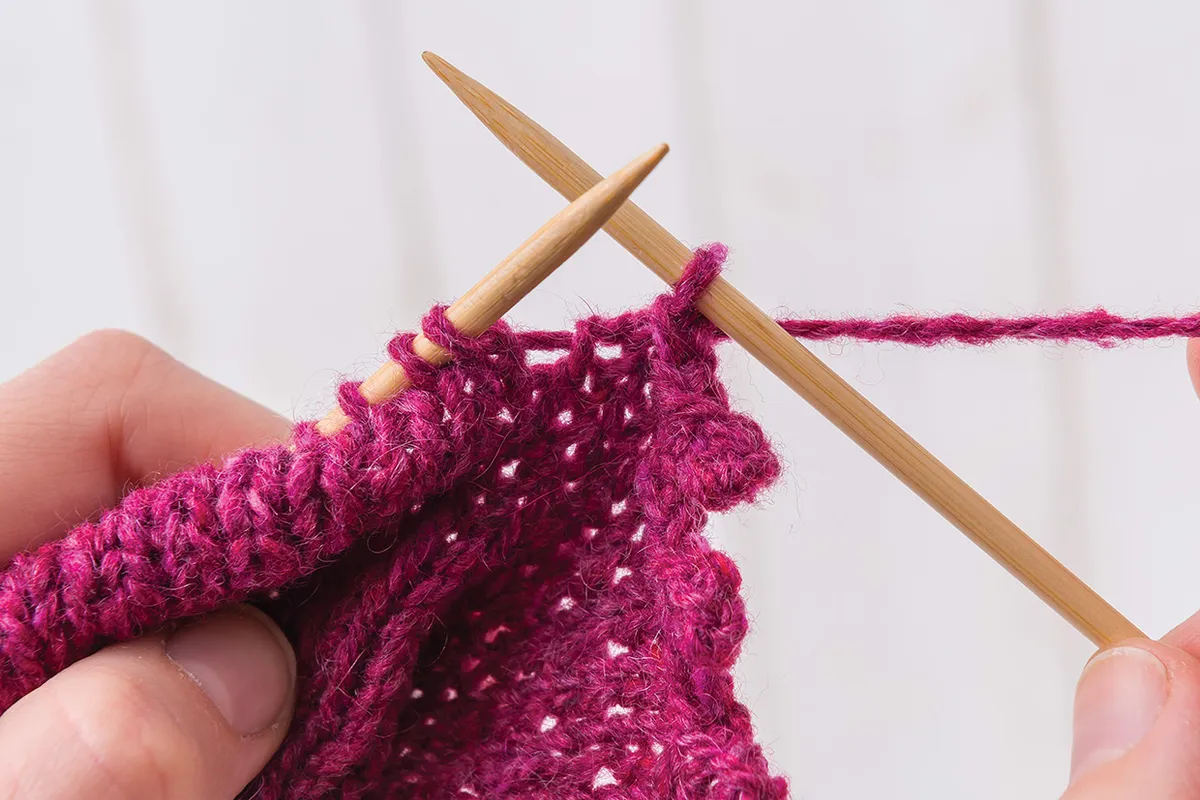
The picot cast off is an attractive method that's great for shawls.

How to finish knitting step 2: weave in ends

When you cast off a project you'll find that you have straggly strands of yarn at the cast on and cast off corners, as well as at any points where you've started a new ball of yarn or changed colour. You could leave these as they are, but they'll look very messy – and there's also a risk that they'll come undone.

So, as you learn how to finish knitting an important step is getting rid of all these untidy yarn ends. You can do this by weaving them in, and there are a few different techniques you can use. There's no right or wrong way, but you may find that some methods come more naturally to you, or work better with different projects.

One of the easiest techniques is simply to use a tapestry needle to weave the yarn in and out of the stitches on the back of the work for a few inches, then cut off any excess. Alternatively, you could try duplicate stitch (Swiss darning) if you'd like your woven-in ends to be almost invisible.

Note that some knitters prefer to weave in ends after blocking, to avoid any potential bumps or puckering and give a smoother finish if the fabric stretches significantly. This may be important if you're knitting lace, but it's up to you which order you prefer.

Find out more about how to weave in ends in knitting with our in-depth tutorial, which covers six different techniques you can try, plus top tips for a neat finish.
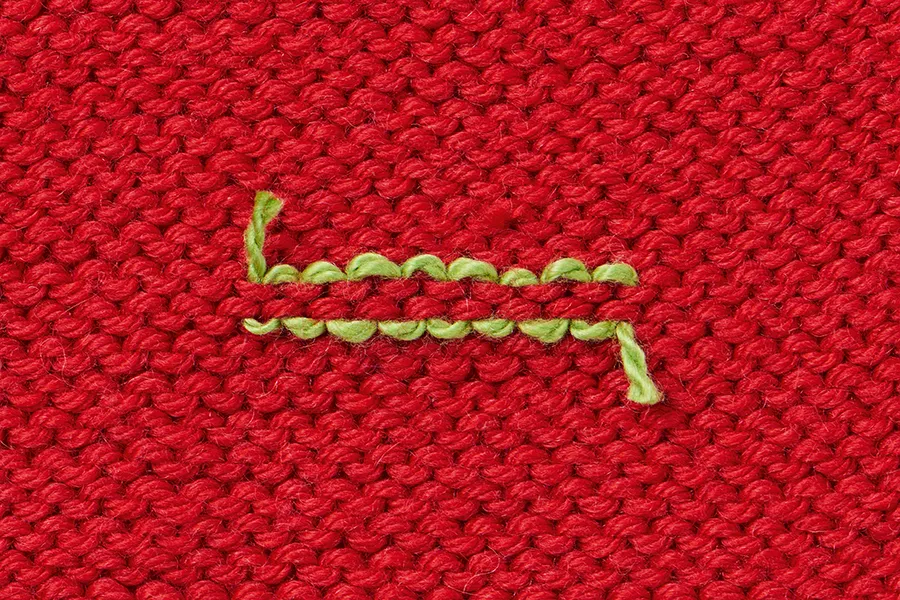
How to weave in ends duplicate stitch 1
Duplicate stitch (also known as Swiss darning) is a neat way to weave in your ends.

How to finish knitting step 3: blocking

Before you sew up your finished item, you’ll get the best results if you take the time to block and press each piece of fabric. It might feel time-consuming when you’re in a hurry to be done, but it makes a big difference.

Some projects, especially those featuring lace knitting and cable knitting, can look crumpled when they come off the needles. The process of blocking will transform these pieces and make sure the stitches are even and flat.

However, there are exceptions. It’s important not to block or press any ribbing, because this could stretch it out of proportion and you won’t get the desired effect.

Get on board

To make your finished fabric look perfect, you need a blocking board! Check out our guide to the best blocking boards for knitting and crochet.
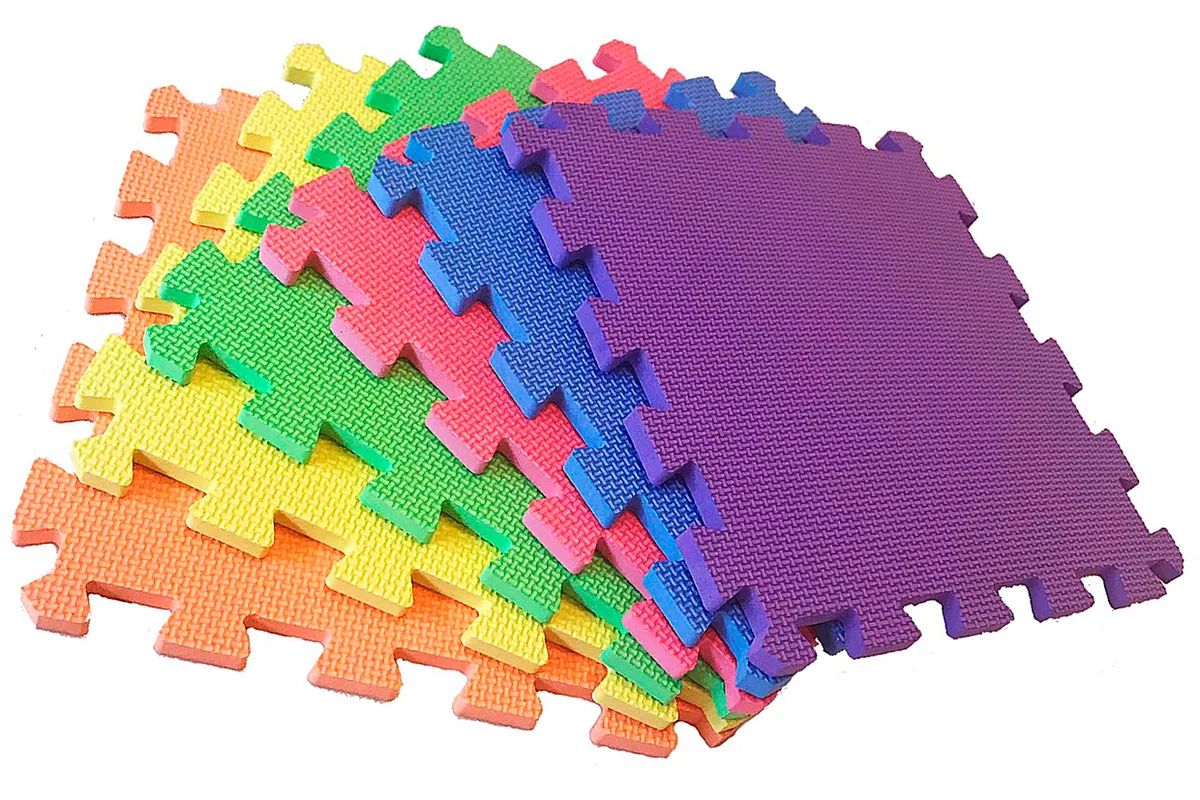
You'll need to choose the right blocking technique to use depending on your yarn and pattern. Two of the most common ones are damp and wet blocking.

For damp blocking, pin out your pieces (following the measurements on the schematic in your pattern, if there is one), cover with a damp cloth and leave to dry. With garments, follow the shape of the item and make sure it’s lying evenly.

To wet block your knitting, soak for 30 minutes or so in lukewarm water with a mild detergent. Squeeze out (don’t wring) and lay out flat on a soft, smooth surface (try a blocking board or folded blanket, covered with towels). Pin it out using long, rust-proof pins or blocking wires, to match the measurements given on the pattern. Keep the edges straight – and don’t pin any rib sections.

For full guides to these techniques and more, see our tutorial on how to block knitting projects.
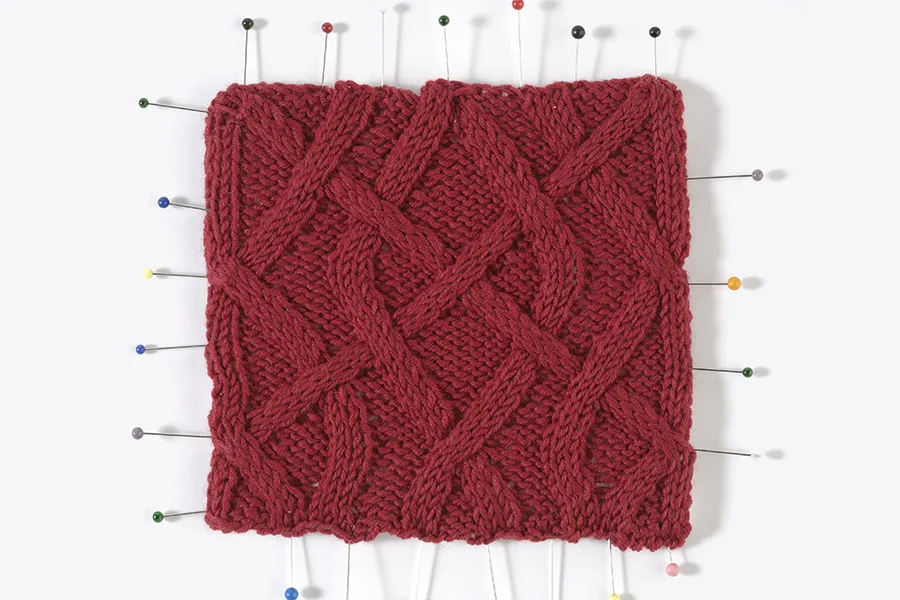
How to finish a knitting project Blocking
Block your knitting by wetting it then pinning it into shape.

How to press knitting

Once your knitting is blocked, you may need to press it, using either the wet or steam-press method. Check the label on the ball band to see which method it needs (if any), and what temperature. Some items, such as garments or lace shawls, will need to be blocked and pressed after every wash to keep their shape.

To wet press, place a damp cloth over the pinned-out knitting, avoiding the rib, and leave it to dry. Remove the cloth once dry. When the knitting is dry, remove the pins and sew up.

To steam press, place a dry cloth over the knitting to protect it. Set the iron to the temperature on the yarn’s ball band. Hold the iron close to the knitting, but don’t touch it. Steam, but avoid the ribbing. Remove the cloth and leave it to dry. Remove the pins and sew up.
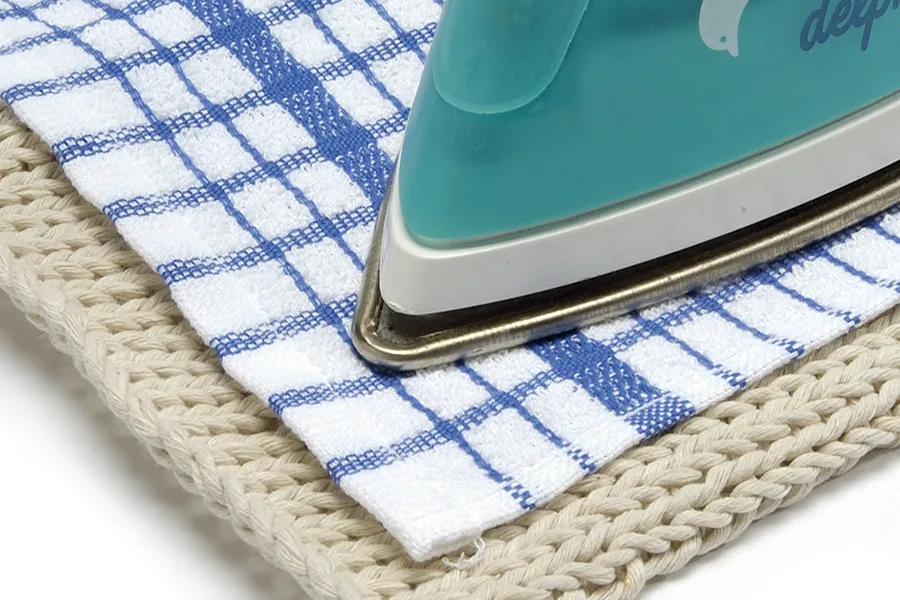
How to finish a knitting project Pressing
Always use a cloth to protect your knitting as you press it.

How to finish knitting step 4: seaming

After blocking and pressing, you’ll be ready for the most exciting part – sewing up! This will turn a few oddly shaped pieces into a garment you can wear.

There are many different ways to sew up or seam your knits, so you may want to try a couple and decide which you prefer for your project.

Whichever method you use, you’ll need a large-eyed, blunt needle and matching yarn, approx 50cm (20in) long. (We’ve used different coloured yarn for our tutorial below so you can see it.) You can use longer lengths but they're more likely to get tangled and twist. Shorter lengths are easier to manage and less likely to have any weak areas.

The yarn you choose for seaming is important. Generally, the yarn you knitted the item with will be fine, but if your project uses a single ply yarn or a novelty or very bulky yarn, it's best to avoid seaming with these. In these cases a smooth 4ply or DK yarn will be a better, stronger choice.

Try to stitch between the strands of yarn rather than through them – this avoids damaging the yarn and makes it easier to unpick your seam if necessary. Using a blunt needle makes it less likely that you'll split the knitted stitches as you sew.

At the start and end of the seam, secure the yarn with a few extra stitches, rather than a knot that might rub on the finished fabric and result in areas of wear.

Backstitch

One of the most used methods for seaming is backstitch. It's popular for its ease, speed and stability, and the fact that it gives your seam a bit of stretch. It's often recommended for shoulder seams, where you need a sturdy stitch that will take the garment's weight.

Here's how it's done:
You will need:

  • Tapestry needle
  • Yarn

Step 1

First, pin your two pieces together, with right sides facing and each row carefully matched up. Secure the yarn by making a couple of stitches over each other at the base of the seam.


Step 2

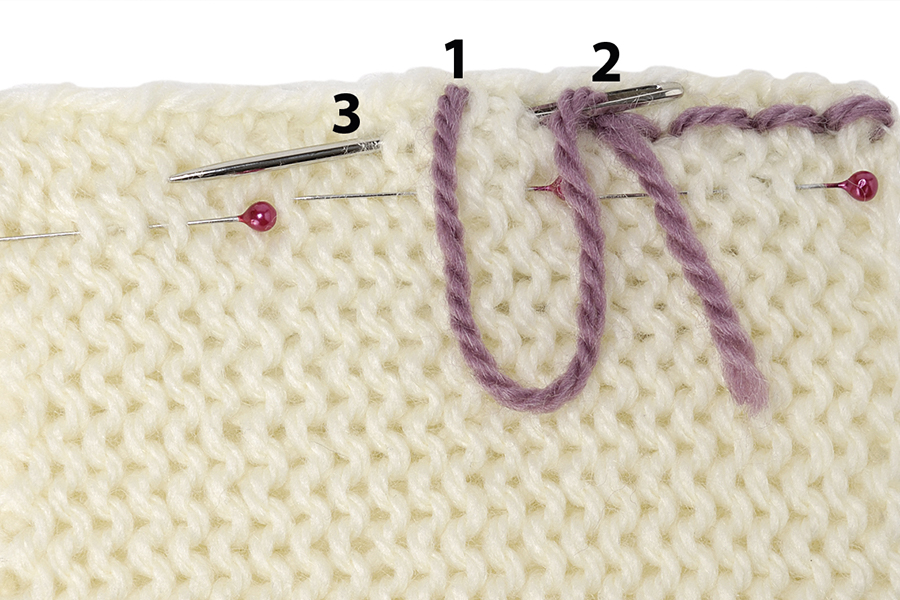
Now working from right to left, bring the needle up a couple of knit stitches away at 1. Take the needle down at 2 and up again at 3.

How to finish a knitting project Backstitch

Step 3

Continue in this way along the edge, going up 2 rows and down 1 row.

Keep the stitches regular and place the needle through the middle of each knitted stitch to avoid splitting the fabric.

Oversewing

For an oversewn seam, pin the fabrics together as for the backstitch method. Working as close to the edge of the knitting as possible, insert the needle from front to back, taking the yarn over the two seams, and then repeat over again. Leave a gap of a row between stitches as you work along the seam.

Mattress stitch

The mattress stitch method produces an invisible seam, which is ideal if you prefer a barely noticeable join or if the seam you’re creating will be in a prominent place.

A related technique is kitchener stitch (grafting), which creates an invisible join between two sets of live stitches, rather than between cast-off edges.

There are different types of mattress stitch you can use to seamlessly join stocking stitch and rib stitch, so it’s worth having all the variations at your fingertips!

Check out our full tutorial to find out how to work mattress stitch for any project.

Use mattress stitch to create an invisible join between two pieces of knitting.


How to finish knitting step 5: Finishing touches

You’re nearly there! All you need to do now is add the finishing touches and your project is complete.

It’s worth giving your beautiful seams a thorough check and a gentle press at this stage, either using an iron or by flattening them with your fingers. Try using a tailor’s ham (such as this one from Amazon) to help with shaped seams.

When that’s done you can add any final embellishments such as tassels, fringing, embroidery and so on. Need a pompom to complete a hat? Follow our how to make pompoms guide.

Now is also the time to add any closures to your work, such as buttons or zips. If you’re making a bag or other item that needs extra strength, you may want to attach a fabric lining too.

You could also take the time to fix any minor colourwork mistakes by Swiss darning over them in the correct shade.

Find out everything you need to know about adding buttons to your knitting in how to make a buttonhole in knitting.

Buttons can really change the final look of a garment. What type will you choose?


Tools you need to finish knitting

Getting the right tools for the job can have an impact on how easy a task is – and how happy you are with the results. These are the tools you need to finish any knitting project like a pro:

1. Tapestry needle

How to finish a knitting project Tapestry needle

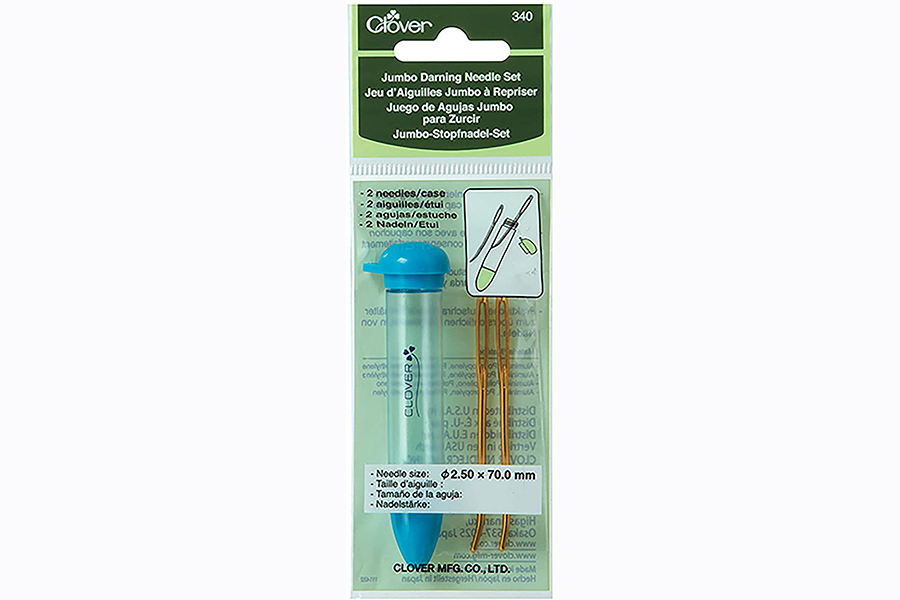
You’ll need a chunky, wide-eyed needle to sew up your knits. Try a tapestry needle, darning needle or specially designed yarn needle. We like these bent-tip darning needles from Clover, which come in a pack of two with a handy storage case.

Buy Clover Darning Needles from Amazon.

2. Blocking mats

How to finish a knitting project Blocking mats

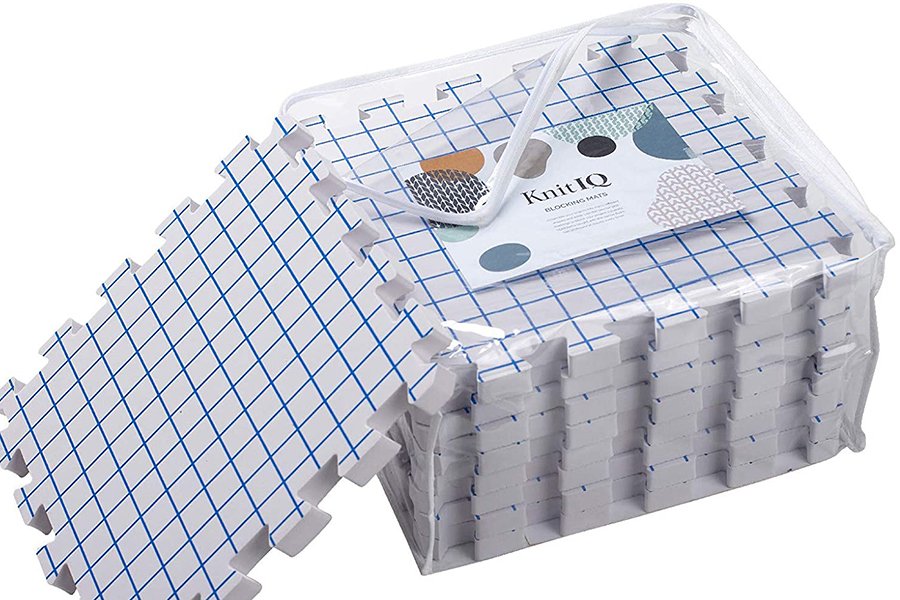
You can use any children’s foam mats for blocking, but buying ones designed for knitters gives you some handy extra features. These mats from KnitIQ are marked with grid lines for more precise results, plus they’re extra thick to accommodate longer pins, and come with a useful storage bag.

Buy KnitIQ Blocking Mats from Amazon.

3. Blocking pins

How to finish a knitting project Blocking pins

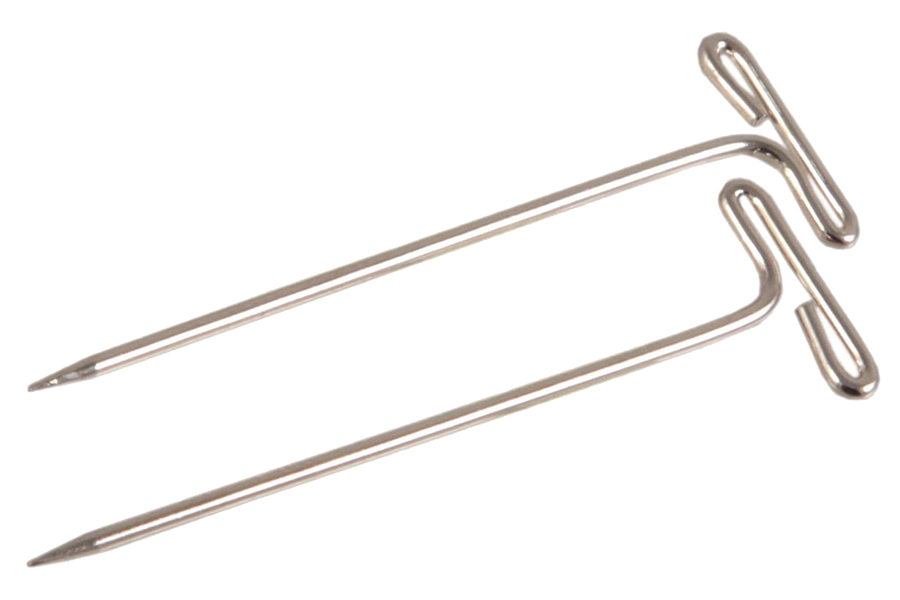
T pins are a great choice for blocking, as the wide heads are easy to handle and don’t get lost in chunkier knits. KnitPro’s pins come in a pack of 50 and can also be used with their blocking wires for blocking large, delicate items such as lace shawls.

Buy KnitPro T pins from Amazon.

4. Steam iron

How to finish knitting Morphy Richards iron

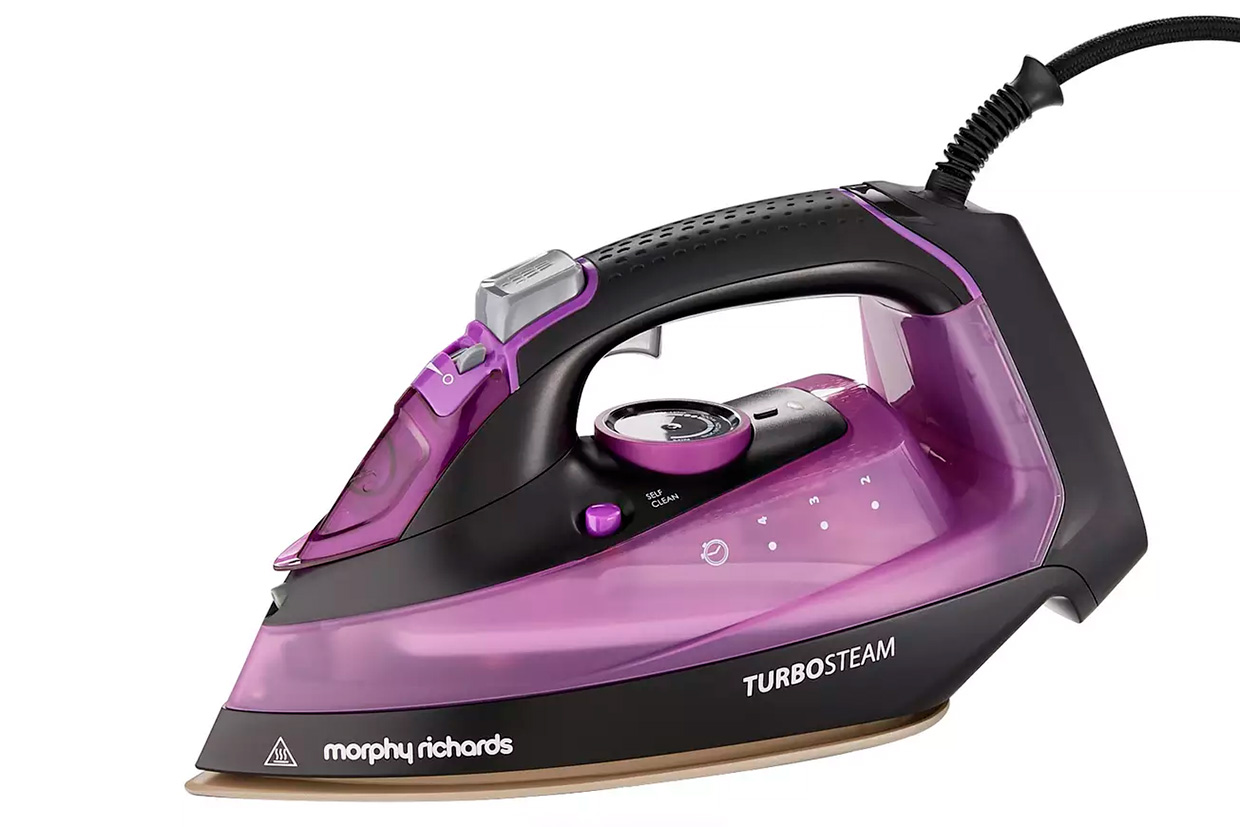
A good-quality iron is an essential tool for pressing your projects. This one from Morphy Richards heats up quickly and has a variable steam function that enables you to adjust the humidity, direction and power of the steam.

Buy a Morphy Richards Turbosteam iron from John Lewis.

5. Tape measure

How to finish knitting Korbond tape measure

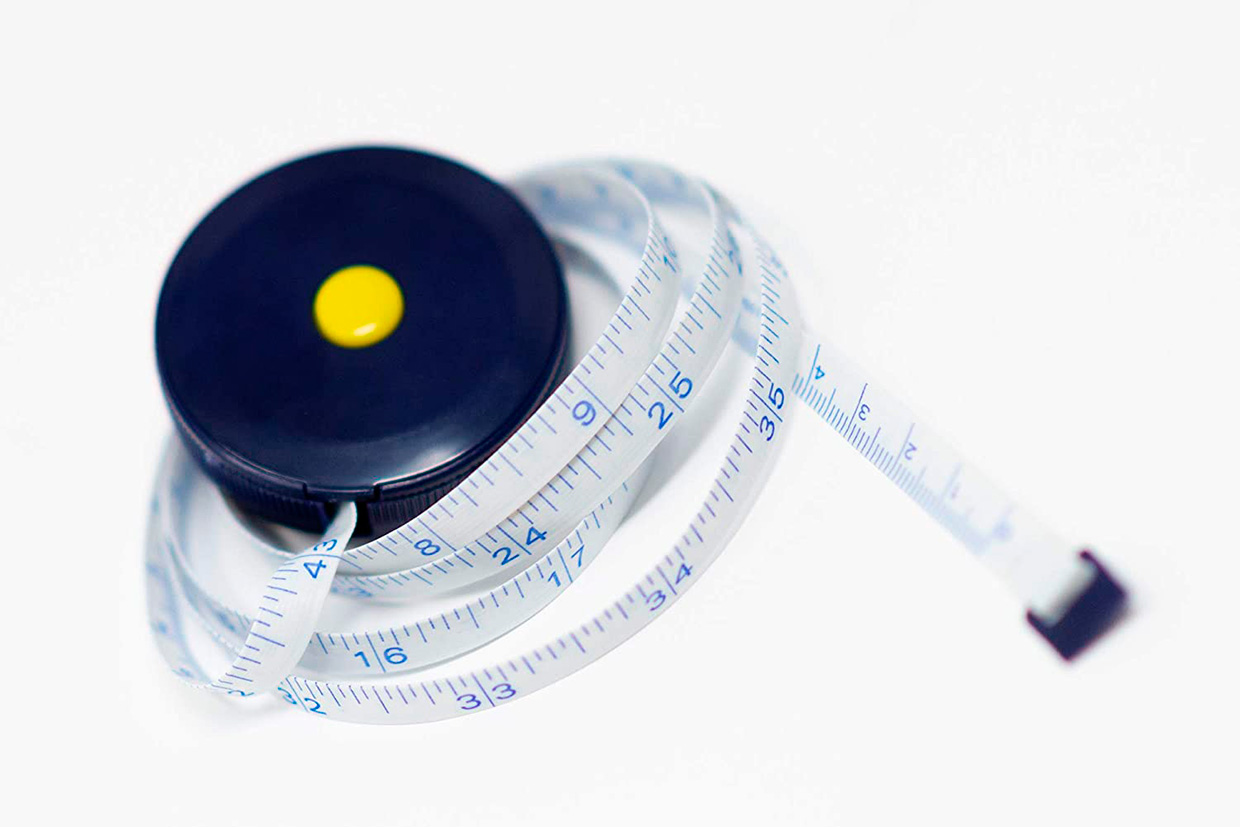
Check that your knitted pieces are the right size with Korbond’s Retractable 150cm tape measure. It has both metric and imperial measurements, and is made from fibre glass, so there’s no danger of stretching it and getting an inaccurate result.

Buy a Korbond tape measure from Amazon.

6. Scissors

How to finish knitting Fiskars scissors

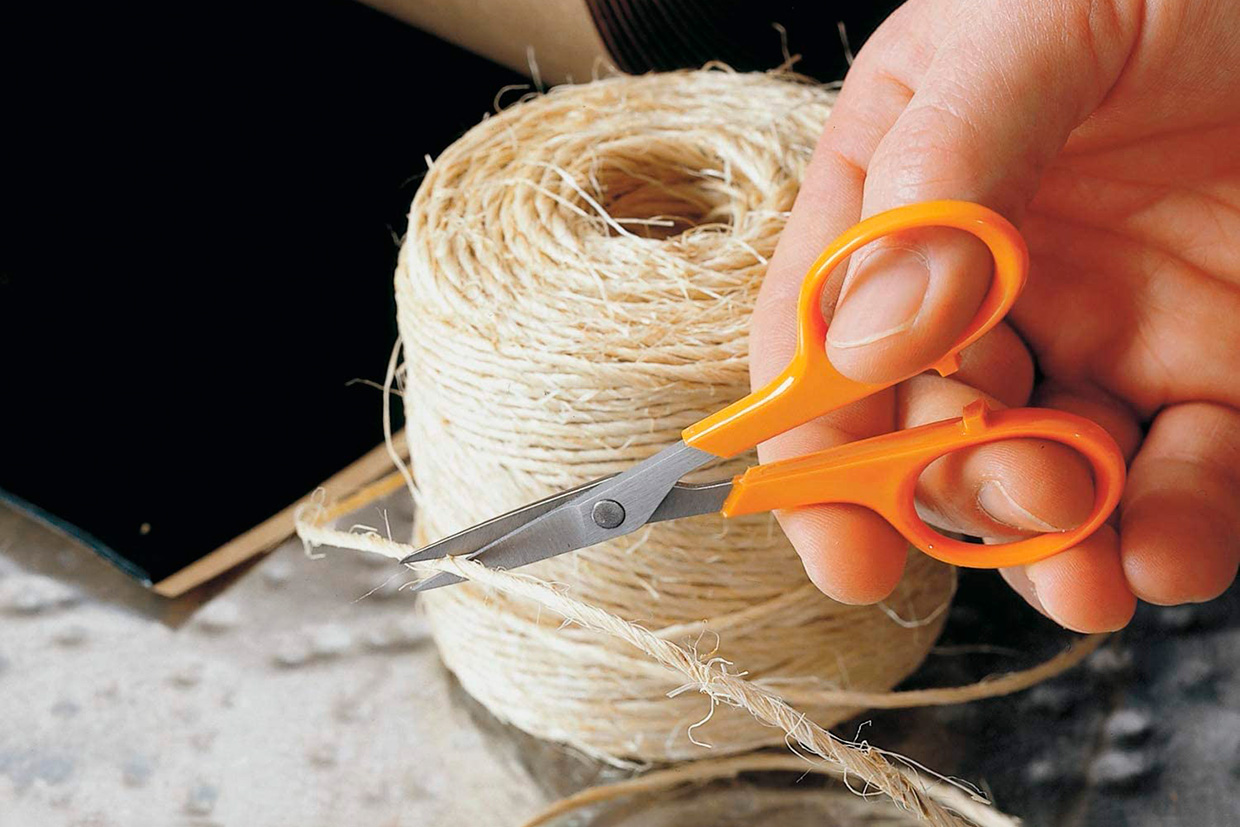
These 10cm embroidery scissors from Fiskars are an ideal size to keep in your knitting bag, and their fine tip makes it easy to cut yarn ends precisely. The specially designed handle means they can be used by both left and right handers.

Buy Fiskars embroidery scissors from John Lewis.

7. Sewing clips

How to finish knitting Clover Wonder Clips

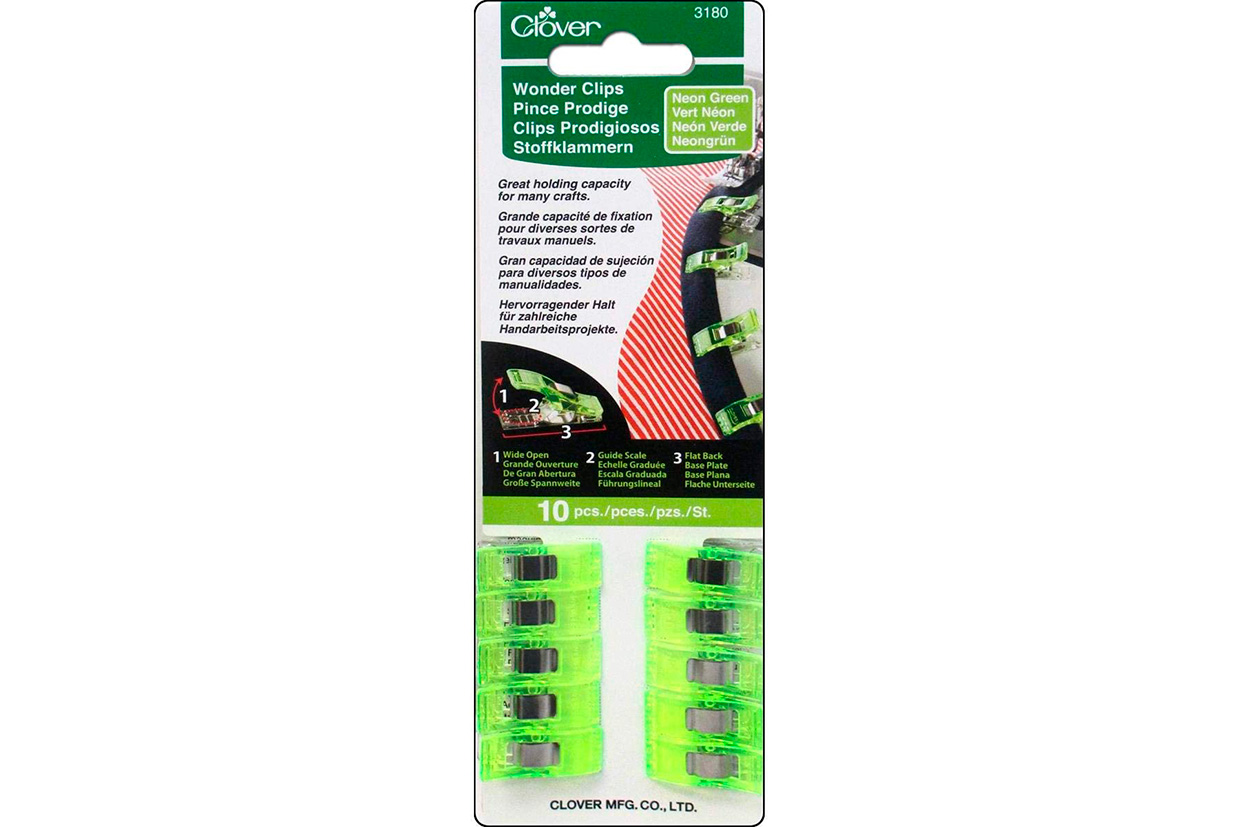
A handy alternative to pins (particularly if you have inquisitive kids or pets), these Clover Wonder Clips can be used to hold your knitted pieces together while you seam them. They open wide to clip multiple layers, and are sold in packs of 10 or 50.

Buy Clover Wonder Clips from Amazon.


Finish knitting like a pro!

It may seem like a tiresome job but finishing your knitting is like the icing on the cake. It is a vital step in the creation process and will give the satisfaction of finishing your project to a professional standard.

Here are some final tips on how to finish knitting from designer Judy Furlong: “Take your time when seaming and finishing your garment," she says. “Although you might be eager to complete your project, you won’t fling it together successfully in two minutes and your knitting deserves much more respect. Don’t put off the finishing, either. This is often the part of knitting that most people dislike, but once you have tried out some of these ideas, you may discover you really enjoy it.

“Having spent years as a youngster finding different tricks to avoid ‘sewing up’, I have now come to realise that finishing can be just as satisfying as knitting the pieces in the first place. Now all that remains is for you to await all those lovely compliments!"

Make great garments with Gathered

To make your garments look, and fit, as best they can, you need to block the pieces before you start seaming. Learn how to block knitted garments with Gathered’s in-depth guide.