Toe and heel aside, a sock is essentially a straight tube, perfect for showing off any yarn or stitch pattern. You can keep things very simple, or include complicated cables or travelling stitches. Take your first steps in sock design with Rhian Drinkwater's tutorial.
How to design your own socks
A sock is a perfect blank canvas for early steps in knitwear designing. Rhian Drinkwater shows you how to create your own.

You will need:
- Yarn
- Knitting needles
- Tape measure
- Calculator
Step 1
Design your own socks: inspiration
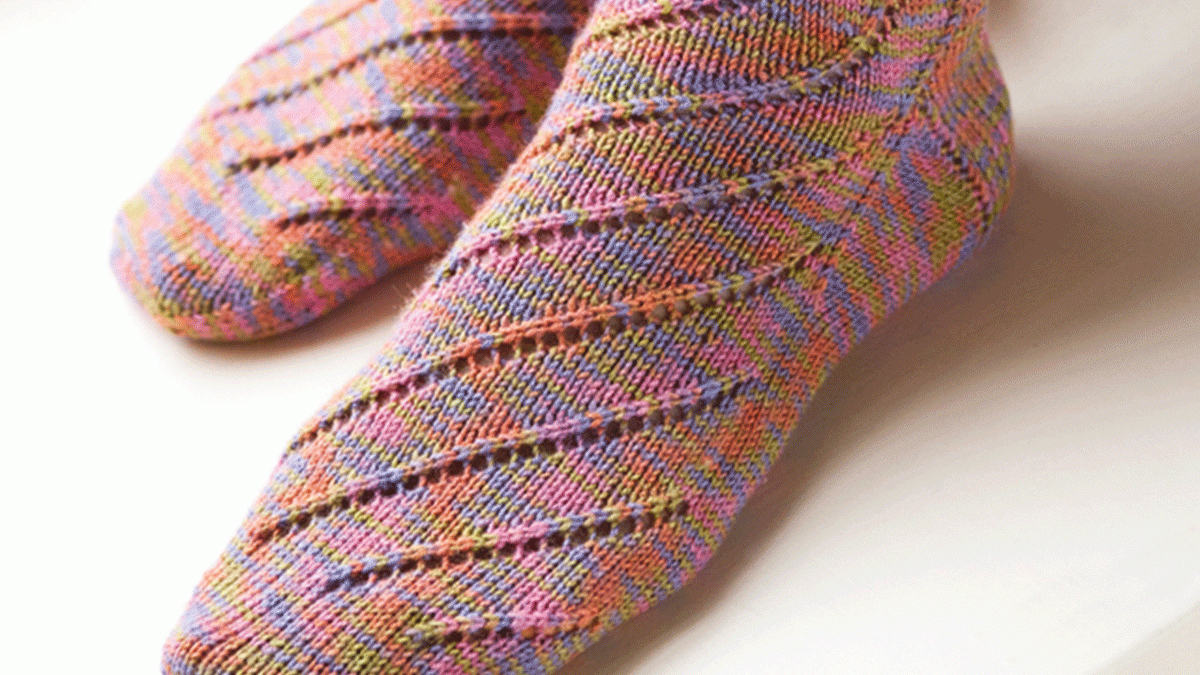
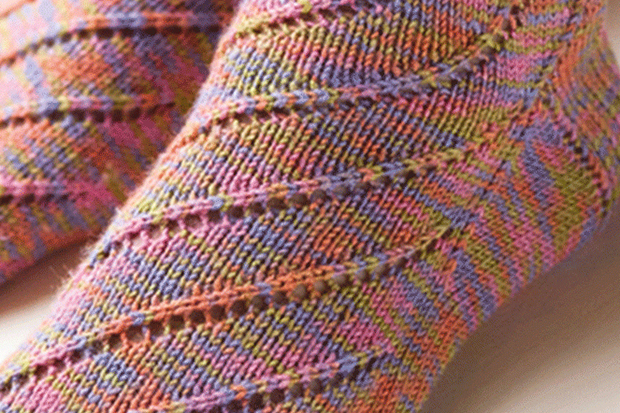
Inspiration in sock design often comes from one of two main sources: the yarn or a stitch pattern. For my spiral socks, I knew I wanted to be able to show off the yarn I’d chosen. It has such a gorgeous sheen, combined with gently variegated colours, that I didn’t want to hide those qualities in tight cables or complicated lace. But at the same time, I wanted something a bit more interesting than plain stocking stitch. The spiralling pattern was a perfect solution. The wide strips of smooth stocking stitch really show off the yarn and its sheen, but the spiralling yarnovers help make it that bit more interesting, both to knit and to look at!
Alternatively, you might see a stitch pattern, either in a stitch dictionary or in another pattern, and want to make that work on a sock. In this case, choose your yarn carefully. There are a lot of high-twist sock yarns that make cables pop, and strong solid colours will often work best with lace designs.

Step 2
Yarn choice
I’ve touched on this slightly above, but there’s more to sock yarn than just showing off the stitch pattern. A basic wool/nylon blend is standard for socks, and is an easy and solid choice. There are also plenty of 100% merino sock yarns, often in beautiful hand-dyed colours, but do be warned that these won’t wear as well as the yarns with some nylon in. Are you designing a rugged pair of men’s socks that will be well-worn every day? Then go for a nylon blend. Are they a delicate lace design to be shown off with elegant Mary-Janes and worn around the office? Then they’ll probably be fine in 100% wool.
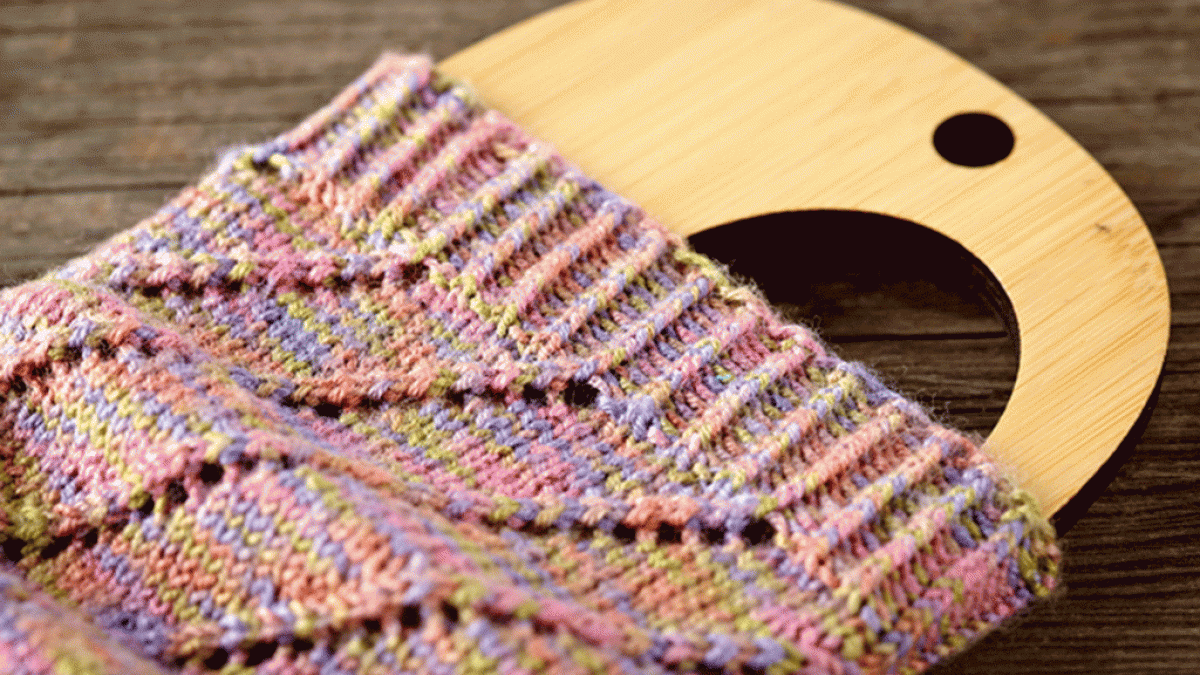
Moving to more exotic blends, there are plenty of yarns that contain some silk or other luxury fibres, and again these are usable, but best suited to elegant, feminine designs that won’t get heavy wear. Alpaca yarns, or those thicker than 4ply, make gorgeously soft house or bed socks. And cotton or bamboo blends, like the Wendy Happy I used for the spiral socks, are perfect for cooler, summer socks. The bamboo gives a lovely drape and sheen, and knits up into a finer fabric, but be warned that these yarns will have a lot less stretch. When choosing a stitch pattern, bear this in mind. You’ll also probably want to stick to short ankle socks, rather than taller socks that need to grip the calf so as not to fall down. As ever with knitting, swatch swatch swatch! When knitting the spiral socks, they often looked as though they might sag or be baggy, because of the way the knitting draped. However, when I tried them on they worked fine, because I’d got the sizing and tension right. Don’t be afraid to play.
Step 3
Basic construction
Socks are generally constructed in one of two ways: toe up or cuff down. Generally it’s probably best to use the type of construction you’re most comfortable knitting, but for this workshop I’m going to stick with top down.
Most socks start with an inch or so of ribbing – which I’ll come to later – and then knit a straight tube for about 15cm. You then knit a heel of some kind over half the stitches, then rejoin into the round. From this point on, any stitch patterns are generally confined to the top of the sock, with the sole knit in plain stocking stitch. You then decrease for the toe, which is normally closed by grafting.

Step 4
Construction variations
The main variations (apart from the direction of knitting) in socks are the different ways of doing the heel. I usually opt for a heel flap and gusset construction, as I find this gives the best fit. Short row heels can look prettier, and are often used when using a different coloured yarn for the heel. Afterthought heels are perfect if you’re using a self-striping yarn as you won’t distort the striping, and have a very similar look to a short row heel, though they use a different construction. If you’re mostly concerned with applying a stitch pattern to a sock template, then it doesn’t really matter which heel type you use. However, it is harder to continue your pattern into the heel using short-rows heels, and this is a nice look, so it’s something to consider.
Step 5
Fitting in stitch patterns
When approaching your sock design, the first thing you’ll need to work out is how to repeat the stitch pattern around the main ‘tube’ of your sock, the leg. For this you’ll need an approximate idea of the number of stitches you’ll need to cast on for a well fitting sock. If you’ve knitted plenty of socks before you’ll probably have an idea of this: for my feet, it’s 64 stitches. This is also a really handy number, as it divides by 2, 4, 8, 16 and 32. If you’re not sure, swatch with your chosen yarn in your stitch pattern. Measure around your ankle carefully, and remember you want at least 2cm negative ease in socks so that they don’t fall down.
Now, take a look at your stitch pattern. Does it fit easily into that number, or close to it? If your stitch pattern is 11 stitches across, you could do six repeats and end up with a cast-on number of 66 – that’s probably fine. If it’s 10 stitches, you might have more of a problem, as you’ll have to choose between a 60-stitch and a 70-stitch cast-on. For me, that would lead to a sock that’s either too small or too big.
In this case, or similar, you’ll probably want to look at either adjusting the stitch pattern itself to make it slightly wider or narrower, or adding in something between each repeat of the pattern. This can be a single stitch, or a second stitch pattern, or just some ribbing – whatever seems to work alongside the stitch pattern you’ve already chosen. It’s a good idea to have an even number of repeats, to make it easy to divide at the heel, and to have a cast-on that’s an even number. If you cast on an odd number of stitches, you may have trouble with the split at the heel, and also with the ribbing. If you want K1, P1 ribbing at the cuff you’ll need a cast-on number that divides by two, for K2, P2 ribbing it will need to divide by four, and so on.
With the spiral socks, I started with a very flexible stitch pattern. I knew that I needed a [K2tog, yo] with each repeat of this separated by knit stitches – but how many knit stitches was completely up to me. I chose to put six stitches in, creating an eight-stitch repeat. This fits perfectly into my 64-stitch cast-on, but also works well for a 56- and 72-stitch cast-on. Bear in mind that if you’re hoping to grade your design to different sizes, a very large stitch pattern width will be difficult to work with.
Let’s imagine your chosen stitch pattern is seven stitches wide. You could repeat this nine times around a sock, giving a cast-on number of 63. This could work, and if your heart is set on it then don’t be put off even though it’s a bit more tricky. But if you want to make it simpler, you could look at adjusting the pattern.
A single column of purl stitches between each repeat will make it eight stitches across, and that will go into a 64 stitch cast-on more easily, making all the sums for the rest of the sock much simpler.
Alternatively, you might decide that you don’t want an all-over stitch pattern on your sock, and instead use a strip down the front of your sock, with the rest in stocking stitch or plain ribbing. In this case, the pattern would work nicely repeated four times across the front of the sock, whatever your initial cast-on.

Step 6
A note about cables
One important caveat to the normal number calculations comes when you’re working with a stitch pattern that includes cables. Cables pull in the knitting, creating a much narrower fabric than normal. If I knitted myself a sock with a 64-st cast-on that had a lot of cable stitches around the sock, it would likely be far too small for me. Just how much smaller the cables make the fabric is dependent on how many you use, and how many stitches cross in each individual cable. As always, the best solution is to swatch your cable, and see how it affects the gauge of your fabric.
Lace fabric can have the opposite effect, and be much more stretchy, although this is generally not as pronounced as the pulling-in effect of cables. But again, if you’re using a very stretchy stitch pattern, you might want to consider a smaller cast-on.
Step 7
Putting stitch patterns into the ribbing, heel and toe
There are many ‘standards’ for a ribbed cuff on a sock: K1tbl, P1 twisted ribbing gives a neat effect; K2, P2 ribbing is nice and stretchy; and I have a fondness for the look of K2tbl, P2 ribbing. K3, P1 is also seen quite often. However, one thing that really helps a sock design look polished is if the ribbing at the cuff of the sock flows seamlessly into the stitch pattern itself.
Chart out your stitch pattern onto some squared paper, then look at the top of it to see if there are any obvious points to carry up into ribbing. Yarnovers work well following on from a purl column, while strong lines of knit stitches, such as those created in the spiral socks by the K2tog, should follow on from a single column of knit stitches. Once you’ve found the obvious points, you can fill in the rest with a ribbing that matches what you’ve already planned out.
In my spiral socks, as noted, I knew that I needed a K1 below where the decreases first began, and a P1 below the yarnover. As I had given myself nice even numbers to work with, the part in between these stitches was filled easily with K1, P1 stitches. Plain K1, P1 ribbing can give a messy, loose look to the sock, so I used a twisted ribbing instead.
You’ll have a similar issue when you begin the heel flap. My spiral socks instruct you to finish on a specific line of the repeat. This ensures that when you knit the heel (a standard slipped stitch heel flap), those strong knit lines coming from the K2tog stitches flow into the strong lines of slipped stitches that run down the heel, giving a much neater appearance.
If you have a stitch pattern that includes ribbing, you might want to continue this down the heel flap instead. Just be aware that if you’re used to knitting slipped stitch heels, and you knit one that doesn’t use slipped stitches, you’ll need to knit fewer rows to achieve the same length.
Turning the heel
When it comes to turning the heel, if you haven’t worked out a heel turn by yourself before, there’s a wonderful resource at http://bit.ly/heelturninfo. This tells you exactly how many stitches to knit before turning on each row, for different cast-on numbers and different types of turned heel.
Step 8
Dividing the heel
When you reach the heel flap, before working out how to continue the pattern into it, your first decision will need to be how many stitches to make it, and where to place it in your pattern repeats. You want the heel flap to use close to half the number of stitches in the sock, but one or two stitches out won’t cause problems.
In my example above, where we used a column of purl stitches in between each seven-stitch pattern, simply working the pattern across half the stitches will result in a column of purl stitches down one side of the foot, while on the other the stitch pattern flows straight into the stocking stitch on the bottom of the foot.
In this case, it would be best to keep a column of purls on each side. This means that the top of the foot will be one stitch wider, and therefore that the sole of the foot will be one stitch narrower. You’ll need to knit your heel flap across half the stitches, minus one, and then remember to decrease down to this number when knitting the gusset. And when you come to the toe, work a round which just decreases one stitch across the top of the foot first, to make the top and bottom even, before starting the main toe decreases.
If you’re working with a wider stitch pattern, or one that doesn’t split easily into two – maybe you have five repeats going around the sock – things are a bit more complicated. There are two main solutions. The first is to continue as much down the top of the foot as works easily – so two repeats, in our example – and edge them with stocking stitch. This can sometimes work, or it could lead to an ugly ‘end’ to part of the stitch patterns that are at the front but don’t continue down. It really depends on the stitch pattern used.
The second solution is to split the stitch pattern, and continue part of it down the edges of the sock. Whether this will work, aesthetically or practically, will depend on the stitch pattern – try swatching it first, or draw it out on graph paper. Again, remember that you can always make the top of the foot a stitch or two wider than the bottom if it makes things easier.
Find out more about sock design in our masterclass on choosing the best sock toe knitting method, or cast on a pair today with our free cable sock knitting pattern. For perfect sock cuffs try the German twisted cast on method.

