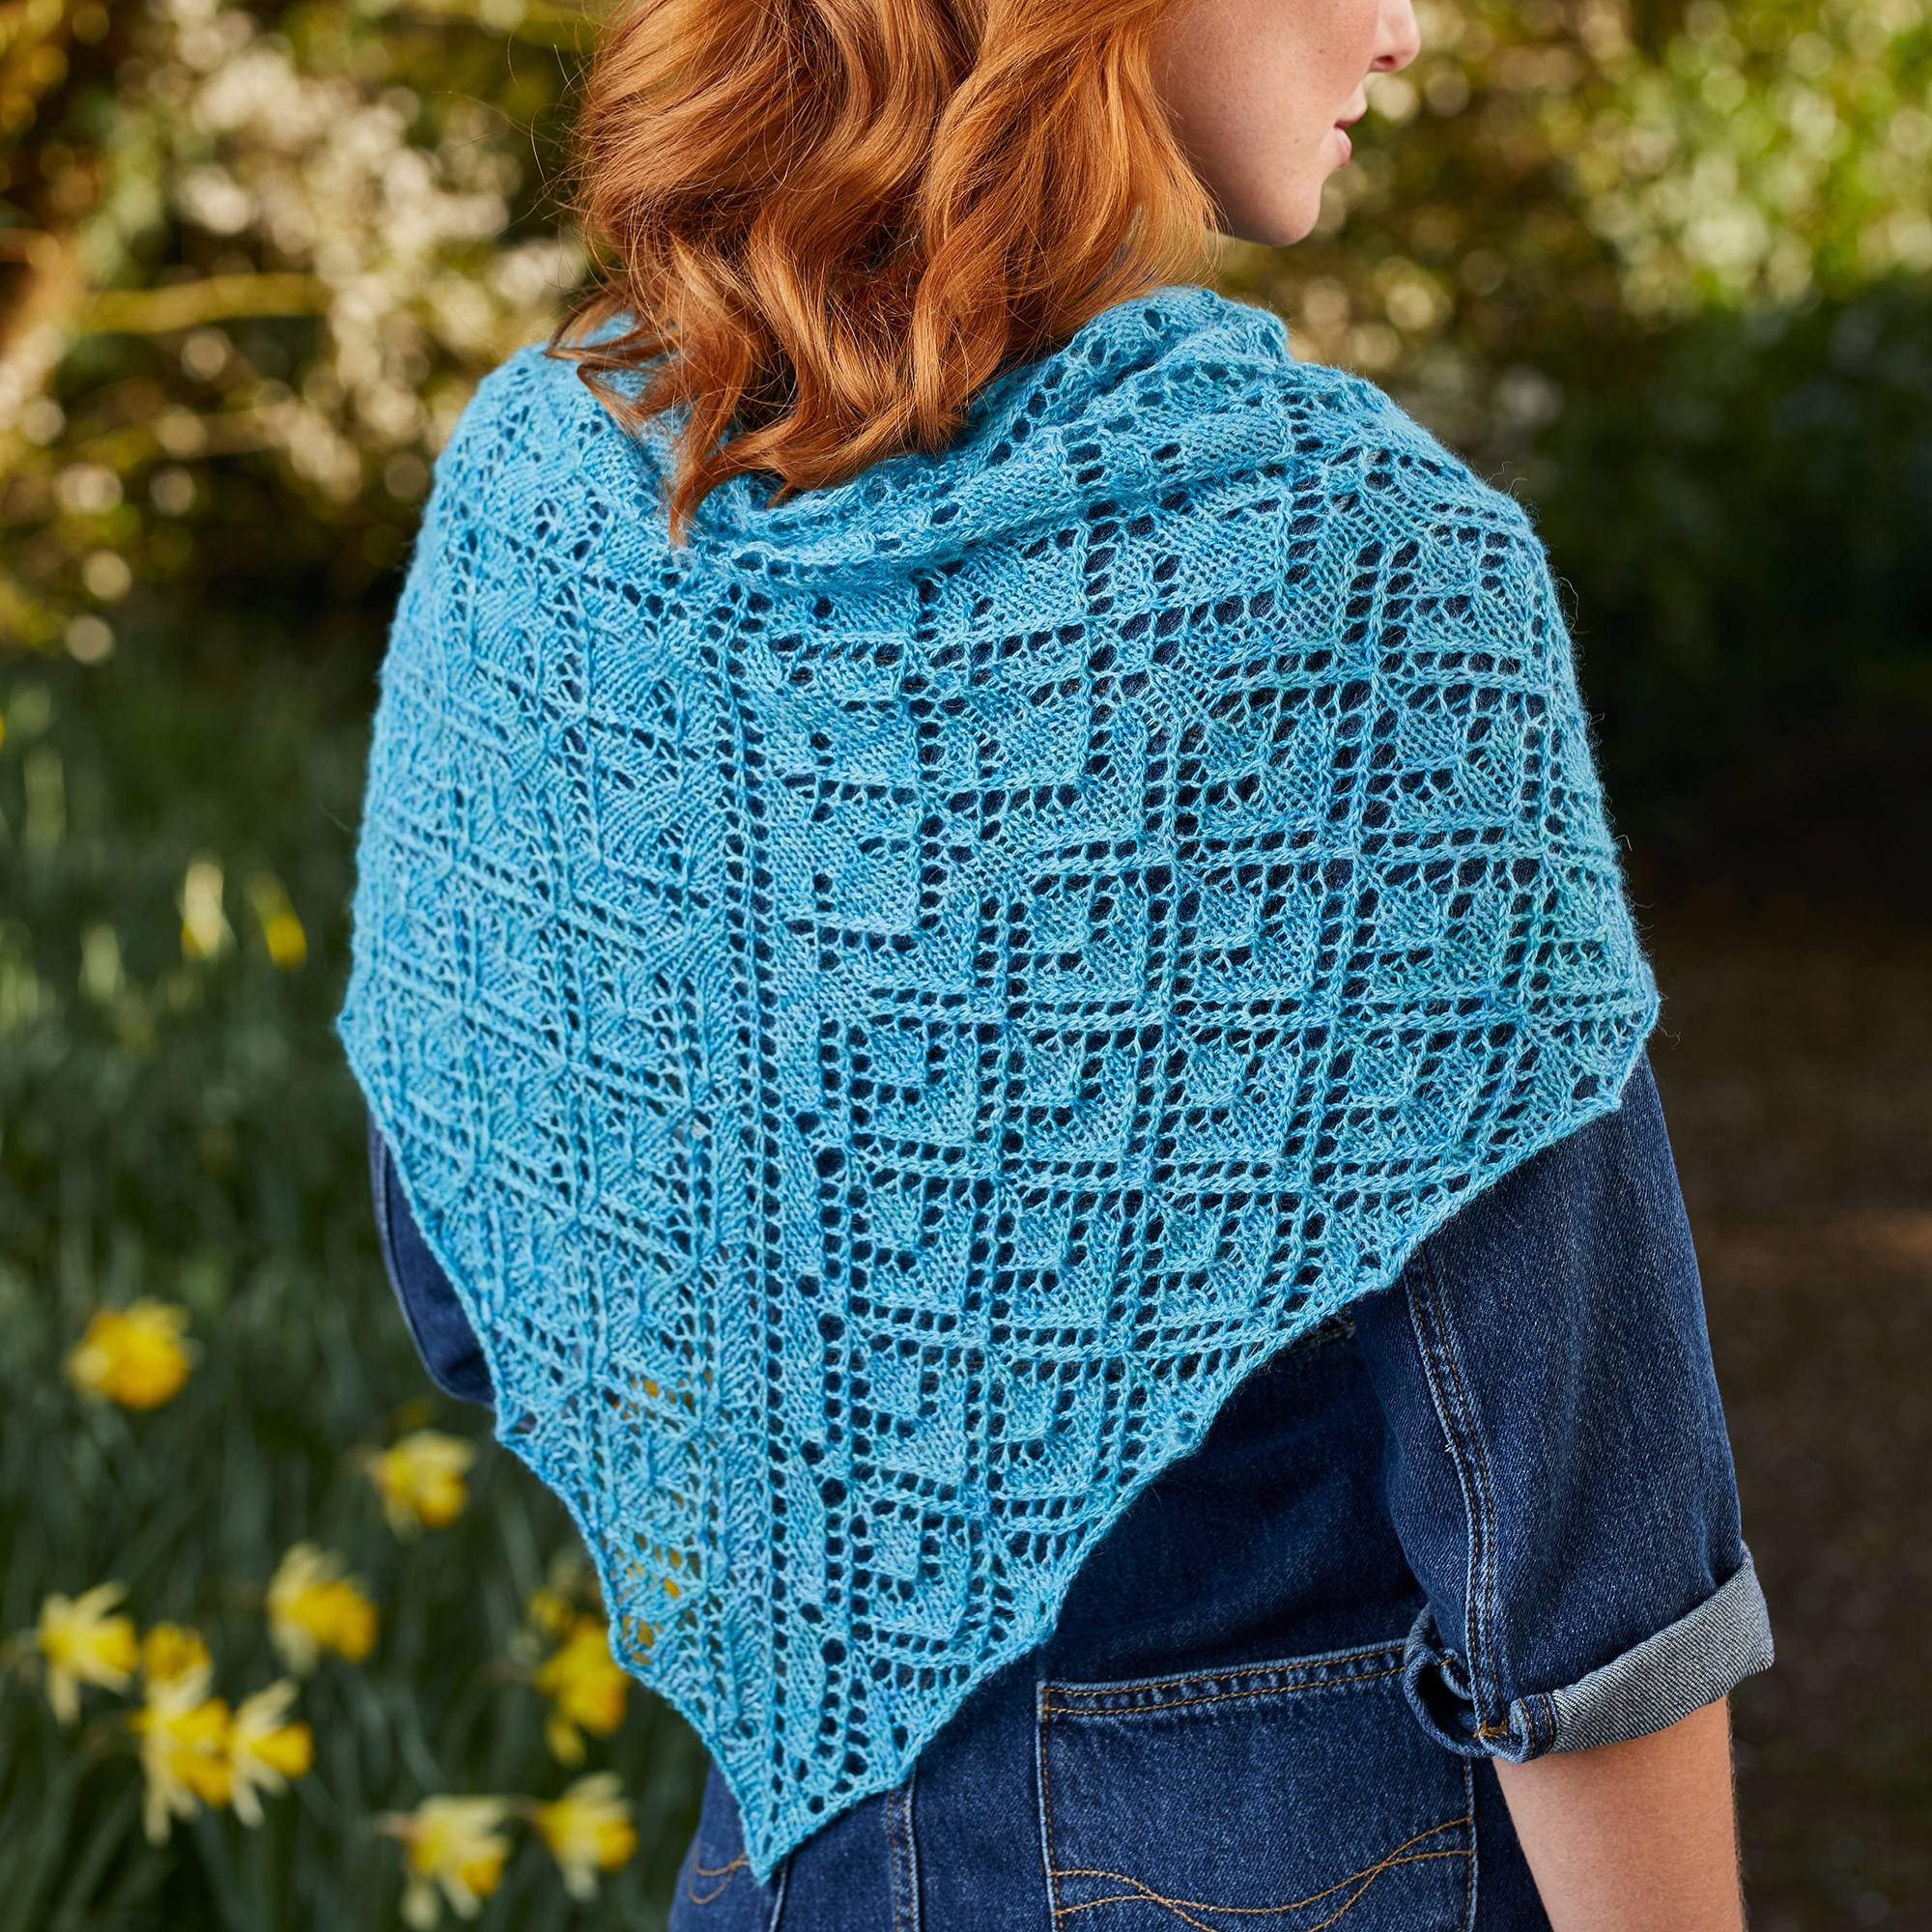
When I start thinking about a new shawl design, I sometimes begin with a specific shawl shape and then find a stitch pattern to suit the shape. Other times, I begin with a specific stitch pattern I’d like to use, and look for a shawl shape that is suitable for that stitch. Sometimes, I find a yarn that I’m keen to use, so I make decisions about stitch pattern and shape based on what will suit the yarn.
How to design a shawl
Expert designer Anniken Allis shares her inside knowledge on how to create your own unique shawl patterns.

Step 1
Choosing the shape
When you decide on a shawl shape, you also need to think about the stitch pattern you want to use, and how that will fit into your chosen shape. We’ll talk more about stitch patterns later.
Once I’ve decided on the shape, I need to decide on how I will achieve it. There are a few shawl shapes that have become fairly standard in the knitting world, and you can easily find formulas online for how to work out the shaping – but when it comes to shawl shapes, the sky’s the limit. You can combine increases and decreases in a variety of ways to create all sorts of shapes.
However, as a designer, I’m creating patterns for other knitters to knit, so I need to make sure that what I’m designing won’t be too difficult to write up as a pattern. This does sometimes put restrictions on what I’m creating. If you’re designing something that only you will knit, then break the rules and have fun with it!
Step 2
Choosing a stitch pattern
Not all stitch patterns suit all shapes. I always think about how the shaping is achieved, as well as how many stitches and rows there are per pattern repeat in the stitch pattern I’d like to use.
How will the stitch pattern look if I turn it upside down? If I decide a shawl is to be knitted from the top down, the stitch pattern will be upside down.
Sometimes I look through my stitch dictionaries for inspiration and choose a stitch pattern from there, while other times I have certain shapes in mind and I just draw the stitch pattern out on a piece of squared paper. I’ll talk more about that later.
If you are using more than one stitch pattern, you need to consider how these transition from one stitch pattern to another. Can you just start a new stitch pattern after another? Or will you need to create a transition pattern to take you from one stitch pattern to the next?
It’s easier if the patterns you choose have the same stitch counts per pattern repeat and in some cases the same number of rows per repeat too, although the latter will depend on the shape and whether or not the stitch pattern will be repeated.
Sometimes I’ll choose a stitch pattern but it doesn’t quite fit in to what I need. Perhaps I need a stitch pattern that has 12 stitches and 12 rows per pattern repeat, but my chosen stitch pattern has 14 rows per pattern repeat. In cases like this, I look at whether I can alter the stitch pattern to reduce it from 14 rows to 12 rows.
I highly recommend learning how to read charts if you want to design lace shawls. Being comfortable with charts makes the design process so much easier. Charts are a visual representation of what your knitting will look like, and being able to chart it all out is a huge advantage in shawl design.
Lace patterns are made up of yarnovers (increases) and various decreases. Within a repeat you will usually have the same number of increases and decreases. However, there may be times when you work more yarnovers on one row than decreases, but then later on within the same pattern repeat, you will be making up for those yarnovers by working more decreases.
By charting the lace pattern out, you can check that you have the same number of increases and decreases. If you have yarnovers that are not matched by decreases, you will be increasing the stitch count, which is what we’ll be doing in our sample shawl in this supplement.
Step 3
Choosing the yarn
When choosing the yarn, take into account how the fibre blend and colour will work with the lace pattern. For example, a variegated yarn doesn’t work well with a very intricate lace pattern. Always knit a swatch to make sure you’re happy with stitch pattern, yarn and needle size.
Step 4
Designing ‘Gwenna’, from The Knitter 117
For this masterclass, I decided I wanted to design a crescent shawl, as they’re very popular and can easily be worn as a scarf – which is probably the most common way knitters wear shawls.
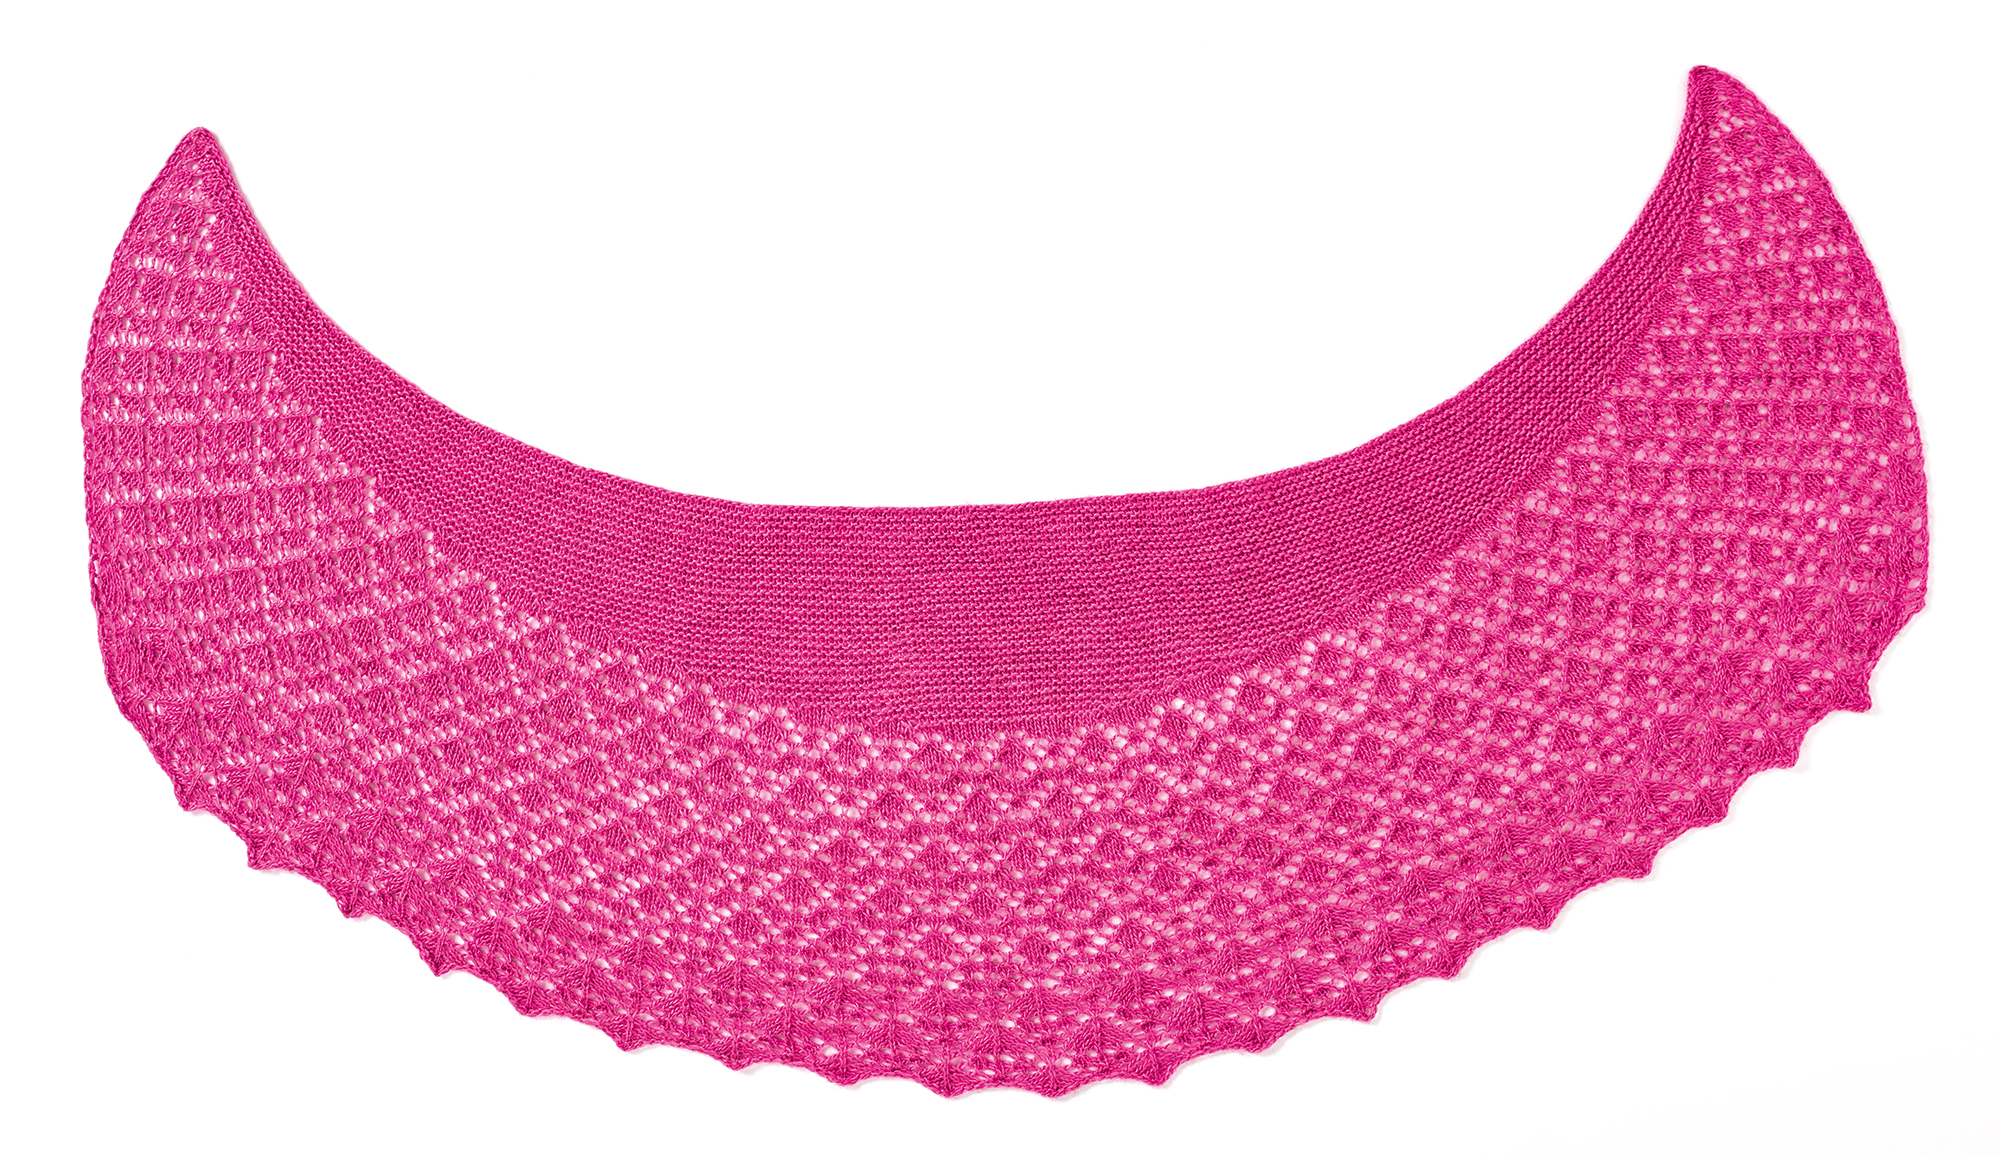
I had two stitch patterns that I had sketched out in my notebook because I wanted to use them in a design soon. I felt that they would look good together but I knitted a swatch to make sure.
The stitch pattern I chose for Chart A (find in The Knitter 117) would look best as an edging as the position of the double decreases (sk2po) creates a natural scallop.
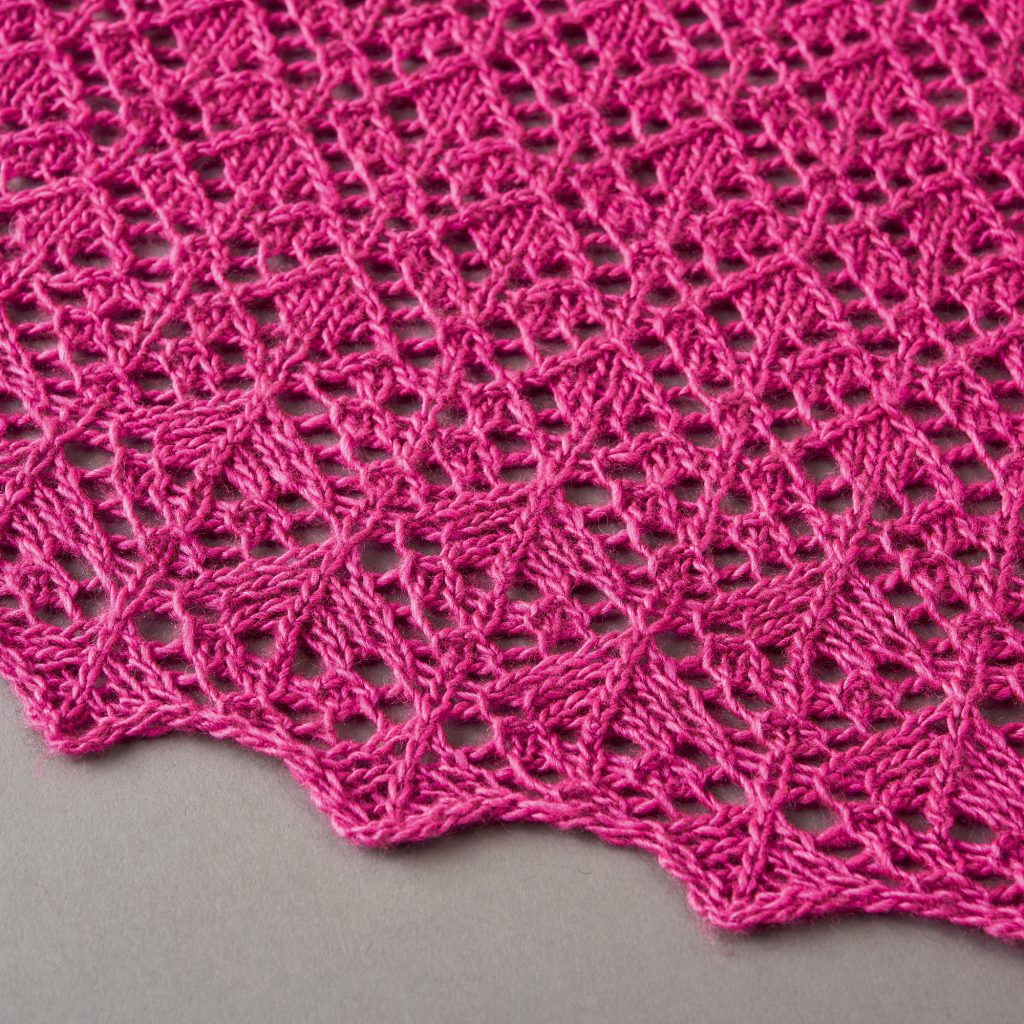
There are different ways of creating a crescent shape. The two most common ways are top-down or bottom-up, although you can also create a crescent by knitting the shawl sideways and using short rows to shape it.
Top-down shawls tend to be easier to design, as generally you start with a small number of stitches and then increase on every other row to create the shape. How many stitches you increase per row and how they are arranged in relation to each other will determine the final shape.
I wrote a tutorial on my blog about how you can cast on the same number of stitches and increase at the same rate and create three different shapes. You can read it here.
Generally top-down crescent shawls will start with a small number of stitches, for example 9 stitches, then increase 6 stitches on every other row – 3 at the beginning of the row and 3 at the end. So a right-side row will read: K2, (yo, K1) twice, yo, K to last 4 sts, (yo, K1) twice, yo, K2. 6 sts inc’d.
When you create a crescent shawl in this way, you end up with a lot of stitches very quickly, and the shawl ends up being very long along the top edge, which is perfect to wear wrapped around your neck as a scarf. My ‘Elowen’ design from The Knitter issue 113 was shaped like this.
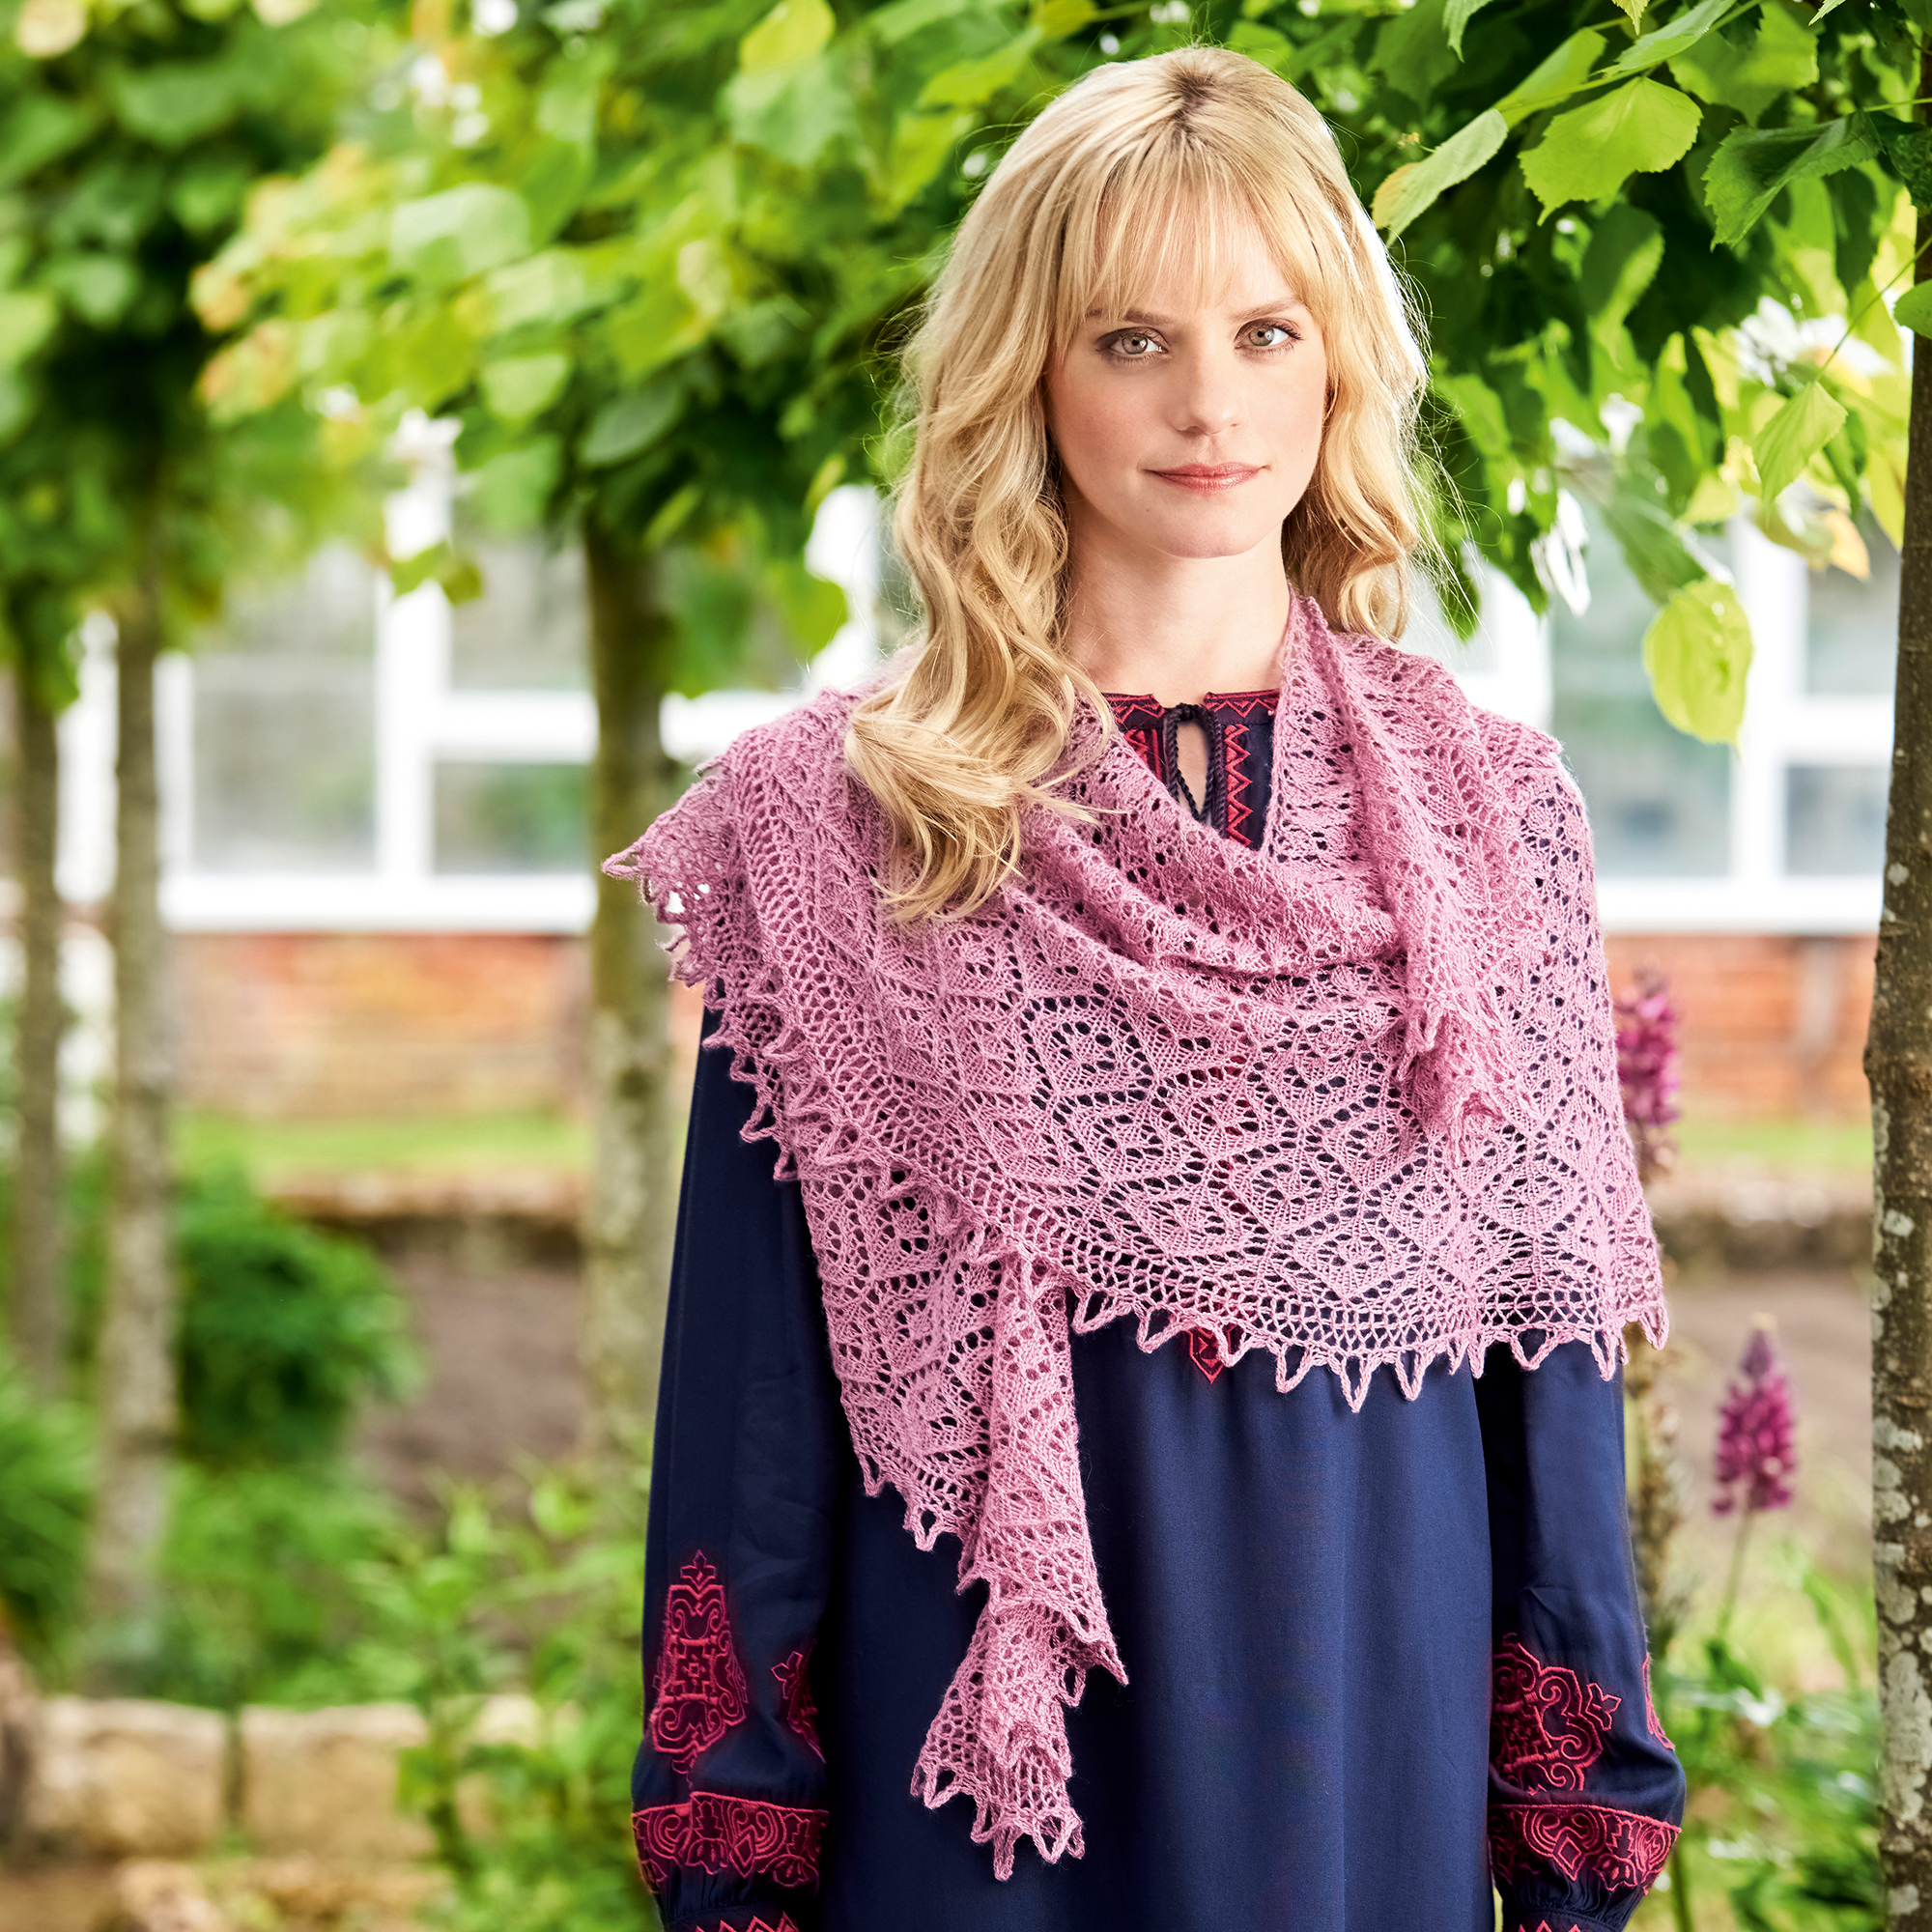
With top-down shawls, you can usually worry less about having enough yarn to complete your project. As you’re increasing to achieve the shape, you can usually just keep knitting till you get close to running out of yarn. In reality it’s not quite that simple. If you’re using more than one stitch pattern you need to determine how much of the final shawl will use each stitch pattern.
I look at previous shawls I’ve designed using the same (or similar) shape and yarn amount, to get an idea of how big a shawl is likely to be. I then weigh the yarn regularly so I know how much yarn each repeat will take and if I’m increasing, then how much more yarn each repeat will require compared to the previous repeat. I then use that to decide when to start the edging and when to cast off.
Bottom-up crescent shawls generally requite casting on lots of stitches. You need to be more careful if you have a limited amount of yarn available, as it’s harder to work out how much yarn you will need. I’m sure there are mathematical formulas that will do this for you, but I’m not a ‘maths whizz’ so I prefer to keep things as simple as possible!
After considering the lace patterns I wanted to use for ‘Gwenna’, how to achieve the shape and how that would work in conjunction with the lace stitch, I decided to go for a bottom-up crescent using short rows to shape it.
Step 5
How to achieve a bottom-up crescent
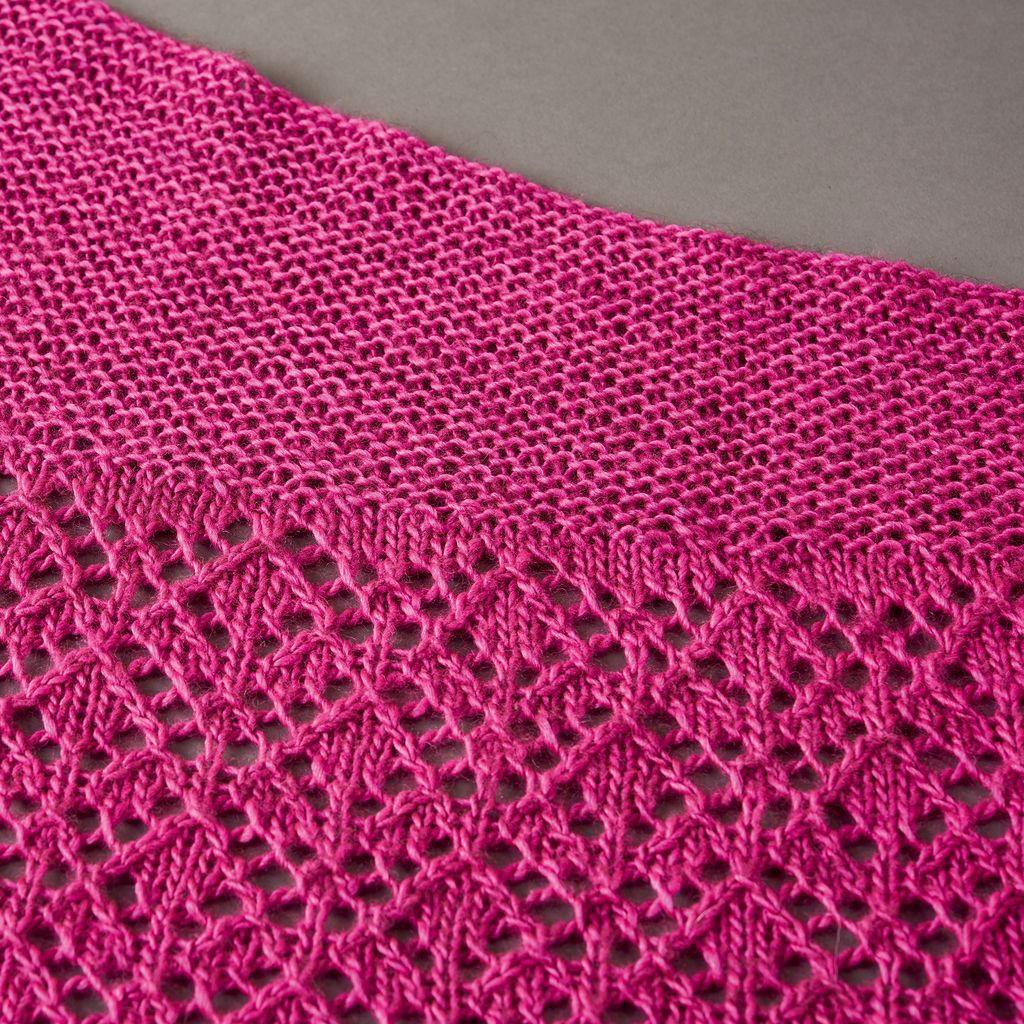
The easiest way to create this shape is to knit a lace rectangle and then work short rows to shape the crescent. This will create straight sides. Increasing one stitch at the beginning and one stitch at the end of every right-side row creates tapered edges, which are more attractive but also make the design process slightly more difficult.
The short rows are usually worked in garter stitch or stocking stitch, although you can work a lace pattern while also working short rows. But do consider how easy the short rows will be while also working a lace pattern, and how this will look in the knitted fabric.
Step 6
Shape vs increase ratio
When designing a pattern for other knitters to make, I try to keep things relatively simple, such as choosing a lace pattern that repeats easily.
It is a lot easier to write up a pattern for a shawl that has pattern repeats which stack neatly on top of each other. Generally, if the stitch repeat has the same number of stitches as the number of increases per row repeat, the stitch pattern can easily stack on top of each other.
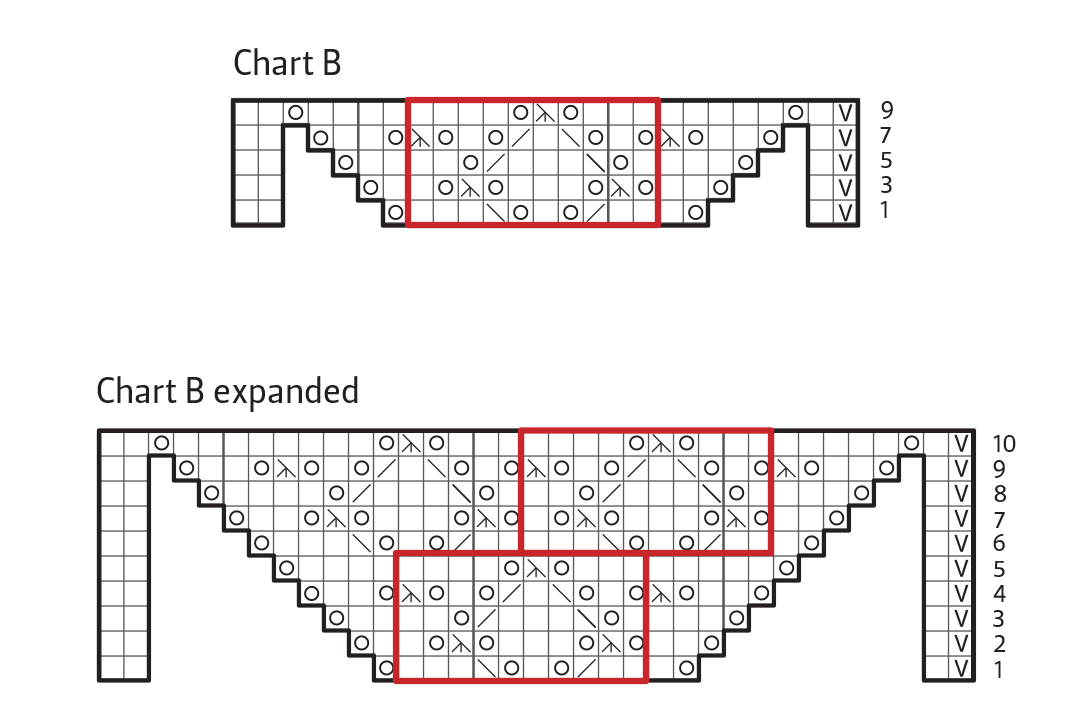
The pattern repeat for Chart A is 10 stitches and 10 rows. We’re increasing two stitches on every right-side row, so after 10 rows we’ll have 10 more stitches than before we started row 1. That means that we can fit in another 10-stitch repeat. My design stacks the pattern repeats on top of each other, so that they are staggered. It’s the same for the Chart B pattern – see the expanded chart pictured below.
Step 7
Working out the pattern
I’ve decided on the shape of my shawl; now I need to work out the numbers. To work out the desired width of the shawl we will need to know the stitch tension. A word of caution: it can be very difficult to work out exact tension for lace knitted at a looser gauge, because of the amount it stretches during blocking. But we’re designing a shawl, so exact size isn’t as essential as it would be for a garment. When I knitted my swatch I decided that 4mm needles gave the swatch the desired amount of openness and drape.
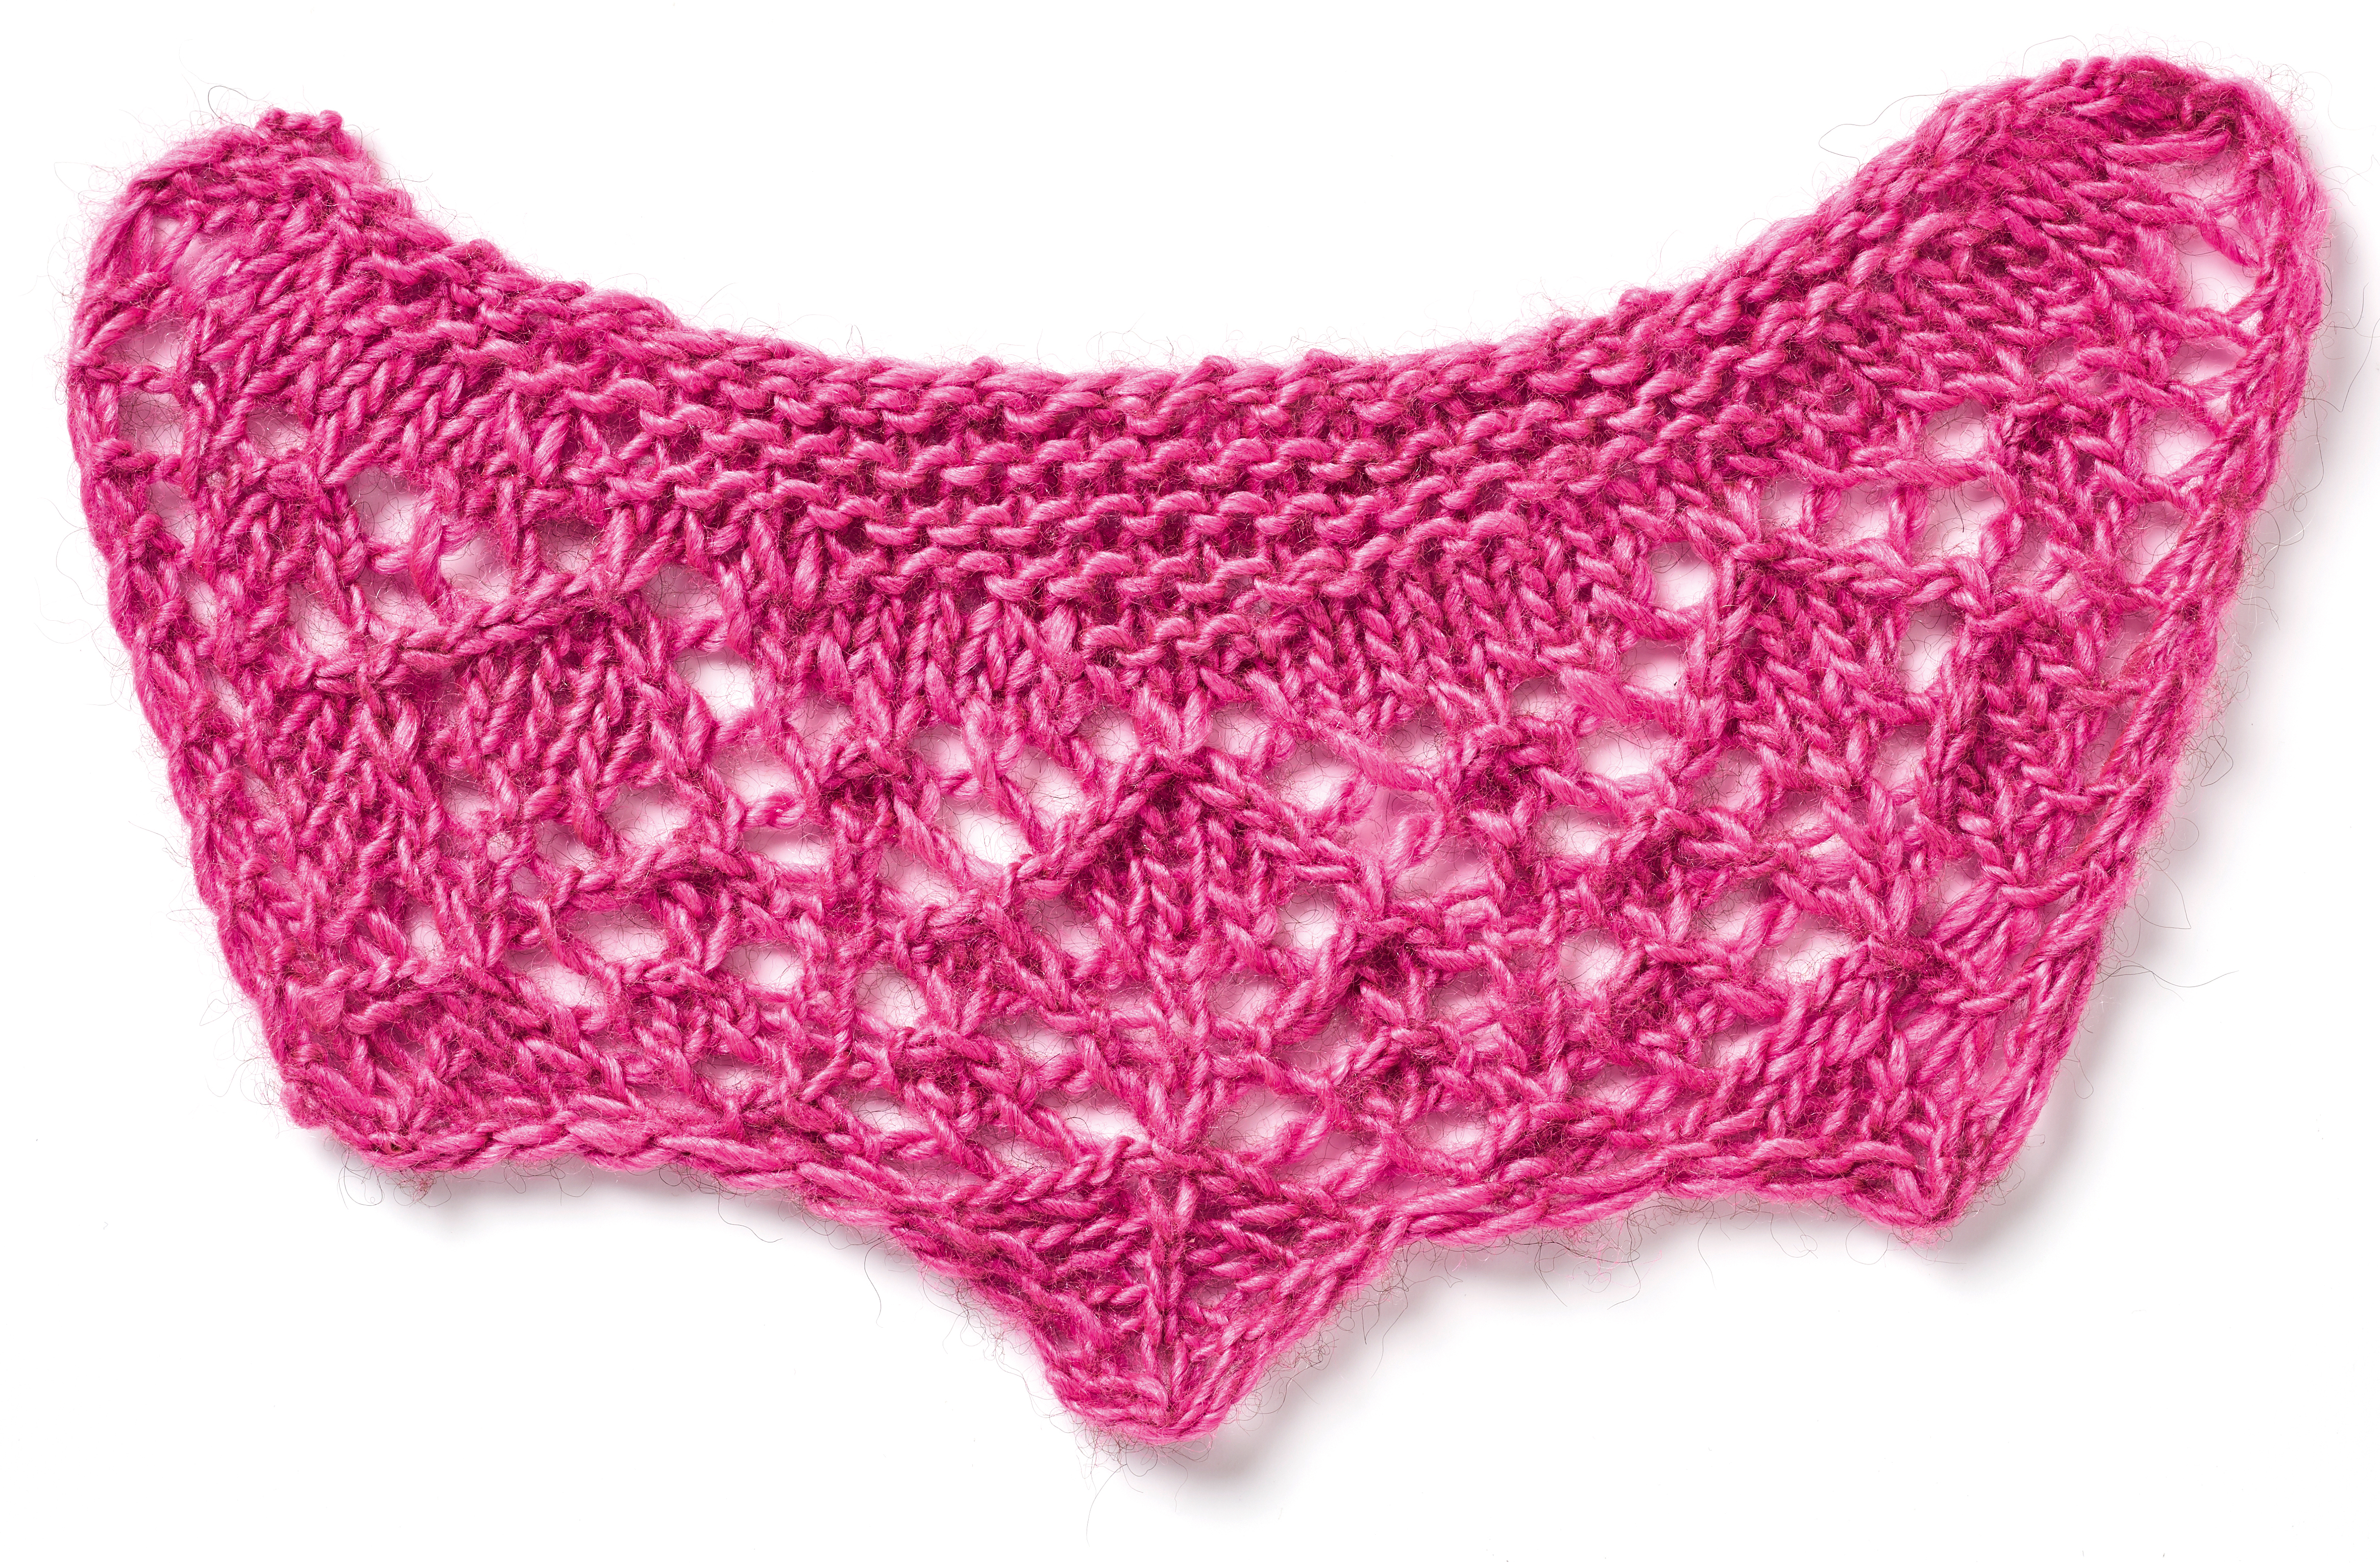
Once I’d decided on how many stitches to cast on, I needed to make sure it fits in with my pattern repeat. For both Charts A and B I need a pattern repeat of 10 + 5 sts. I decided to cast on 205 stitches. The next step was to work out how many repeats of Charts A and B to work, and as we’re increasing on every right-side row, once I’d decided how many times to work the charts, I could then calculate how many stitches we will end up with. I do keep a close eye on my yarn usage during the knitting stage to make sure I haven’t overestimated how many times I can work the charts. For this project I only had one skein of 480 metres.
Once I know how many stitches my lace section will end up with, I can work out the short rows. I like to mark the centre stitch.
Step 8
How to work out the short rows
Set-up row 1: Work to the centre stitch then decide how many stitches past the centre stitch you wish to work. The more stitches past the centre you work, the fewer short rows are required and the shawl will have a shallower crescent. Also look at how many stitches remain unworked on this row. For ‘Gwenna’, I decided that on each short row I would work five more stitches than on the previous row. So the number of stitches remaining on my left-hand needle when I turn would need to be divisible by 5.
Set-up row 2: Work the same number of stitches past the centre stitch as on the previous row, making sure you have the same number of stitches remaining as on the previous row.
When you turn, you create a gap. The short rows will use decreases to close up this gap. From now on each row is worked as follows (I like to slip the first stitch of every row):
RS rows: Sl 1 wyif, K to 1 st before gap, SSK, K4, turn.
WS rows: Sl 1 wyif, K to 1 st before gap, SSK, K4, turn.
After each wrong-side row, you will have the same number of stitches remaining unworked.
Continue repeating the short rows until all the stitches have been worked. This particular shawl does not need a stretchy cast-off, so a regular cast-off method is fine.
You’ll find the full instructions for the ‘Gwenna’ cresent shawl, designed as a sample to accompany this tutorial, in issue 117 of The Knitter.
Hopefully this masterclass has given you an insight into my design process, and will inspire you to have a go at designing your own shawls!
About our expert
Anniken Allis is a designer, teacher and founder of online shop YarnAddict.co.uk. She specialises in lace patterns, and her designs have been published in magazines including Vogue Knitting, Interweave Knits and The Knitter. Find more of Anniken’s tutorials and designs at www.yarnaddict.co.uk
