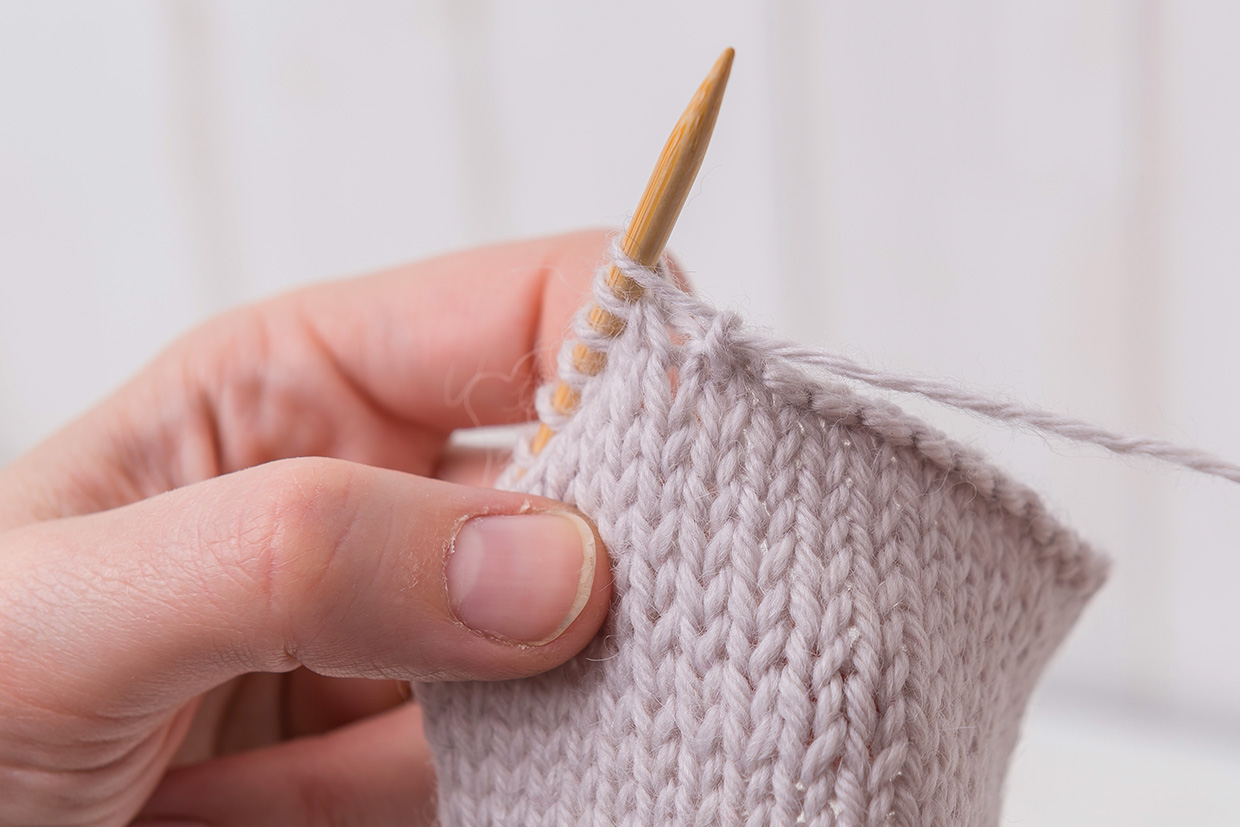
The first technique you need to learn when creating your knitted project is how to cast on knitting.
There are many different ways to cast on knitting, but we’ll start by showing you an easy one called the knit-on method (or English method). You can use it to create a firm edge, and when adding stitches mid-row.
We'll also explain some other cast-on techniques you can try, including methods that give you a stretchier or sturdier edge.
Here are the methods you'll find in our guide on how to cast on knitting. Click on the links below to jump straight to that technique.
- Knit-on method
- Thumb method
- Cable cast-on method
- German twisted cast-on method
- Double knitting cast-on method
- Long tail cast-on method
How to cast on knitting
We'll start by showing you how to cast on knitting with the knit-on method.
If you’re right-handed, the knit-on method will cast your stitches on to the left-hand needle. If you’re left-handed, you can either knit ‘right-handed’ and follow the instructions accordingly, or mirror them and cast your stitches on to the right-hand needle.
When practising how to cast on knitting, we recommend you use DK yarn (try King Cole Merino Blend DK) and a pair of 4mm needles (try Clover Takumi Bamboo needles), and cast on 22 stitches.
When you cast on knitting, the stitches you create should be firm. If they’re too loose, the edge of your fabric will flare; too tight and the bottom of your fabric will pull in and pucker.
If you find that your cast-on is tight, use the next largest needle size up, just for the cast-on. If it’s too loose, opt for a smaller needle size when you cast on knitting.
Don’t worry if your cast-on row looks uneven when you first cast on. Practice makes perfect, so pull all the yarn off the needle and have another go.
Once you know how to cast on knitting, you can get going with your first knitting patterns!
How to cast on knitting video guide
Sometimes when you're learning a new technique it's really helpful to be able to see hands in action, so we've made this video showing you how to cast on knitting.
This video discusses the knit-on technique, which is the most straightforward method for casting on knitting and the one we recommend for new knitters.
If you prefer to follow written instructions, take a look at the how to cast on knitting step-by-step guide below.
How to cast on knitting step by step
Step 1

Make a slipknot. Insert the right-hand needle into the slipknot, as if to knit – insert the tip into the front of the stitch, from left to right.
Step 2

Wrap the ball end of yarn anti-clockwise (from right to left) around the point of the right-hand needle.
Step 3

Pull the loop of yarn through the slipknot with the right-hand needle. Slip this loop over the tip of the left-hand needle.
Step 4

Repeat steps 1-3, inserting the needle into the newest stitch, until you have the right number of stitches. Try 22 stitches to start with.
There are plenty of alternative ways to cast on knitting, so if you don’t get on with this one, try something else!
Cast on your first project
When you’ve mastered how to cast on, you’re ready to start knitting! Begin your adventure with one of our quick-and-simple beginner knitting patterns.
How to cast on with the thumb method
This is a very quick cast-on technique that is used to create a stretchy edge. It’s good for children’s clothes, as well as items with cuffs such as socks and hats..
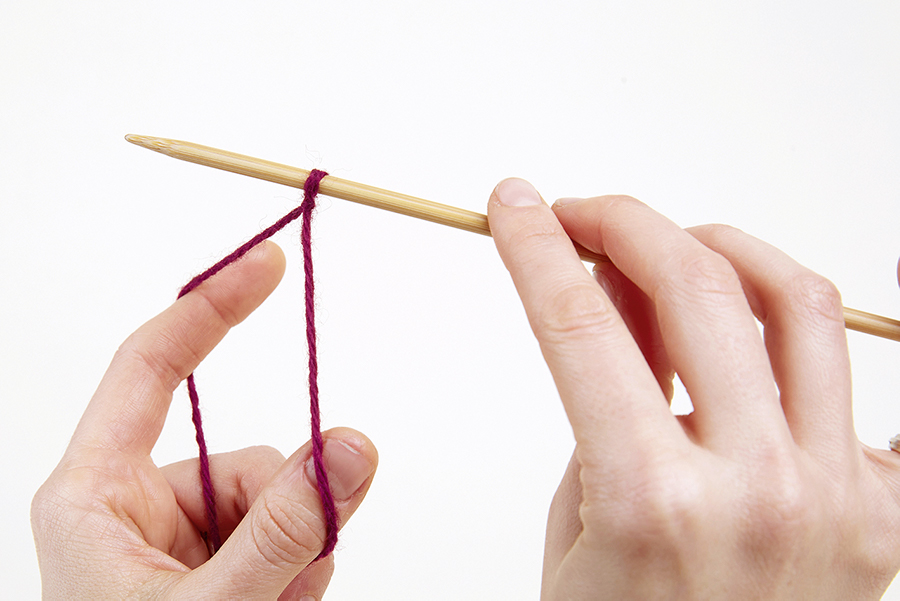
1. Start with a slipknot

Make a slipknot and place it on a needle, leaving a long tail. Try a length about three times the width of the project you want to make. Wrap the yarn around your thumb.
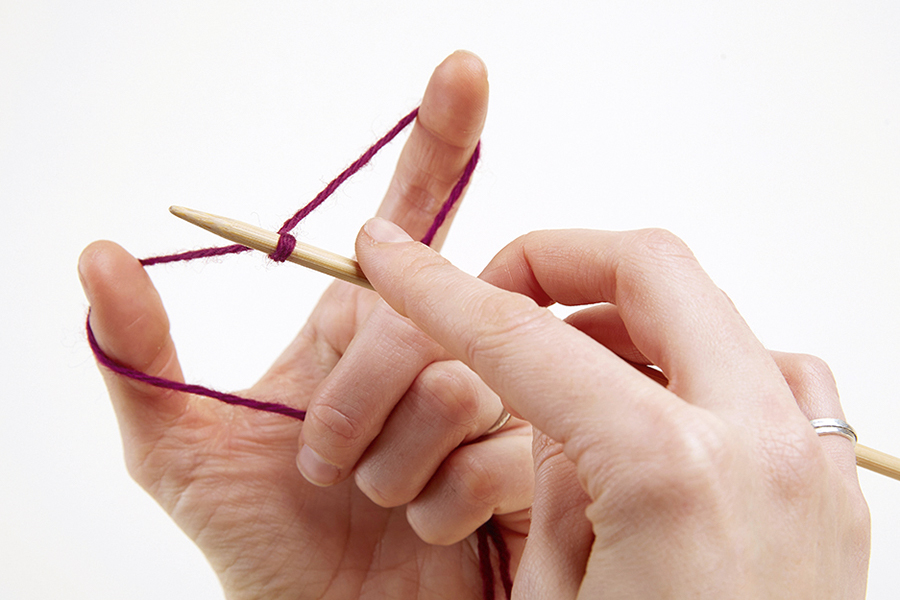
2. Create a cross

Hold the tail in your left hand with your thumb sticking up. Make a circle anti-clockwise with your thumb. You should end up with a cross on the front of your thumb.
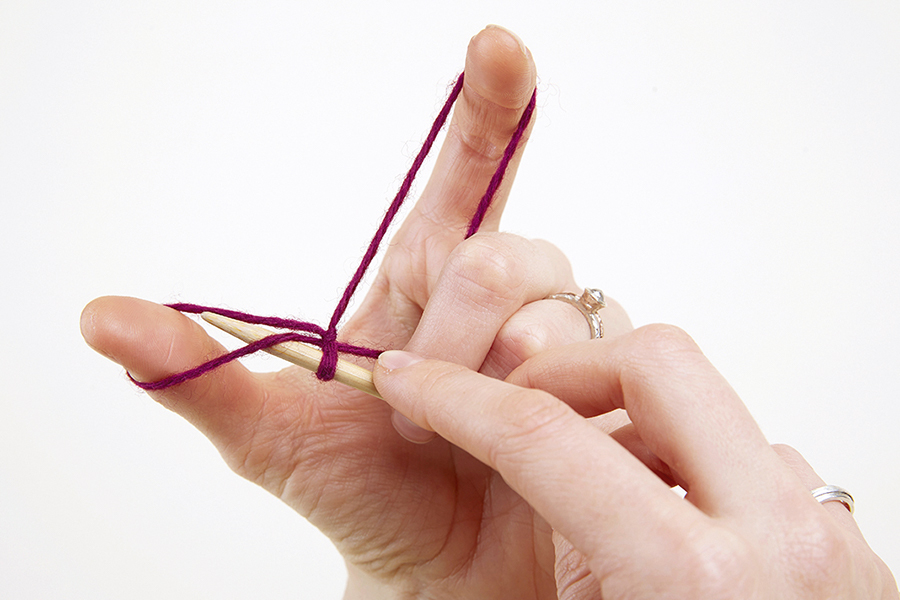
3. Wrap the yarn

Push the needle tip up along the pad of your thumb so it passes through the loop. Wrap the yarn anti-clockwise (right to left) under the tip of the needle then dip the tip of the needle between the arms of the cross.
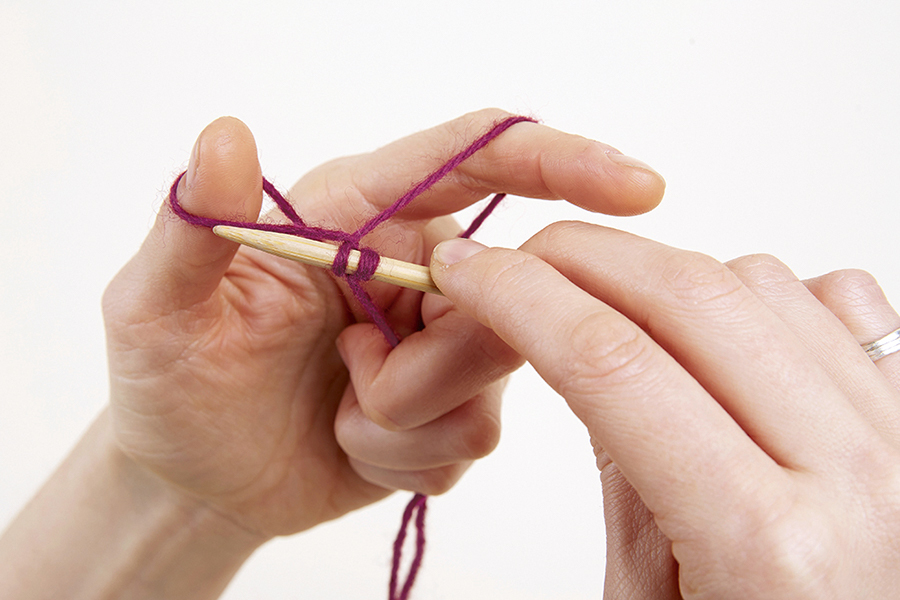
4. Tighten the stitch and repeat

Slip your thumb out and pull to tighten the stitch on the needle. Continue in this way, sliding each stitch up so it sits comfortably next to the previous one.
Keep going until you have the number of stitches you require.
How to cast on knitting using the cable cast-on
The cable cast-on is very similar to the knit-on method when you cast on knitting, but instead of inserting the right needle into the next stitch as if to knit it, you insert the needle between the first two stitches.
This cast-on forms a relatively firm edge, and it’s very decorative. It’s not very elastic, so it’s better for adult garments and accessories than hats or children’s items where a bit more stretch is important.
Find out how to cast on knitting using the cable method below…
1. Make your first stitch

Make a slipknot. Insert right‐hand needle into the stitch as if to knit. Wrap the yarn around the point and pull through, slipping the stitch on to the left‐hand needle.
2. Insert the needle

Push the point of the right‐hand needle between the first and second stitches. Wrap the yarn anti‐clockwise around the point of the right‐hand needle.
3. Create the loop

Pull the loop out with the right‐hand needle, then slip it over the tip of the left‐hand needle. Repeat steps 2-3 until you have the number of stitches you require.
How to cast on with the German twisted cast-on

This strong but stretchy cast-on is perfect for the cuffs of socks and mittens, where you want a bit of snugness and a bit of give at the same time.
The added twists that give this cast-on its name help it to spring back to shape when it’s stretched out.
Follow our guide to learn the German twisted cast-on.
How to cast on for double knitting

As well as being the name of a yarn weight, double knitting is also a way of creating a two-colour, reversible fabric.
You’re effectively working 1×1 rib stitch with different yarns for the knits and purls.
Getting started with double knitting requires a special cast on method, because you’re casting on with two yarns at once.
Check out our expert double knit guide where we show you two different ways to cast on for double knitting.
How to cast on knitting using a long tail cast on
The long tail cast on uses two strands of yarn when you cast on knitting, making stitches using the tail end of the yarn, together with the ball end of yarn.
You have to leave a very long tail of yarn to do this with, depending on how many stitches are required – you don’t want to run out!
When you finish casting on and start knitting your first row, check that you’re using the ball end and not the tail end, as it can be easy to get them confused.
The long tail cast on method has a good amount of stretch built in, so will work well for items like socks and hats.
It’s also ideal for garments that need stretchy necklines, cuffs and hems so you can easily get them on and off, such as children’s jumpers.
Here’s how to cast on knitting using this technique:
