Soaking: how to soak lace knitting
Step 1
dd your choice of knitting wash to a bowl of warm (not hot) water. You can block without knitting wash, but do not use standard detergents as you will need to rinse them afterwards and they may damage delicate yarn, especially if it’s hand-dyed.

Immerse your knitting
Step 1
Place your knitted piece into the bowl and gently hold it down so that it absorbs the water. Leave for at least 20 minutes to allow it to fully absorb the liquid.

Remove it from the water
Step 1
Gently lift the piece out of the water and, supporting it carefully, place it onto the centre of a clean, dry towel, laying it out as flat as possible.
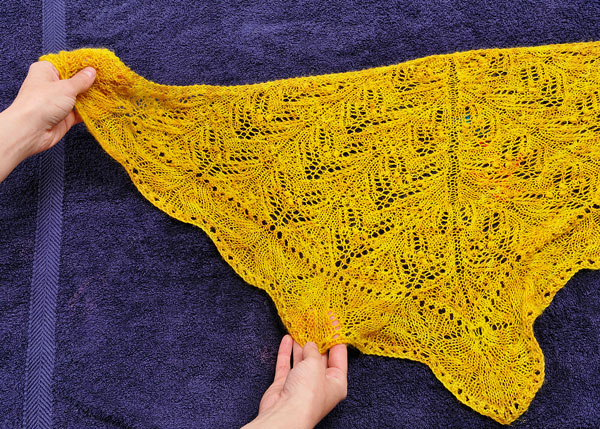
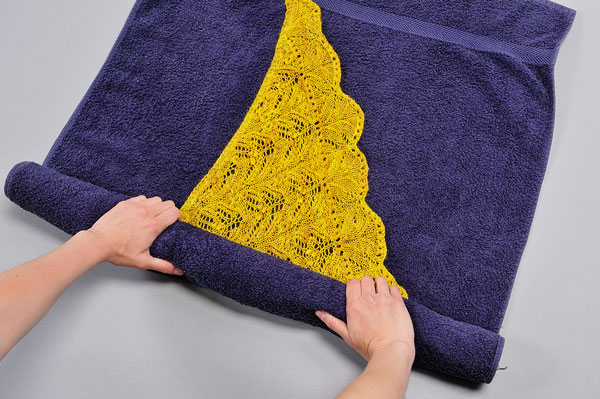
Step 2
Now roll up the towel as tightly as you can, so that you create a ‘Swiss Roll’ shape. Press down on your ‘Swiss Roll’ with your hands – some people even stand on the towel when blocking large items to get as much water out as possible.
Initial block
Step 1
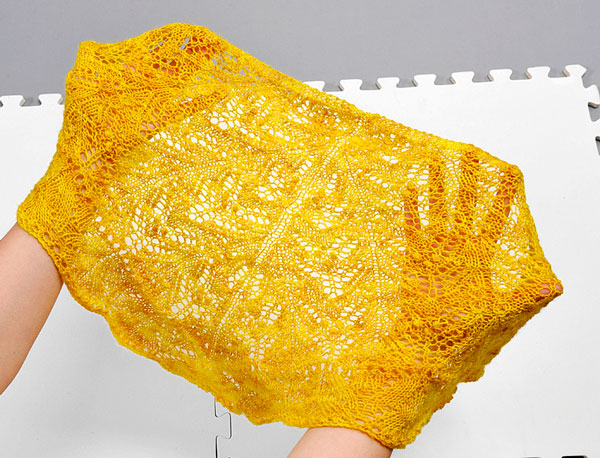
Unroll the towel and lift the piece, still holding it as flat as possible by draping it over your hands or forearms. If you hold it vertically while the yarn is wet, the weight may overstretch it.
Step 2
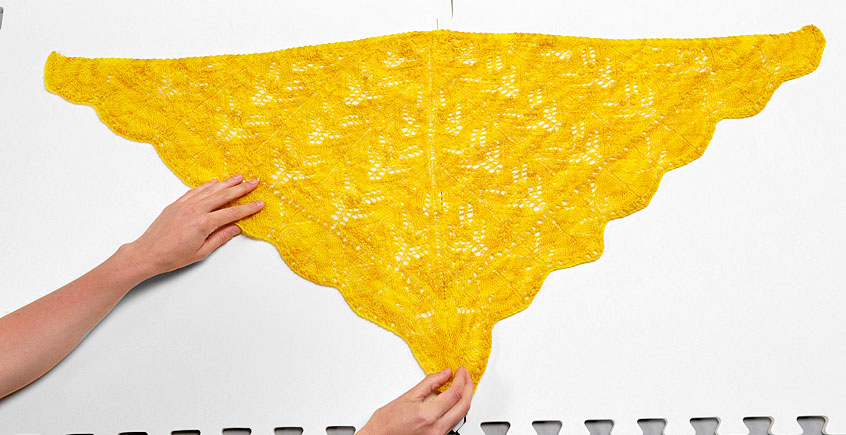
Lay the piece flat on your blocking mat. It is possible to use towels or a yoga mat for blocking. Alternatively, interlocking playmats designed for children are a great choice, because you can create a very large area in a customised shape.
How to use blocking wires
Step 1
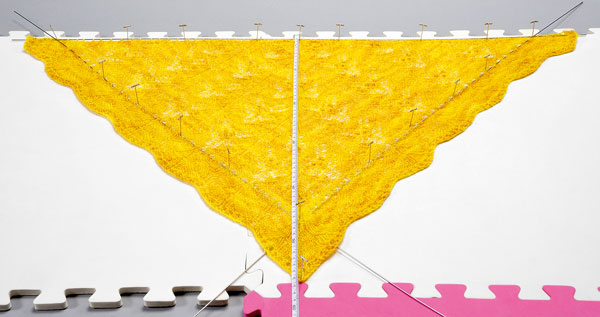
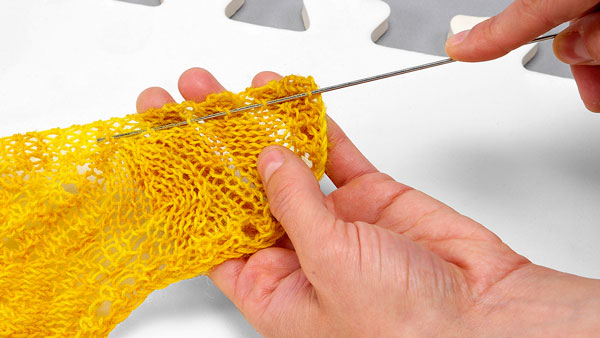
Take your a blocking wire and thread it along the longest straight edge of your piece. Make sure that you thread through the same column of stitches all along the edge, a couple of stitches in. You should thread every three or four rows.
Step 2
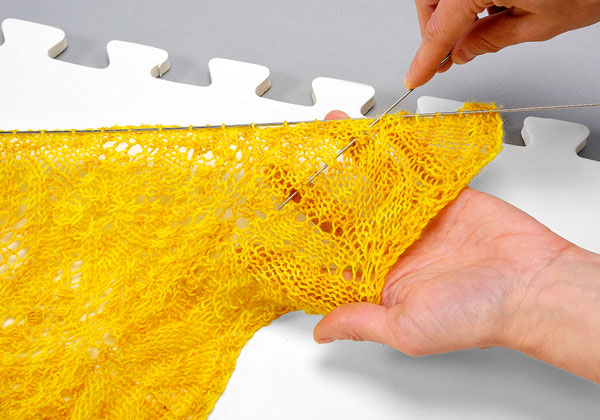
Repeat for all your shorter edges. If your knitting has a shaped edge, thread the wire along the nearest straight edge - in this case the eyelets before the edging on the lower edges are a good guide. For a triangular shawl, you will use three wires in total. If you don’t have blocking wires you can use fine cotton yarn in the same way, pinning it to the blocking mats at each end of the piece.
Initial Stretch
Once your wires are threaded, use them to stretch out your piece as desired. Wool has a lot of stretch and can probably be blocked ‘harder’ than you might expect, but if using fine, delicate yarn, especially cobweb or one-ply yarn do take care not to stretch too hard as your yarn could snap.
T-pins
When you are happy with the stretch, ‘anchor’ the wires at each join, with T-pins (also known as quilter’s pins). T-pins are very strong and so are particularly suited to this task, but if you don’t have them, ordinary glasshead pins will work.
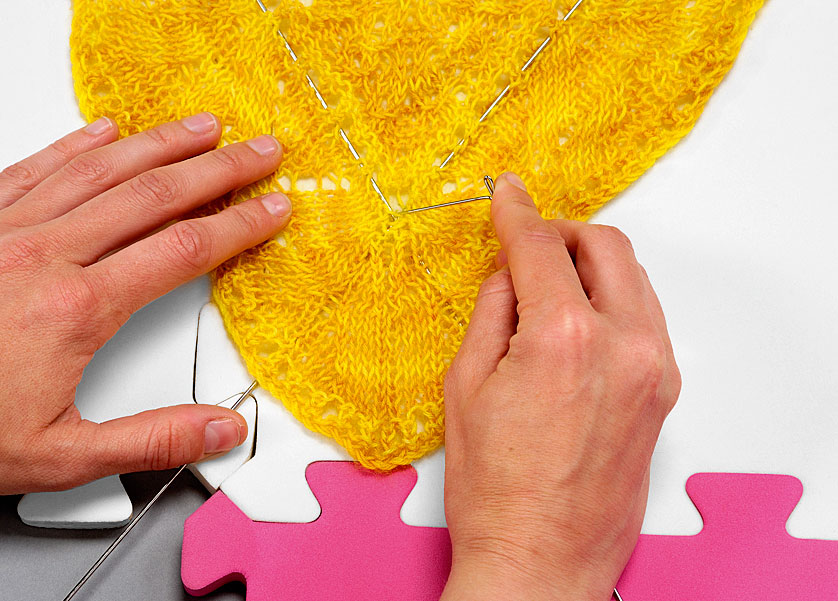
Step 3
Now, use as many T-pins as you have to pin out all the ‘key’ points on the piece.
As you pin you will probably find that the piece will have more give, allowing you to repin your initial anchor points at a greater stretch. If blocking to key dimensions, check now to see if you need to alter any of your anchor points to get the correct measurements. If blocking a circle, place a T-pin at the centre of the circle to stop it from moving, and then use six to eight T-pins equally spaced around the edge before moving onto the next stage.
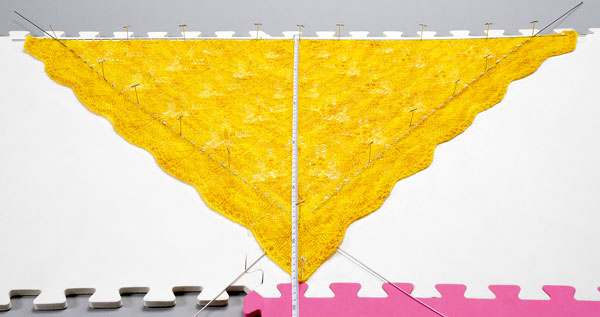
Small pins
Step 1
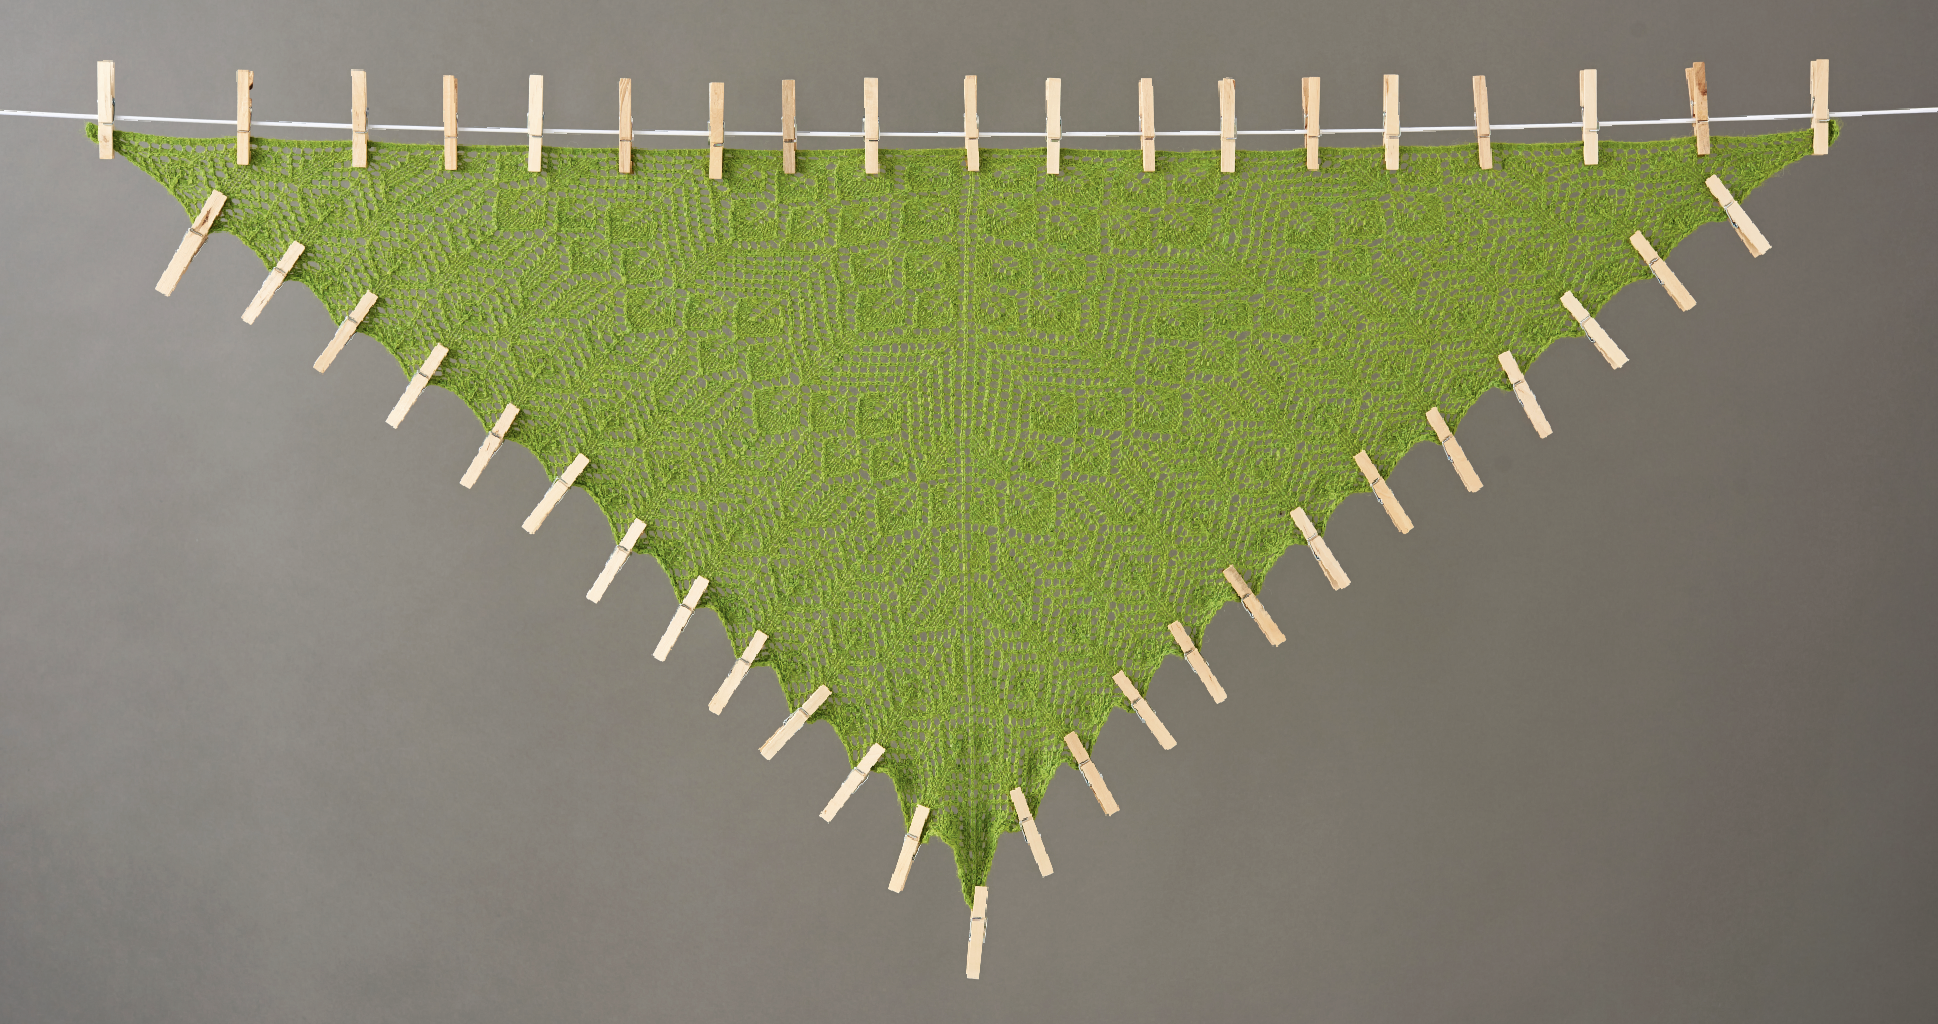
Now use small glasshead pins to fine-tune your blocking. In the case of this shawl the edges are supposed to be scalloped so you will need at least three pins to make the scallop. For a pointed edge you would be able to use one pin per point.
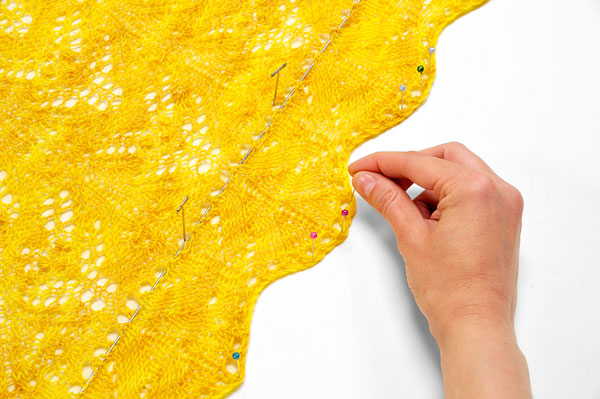
Step 2
Go back over your shawl, finessing any edges you aren’t happy with. If you are blocking to measurements, double-check that you have the right dimensions.
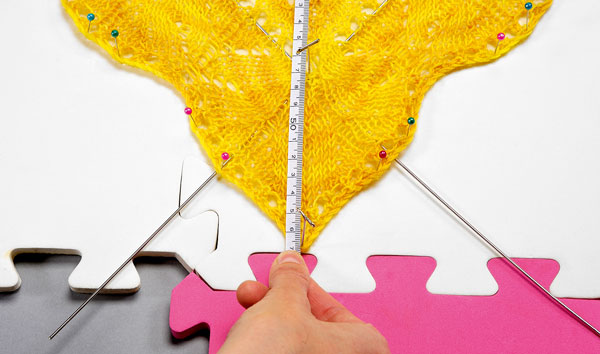
Step 3
Leave your piece to dry flat and then unpin and remove any wires. For lightweight yarn this should be about 24 hours. It may feel touch-dry sooner than that, but patience will pay off. A very slightly damp shawl will not hold its shape - a bone-dry one will hold its shape for months to come.
You will need to repeat the blocking process every time you wash your piece.
