Casting on
Step 1
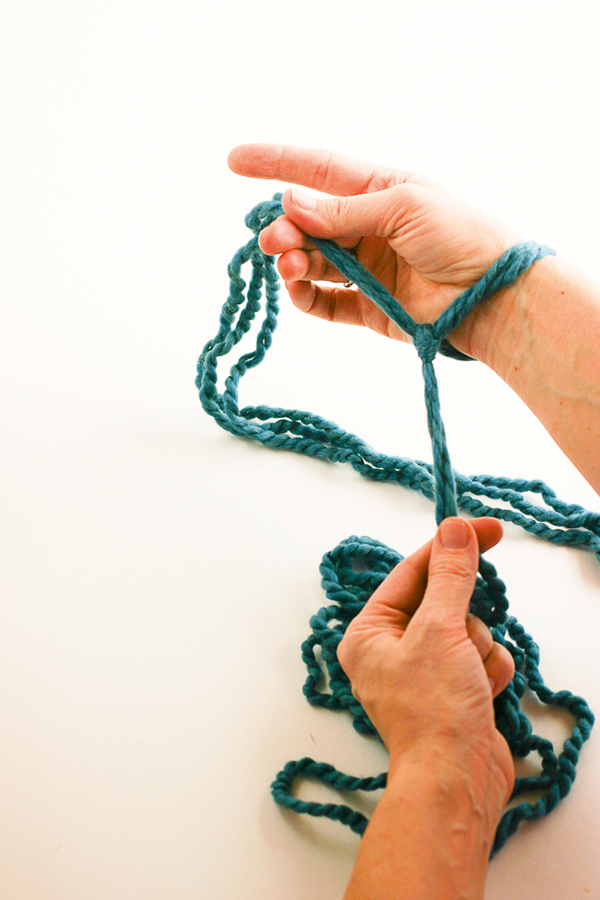
Begin by using three strands of yarn to knit at the same time, treating them all as one strand of thick yarn. Leave a tail of yarn for cast on stitches (about 1m (1yrd) for every 10 stitches required). Make a slip knot, place it on your right wrist and tighten it. The working yarn goes from your arm to the balls of yarn. The tail refers to the cut (short) end.
Step 2
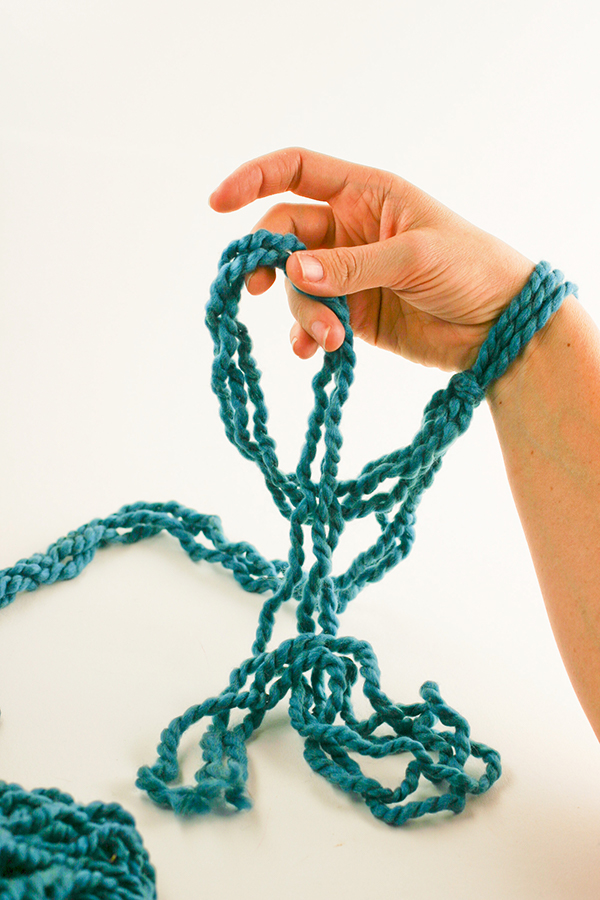
Make a loop with the tail so the remainder of the tail hangs in front of the loop.
Step 3
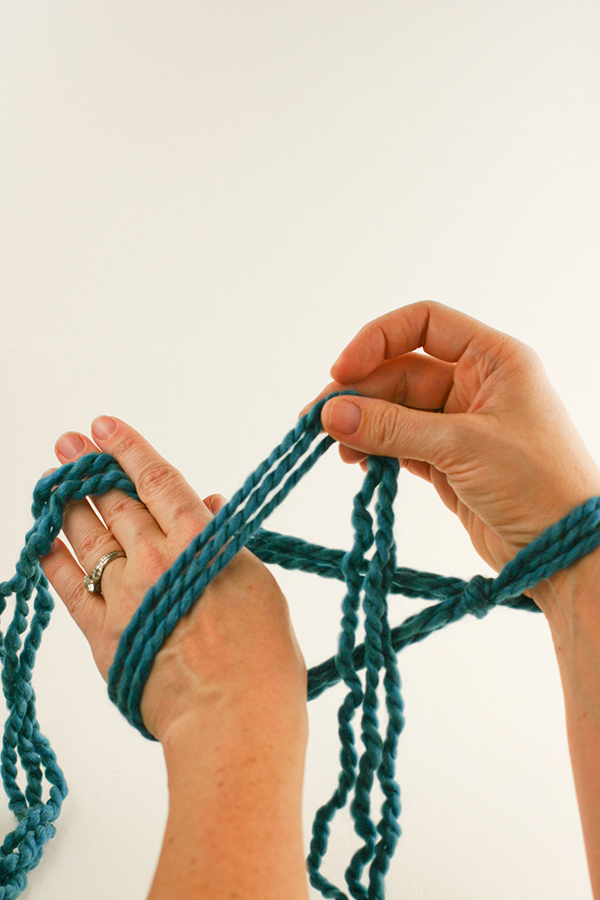
Hold the top of the loop with your right hand. Put your left hand through the loop and grab the working yarn.
Step 4
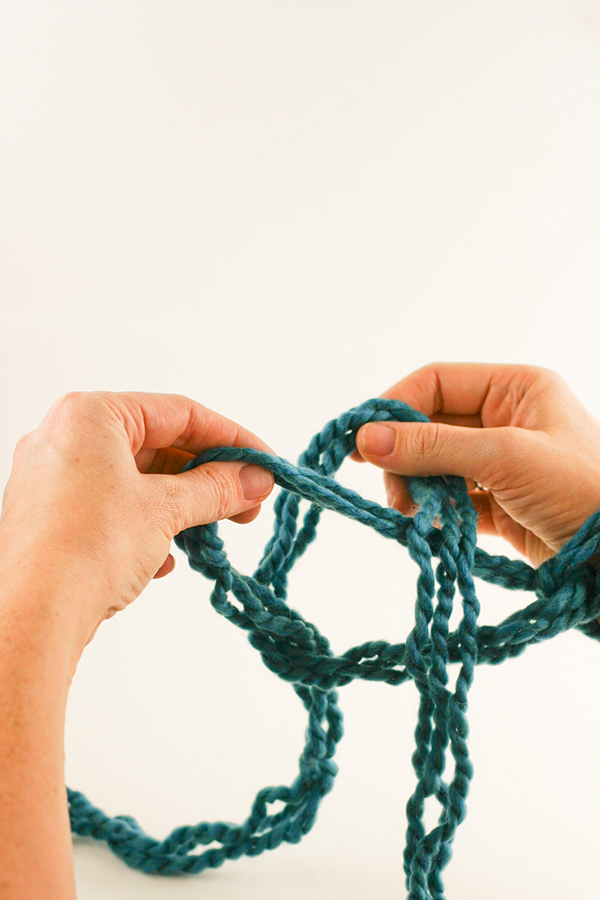
Pull the working yarn through the loop. Drop the yarn (tail) you held with your right hand.
Step 5
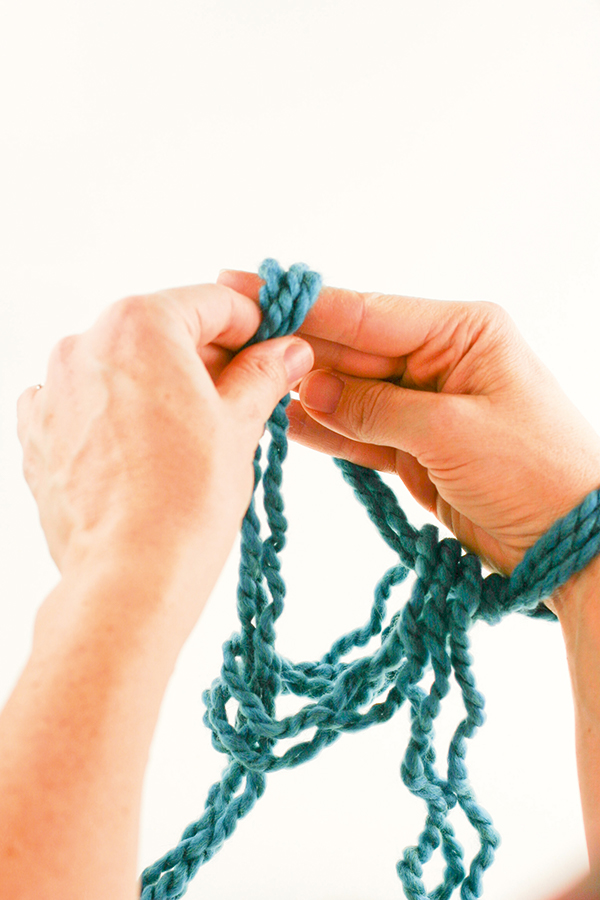
Put the new loop you’ve made over your right hand.
Step 6
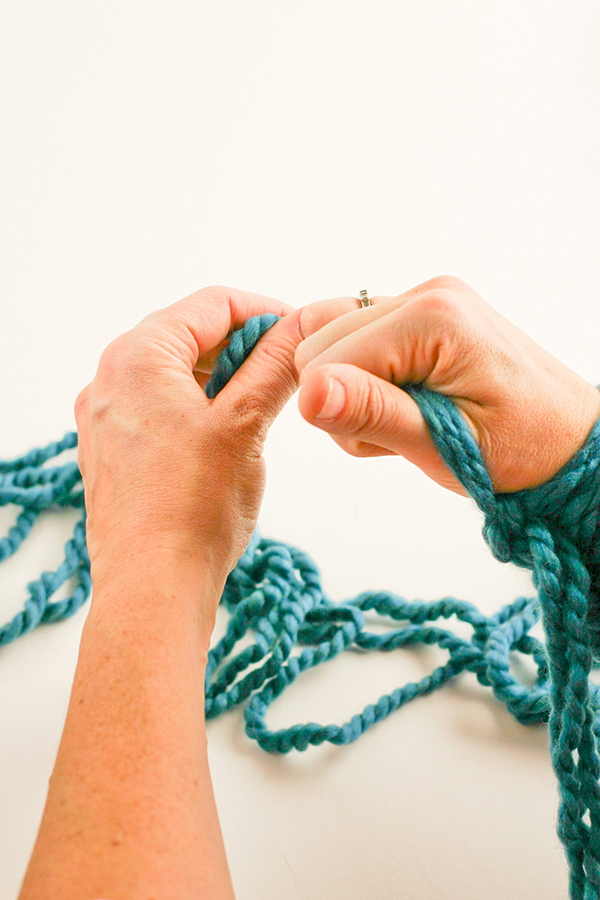
Pull the working yarn and tail apart to tighten the stitch on your arm. Repeat Steps 2-6 to add cast on stitches.
Knitting from right arm to left arm
Step 1
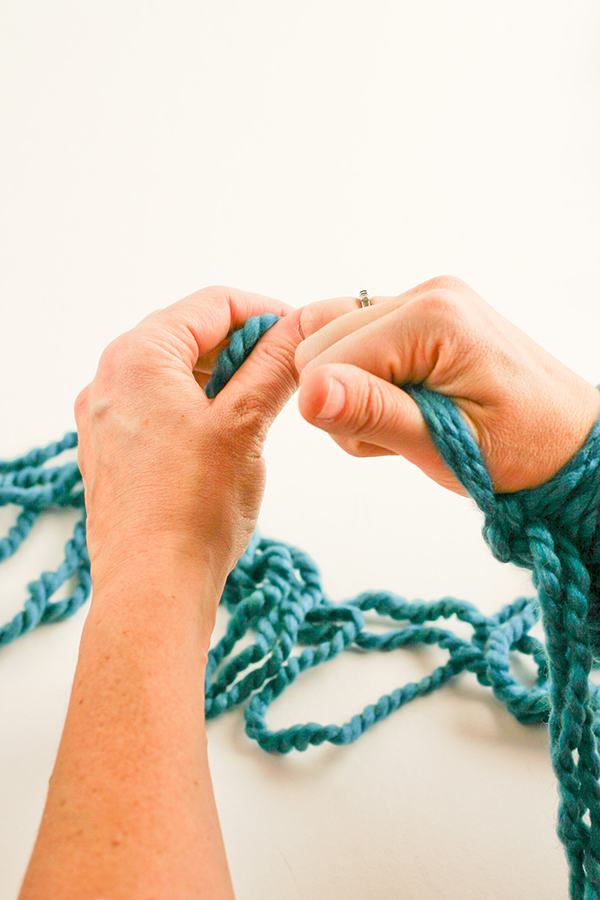
Pick up the working yarn and place it over your thumb on your right hand. Close your fist over the working yarn.
Step 2
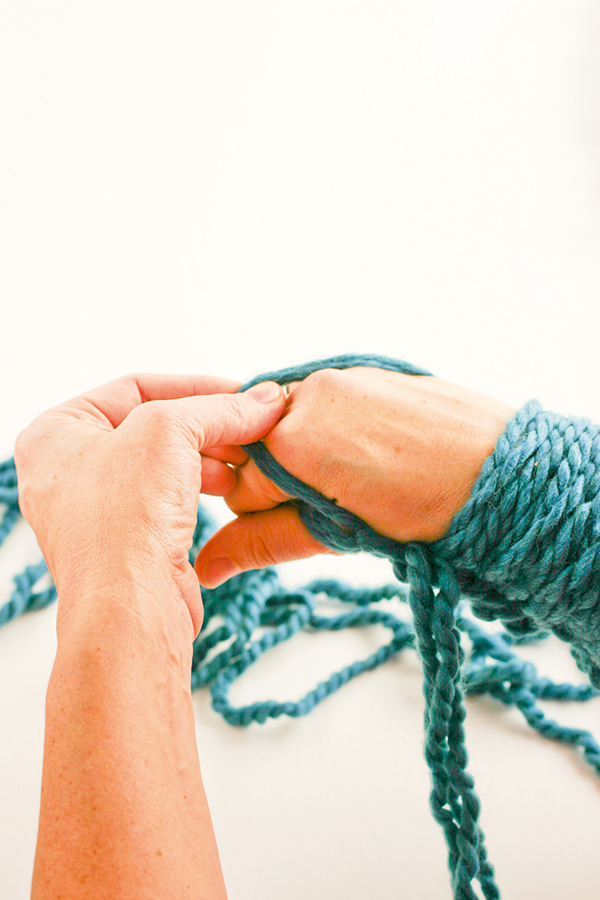
Holding onto the working yarn in your fist, pull the first stitch from your right arm over your fist.
Step 3
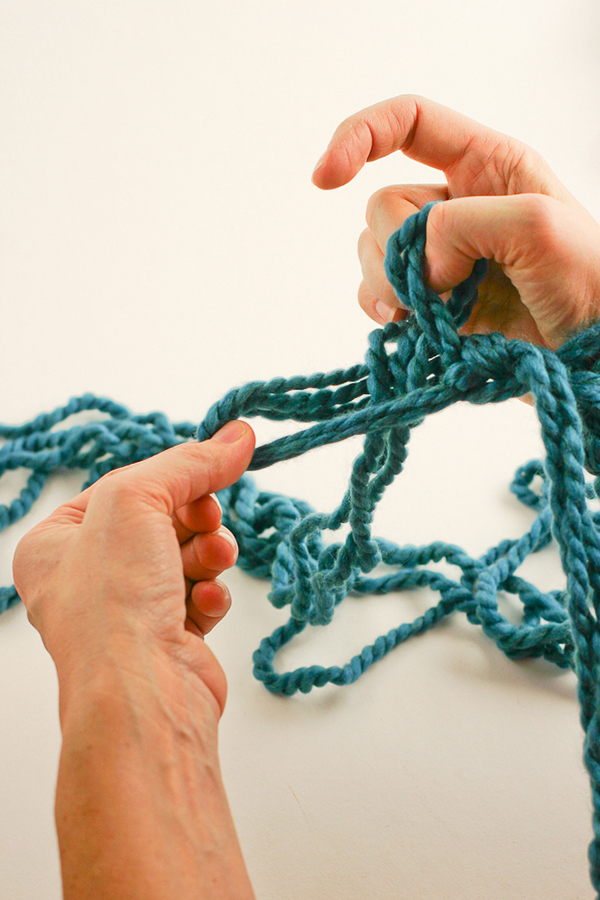
After the old stitch is over your fist, drop it. The working yarn has come through the old stitch and has made a new one.
Step 4
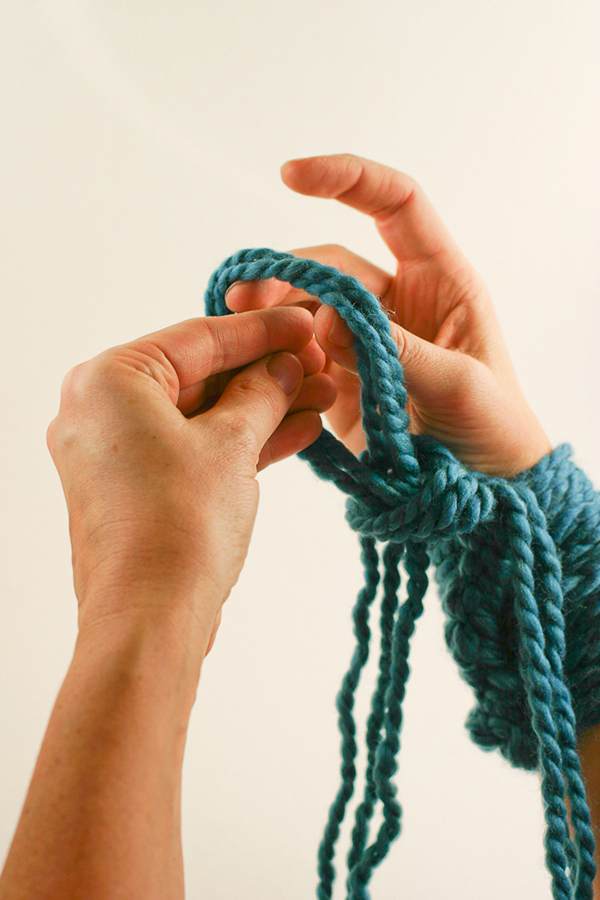
Take the new stitch in your right fist, turn it a half turn clockwise and place it on your left arm. Giving your stitches a half turn as you go ensures that your new stitches won’t become twisted.
Step 5
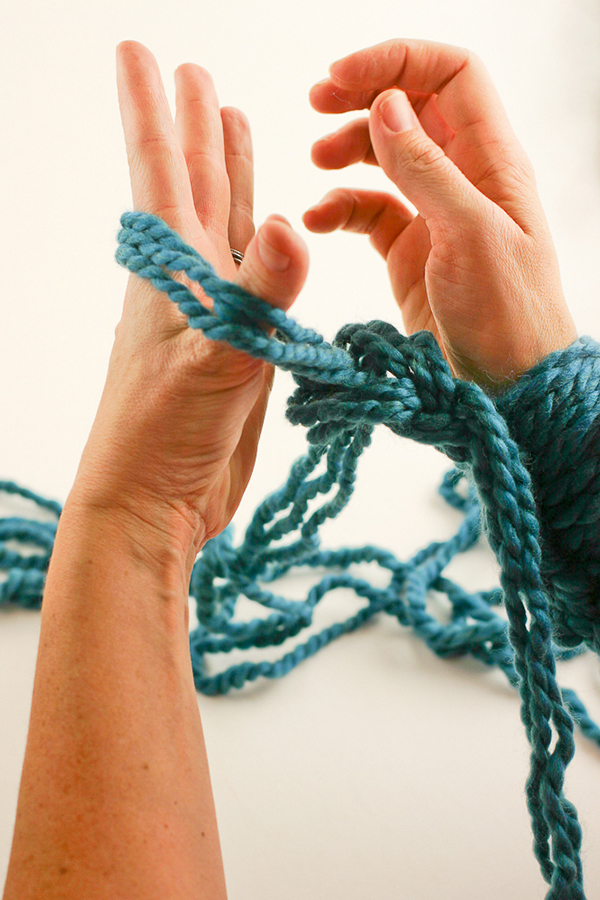
The part of the loop or stitch (the leg) that is closest to you should extend to the working yarn. Repeat Steps 7-11 for the armful of stitches. To keep the stitches tight, grab the working yarn close to the hand/arm you’re moving your stitches to. After completing a stitch, tighten down the stitch just prior to the last one made by pulling on the working yarn until it’s snug against your arm. When working a lot of stitches, keep them as bunched up and as close to your wrist as you can. Your ‘needle’ becomes inconsistent as you move towards your elbow.
Knitting from left arm to right arm
Step 1
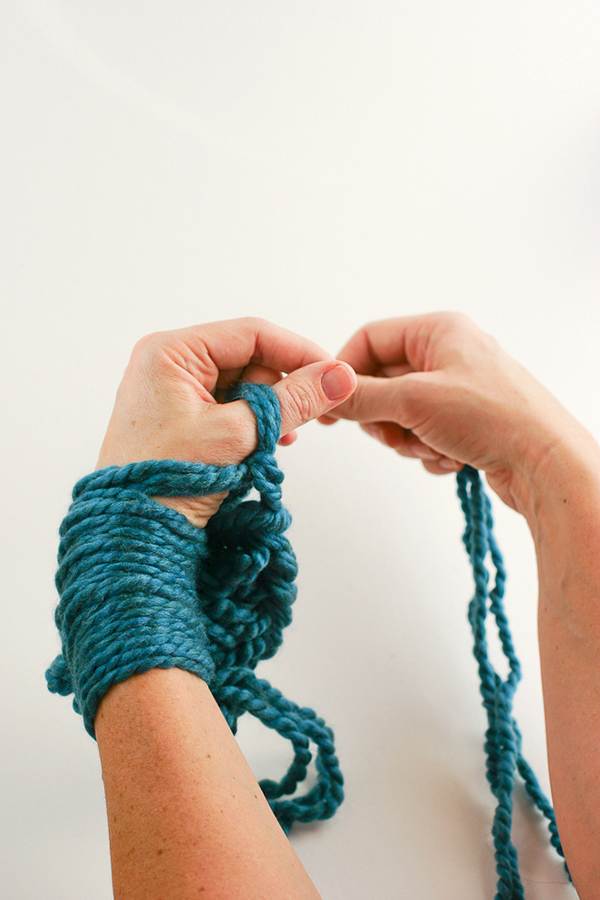
This is similar to right to left; you’re just knitting in the other direction. Place the working yarn over the thumb on your left hand and close your fist.
Step 2
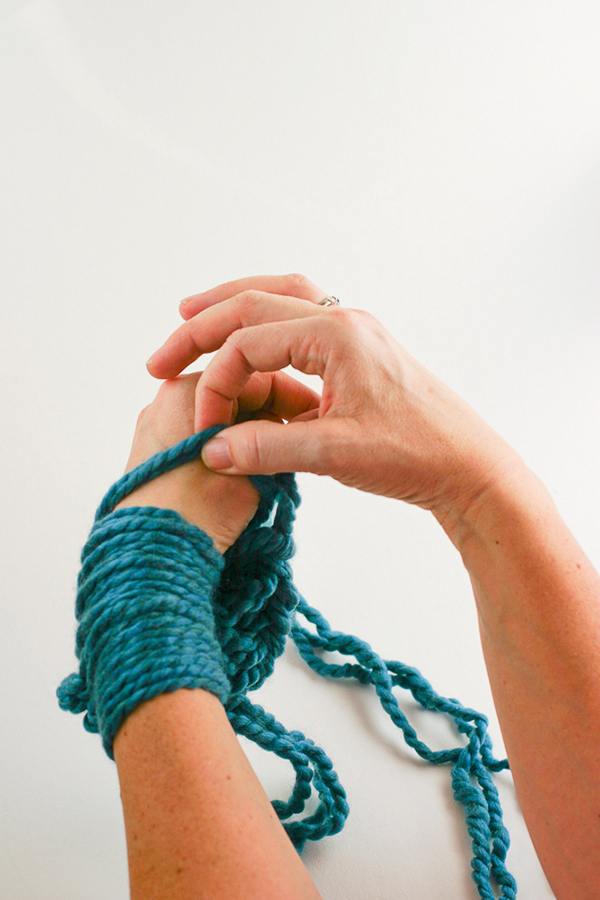
With your right hand, pull the first stitch from your left arm up and over your left fist.
Step 3
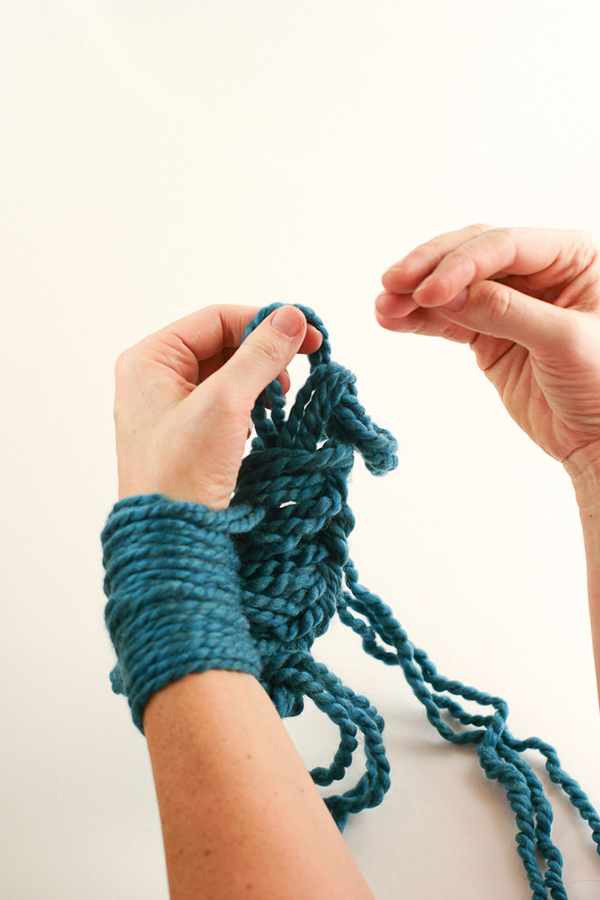
Drop that old stitch and turn the loop in your left hand counter clockwise just slightly so the leg of the stitch closest to you goes to the working yarn.
Step 4
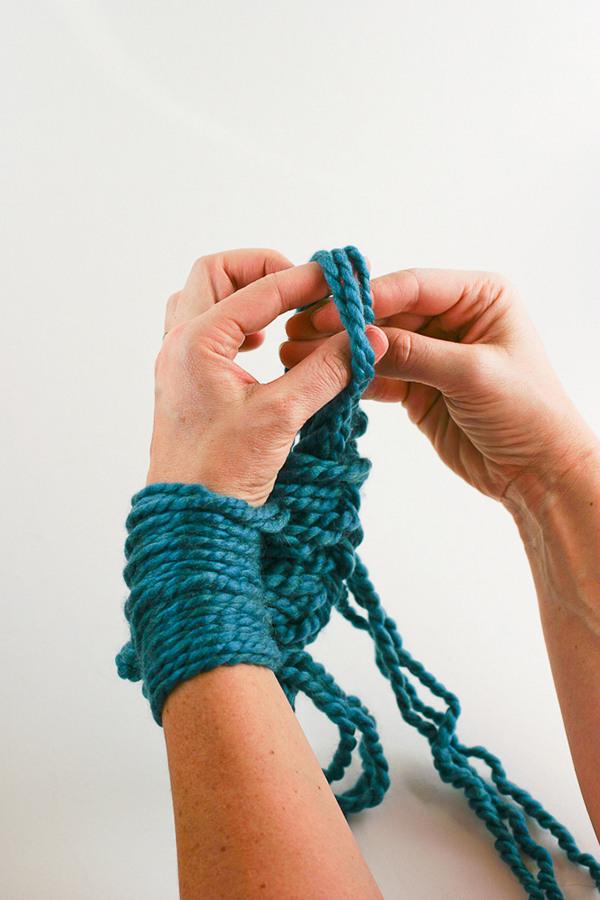
Put loop on your right hand. Continue Steps 12-15 for the whole row of stitches.
Casting off
Step 1
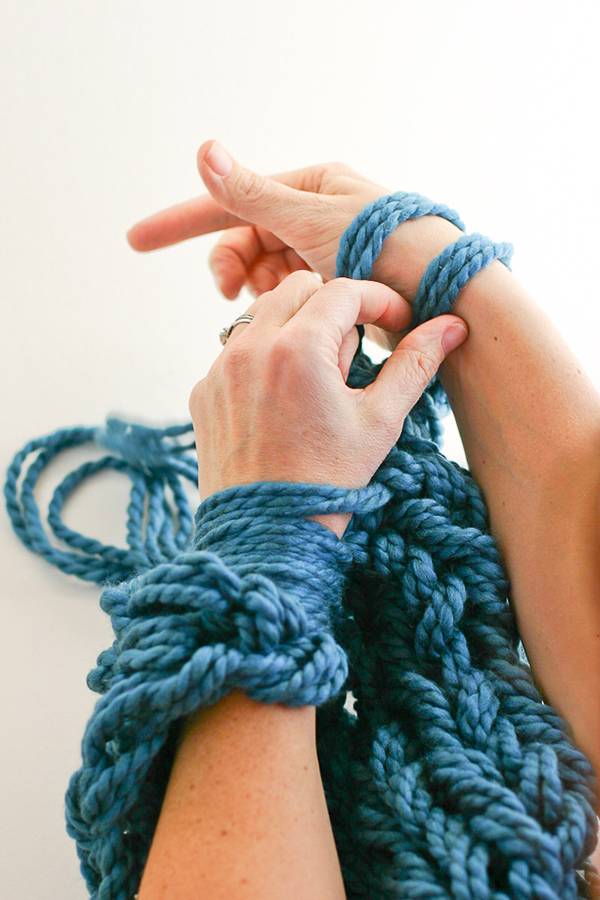
- Knit two stitches on your right arm.
- With your left hand, pick up the first stitch you knitted on your right arm and pull it over the last stitch you knitted.
- Knit the next stitch from your left arm and repeat Step 17. Repeat Steps 17 and 18 until there’s one stitch left. Cut required length tail and pull the end through the remaining loop.


