How to make plarn plastic bag yarn

How to make plarn plastic bag yarn

Learn how to make plarn - a fun way to upcycle old shopping bags into plastic bag yarn!

Try 3 issues of Simply Crochet magazine for just £10!

Published: April 16, 2021 at 8:00 am

We’re all becoming more aware of the need to reduce our impact on the planet by reducing our consumption, reusing what we already have and recycling where we can. As crocheters there are lots of ways in which we can do our part too – using more stash yarn, buying eco-friendly yarns and even unravelling old projects or garments to reuse the yarn are three ideas. Hooking with ‘plarn’ is another idea. What is plarn, you ask? Plarn is a composite word that refers to yarn that’s been made out of plastic bags. It’s a great way to give new life to old shopping bags and upcycle them into something useful. There are loads of items you can hook from plarn (or plastic bag yarn), from shopping bags and storage pots to garden ornaments and anything else that needs to be weather-resistant.

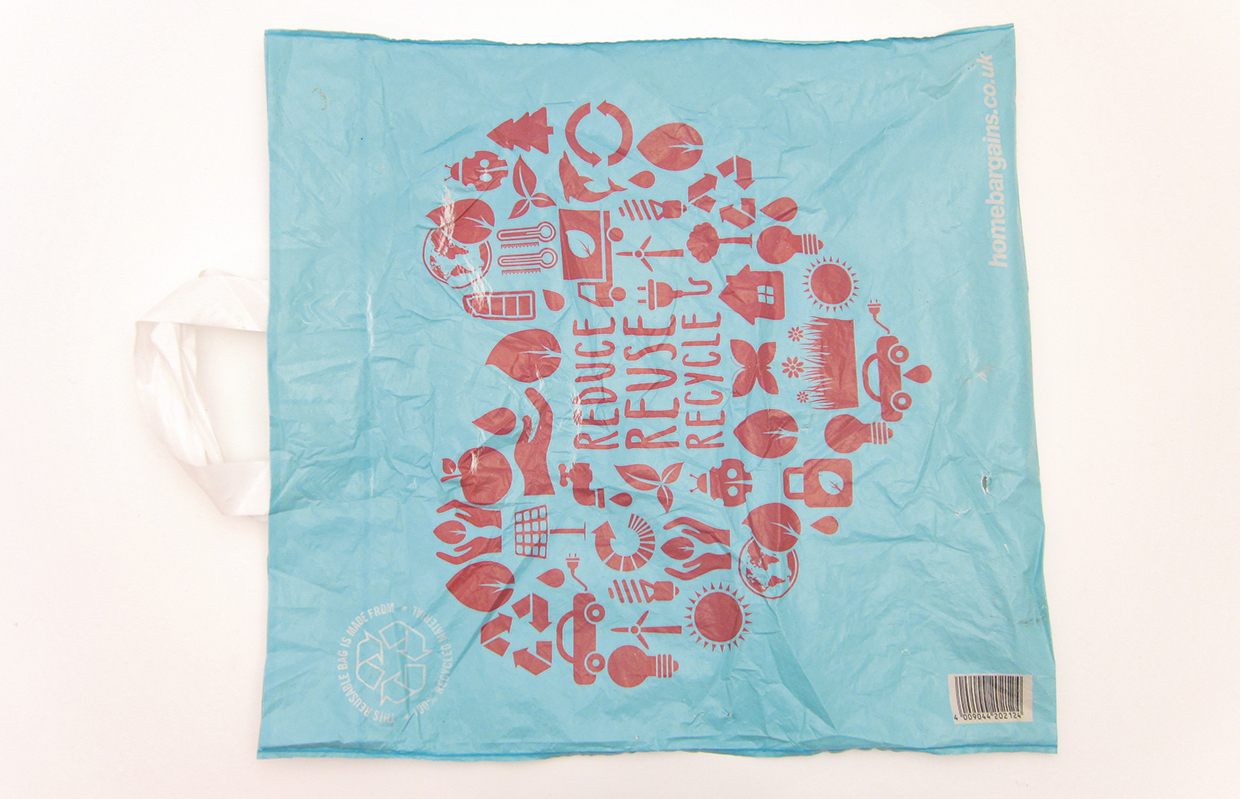
You can make plarn from almost any plastic bag – large or small, thin or thick plastic, square or rectangular. For maximum eco points it’s best to choose a used bag, although if there are a lot of holes or tears then the process will be slightly more difficult and the resulting plarn will be in poorer condition.

This tutorial was originally published in the Eco Crochet booklet that was included with issue 105 of Simply Crochet magazine, if you fancy some more eco crochet projects and interesting articles, you can still buy issue 105 as a back issue or download a digital issue.

How to make plarn - plastic bag yarn

You will need:

  • Plastic bags ((preferably used))
  • Scissors
  • Marker pen
  • Ruler

Step 1

Once you’ve chosen a bag, lay it out flat on your work surface. If it’s really crumpled, try leaving some heavy books on it for a while to help flatten it out.

How to make plarn_step_01

Step 2

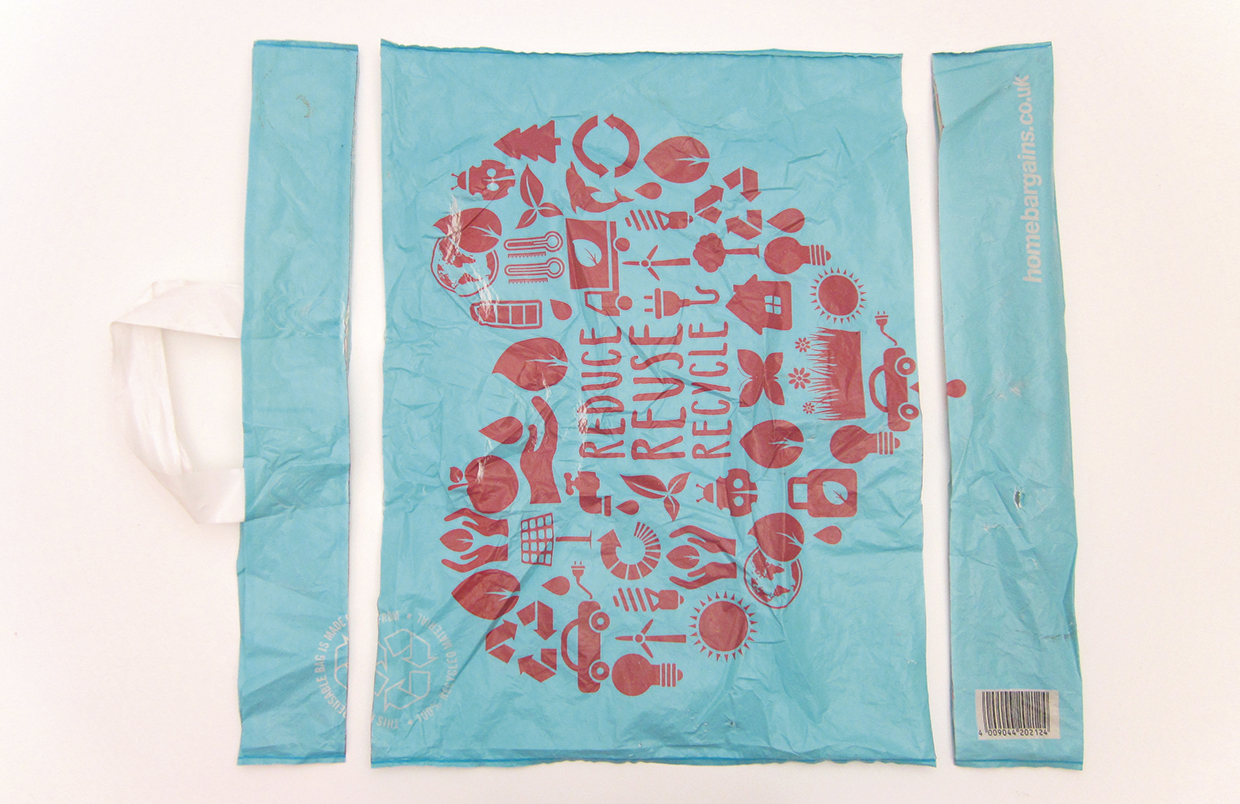
Using a sharp pair of scissors, cut off the base folds of the bag and the top section of the bag with the handles. If you like, you can draw lines on the bag first as a guide to mark where you need to cut.

How to make plarn_step_02

Step 3

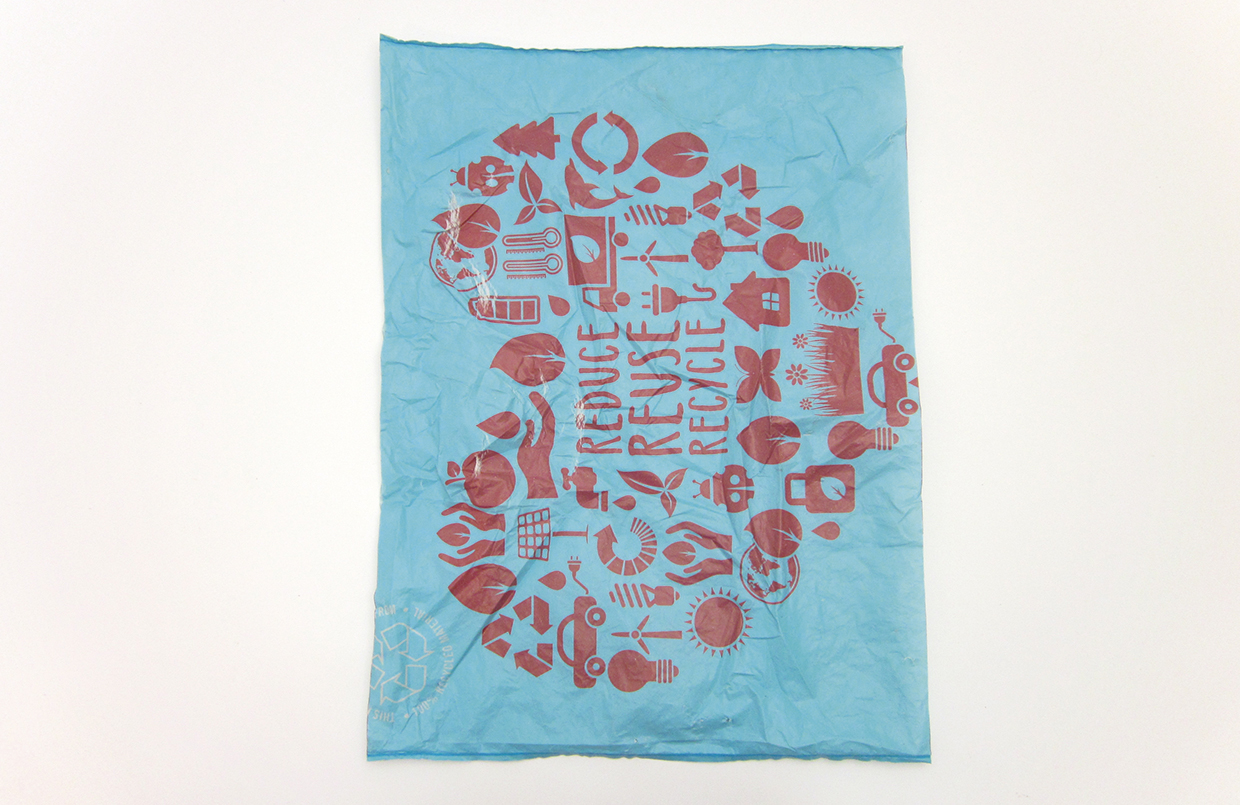
Remove the top and base (recycle these if possible). You should be left with a cylinder shape of plastic that we can use to make some plarn with.

How to make plarn_step_03


Step 4

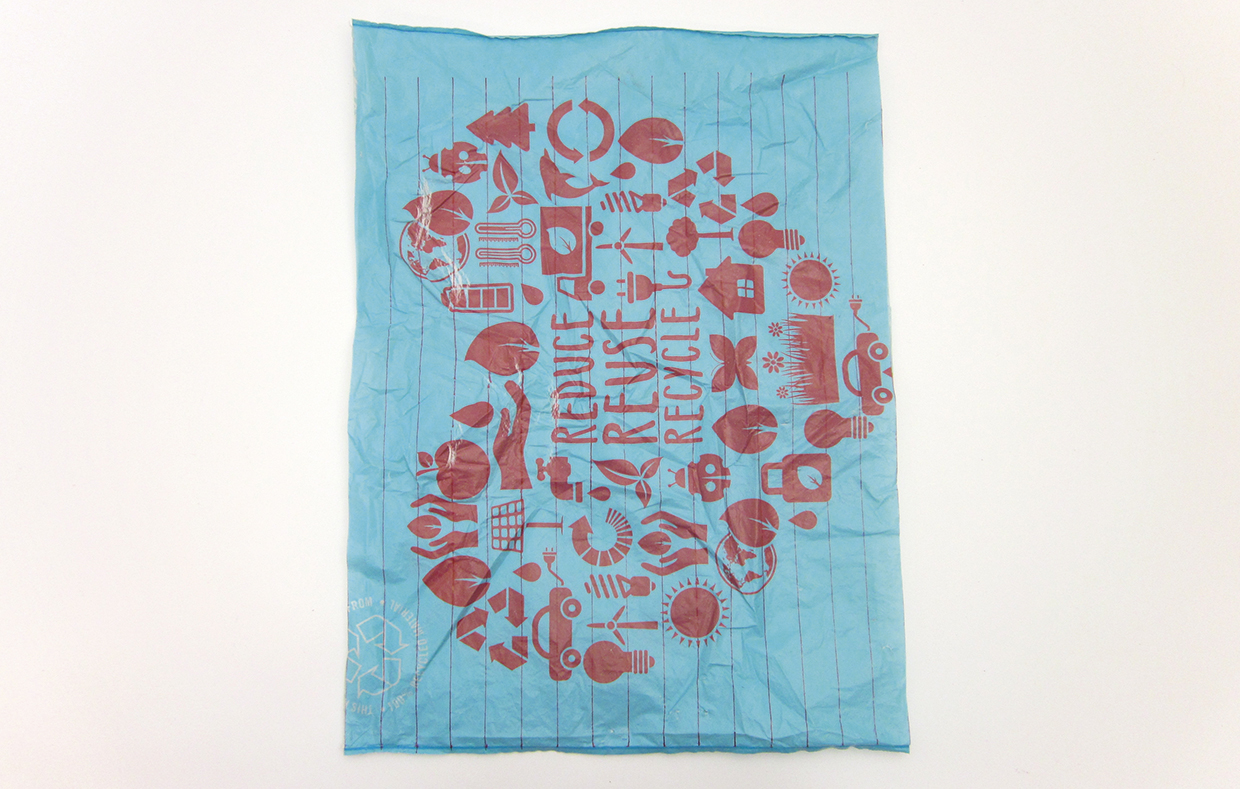
Once you’ve cut your plastic bag into a cylinder or tube shape, you need to cut slits to create your plarn. Place the tube with the open edges on the left and right – the closed edges should be top and bottom. Now draw vertical lines onto the bag, starting at the bottom closed edge and stopping approx 3cm from the top edge. You can make the lines as wide or narrow as you like to create fine or chunky plarn.

How to make plarn_step_04

Step 5

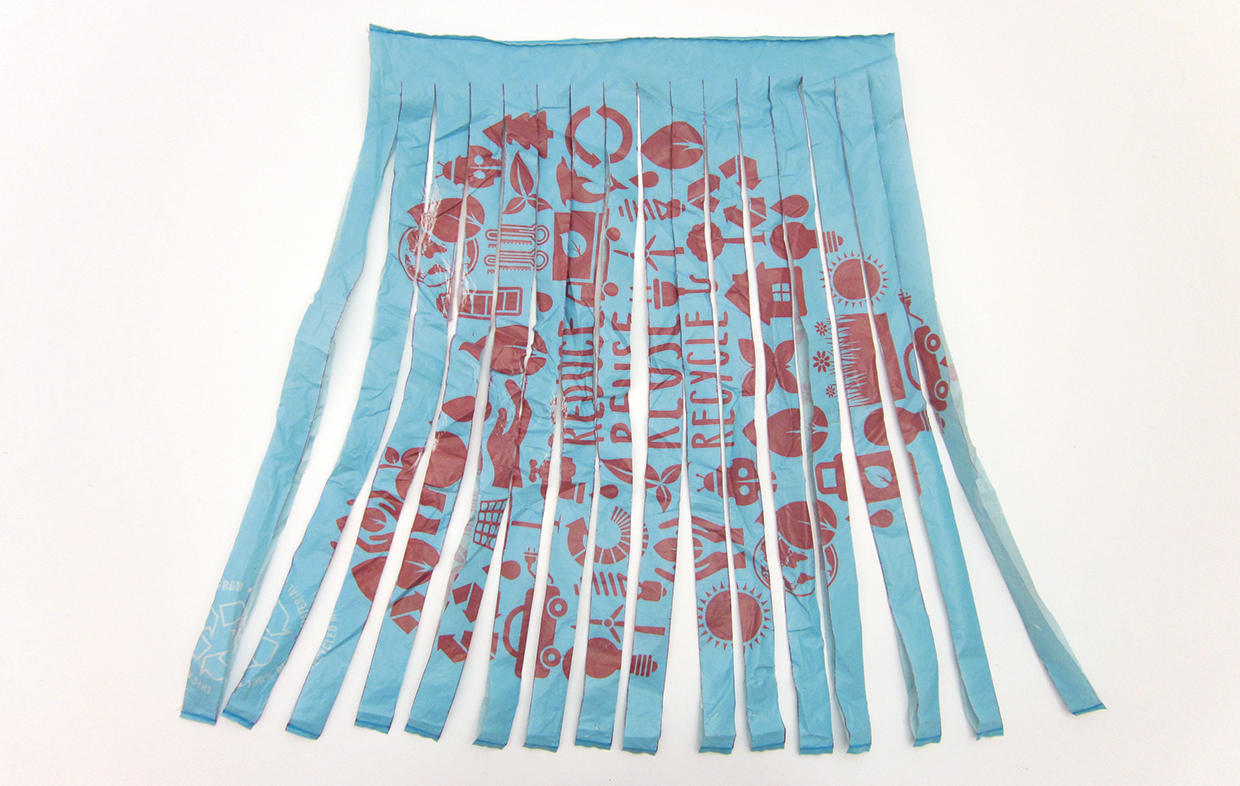
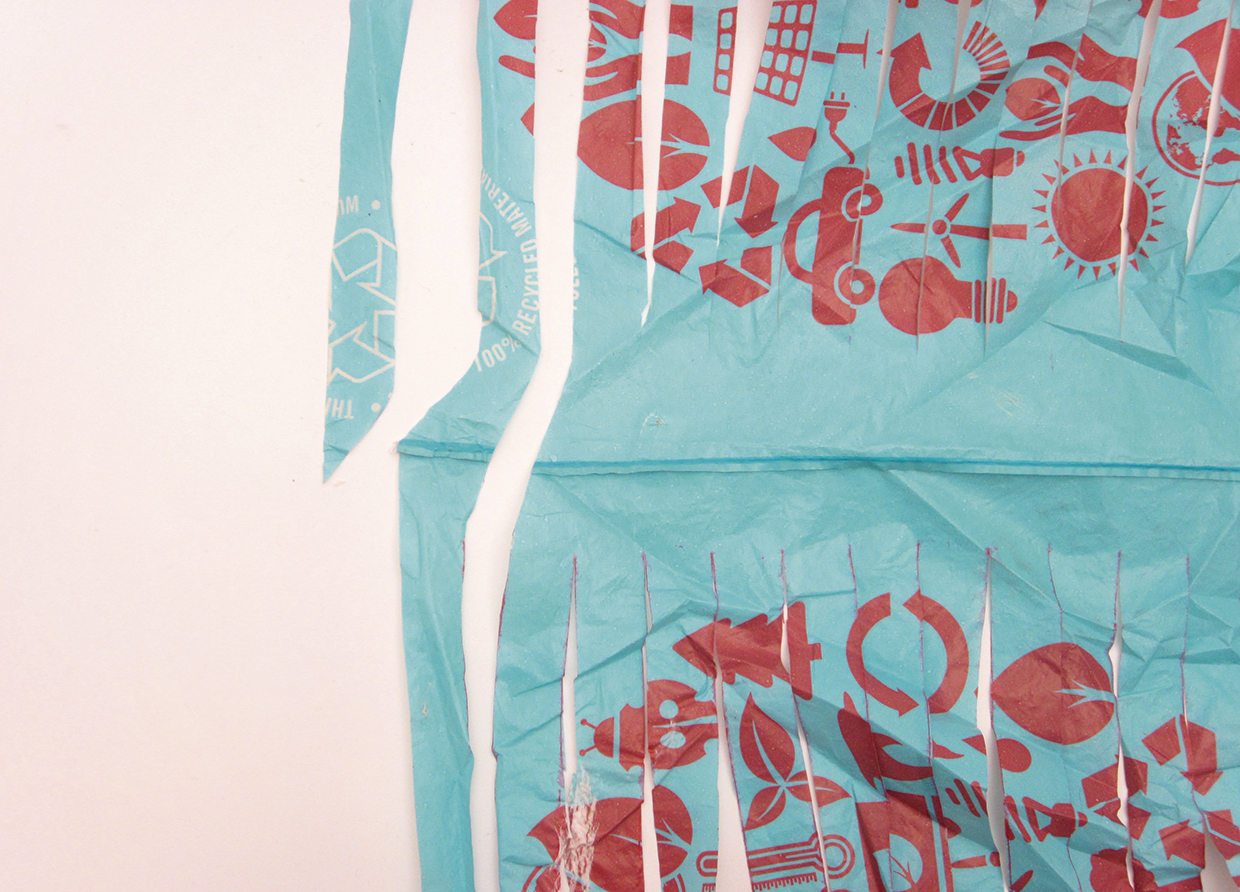
Cut along the lines you’ve marked, making sure you’re cutting through two layers of plastic. You should have created an effect that looks like fringing, with the top 3cm uncut – we’ll call this the buffer zone.

How to make plarn_step_05

Step 6

Now you need to reposition the bag so that the buffer zone is laid out flat in the centre of your work. We’ve placed a piece of white paper inside the bag tube so you can see this next process more easily.

How to make plarn_step_06

Step 7

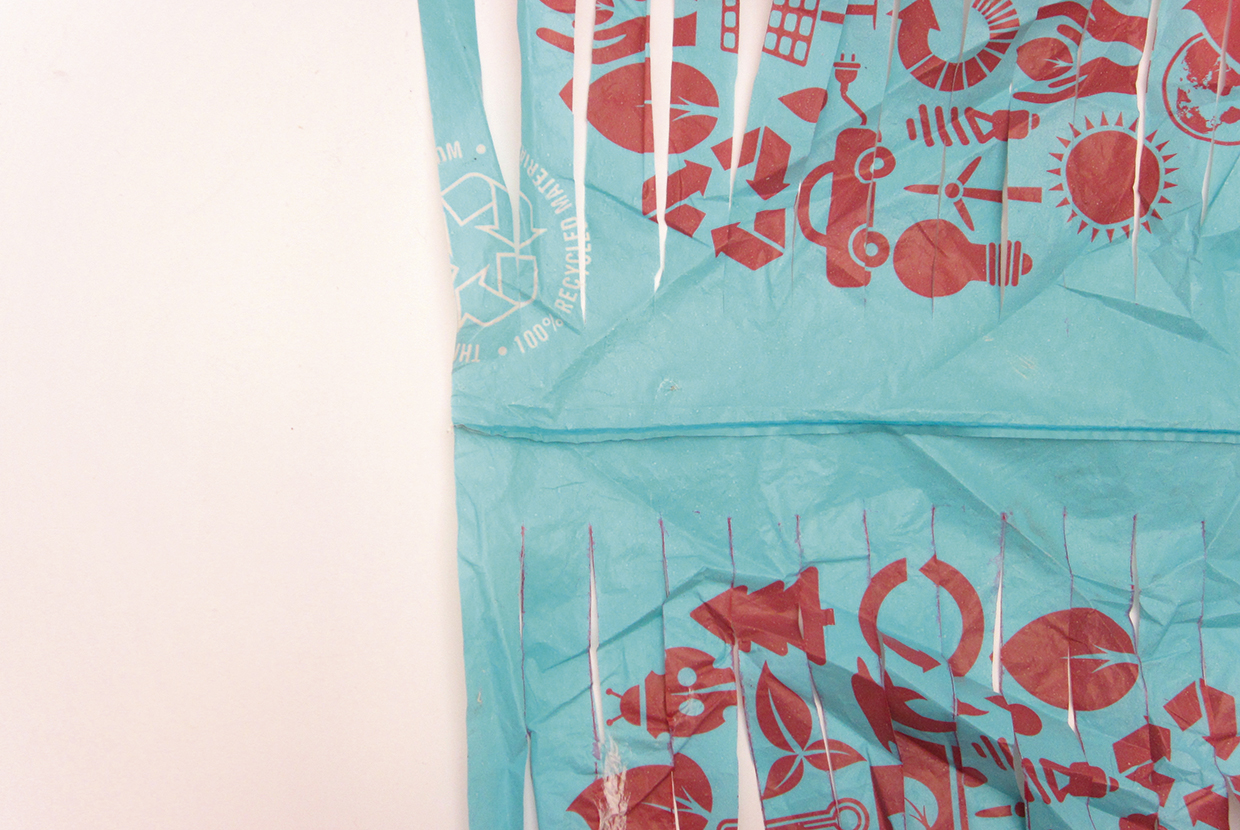
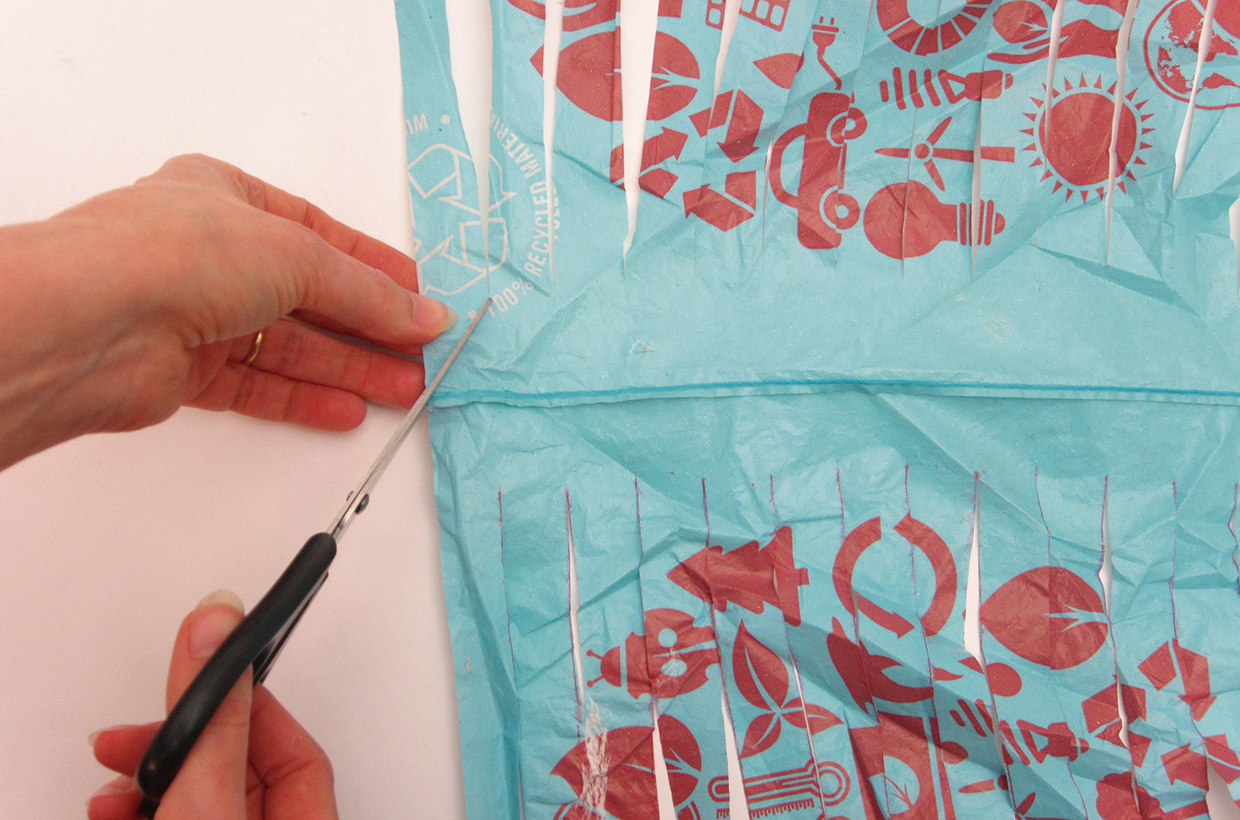
Cut a diagonal line through the buffer zone from the left edge of the bag to meet the first slit of one layer, as shown.

How to make plarn_step_07

Step 8

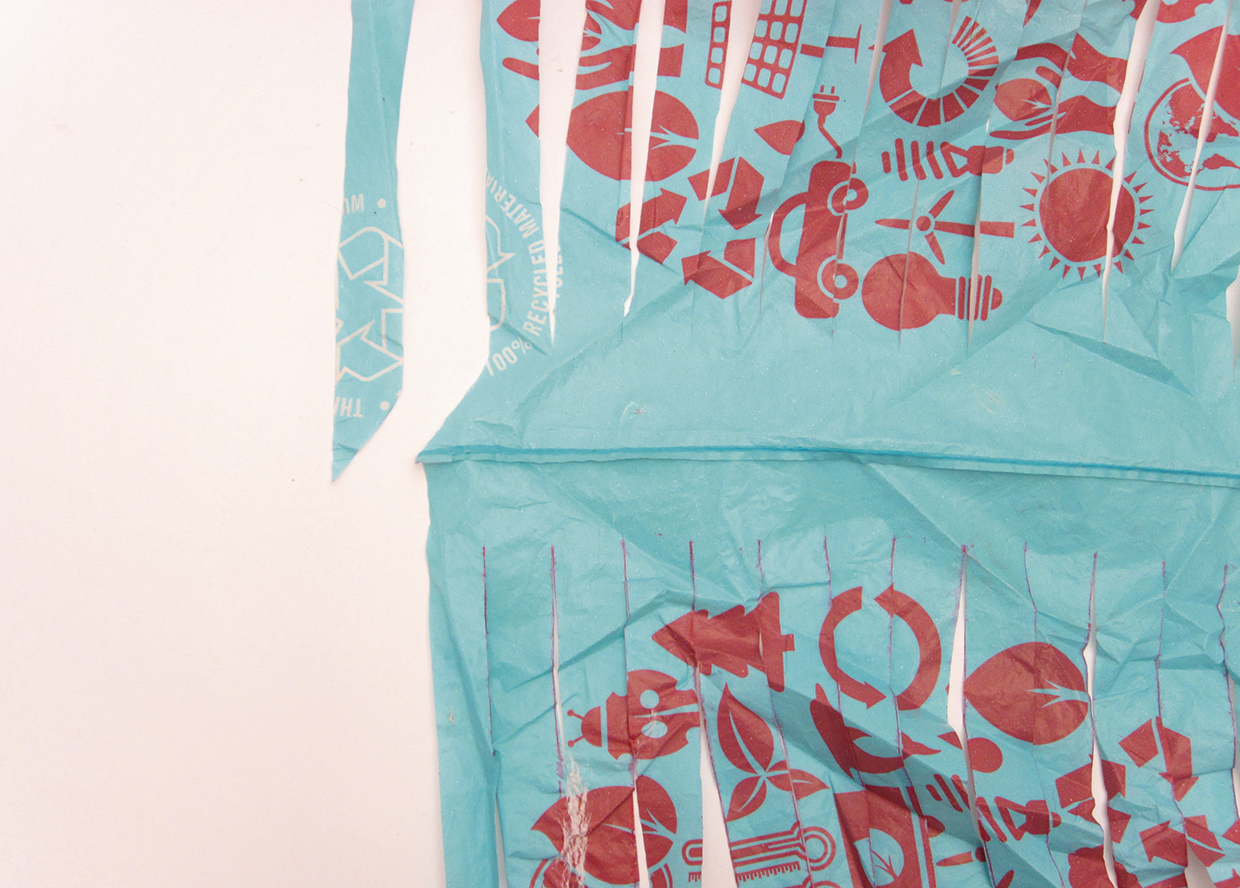
This first diagonal cut creates the start of your ball of plarn.

How to make plarn_step_08

Step 9

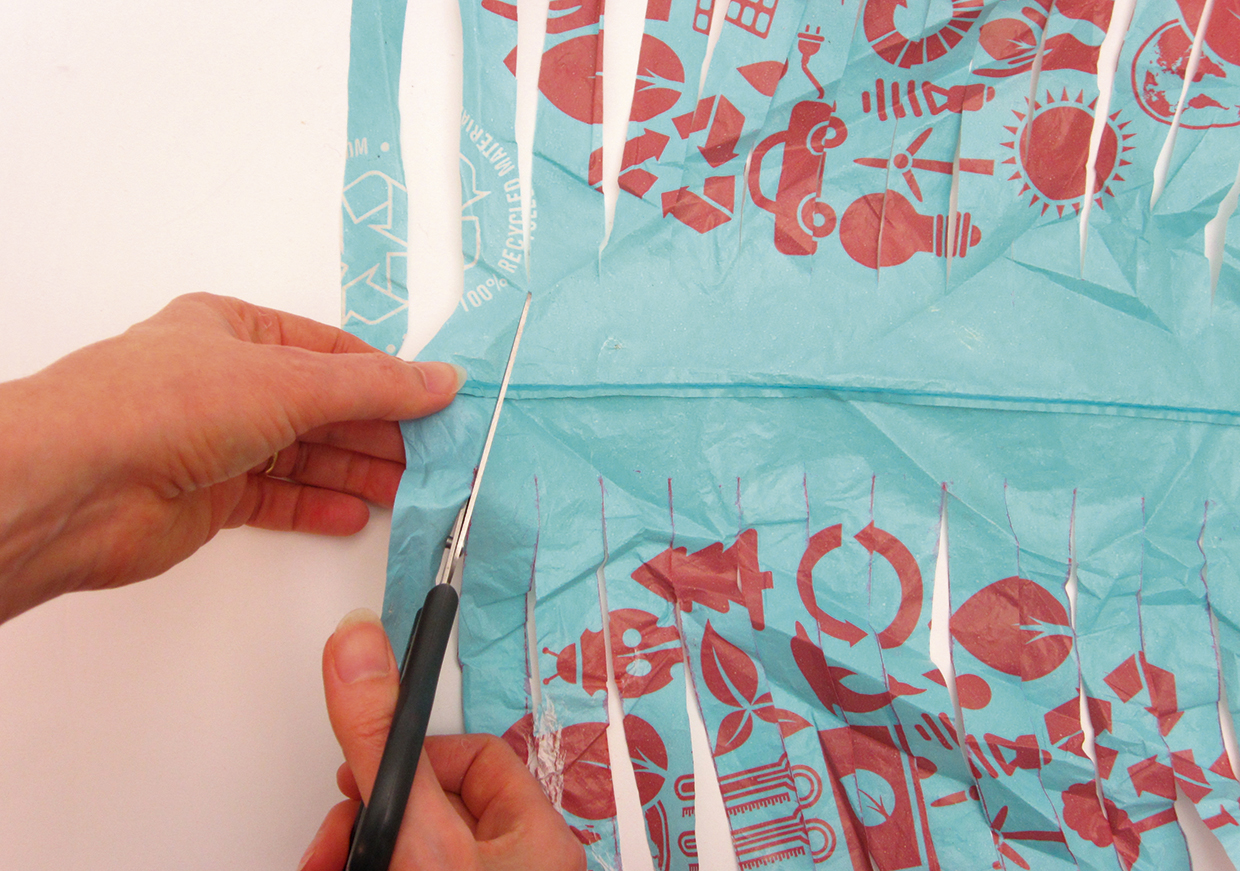
Now use your scissors to cut another diagonal line through the buffer zone, from the top of the first marked slit to meet the next unmarked slit, as shown.

How to make plarn_step_09

Step 10

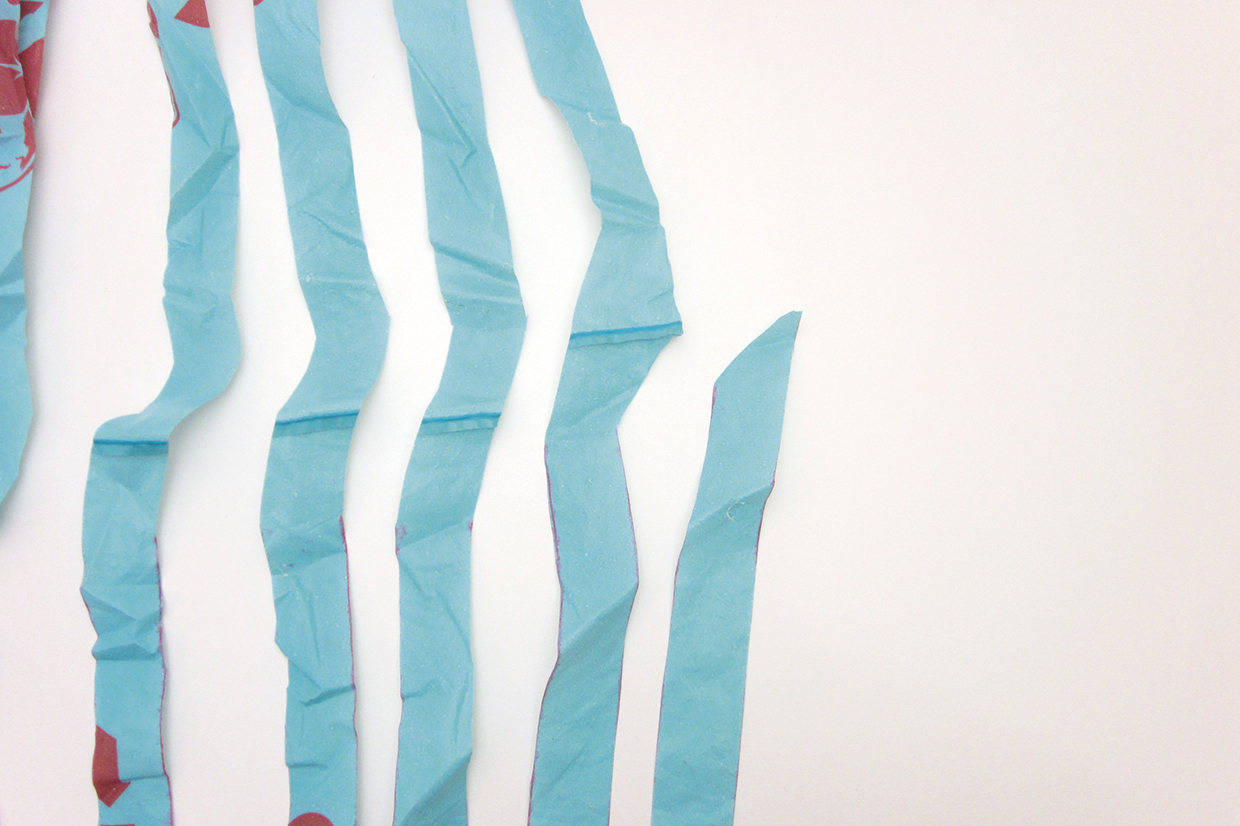
This cut sets the pattern for the cuts that you need to make across the bag. Repeat the process in Step 9 to continue the diagonal pattern of cuts set in Step 10. Continue this across the whole bag.

How to make plarn_step_10

Step 11

When you reach the last slit, cut the end in the same way as the start.

How to make plarn_step_11

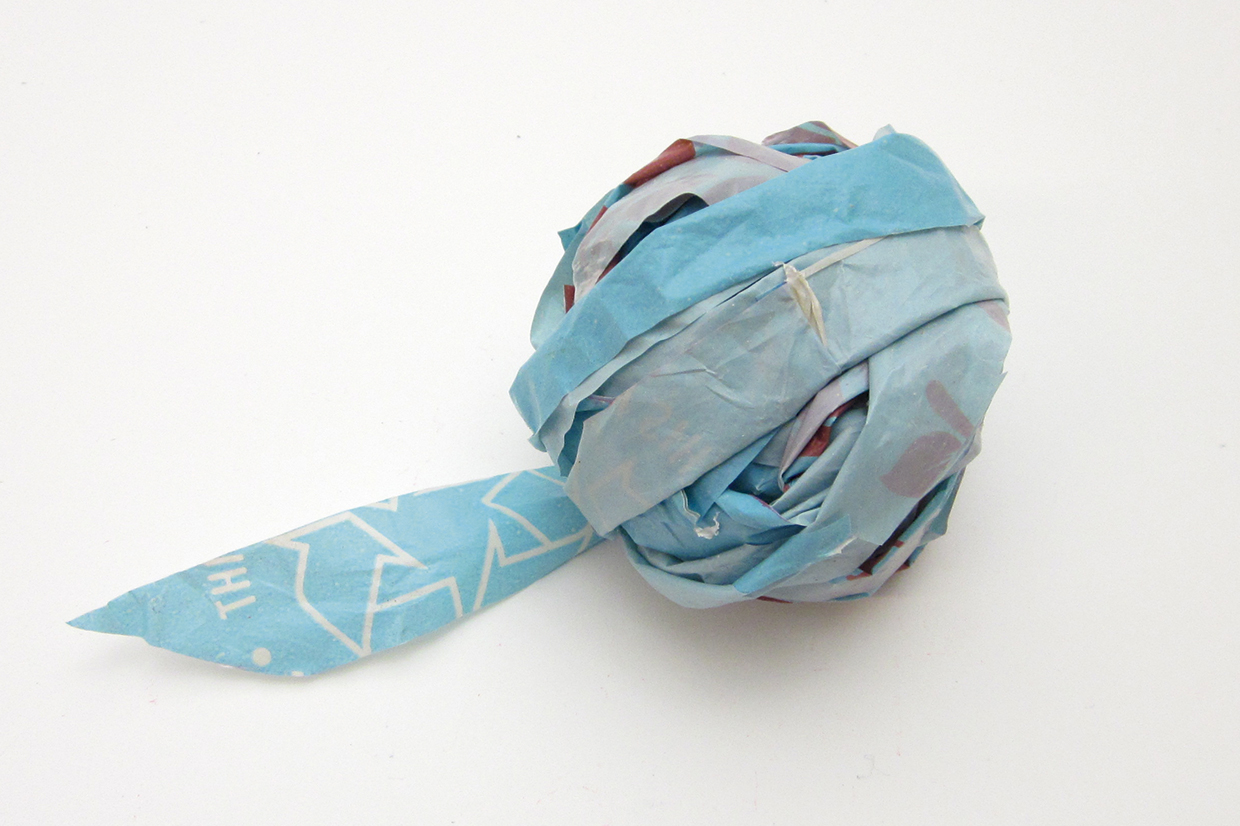
You should now have a coil of plarn that you can wind up into a neat ball!

How to make plarn – how to make plastic bag yarn

If you enjoyed learning how to make plarn, you might also like our how to make T-shirt yarn another brilliant and environmentally friendly way of making your own yarn!