Crocheted spring cuties for your plants

Crocheted spring cuties for your plants

Prettify your plant collection with Sandrine Deveze’s playful indoor plant pot covers!

Published: February 13, 2024 at 9:00 am

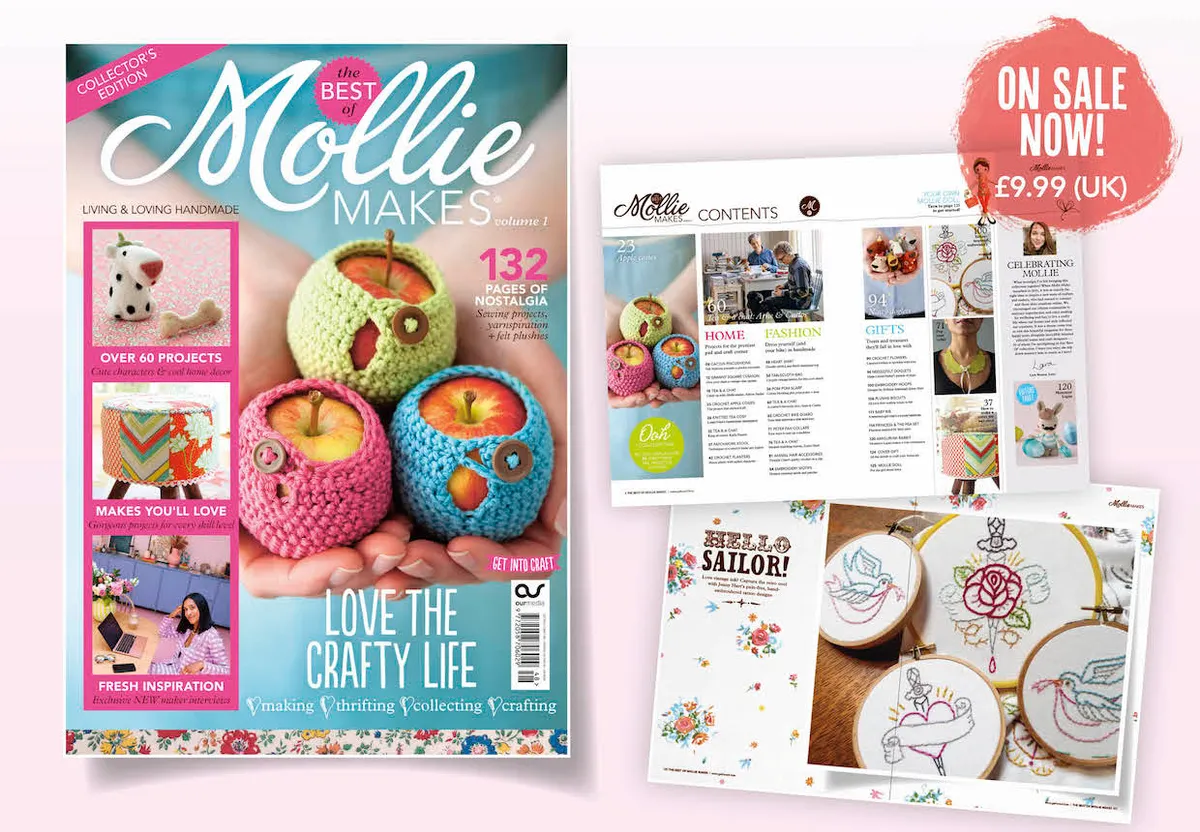
To celebrate the launch of a new special edition magazine, The Best of Mollie Makes we’re sharing one of the cherry-picked projects right now with these super-cute crocheted lamb and bunny planters by Sandrine Devine.

Mollie Makes, the iconic multi-craft magazine launched over a decade ago and holds a special place in many crafters’ hearts for its gorgeously on-trend and quirky makes with fabric, felt, yarn, paper, clay and much more.

This new collector’s edition includes 132 pages of our most memorable projects for crafters of all levels and interests plus a beautiful bonus embroidery kit for all readers (print edition only). Find out more about the issue here or order your copy here.
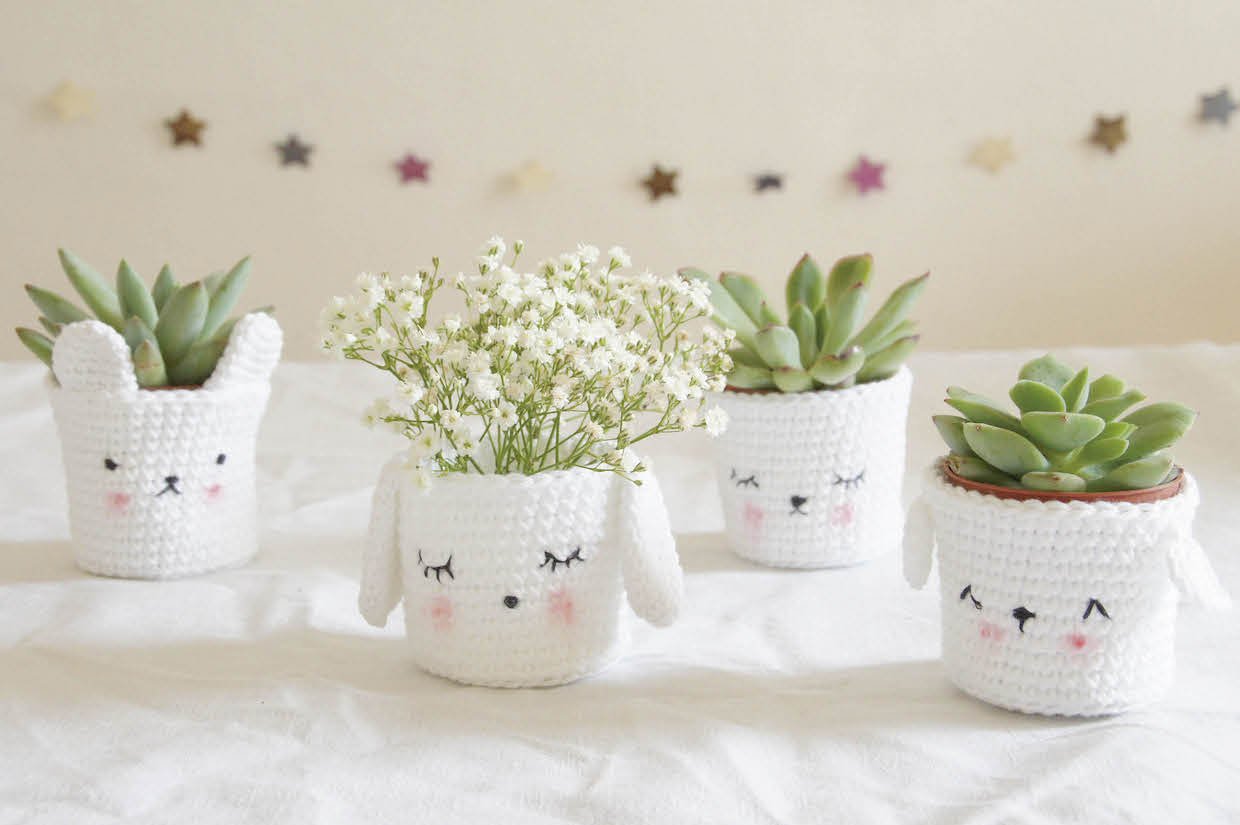
Use simple crochet and stitches to bring your succulent collection to life. Vary the ears and embroidered facial markings to make a whole bunch of buddies to pep up a shelf or desk.

These little cuties make wonderful last-minute birthday or thank you gifts too.

This project is easy enough for beginner crocheters, and uses materials you should have readily to hand. It’s a great project for practising how to crochet in the round.

DMC Natura Just Cotton is easily available in the UK, but any 4 ply white cotton yarn will do. Of course, you can mix up the colours and animals if you fancy a more vibrant look!
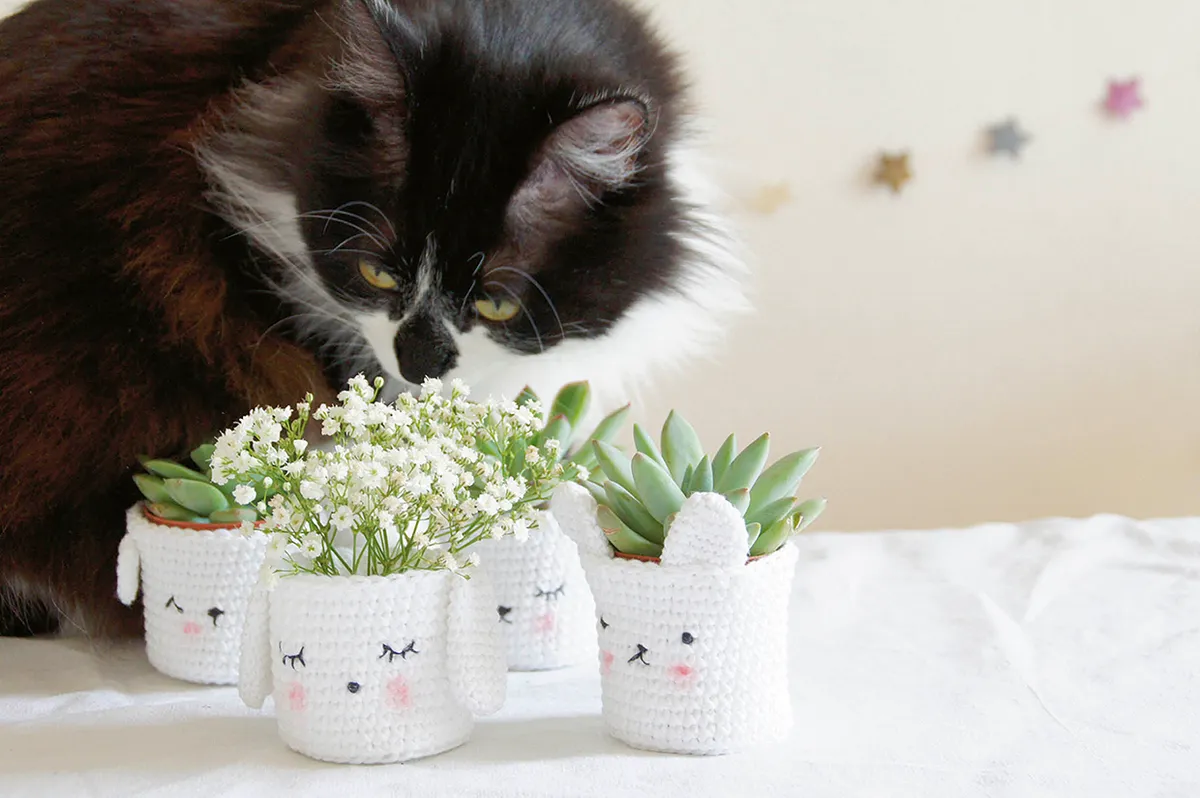
Here's what you need to get started on your indoor plant pot covers

  • DMC Natura Just Cotton, 100% cotton, 50g/155m per ball, one ball in Ibiza (N01)
  • 3mm (UK 10, US D/3) crochet hook
  • Black thread
  • Small piece of scrap fabric
  • Sewing pins
  • Red pencil
  • Stitch marker
  • Tapestry needle
  • Scissors

If you're new to crochet then make sure you head over to our complete crochet guide for beginners for help and tips.

Abbreviations UK

  • st(s) stitch(es)
  • ch chain
  • dc double crochet

Head over to our crochet abbreviations and conversion chart if you're American and want to stitch our indoor plant pot covers!

Tension

11 sts and 12 rows to 5.5cm (2¼") square in double crochet (dc), using a 3mm hook.

Notes

The pots are made in one piece, crocheting from the base upwards.

They're then decorated with crocheted ears and stitches for the face. Each piece begins with a ‘ring’.

To start a round, use any ring type you're comfortable with. We used (ch2, work 6 dc into 1st ch) but use the magic ring method if preferred.

Size

5cm (2") diameter pot, 6cm (2⅜") tall plant cover.

Adapt size by increasing the rounds where indicated in the instructions.
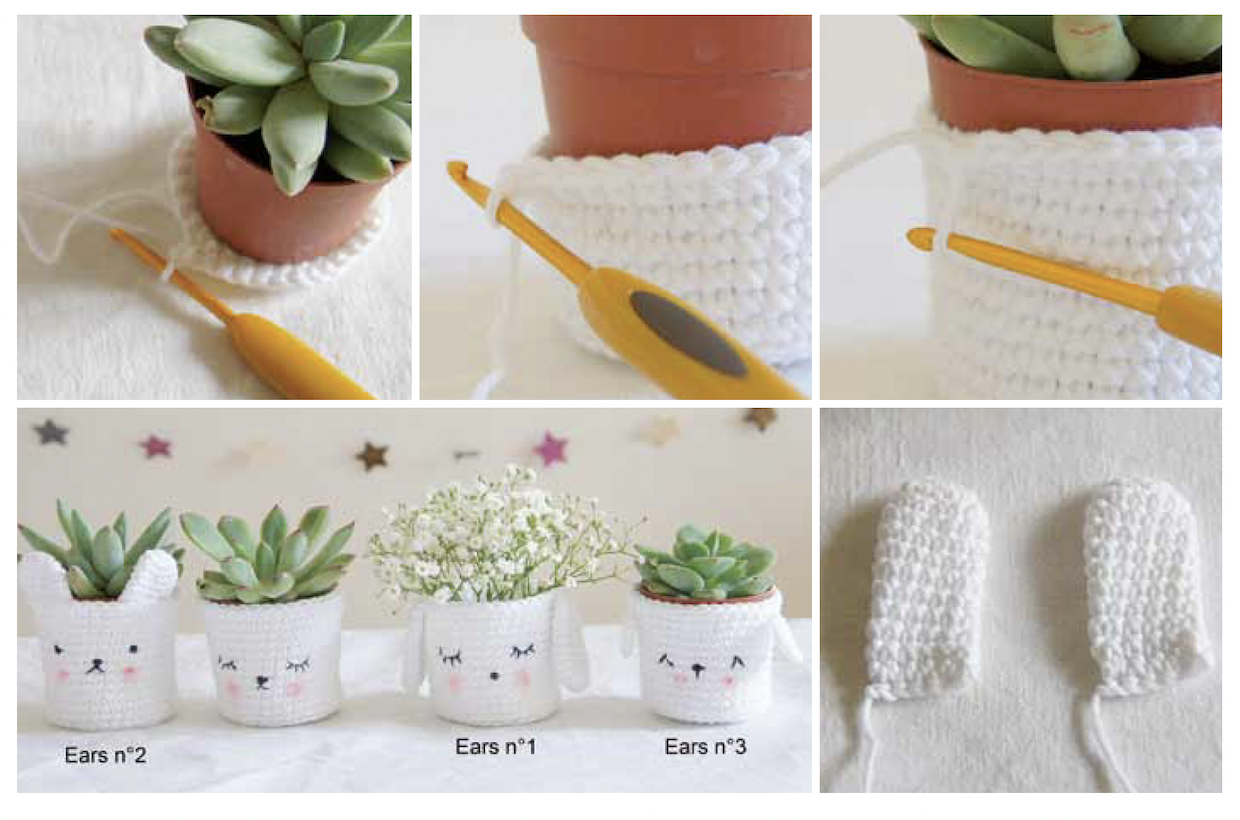
How to crochet indoor plant pot covers

You will need:

  • DMC Natura Just Cotton, 100% cotton, 50g/155m per ball (one ball in Ibiza (N01))
  • Crochet hook (3mm)
  • Black thread
  • Small piece of scrap fabric
  • Sewing pins
  • Red pencil
  • Stitch Marker
  • Tapestry needle
  • Scissors

Step 1

Making the base

Using white yarn and 3mm hook,

Round 1 Ch2, work 6 dc into 1st ch. [6 sts]

Round 2 2dc in each st around. [12 sts]

Round 3 [2dc in next st, dc in next st] 6 times. [18 sts]

Round 4 [2dc in next st, dc in each of next 2 sts] 6 times. [24 sts]

Round 5 [2dc in next st, dc in each of next 3 sts] 6 times. [30 sts]

Round 6 [2dc in next st, dc in each of next 4 sts] 6 times. [36 sts]

At this point, the plant pot cover measures 5cm (2") in diameter.

If the diameter of your plant pot is bigger, then continue the increases at the rate of 6 dc each round until you get your desired size.

indoor plant pot covers step 1

Step 2

Making the sides

Rounds 7 to 18 Dc in each st around.

Slip stitch to first st of 18th round to complete. Fasten off and sew in the ends.

If you need to make the plant pot cover taller, add more rounds until you get your desired height before fastening off.


Fancy making more plant pot covers?

Head over to our crochet lamb and bunny DIY plant pot holder patterns which are super-sized versions of these minis!


Step 3

Making the face

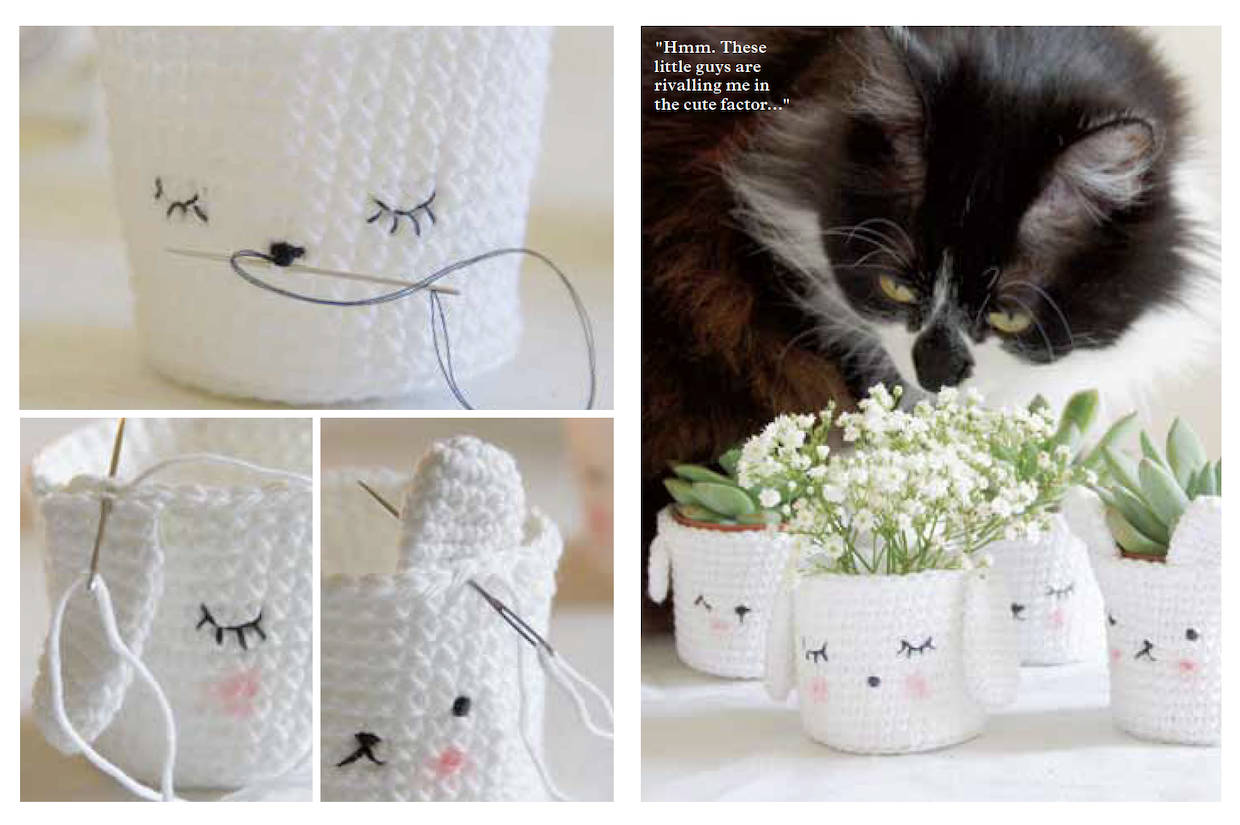
Design a face for your pot. Using black sewing thread, embroider the nose, mouth and eyes onto the front.

Get as creative as you like with the expression.

Take a red colouring pencil and rub vigorously over a small piece of fabric.

Then rub the fabric on the cheeks of the face to gently transfer the colour.

Step 4

Making the ears (crochet two)

To make long, floppy ears, using white yarn and 3mm hook.

Round 1 Ch2, work 6 dc into 1st ch. [6 sts]

Round 2 2dc in each st around. [12 sts]

Rounds 3 to 12 Dc in each st around.

Slip stitch to 1st st of 12th round to complete.

Break yarn and fasten off, leaving a long tail to sew.

Step 5

To make short, floppy ears

Using white yarn and 3mm hook.

Round 1 Ch2, work 6 dc into 1st ch. [6 sts]

Round 2 2dc in each st around. [12 sts]

Rounds 3 to 10 Dc in each st around.

Slip stitch 1st st of 10th round to complete.

Break yarn and fasten off leaving a long tail to sew.

indoor plant pot covers step 2

Step 6

Finishing off

Sew the ears to the body using the image as a guide. Sew in all loose ends and pop your plant pot inside.

Now place them on your windowsill, fill with plants, and admire!

Remove the cover when watering and allow it to drain before placing back inside.

indoor plant pot covers finished image

Give your plants a new crochet jacket

These adorable indoor plant pot covers are perfect for updating old pots.

They add a touch of springtime charm to all your house plants and will be admired by friends and family!

Enjoy crocheting your own animal covers and watch your plants thrive.

Discover more nostalgic Mollie projects with Gathered

For more wonderful Mollie projects make sure you pick up a copy of The Best of Mollie Makes.