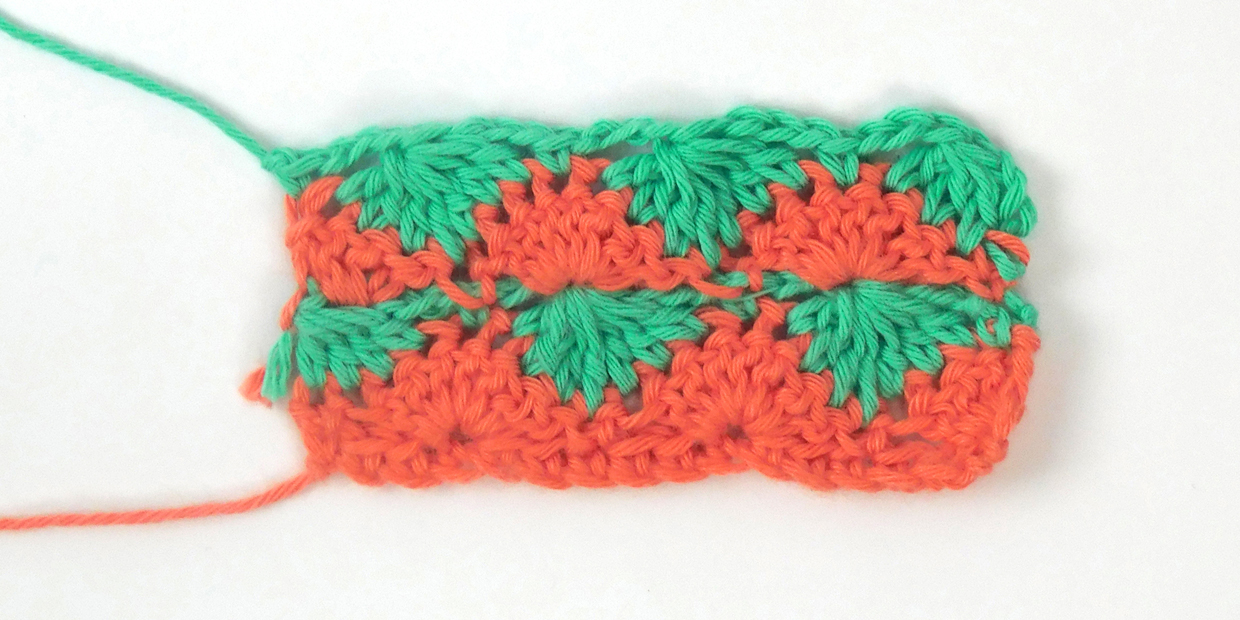
How to make the Catherine Wheel crochet stitch

How to make the Catherine Wheel crochet stitch

The Catherine Wheel stitch creates a fabulous circular stitch effect using increase and decrease stitches

Try 3 issues of Simply Crochet magazine for just £10!

Published: February 17, 2020 at 10:42 am

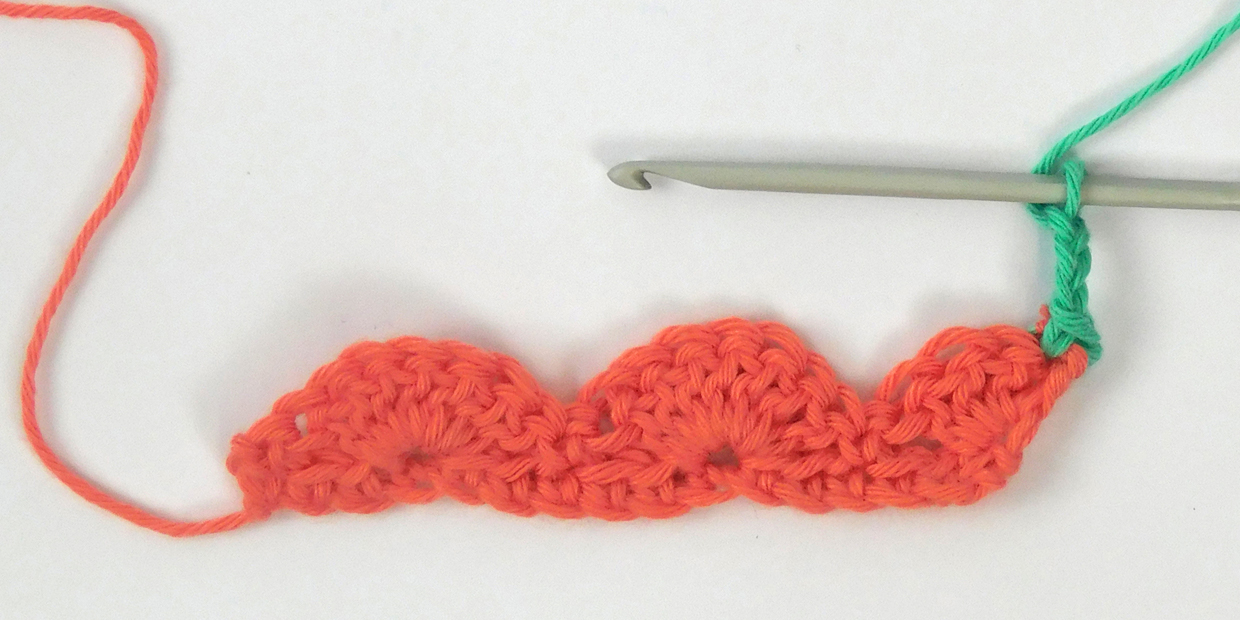
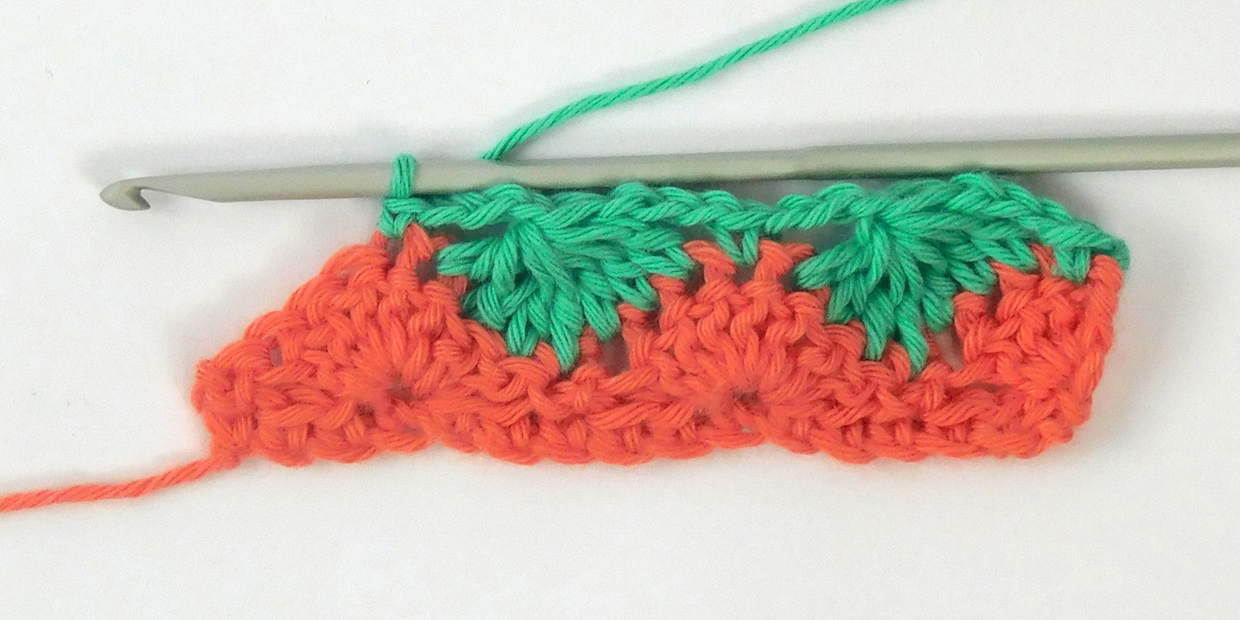
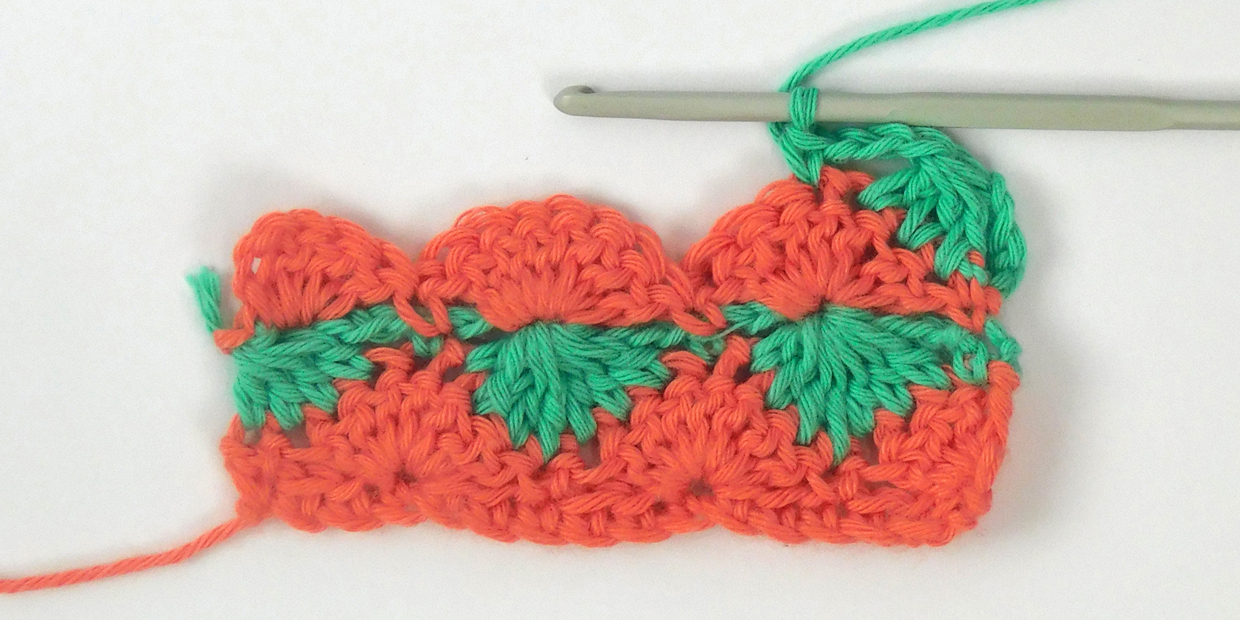
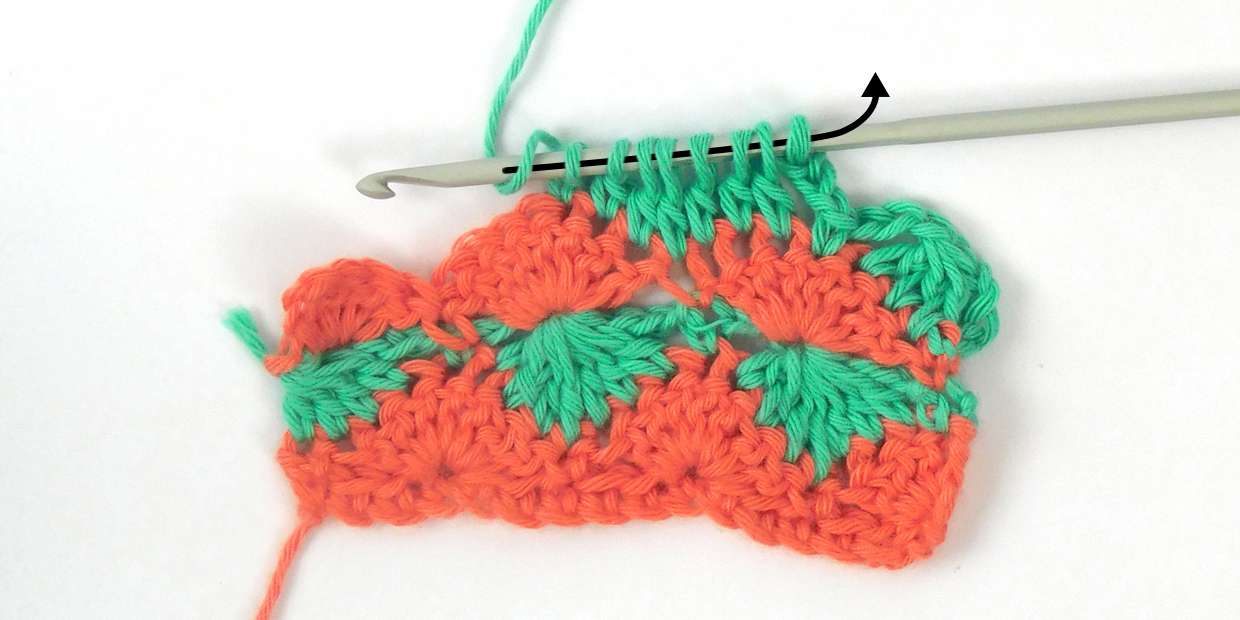
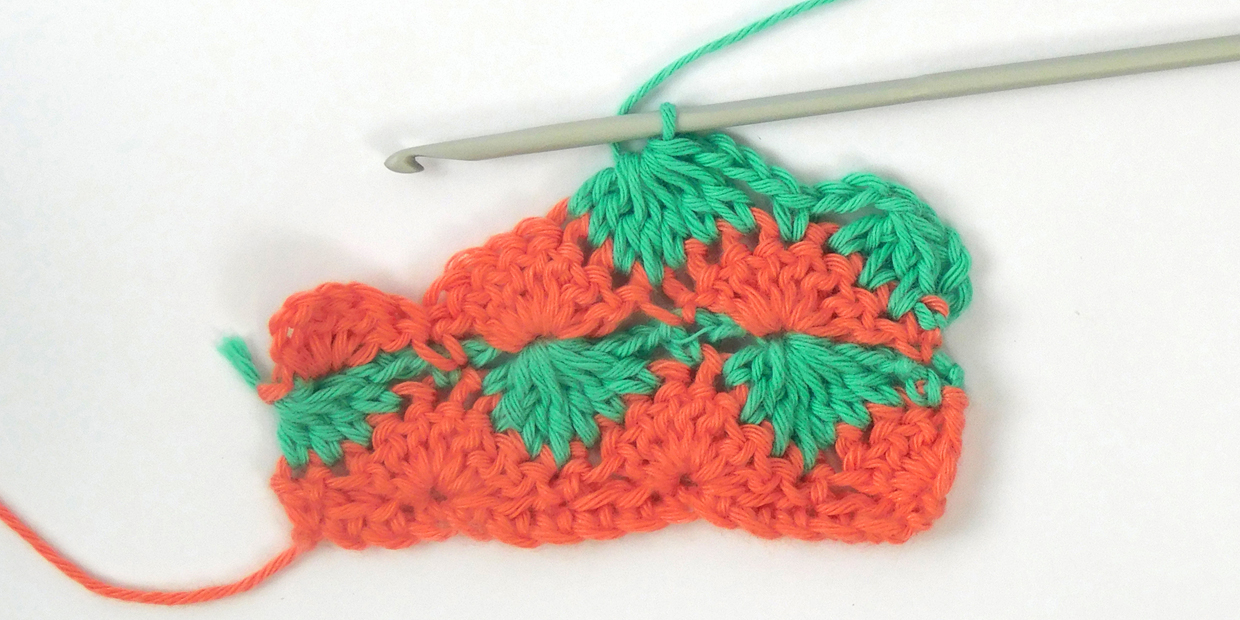
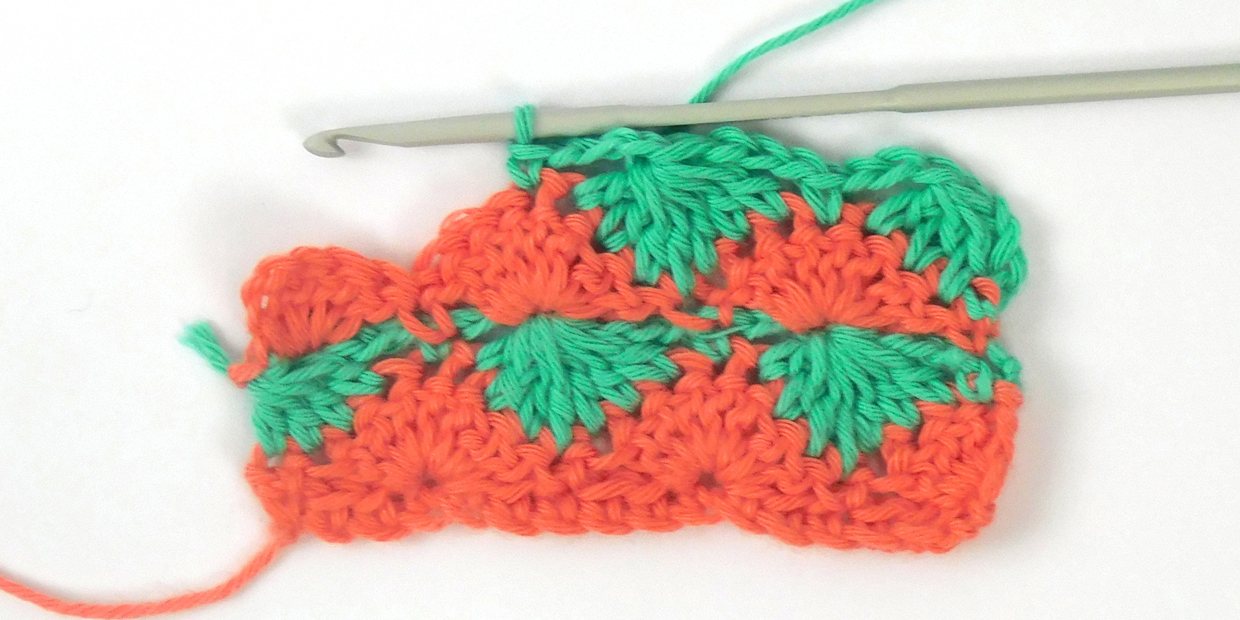
Catherine wheel stitch is a brilliant stitch for creating both colour and textural effects, and gets its name as it resembles a Catherine wheel firework. Although it's made from simple double and treble stitches worked in increases and decreases, it can prove a bit of a tricky one – but don't worry, we're here to help with our handy step-by-step guide! We're starting off with the most common way of creating this stitch, but you'll also find our alternative method further below which includes a few clever tricks (if you're making the cars blanket from issue 94 of Simply Crochet magazine then you'll want to follow the alternative method).

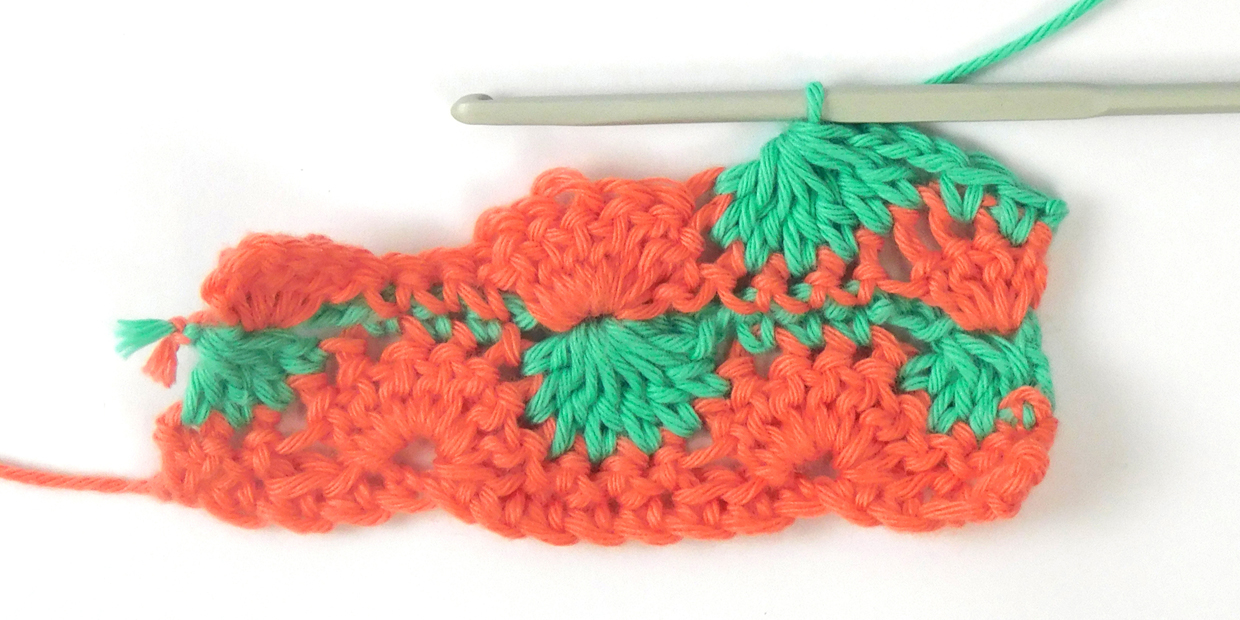
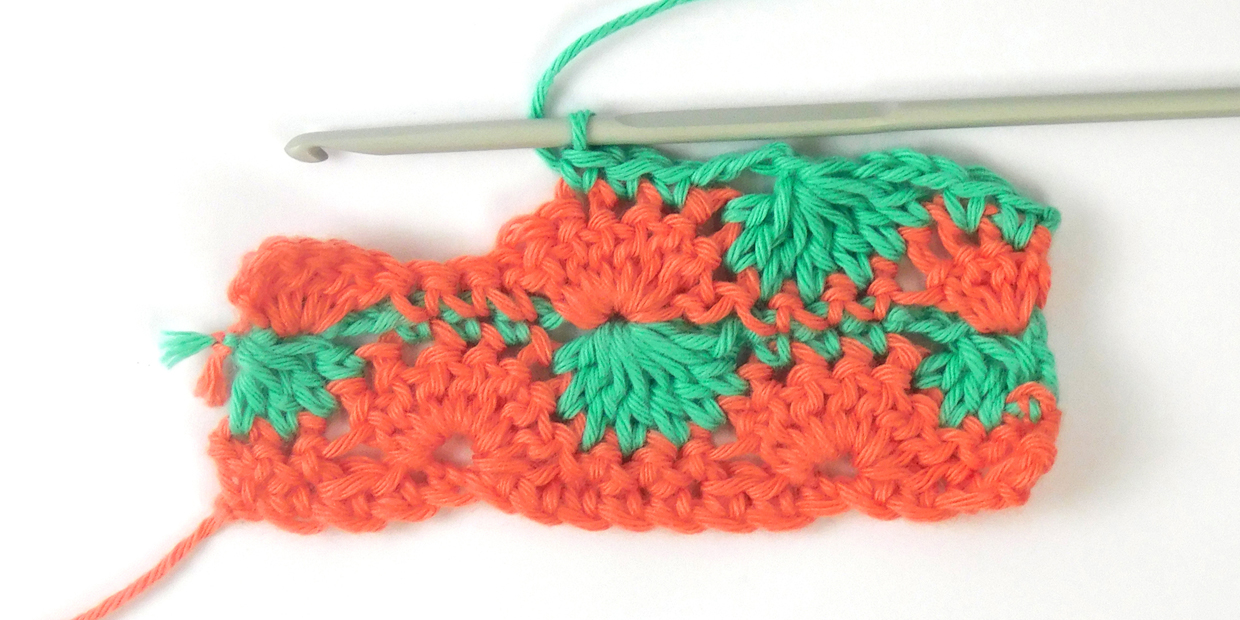
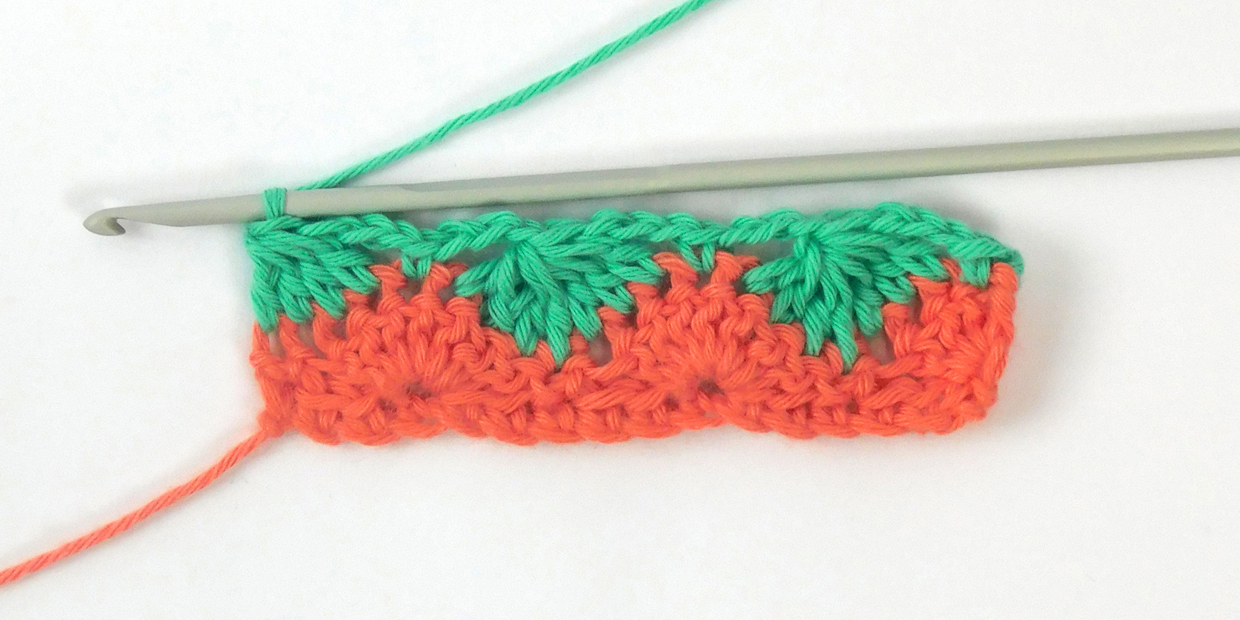
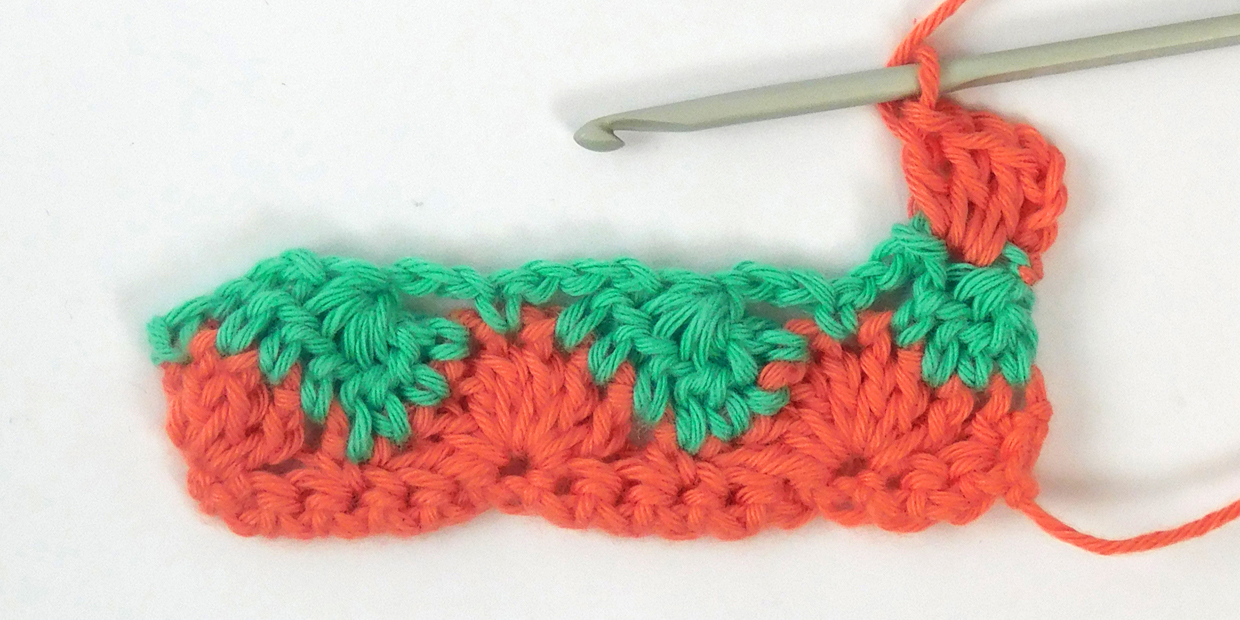
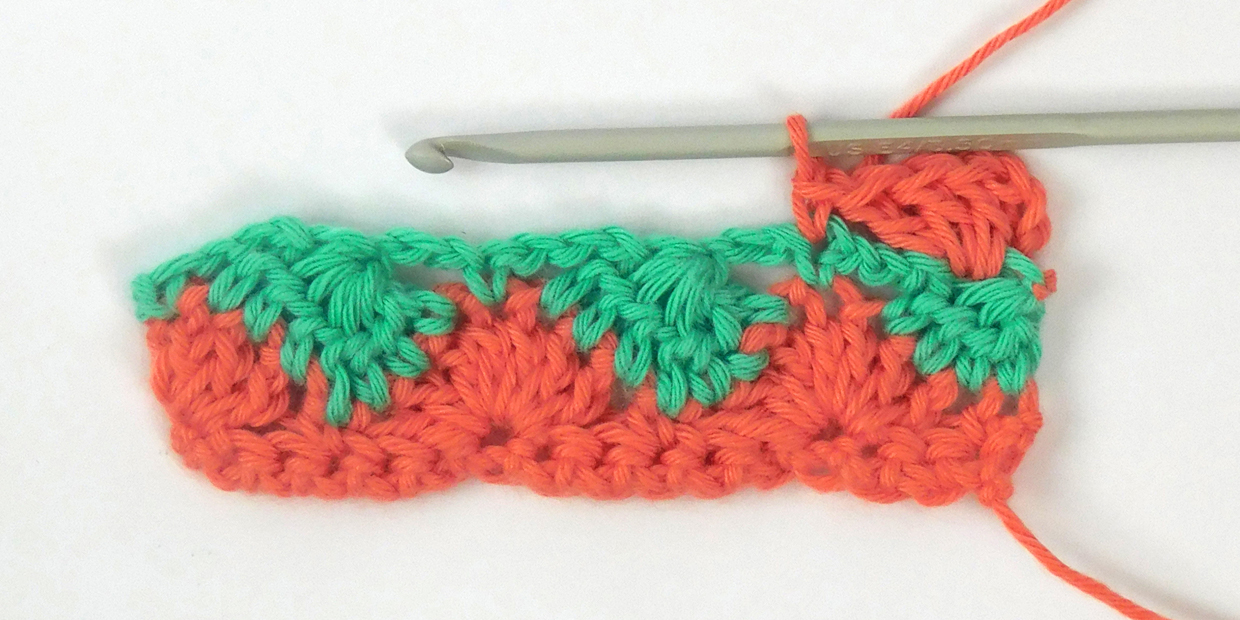
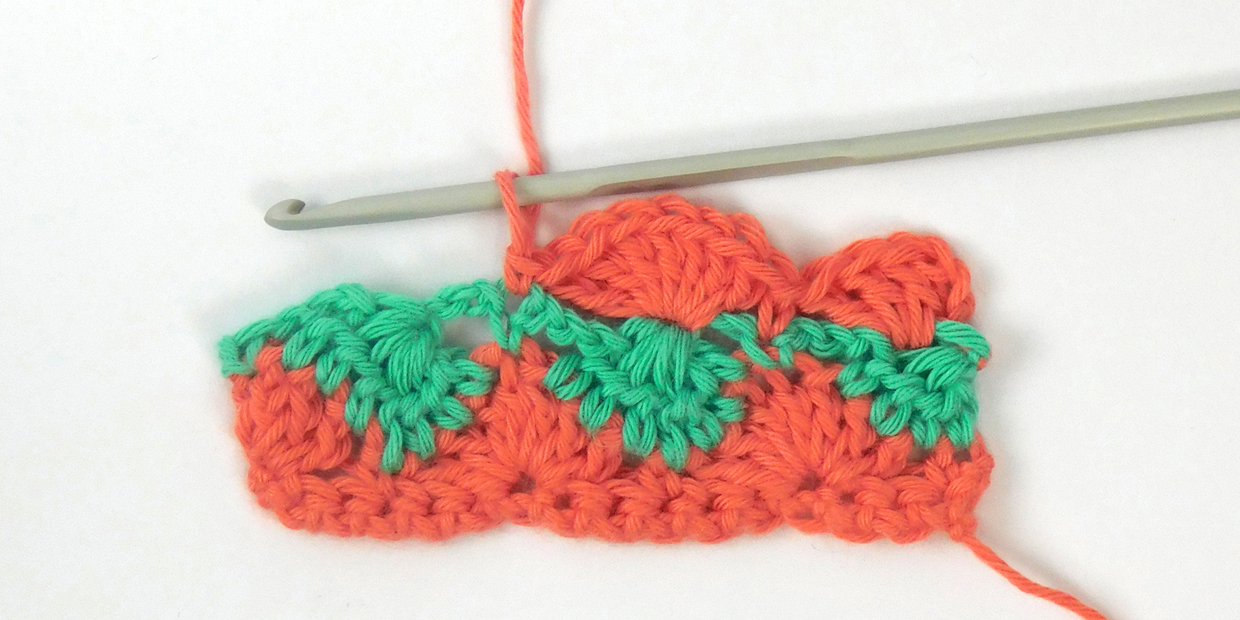
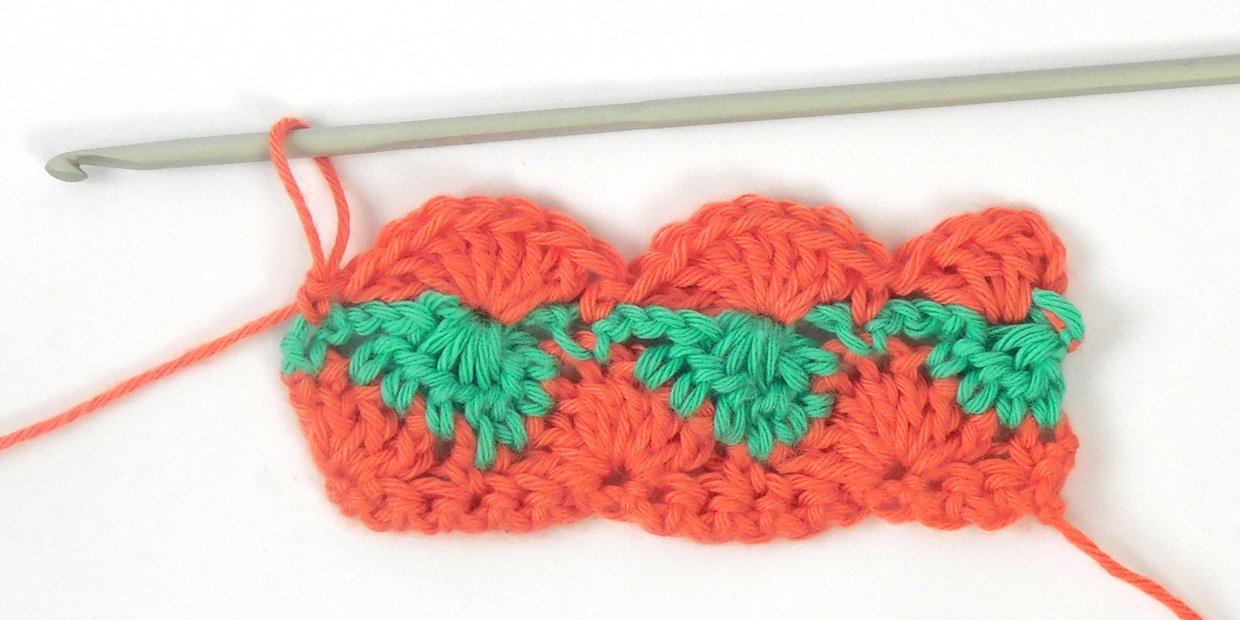
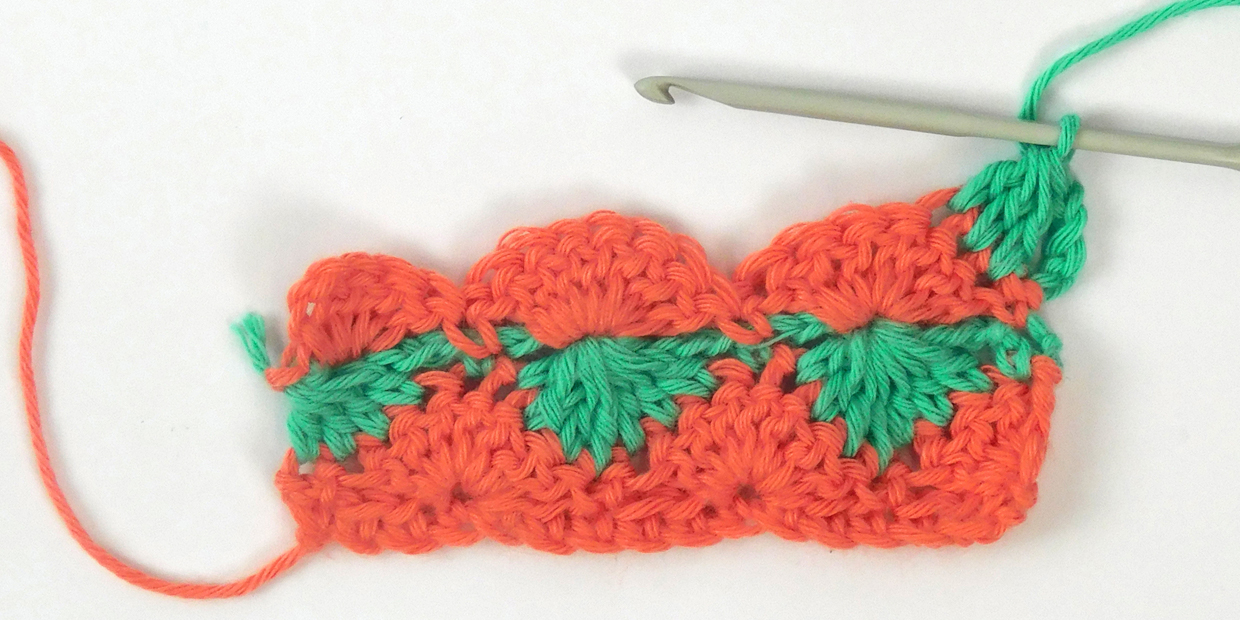
If you're using Catherine wheel stitch with multiple colours, it is often done by working 2 rows of the same colour at a time and then alternating to get the full circular effect (as shown in the picture above). For this tutorial however we are changing colour on each row to make things clearer. Let's get started!

If you want to find more tips and tutorials, make sure to check out our other How to Crochet guides!

And remember, if you're not familiar with any of the abbreviations used in the tutorial, you can find everything you need to know in our Crochet Abbreviations and UK/US conversion guide.

Catherine wheel crochet stitch - main method

Step 1

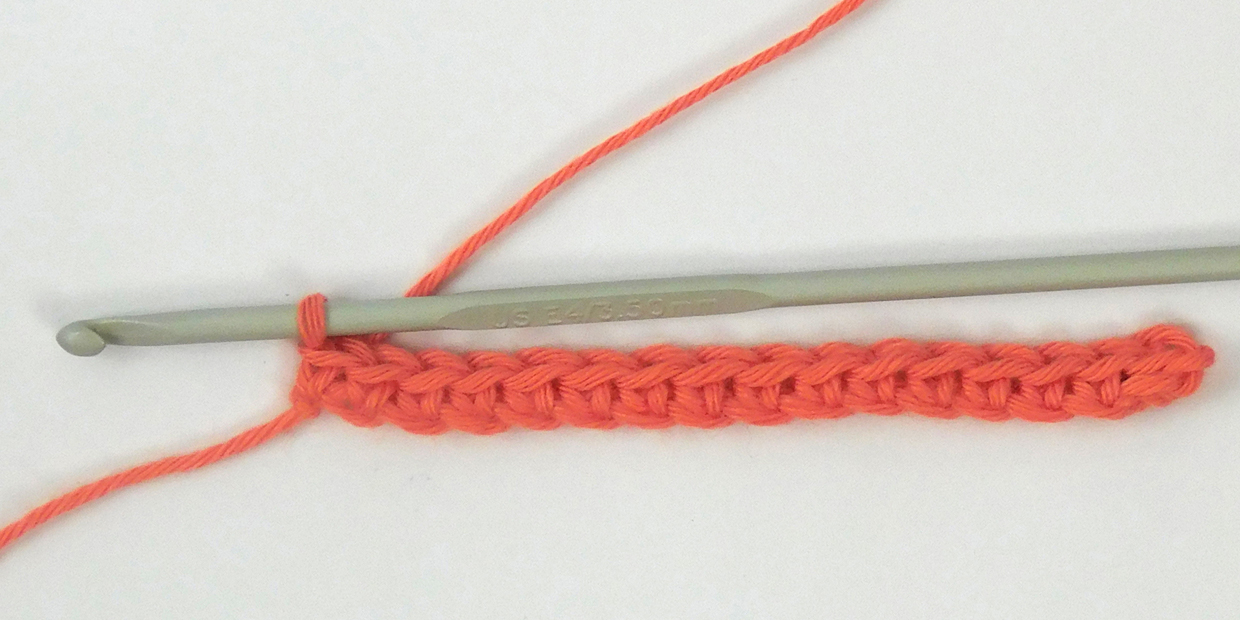
To start off with you’ll need to make your foundation chains. For this stitch you’ll need to make your chains in multiples of 7, and then add an extra chain (plus however many chains you need for your turning chains). For this tutorial we’re going to make things simple by starting with a row of dc stitches, so chain 17 (7+7+1+[1 turning ch]), dc in the second ch from hook and each ch along (16 dc). Turn your work.

Crochet_Catherine_Wheel_Stitch_Step1

Step 2

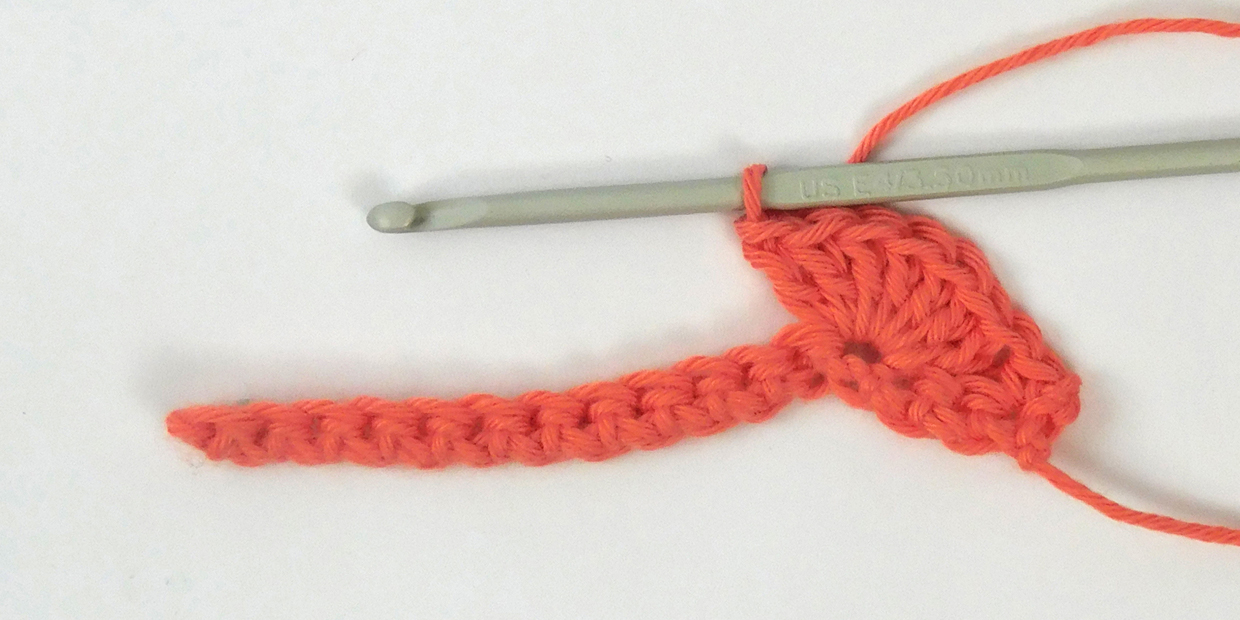
Now we’ll start on your first Catherine stitch row. Ch1, dc in first st, then skip 2 stitches, 7tr in next st.

Crochet_Catherine_Wheel_Stitch_Step2

Step 3

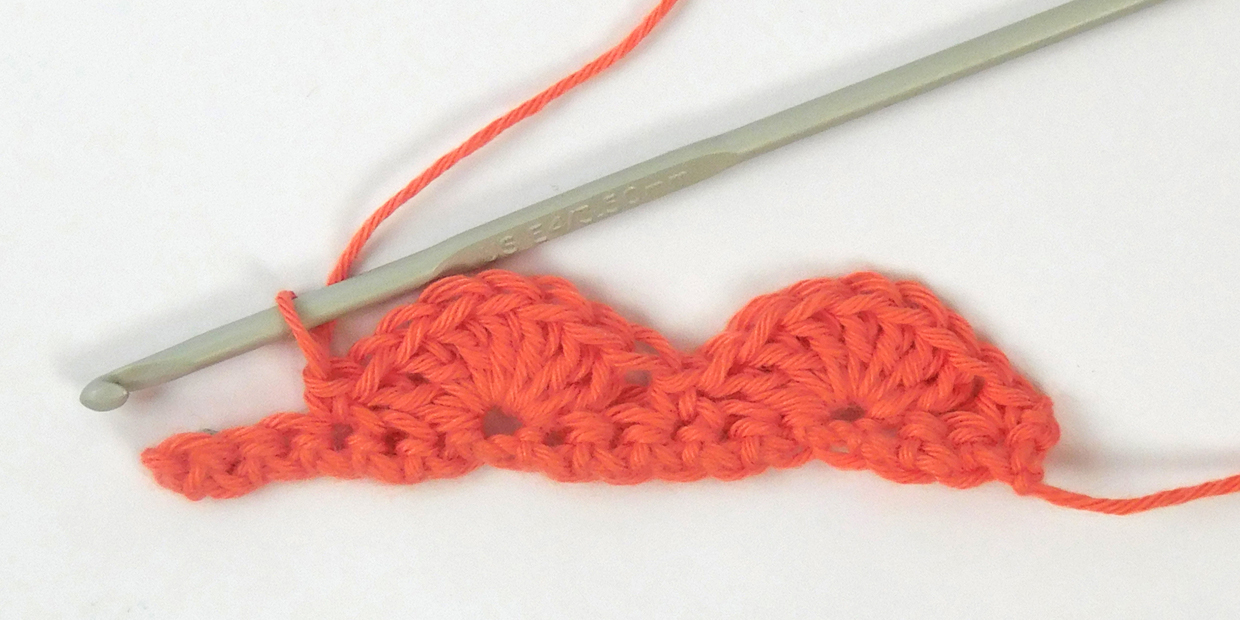
Skip 2 sts and dc into the next st, skip another two stitches, 7tr in next st, skip two stitches, then dc into the next st.

Crochet_Catherine_Wheel_Stitch_Step3


Step 4

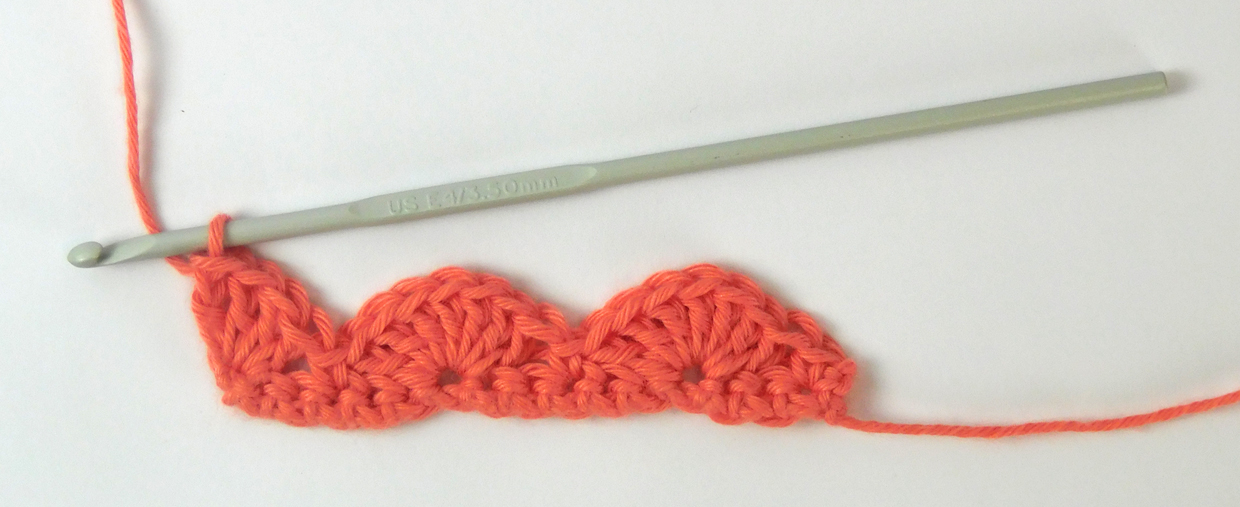
Skip 2 stitches and work 4tr into the final stitch. This completes your first Catherine stitch row. Turn your work.

Crochet_Catherine_Wheel_Stitch_Step4

Step 5

To start row 2 of your Catherine stitch, ch1, dc into the first st, then ch3

Crochet_Catherine_Wheel_Stitch_Step5

Step 6

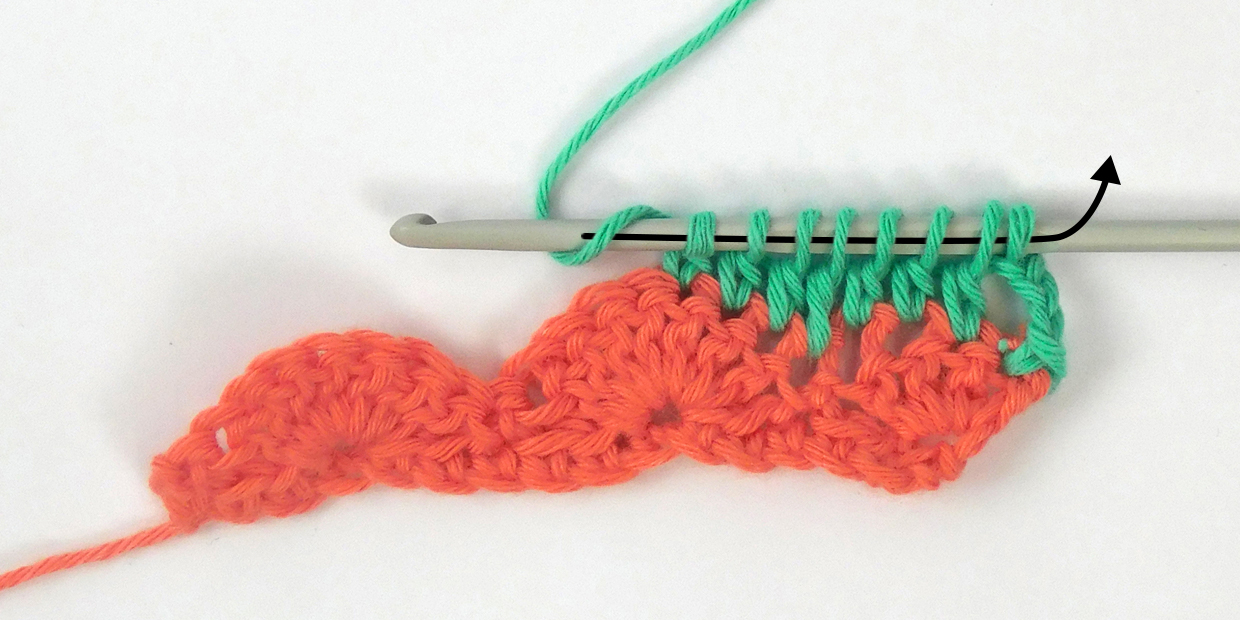
Now comes the tricky bit! You’re now going to make a tr7tog (a decrease made of 7 treble stitches). To make this stitch, you’re going to *yrh, insert your hook into next st, yrh, pull through, yrh, pull through 2 loops: and repeat this from * in all of the next 7 stitches (which will be the 3 trebles, a dc, 3 trebles on row 1). Once you’ve done this, yrh one final time and pull through all 8 loops on your hook as in the picture below.

Crochet_Catherine_Wheel_Stitch_Step6

Step 7

Next make another ch3Crochet_Catherine_Wheel_Stitch_Step7

Step 8

Dc into the next unworked st of Row 1 (this will be the fourth of your 7 trebles).

Crochet_Catherine_Wheel_Stitch_Step8

Step 9

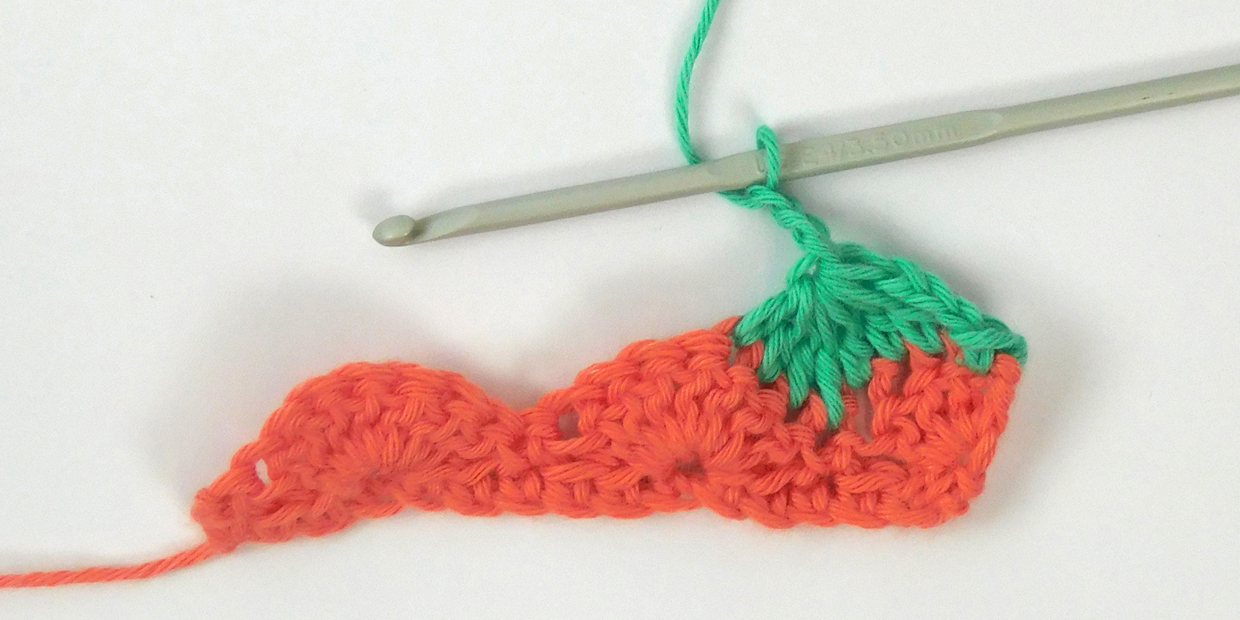
Ch3, then make another tr7tog over the next 7 stitches, ch3 and dc into the next unworked st.

Crochet_Catherine_Wheel_Stitch_Step9

Step 10

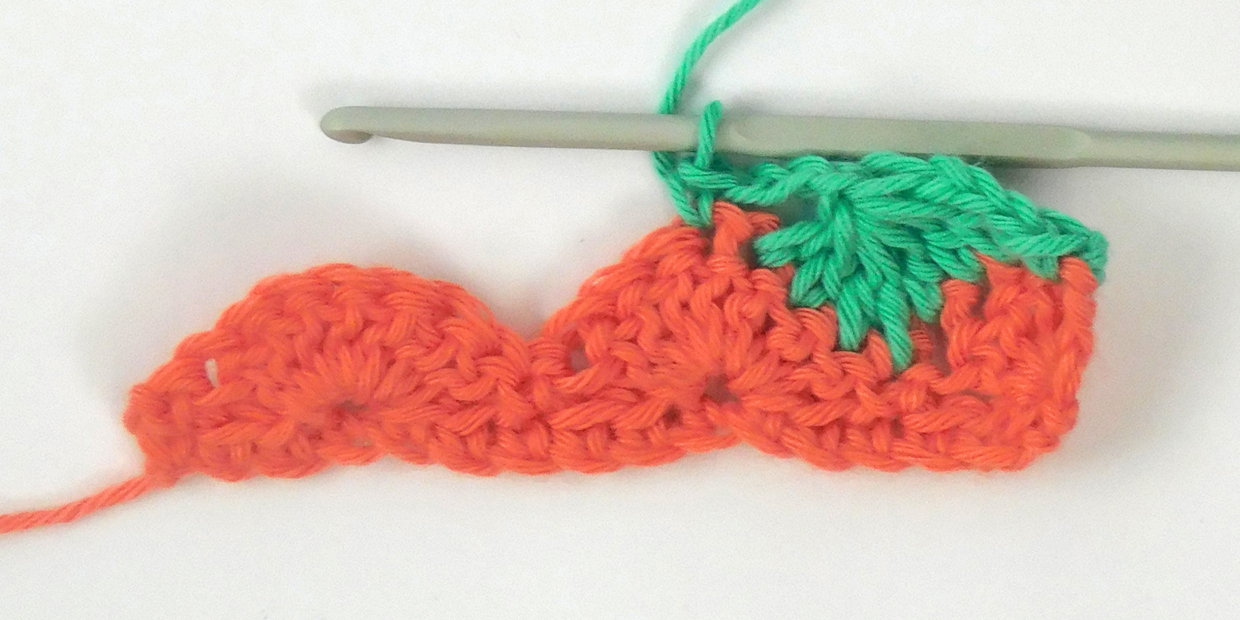
To complete your second row, ch3 and tr4tog in the next 4 stitches. Turn your work.

Crochet_Catherine_Wheel_Stitch_Step10

Step 11

Now for your third row. Ch3 (counts as a treble) and 3tr in the first stitch (this will be the stitch at the base of your turning ch).

Crochet_Catherine_Wheel_Stitch_Step11

Step 12

Now skip the next ch3 and dc into the next stitch (which will be the dc in the previous row)

Crochet_Catherine_Wheel_Stitch_Step12

Step 13

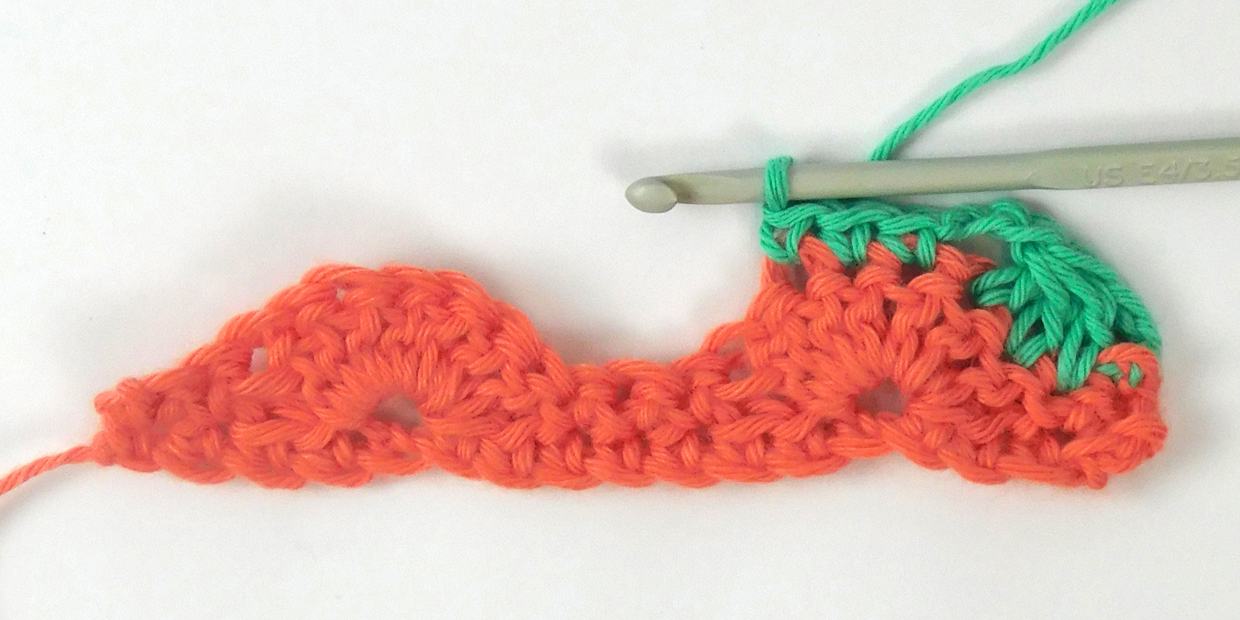
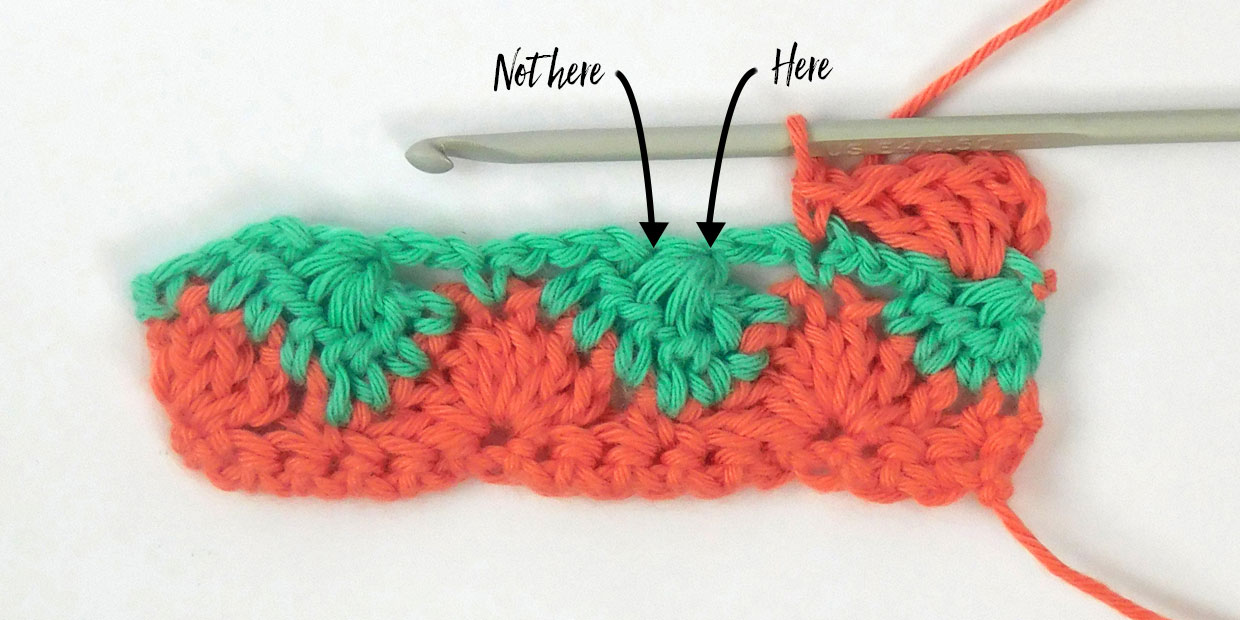
Get ready for another tricky bit. Next you're going to skip the next ch3 and work 7tr into the next stitch. This part can prove a bit confusing for where exactly to insert your hook. If you use the image below as a guide, you basically want your 7tr to go in the same place as where your tr7tog stitches of the previous row come together.

Crochet_Catherine_Wheel_Stitch_Step12B

This will create a nice circular shape, however if yours is looking like two semi-circles slightly offset from each other, then it's likely you've put your stitches in the wrong place. Once you've done your 7tr, skip the next ch3 and dc into the next st.

Crochet_Catherine_Wheel_Stitch_Step13

Step 14

Then skip the next ch3, 7tr in next stitch, skip ch3, dc in final stitch. This completes your third row. Turn your work.

Crochet_Catherine_Wheel_Stitch_Step14

Step 15

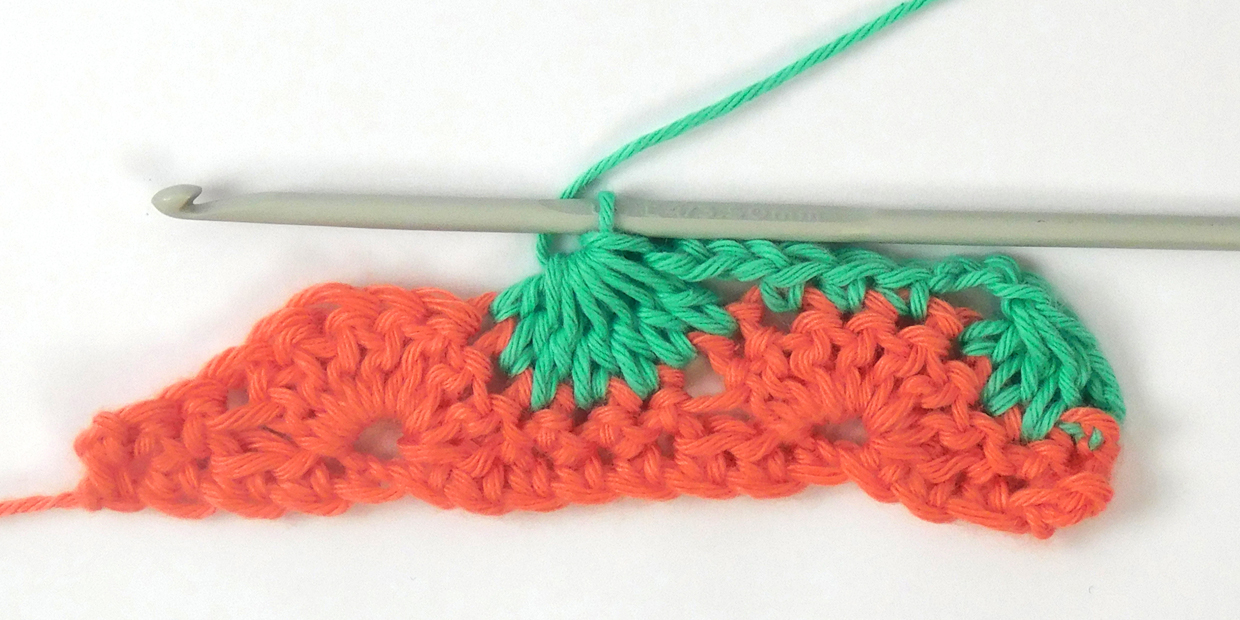
For row 4, start by ch3, then tr3tog in the next 3 stitches. This will count together as if it's a tr4tog, and when you come to your next row you won't work into the top of the starting ch3.

Crochet_Catherine_Wheel_Stitch_Step15

Step 16

Ch3 and dc into the next unworked st.

Crochet_Catherine_Wheel_Stitch_Step16

Step 17

ch3 and work tr7tog over the next 7 stitches.

Crochet_Catherine_Wheel_Stitch_Step17
Crochet_Catherine_Wheel_Stitch_Step18

Step 18

Ch3 and dc in next unworked stitch.

Crochet_Catherine_Wheel_Stitch_Step19

Step 19

ch3 and do another tr7tog, ch3 and dc into the final stitch. This completes your fourth row. To continue in the pattern just repeat these 4 rows.

Crochet_Catherine_Wheel_Stitch_Step20

And that’s how you do the standard Catherine wheel stitch.

Alternative Catherine wheel stitch method

We love the Catherine wheel stitch, but there is another way to create this fab stitch. It’s practically the same method, except that with this method your sides will be symmetrical. Because this method also uses more dc stitches, it helps to create a more solid fabric without so many gaps created by the chain spaces.

Step 1

Unlike the normal method, for this alternative method our foundation chain needs to be a multiple of 8, and then add an extra chain (plus however many chains you need for your turning chains). So for this tutorial again we’re going to start with a dc row, so ch18 (8+8+1+[1 turning ch]), dc in second ch from hook and in each ch along. Turn your work.
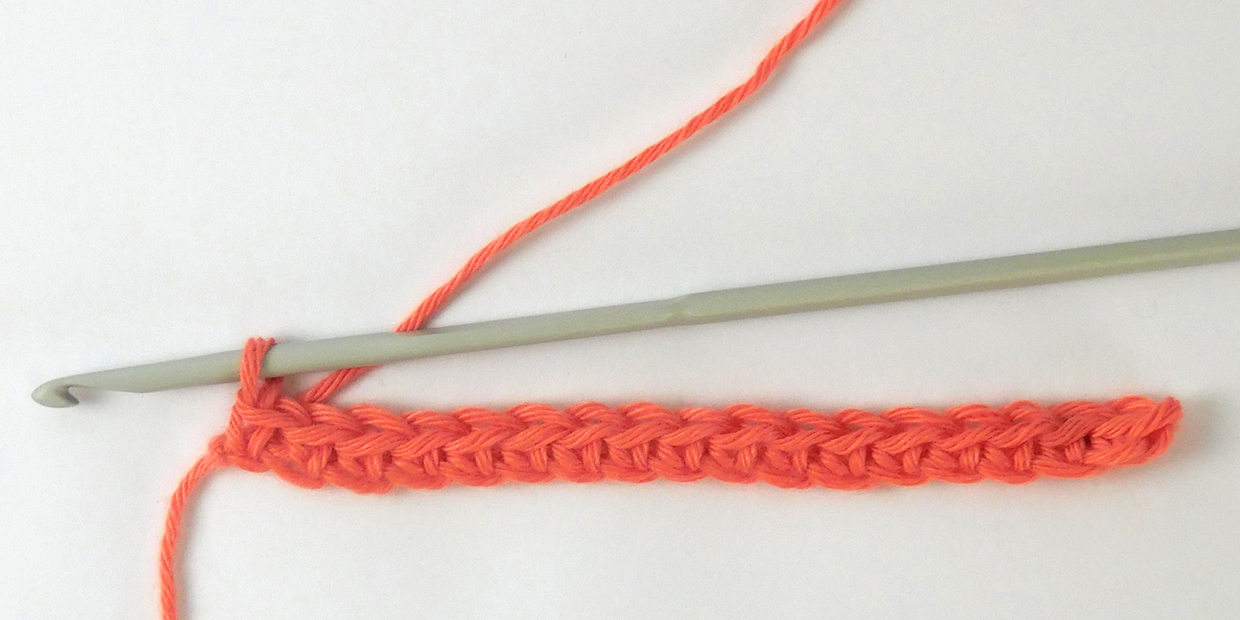
Crochet_Catherine_Wheel_Stitch_alternative_Step1

Step 2

Start Row 1 with ch1 and dc in the first 2 stitches.
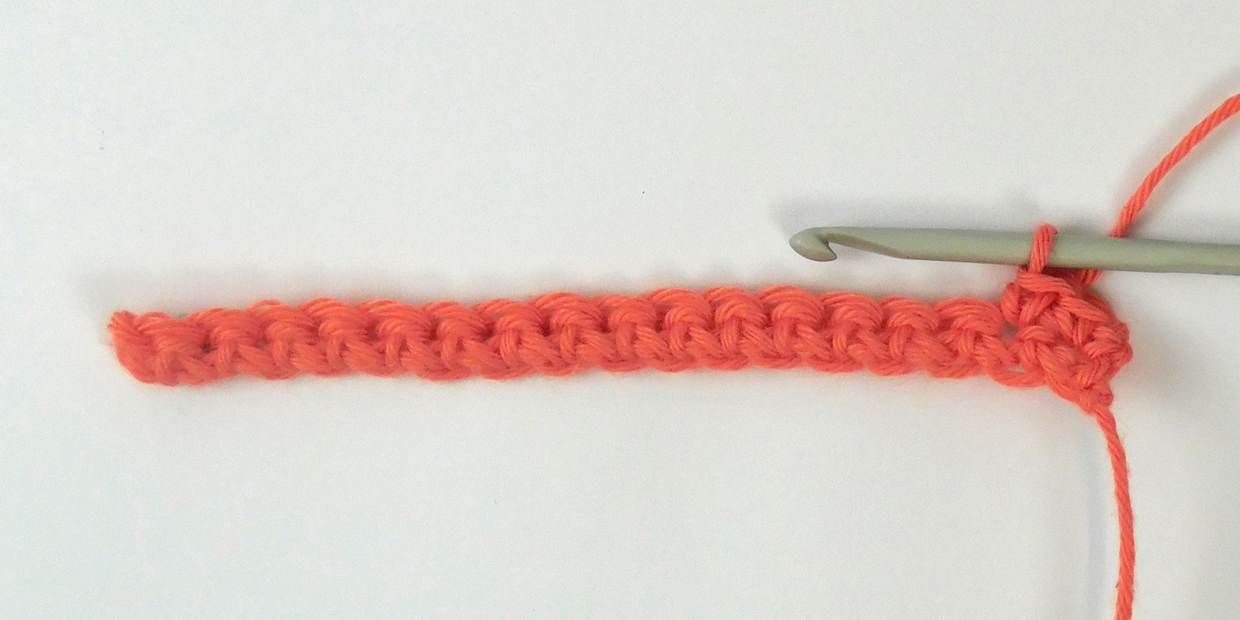
Crochet_Catherine_Wheel_Stitch_alternative_Step2

Step 3

Like before, we’re now going to skip 2 stitches, 7tr in next st, skip 2 sts and dc in the next stitch.
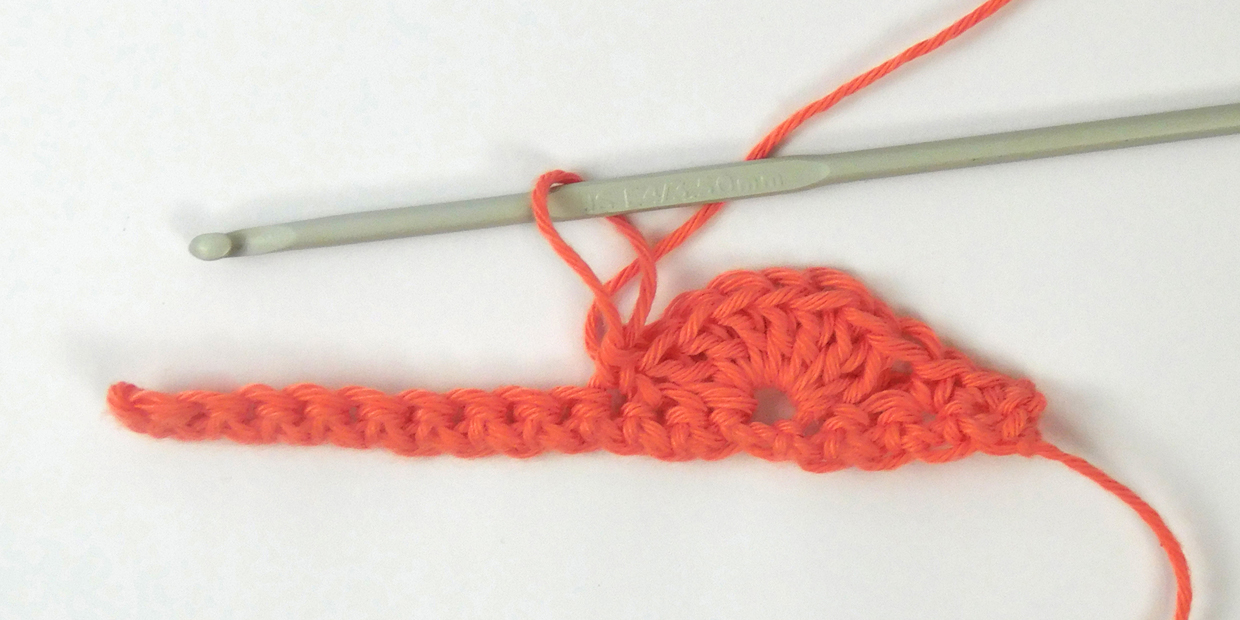
Crochet_Catherine_Wheel_Stitch_alternative_Step3

Step 4

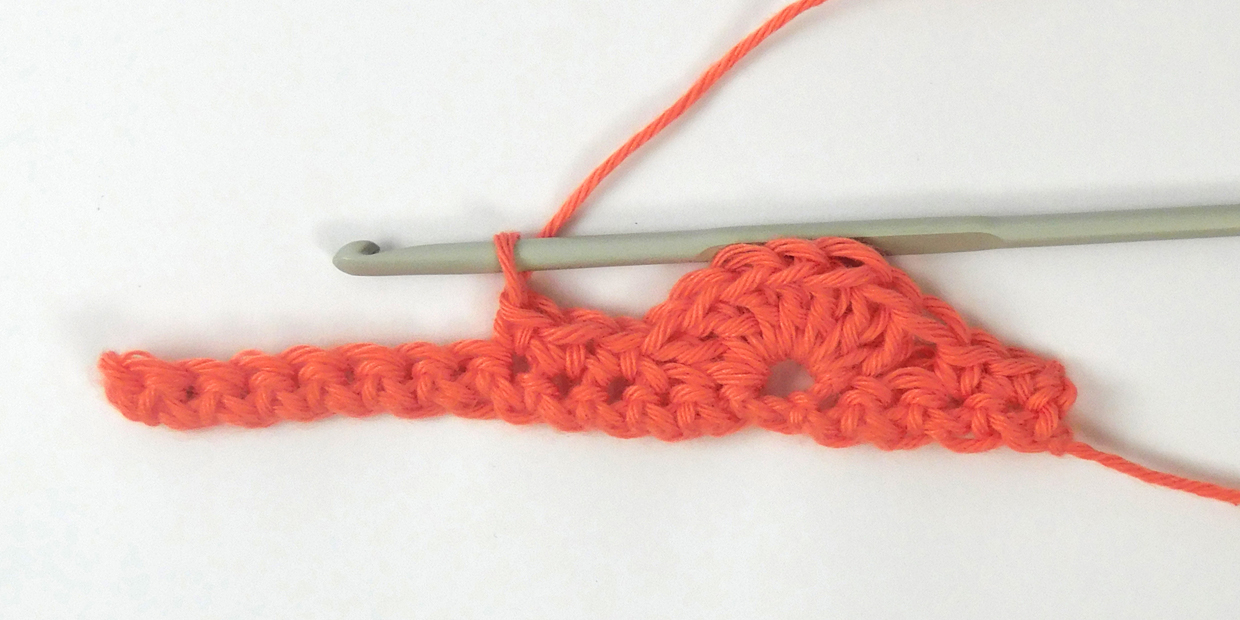
Now we’re going to dc in the next 2 stitches. You’ll notice the difference now, this method has three dc stitches in between each semi-circle rather than just the one.
Crochet_Catherine_Wheel_Stitch_alternative_Step4

Step 5

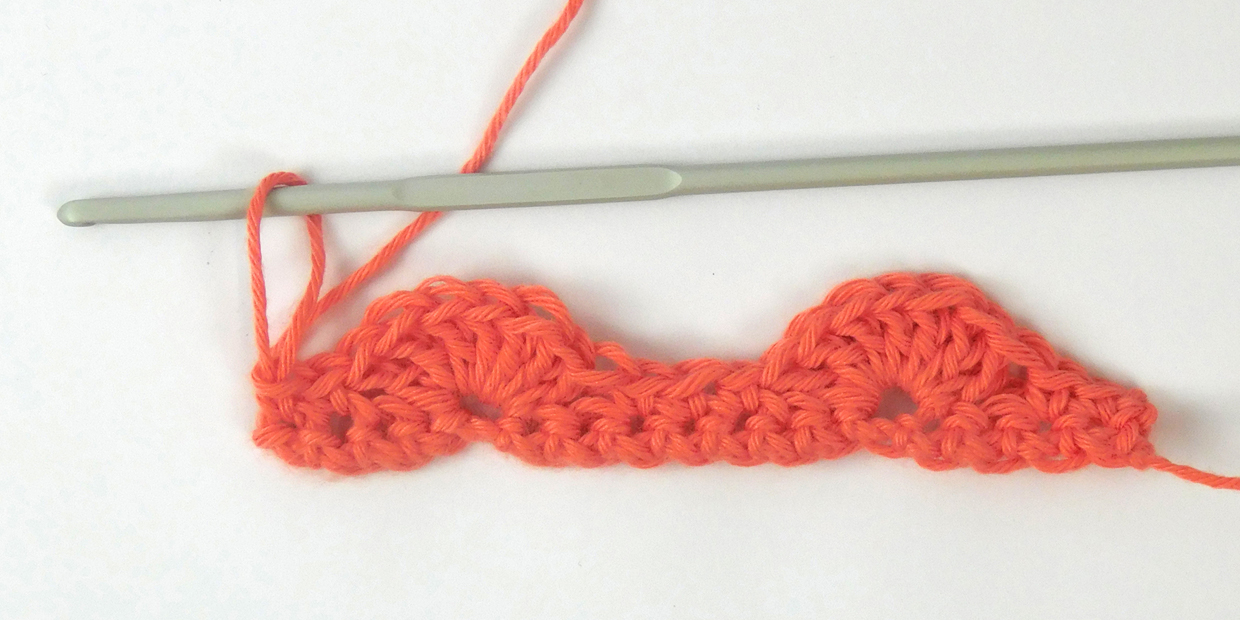
Skip 2 sts, 7tr in next st, skip 2 sts, dc in the last 2 stitches. This completes Row 1. Turn your work.
Crochet_Catherine_Wheel_Stitch_alternative_Step5

Step 6

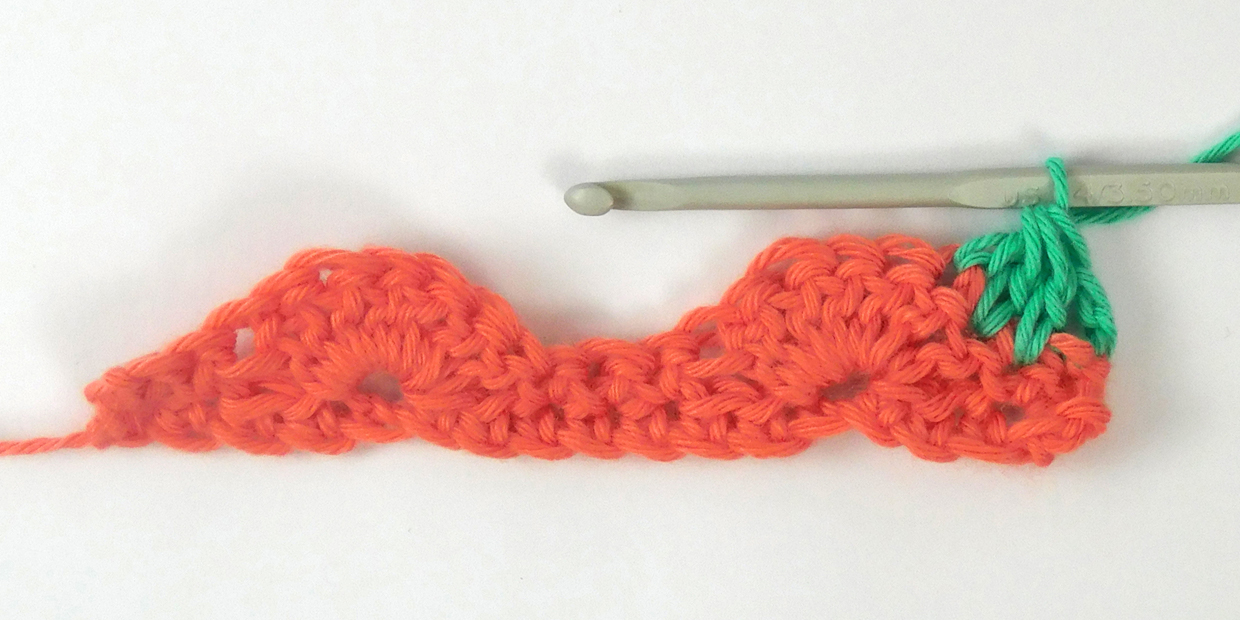
Start Row 2 with ch2, then tr3tog in the next 3 stitches. You may be wondering why you start with a ch2 rather than a ch3 – this is because the ch2 and the tr3tog will act as a tr4tog and when you come to work the next row you will only be working into the tr3tog. By just working ch2 instead of ch3 your side edge will be a bit neater and not create a loop that sticks out at the side.
Crochet_Catherine_Wheel_Stitch_alternative_Step6

Step 7

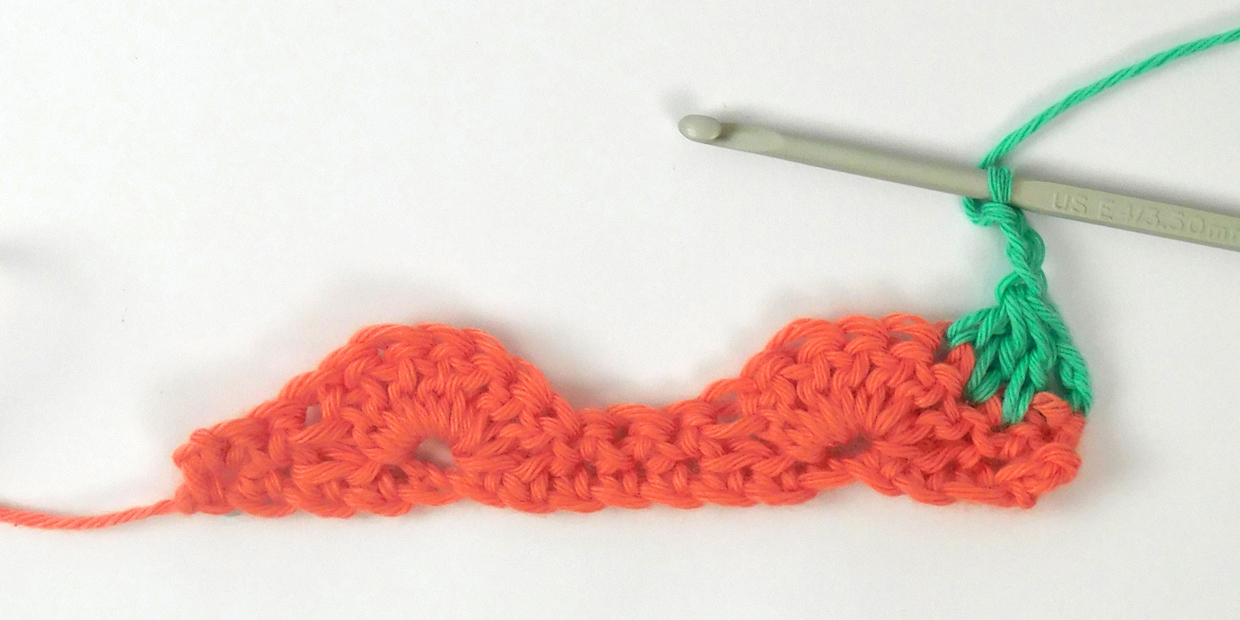
Ch3, but don’t skip any stitches.
Crochet_Catherine_Wheel_Stitch_alternative_Step7

Step 8

Dc in the next 3 stitches

Crochet_Catherine_Wheel_Stitch_alternative_Step8

Step 9

Ch3, then tr7tog in the next 7 stitches (this will be into 2tr, 3dc, 2tr)
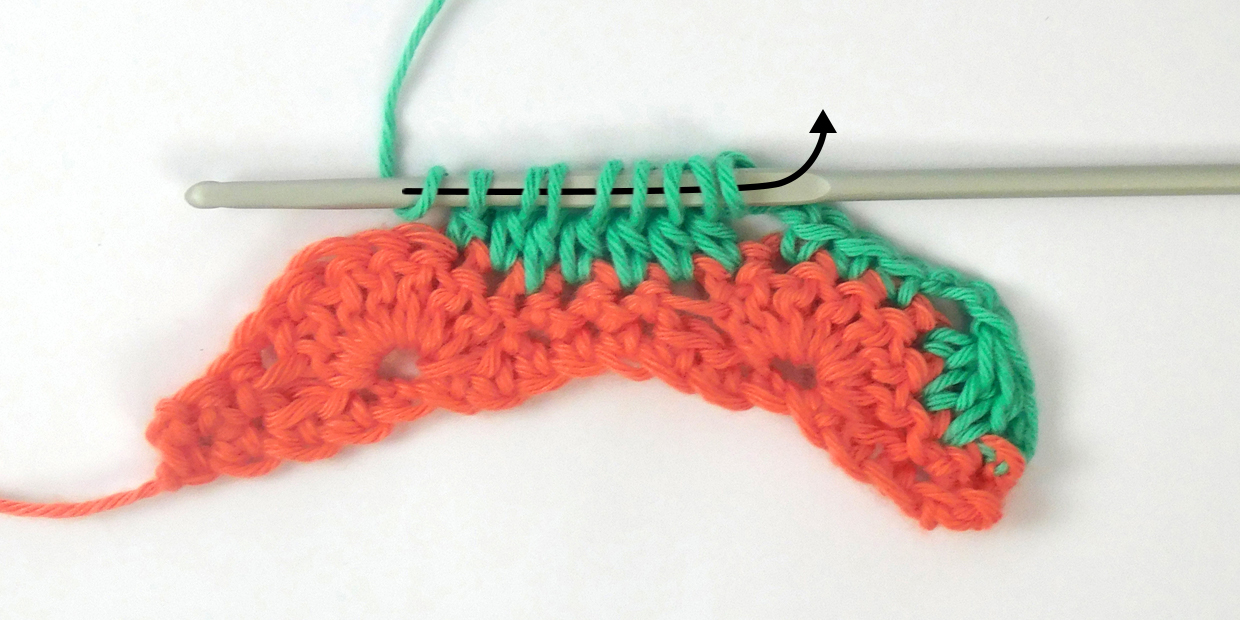
Crochet_Catherine_Wheel_Stitch_alternative_Step9

Crochet_Catherine_Wheel_Stitch_alternative_Step10

Step 10

Ch3 and dc in next 3 stitches, ch3.
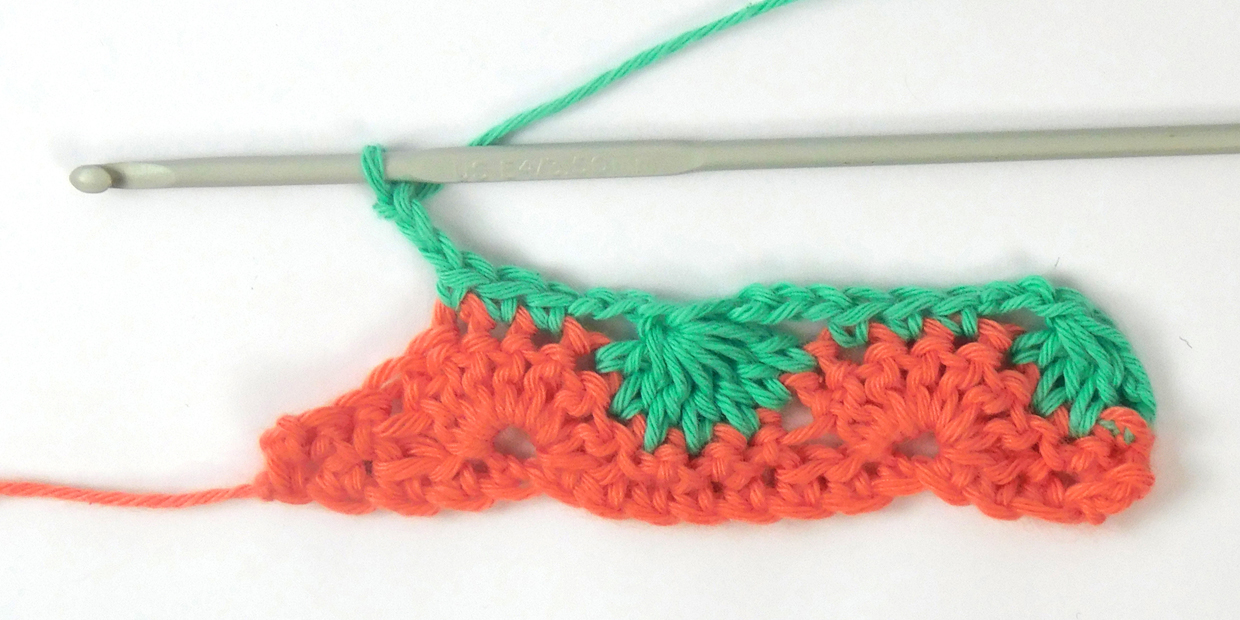
Crochet_Catherine_Wheel_Stitch_alternative_Step11

Step 11

To complete Row 2, tr4tog into the next 4 sts. Turn your work.
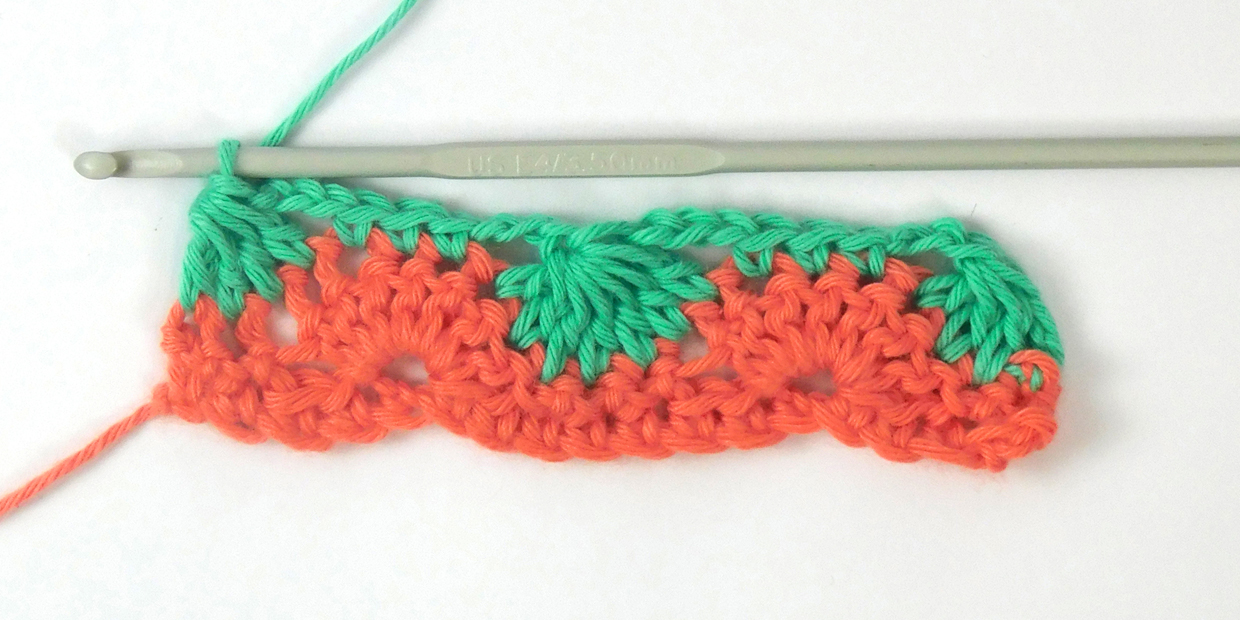
Crochet_Catherine_Wheel_Stitch_alternative_Step12

Step 12

Start Row 3 with ch3 (counts as a treble), and 3tr into the first stitch (at the base of your ch3)
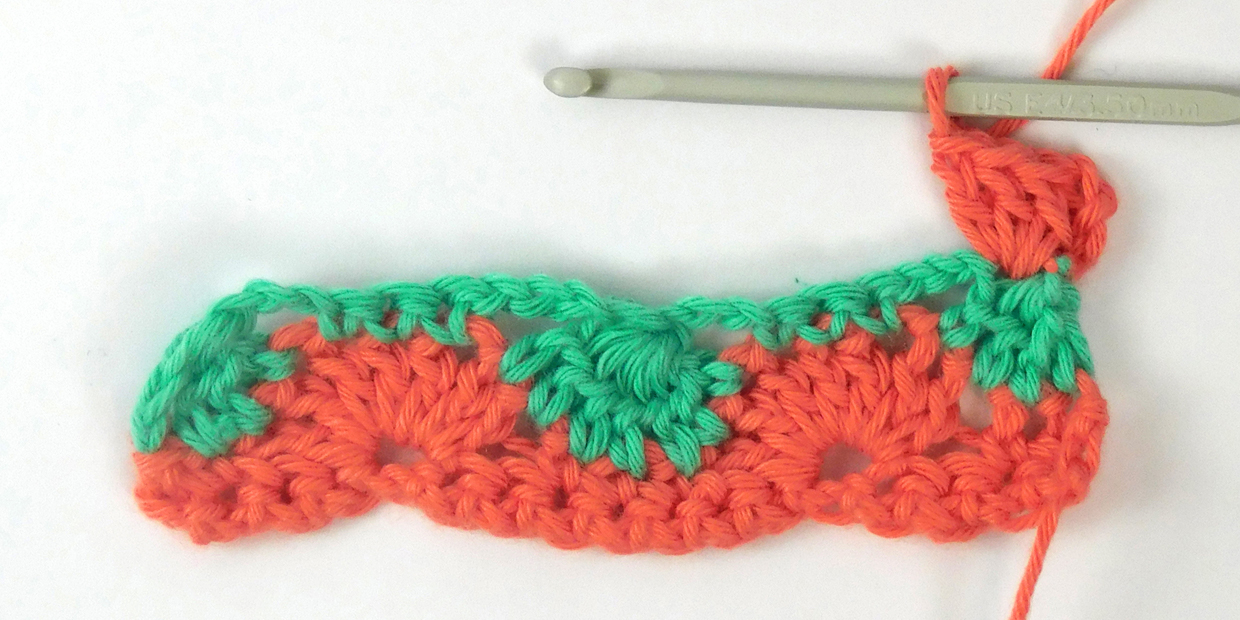
Crochet_Catherine_Wheel_Stitch_alternative_Step13

Step 13

Skip the ch3 and dc into next 3 sts.
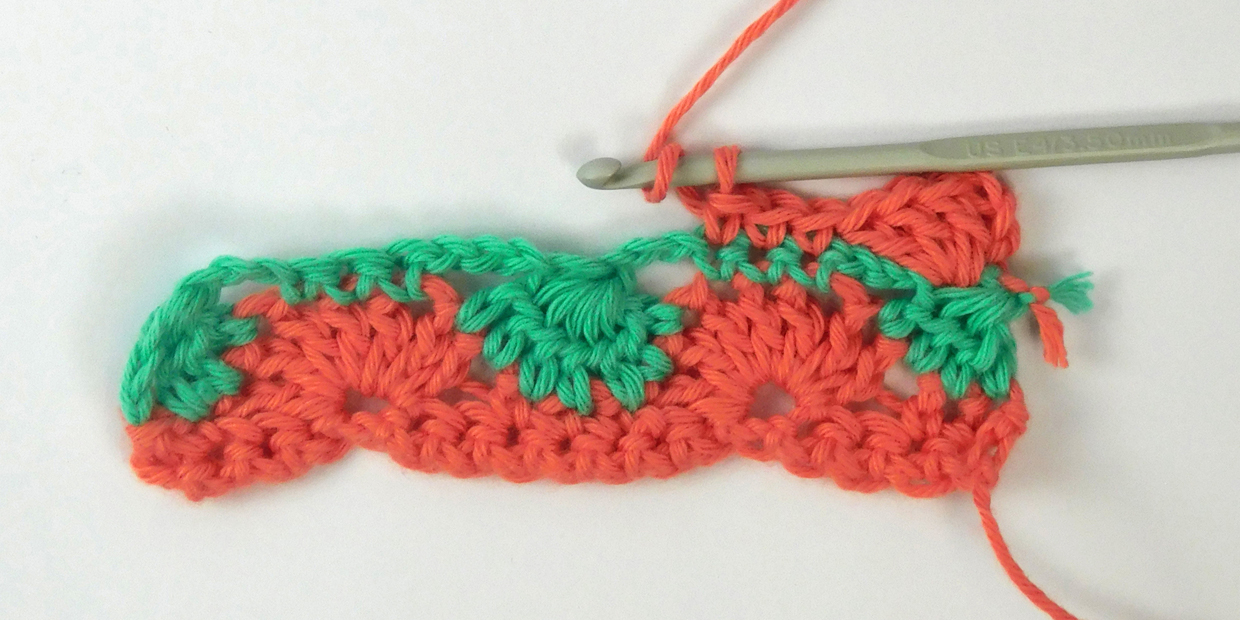
Crochet_Catherine_Wheel_Stitch_alternative_Step14

Step 14

Skip ch3 and 7tr into next st (remember our guide from the main method for where to insert your hook – in the same place as the tr7tog come together)
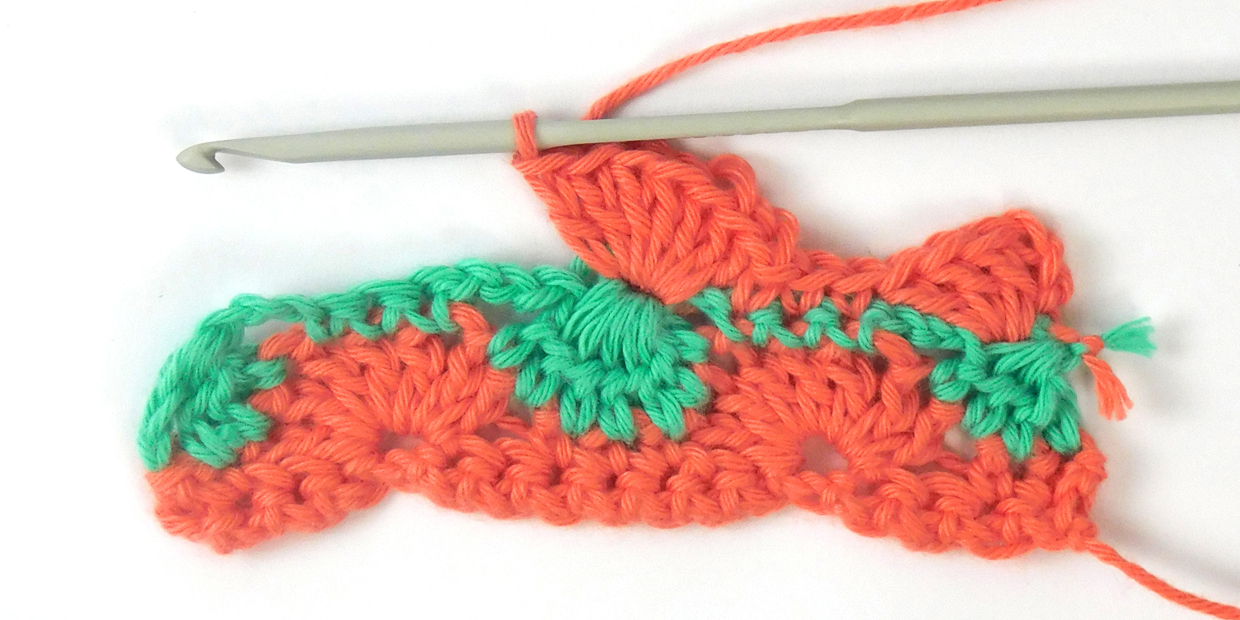
Crochet_Catherine_Wheel_Stitch_alternative_Step15Wheel_Stitch_alternative_Step15

Step 15

Skip the next 3ch, dc in next 3 sts, skip 3ch, 4tr in final stitch. This completes Row 3. Turn your work.
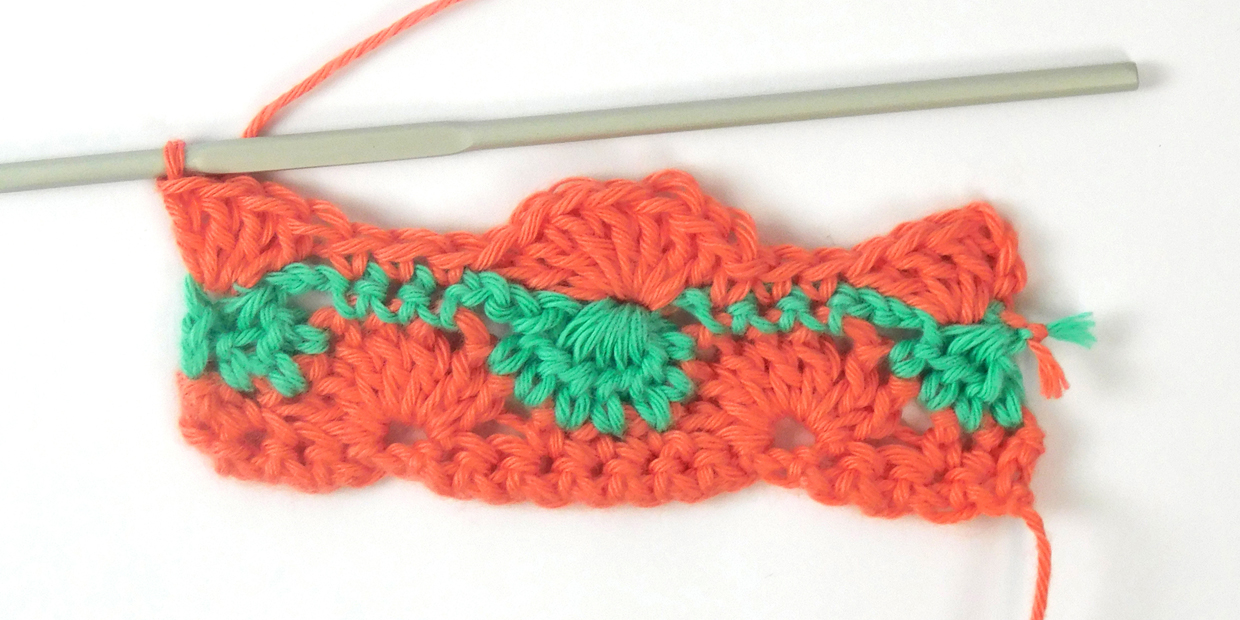
Crochet_Catherine_Wheel_Stitch_alternative_Step16

Step 16

To start Row 4, ch1, dc in first 2 sts, ch3.
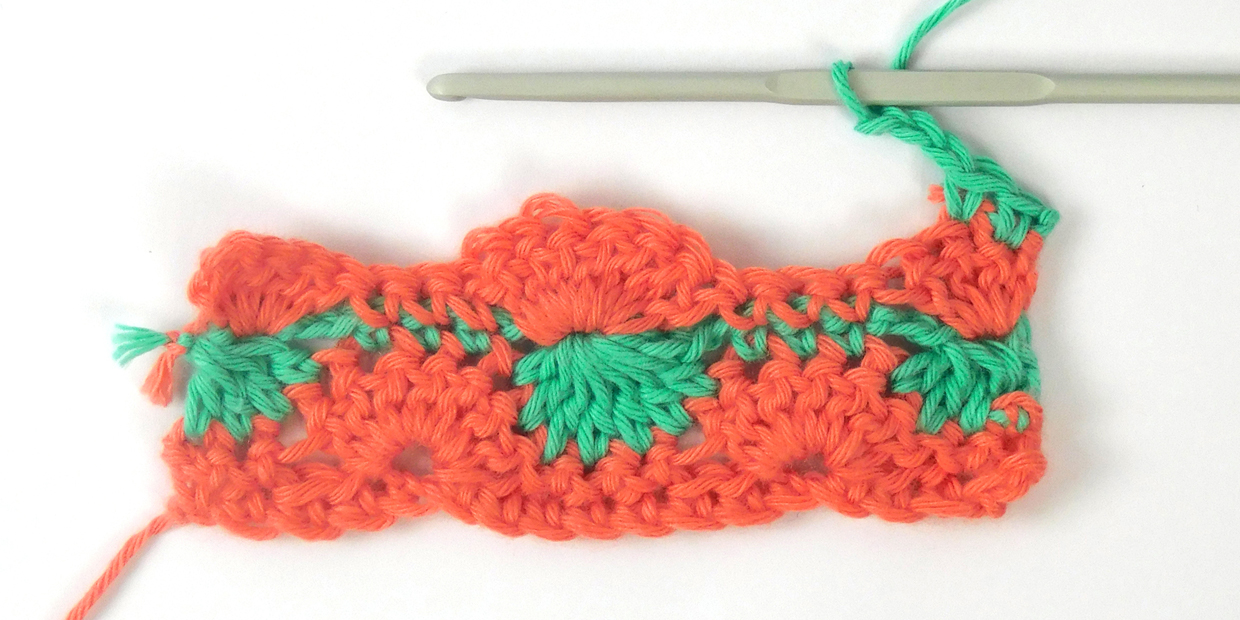
Crochet_Catherine_Wheel_Stitch_alternative_Step17

Step 17

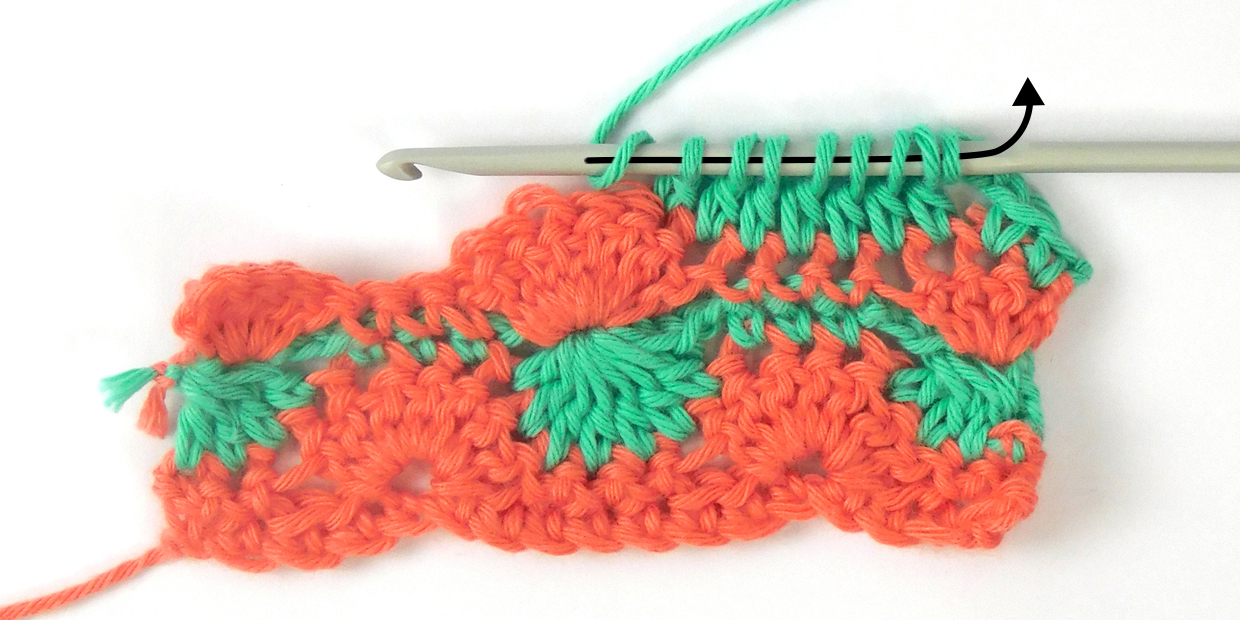
Tr7tog in next 7 stitches (again this will be going into 2tr, 3dc, 2tr)
Crochet_Catherine_Wheel_Stitch_alternative_Step18

Crochet_CCrochet_Catherine_Wheel_Stitch_alternative_Step19atherine_Wheel_Stitch_alternative_Step19

Step 18

Ch3 and dc into next 3 sts.

Crochet_Catherine_Wheel_Stitch_alternative_Step20

Step 19

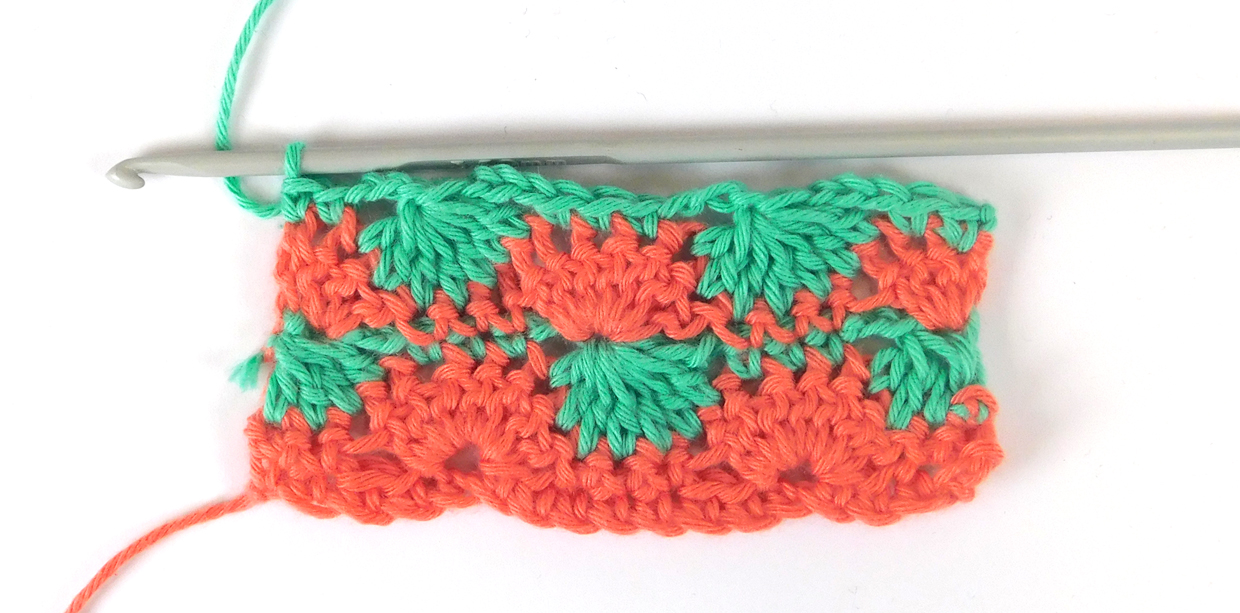
Complete row 4 with ch3, tr7tog over next 7 stitches, ch3, dc in next stitch, dc in top of 3ch.
Crochet_Catherine_Wheel_Stitch_alternative_Step21B

To continue with the stitch pattern, just keep repeating rows 1-4.