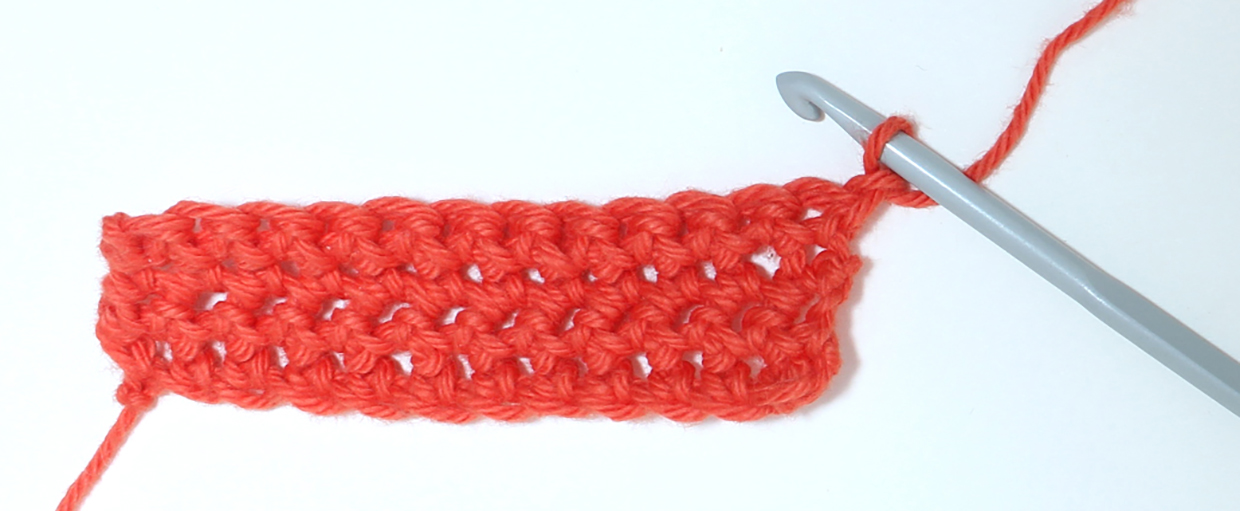
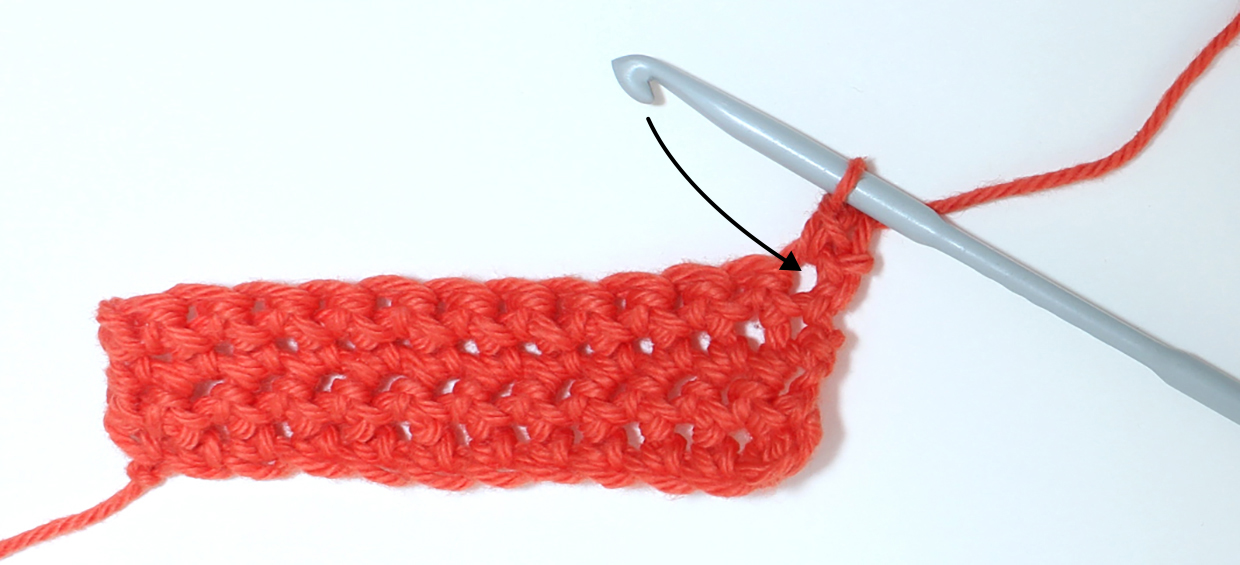
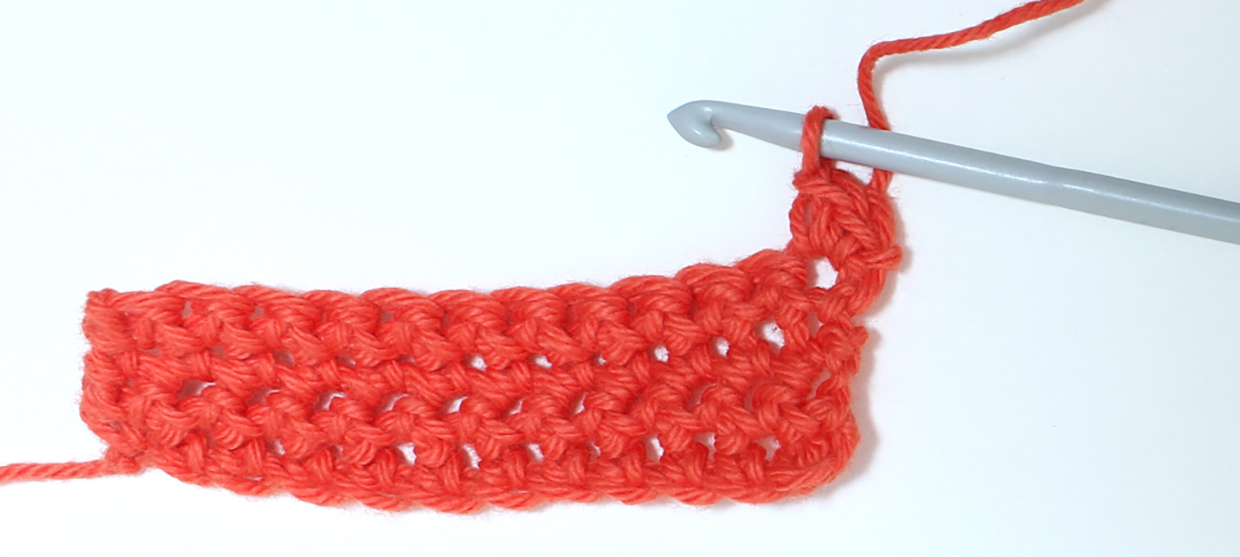
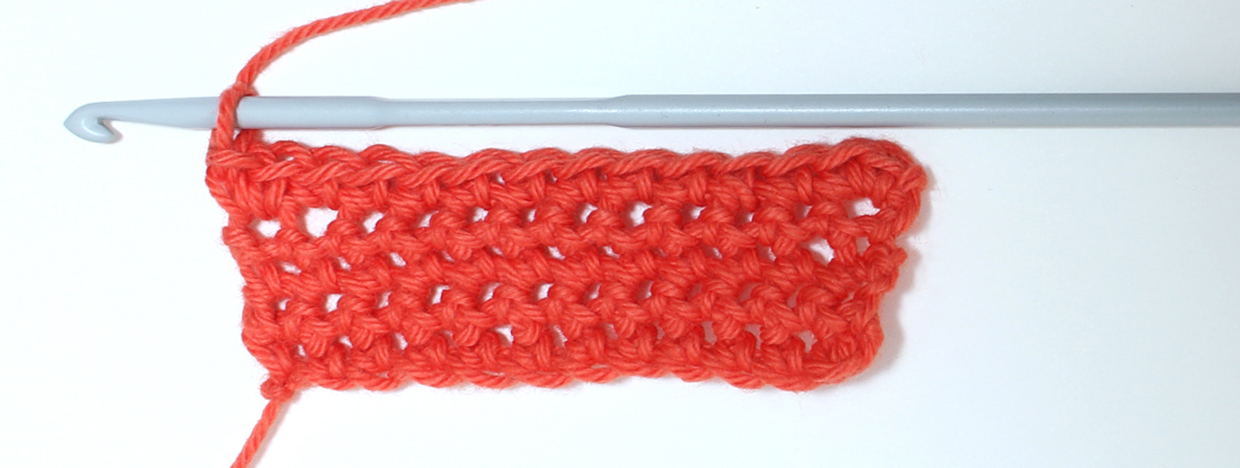
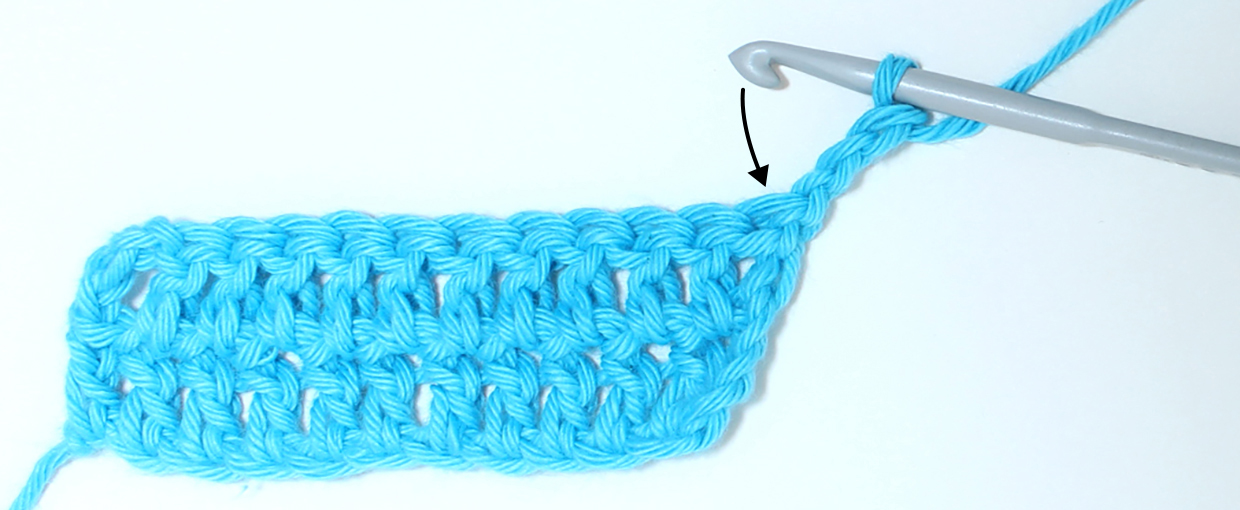
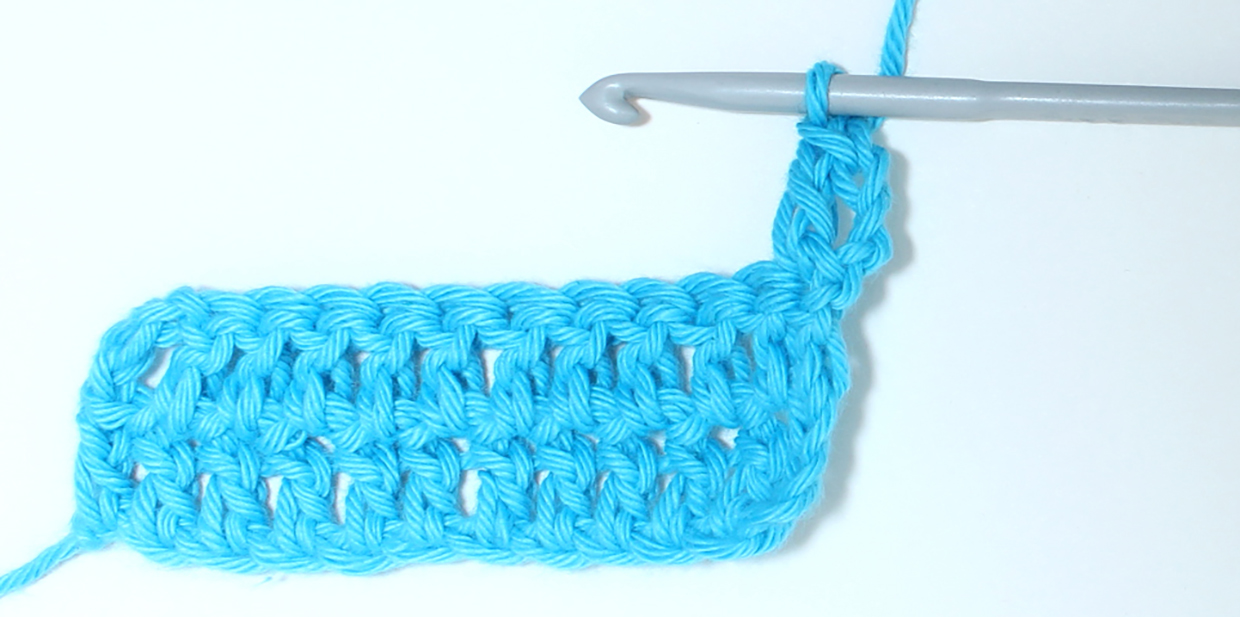
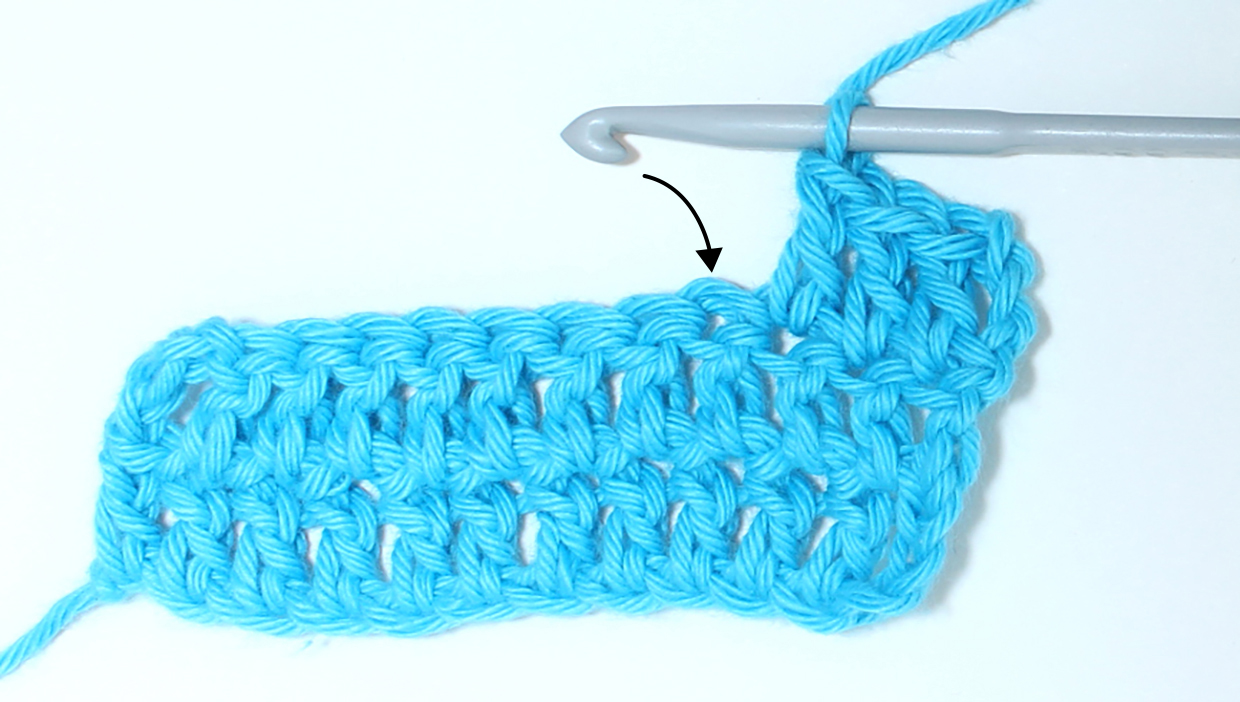
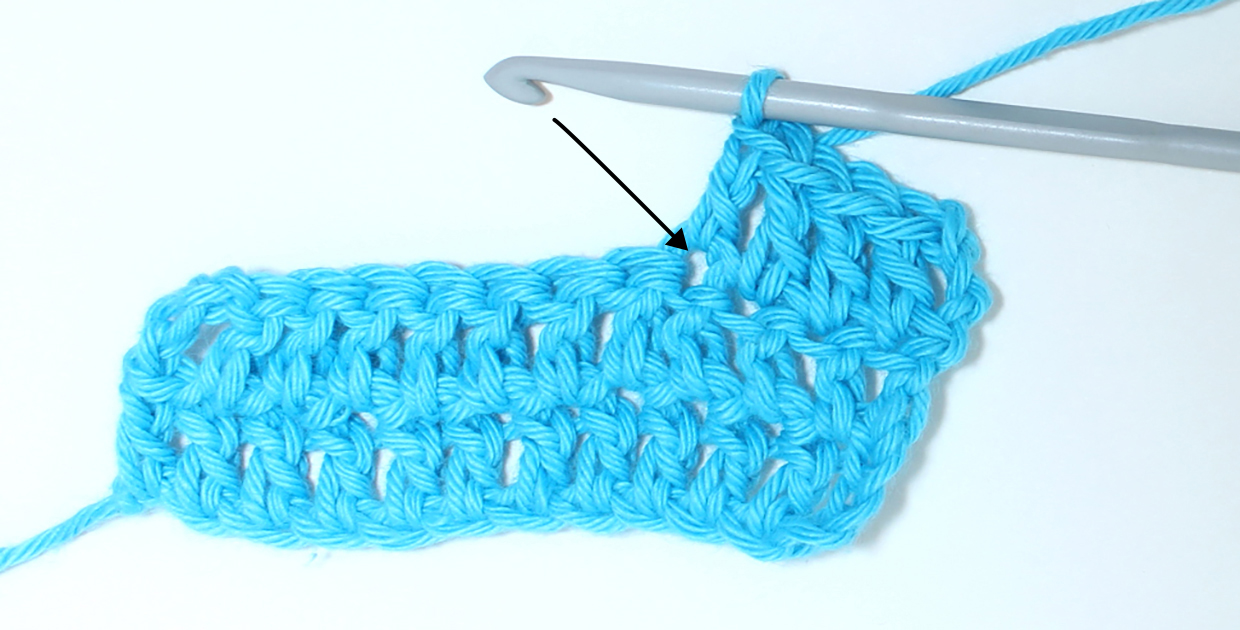
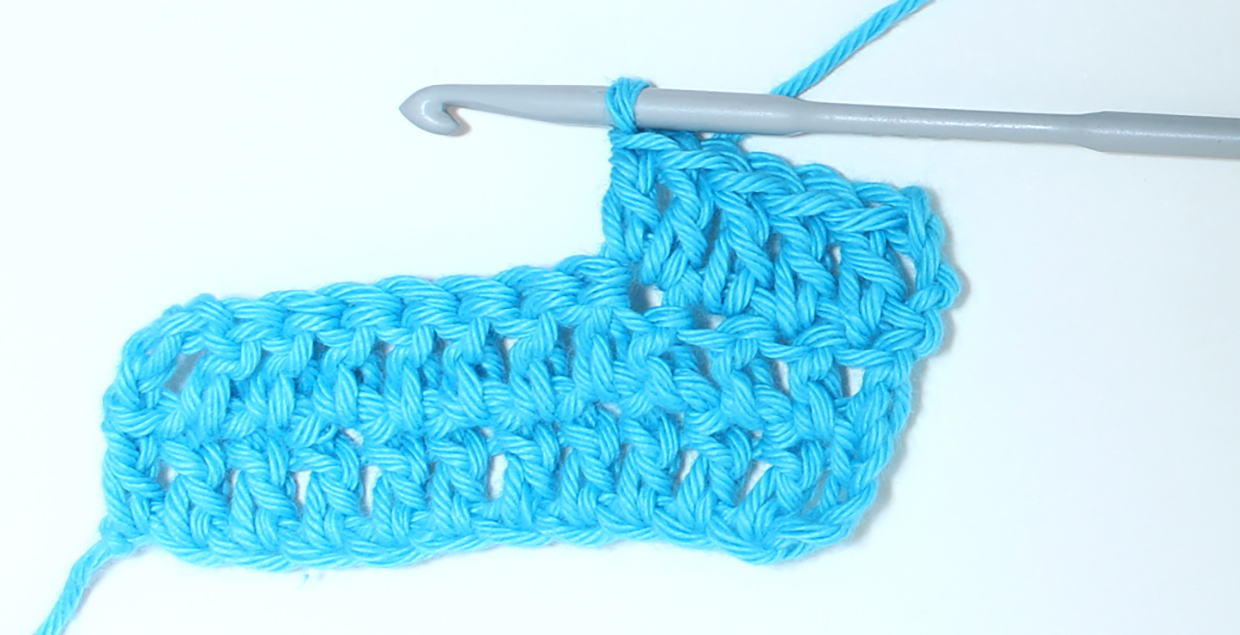
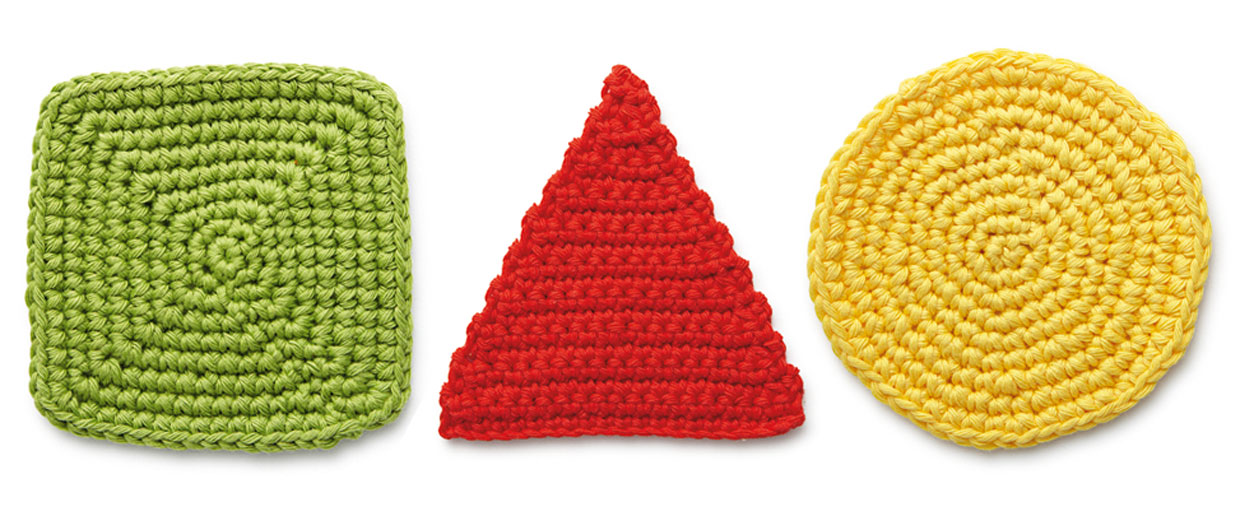
Working crochet increase stitches are vital if you want to be able to create different shapes, either flat or 3D ones. Here, we’ll show you how to use increase stitches to make the fabric slope at an angle.
Working increases will shape the fabric outwards and are especially useful when working in the round, and likewise decrease stitches will shape the work inwards. You can use increases to work flat shapes in rows or rounds, such as squares or flowers, or to create 3D shapes worked in the round.
How to crochet increase
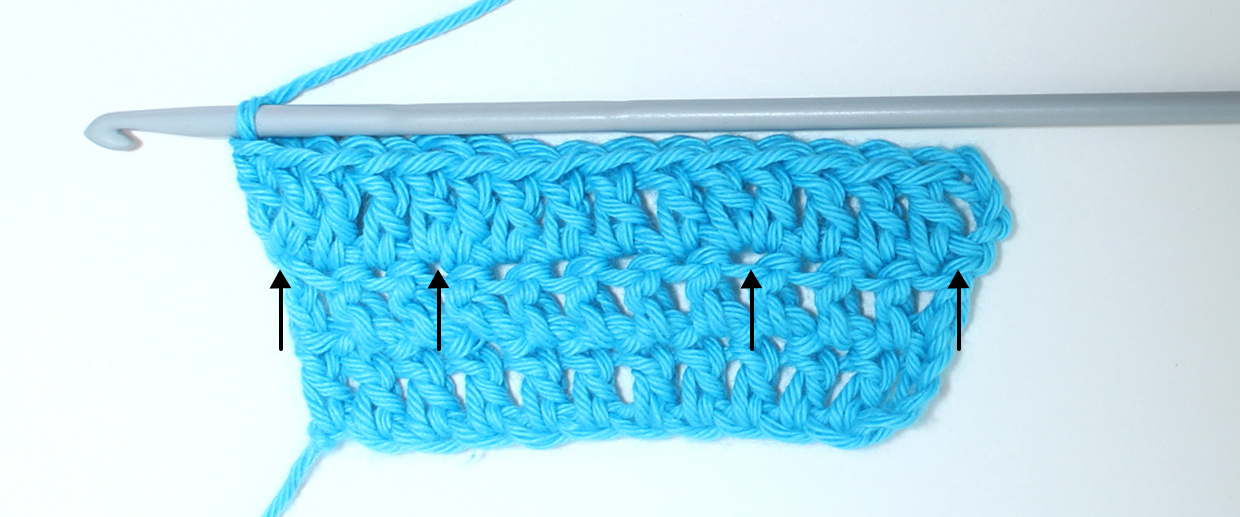
Increasing crochet stitches is surprisingly simple – you just work two crochet stitches (or occasionally more) into the same stitch on the previous row, increasing the stitch count by one. You can work this increase anywhere along the row, but if you work the increase in the centre of the row, this will create a different effect to increasing at the start or end of the row. Increases worked on every row will create a different effect to increases worked on every other row.
Different patterns can refer to increase stitches in different ways, but as a general rule of thumb if you see '2dc' - then that's going to be two dc stitches worked in the same place, which makes an increase. If you see 'dc in 2sts' - then that's one dc stitch in each of the next two stitches, so not an increase. We'll always write our patterns in this way, but occasionally you may see a pattern that says 'inc' - if this is the case it will normally advise if this is a 2dc or something different in the pattern notes.
To practise increasing, first make a short chain (around 10-12 chains) and work 2-3 rows of double crochet. Then practise making increases, at various points on the row, to see the shaping effects.
You can find a full list of all abbreviations we use in our abbreviations and conversions guide. This how to crochet increase tutorial is written in UK terminology but you can easily convert it to US terms using the guide.

