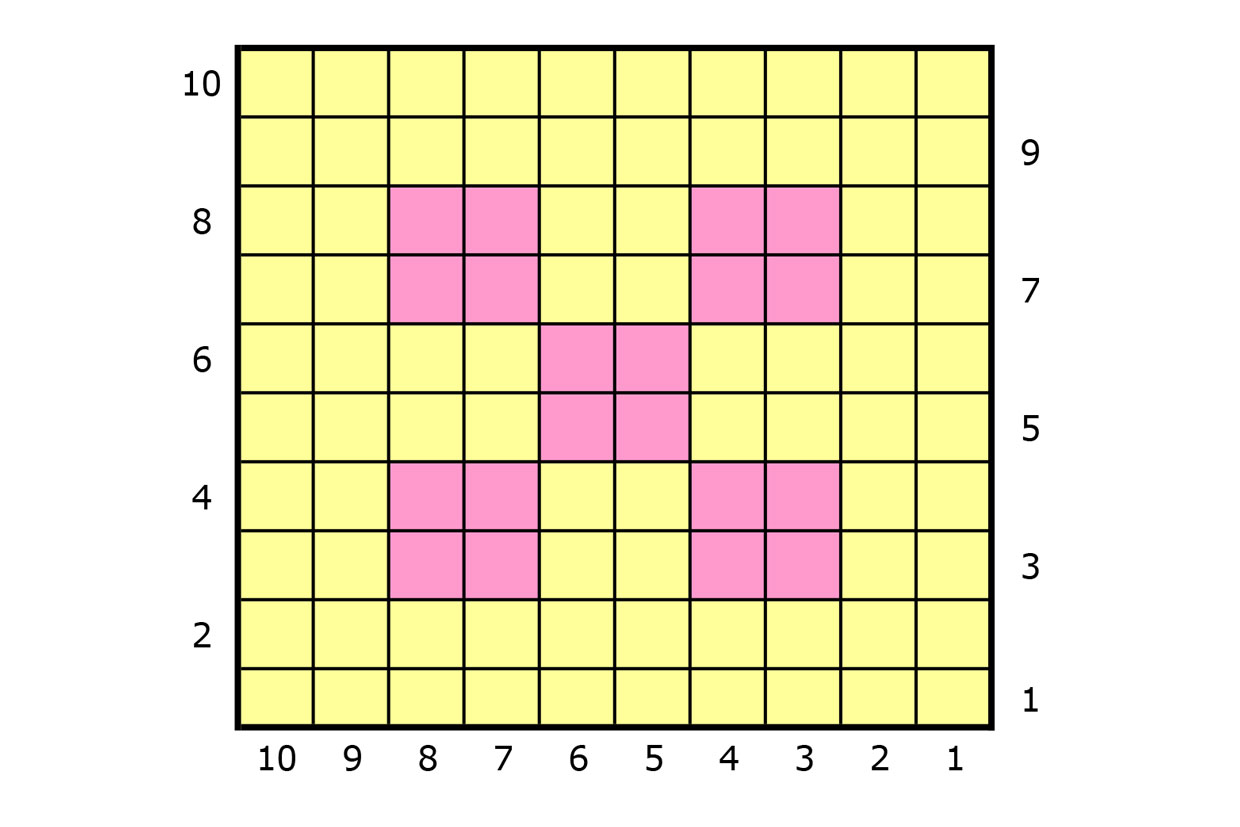
Once you know how to change yarn colour, you can use any of the 3 colourwork techniques below to create fun and interesting designs. Each technique has its own pro’s and cons, so you’ll find a brief description of what projects each technique is best for at the end of each section.
How to do Fair Isle crochet?
Fair Isle crochet is a classic technique that involves stranding different yarn colours across the wrong side (WS) of the fabric. To try it out, continue with your practice piece:
Step 1
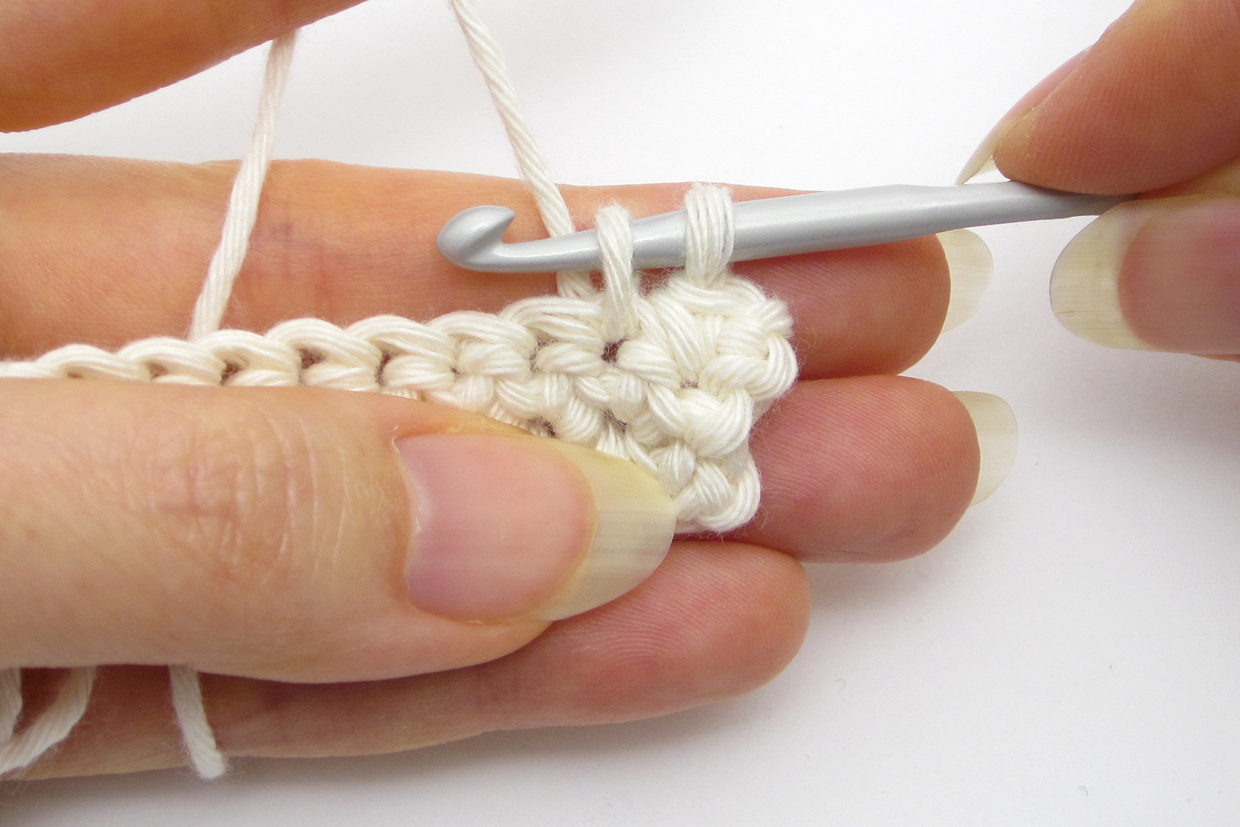
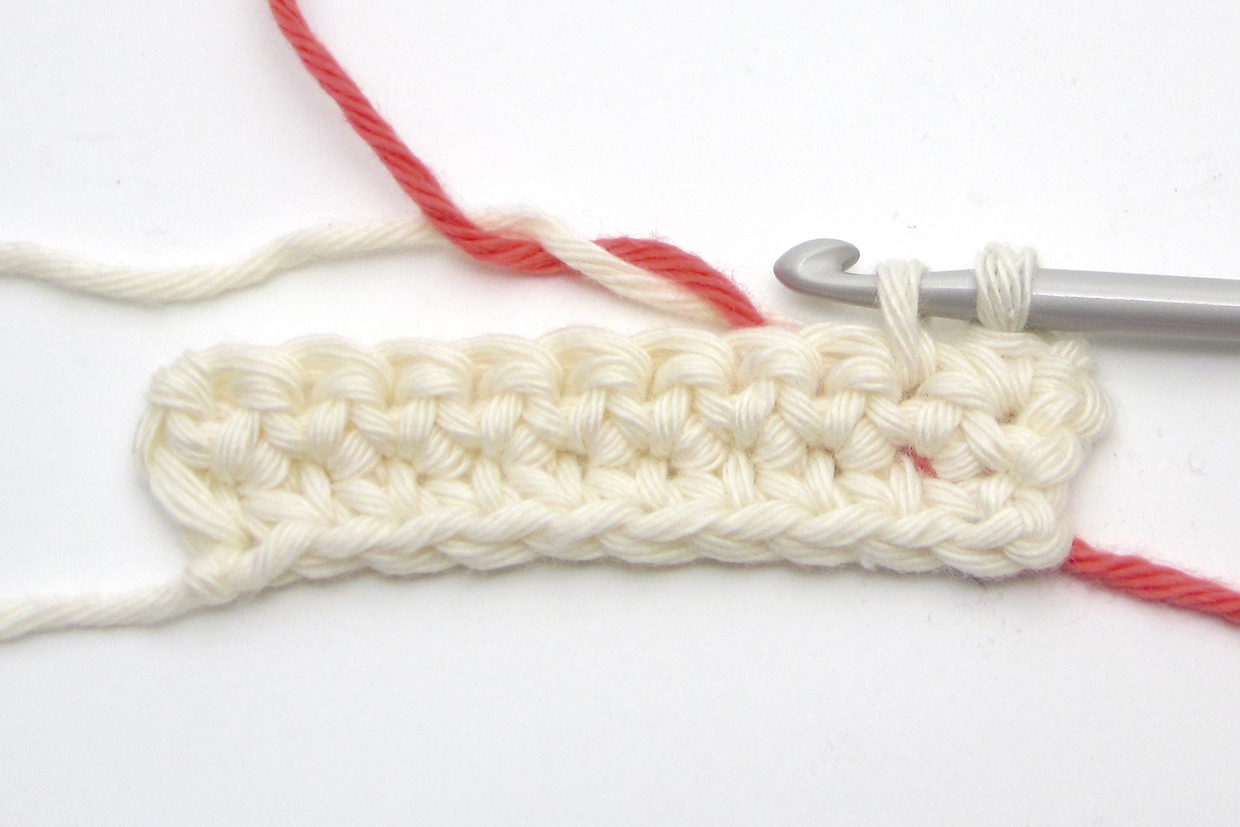
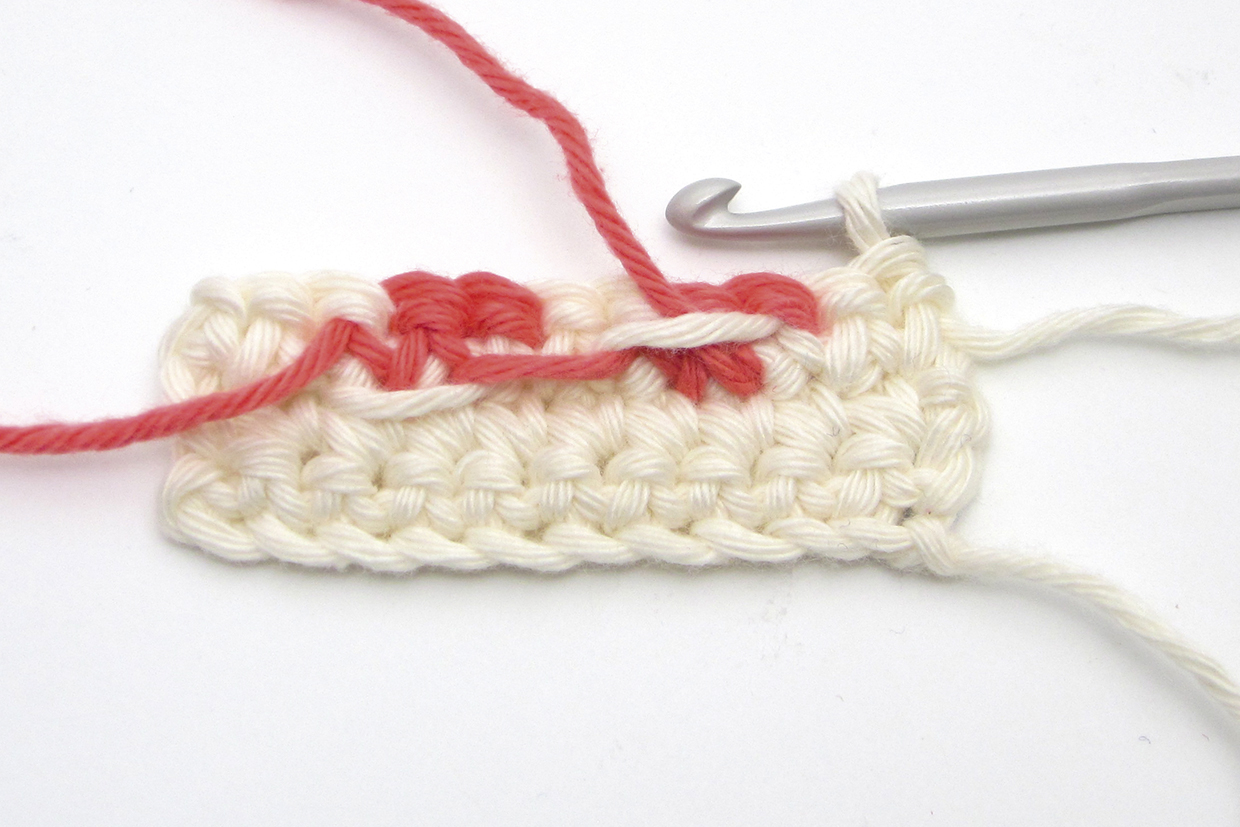
Work Row 4 as *2 dc in cream, 2 dc in pink; repeat from * to end. As you work, let the unused yarn colour dangle free at the back but remember to twist the yarns together when you change colour. On the WS, you’ll see that each time you change colour, the yarn travels across the fabric from where you previously used it – this creates a strand or float of coloured yarn across the WS. Don’t pull the strand tight because it could pucker the fabric, but don’t leave it loose either as the stitches could look baggy. At the end of the row, turn and the fabric should look like this on the WS.
Step 2
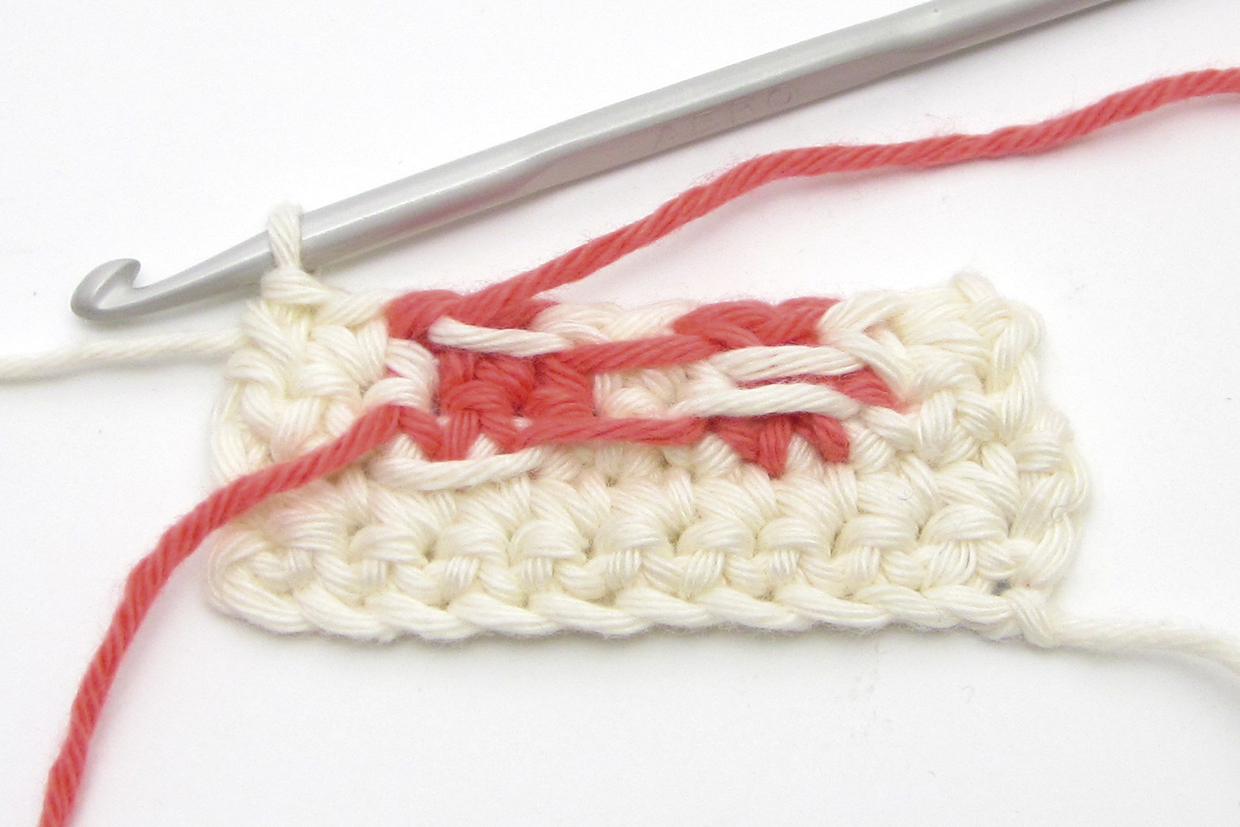
Fair Isle crochet strands need to be on the WS, so on a WS row like Row 4, let the unused yarn dangle free at the front of the fabric and create strands in front of the stitches. Your finished Row 4 should look like this.
Step 3
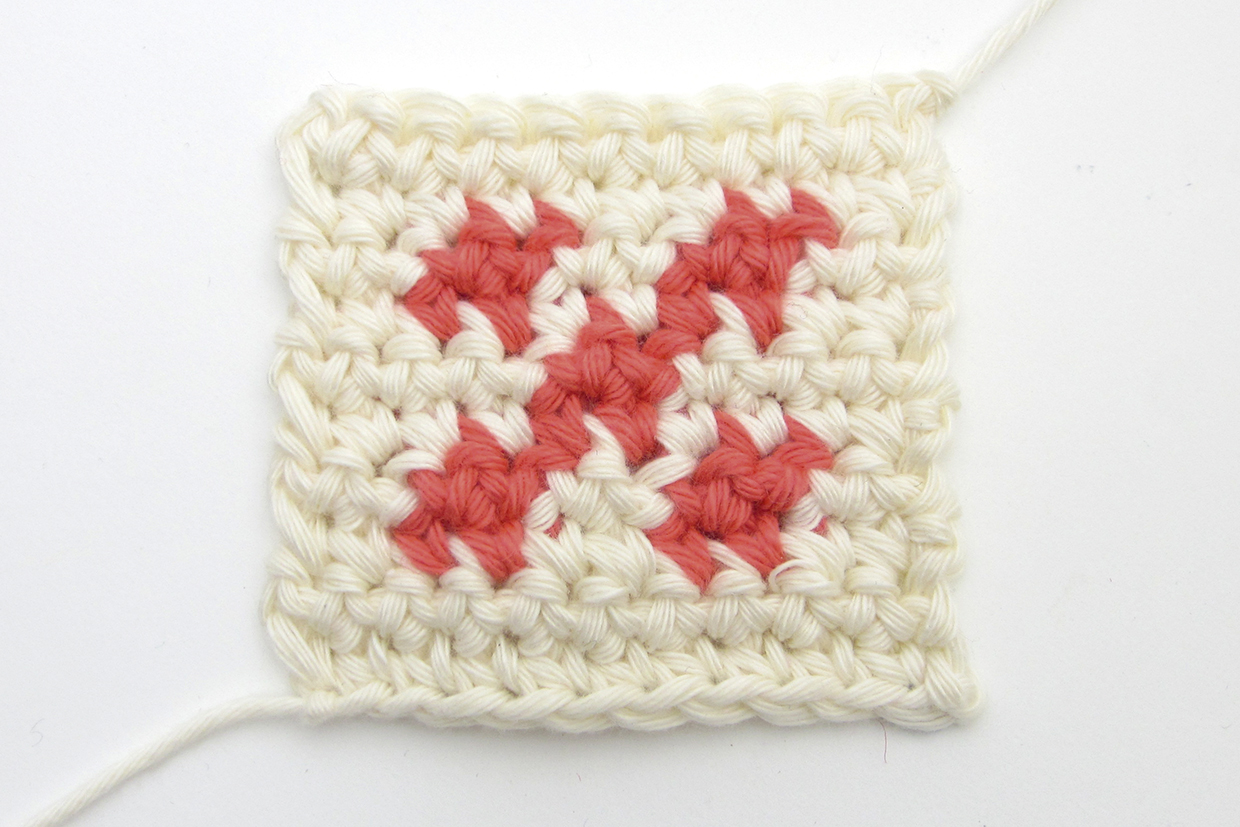
Turn and continue to follow the chart using the Fair Isle crochet technique. Your finished fabric should look like this on the RS…
Step 4
…and like this on the WS.
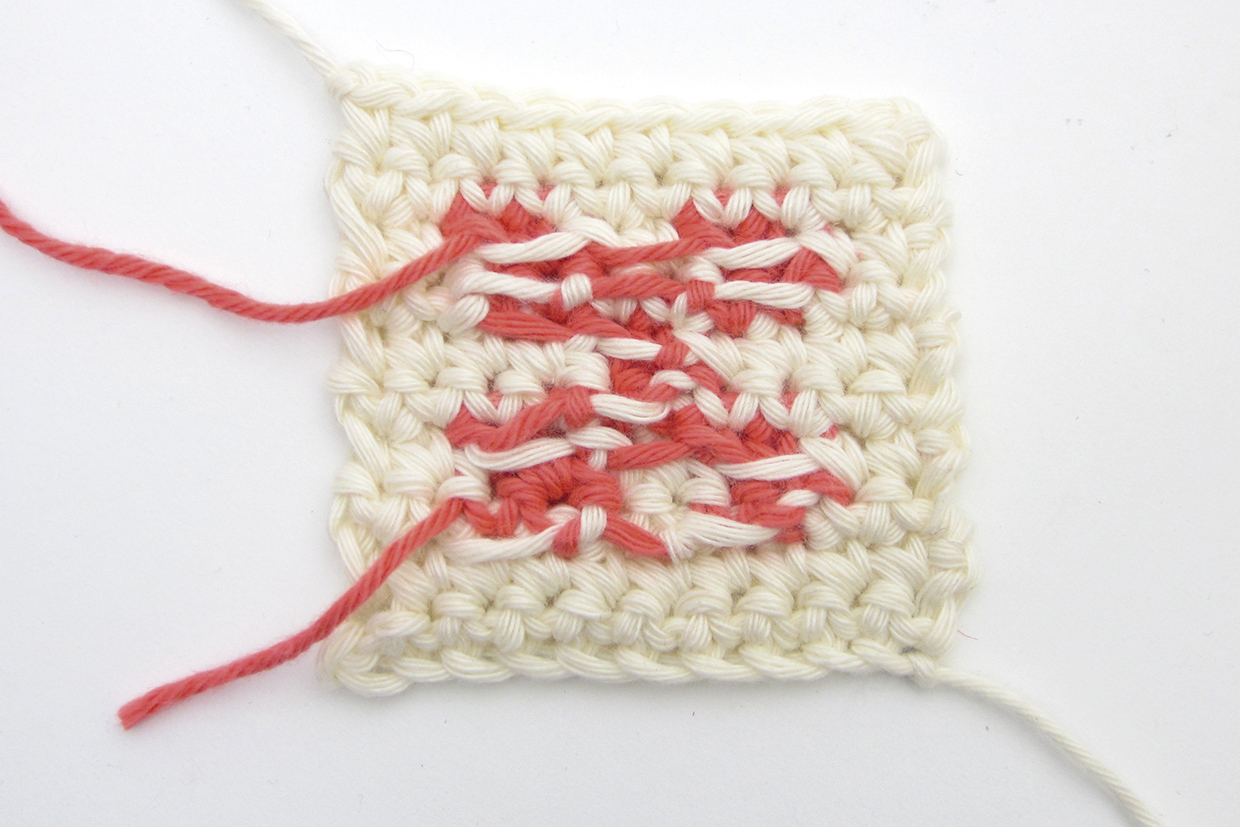
Fair Isle crochet produces a lot of strands, which can be handy for creating a thick, cosy jumper. But it can be tricky to get your strand tension right, plus they can get easily snagged on toes or fingers (not good for gloves or items meant for babies). Long strands (more than four stitches apart) can be unmanageable, so Fair Isle crochet is best for patterns with colour changes up to four stitches apart
Fair Isle crochet is also great for anything that will be lined, such as jackets or luxury throws. That way the strands are safely hidden.
How to do Tapestry crochet
Tapestry crochet is quite similar to Fair Isle crochet – both involve taking different yarn colours across each row as you work. In tapestry crochet, however, you make your new stitches over the spare ‘strands’ of yarn, encasing them inside the fabric at the back of your work. To try it out, start a new practice piece, as before (2 rows of 10 dc in cream).
Step 1
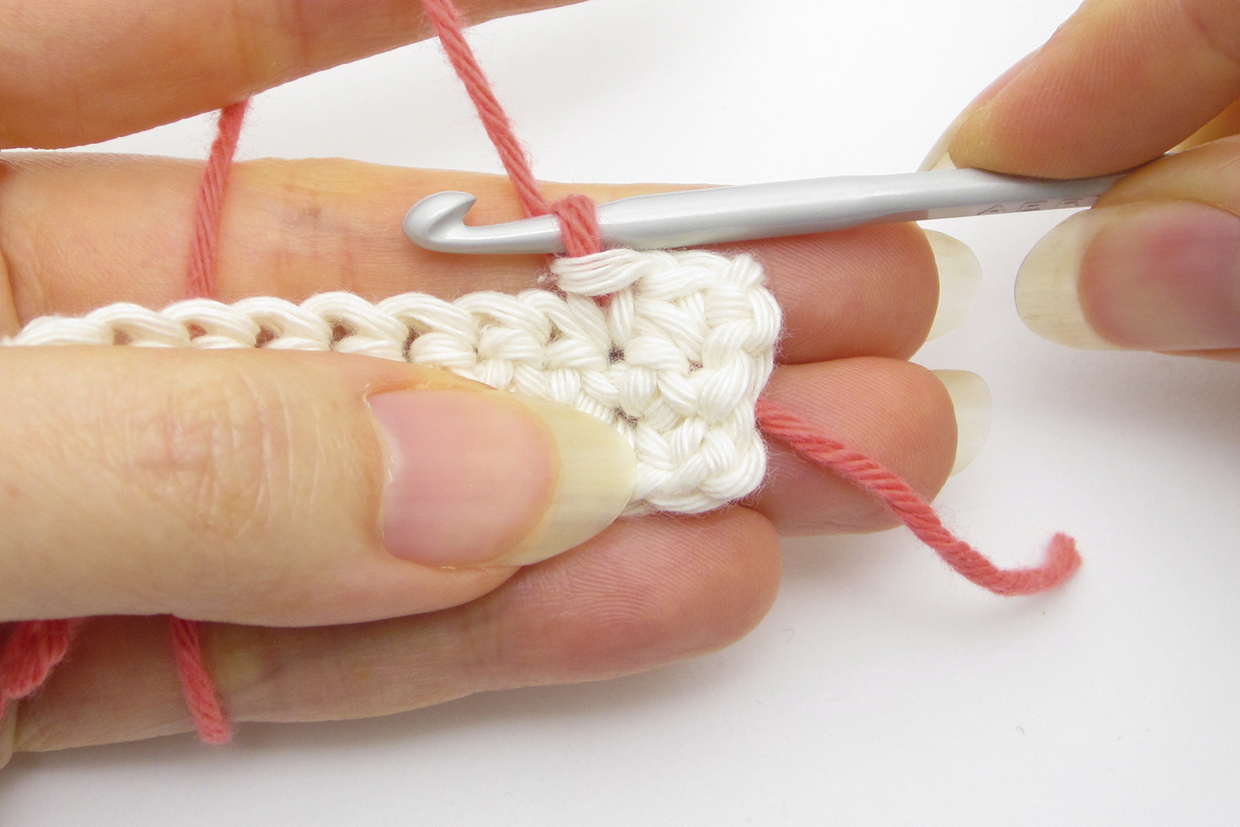
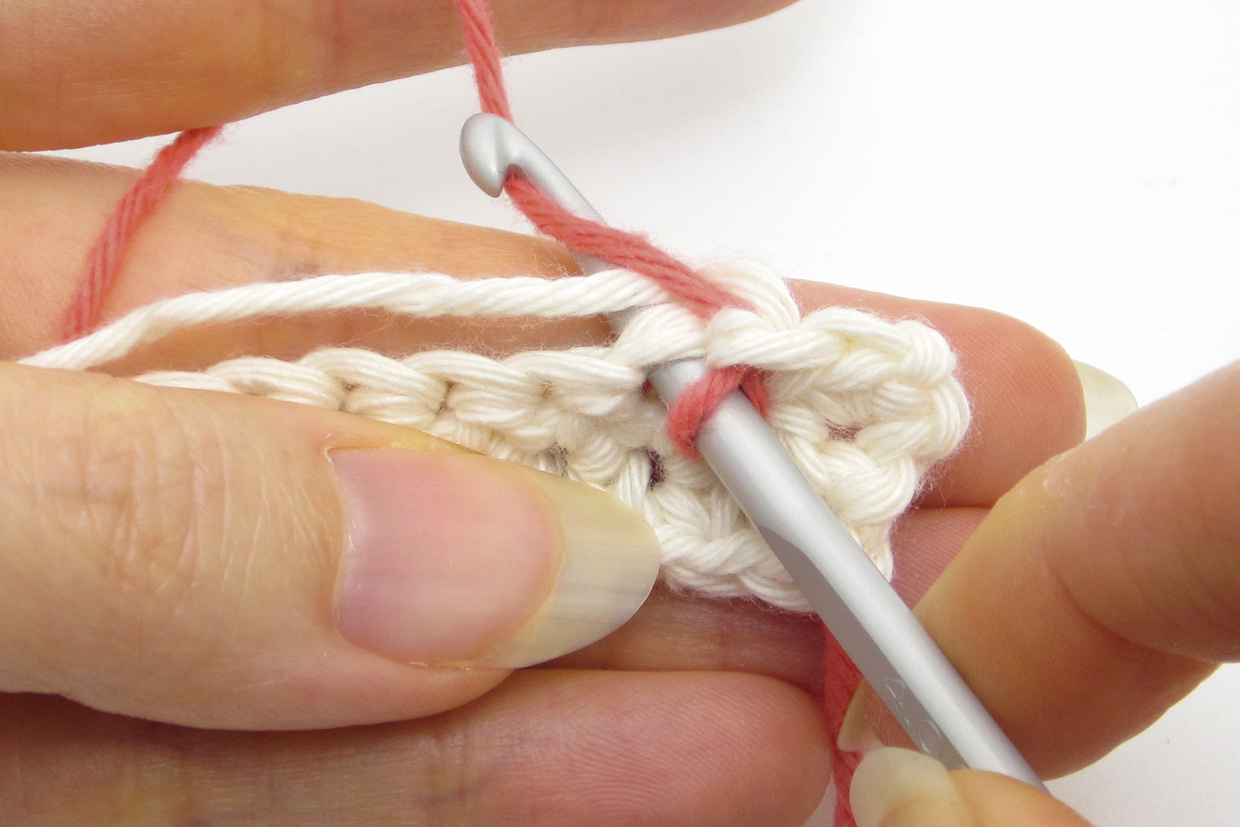
Work Row 3 as *2 dc in cream, 2 dc in pink; repeat from * to end. As you work, position the unused yarn colour over the dc stitches below and work the next 2 dc in the contrasting yarn colour – you will be effectively weaving the unused colour into the fabric. Remember to twist the yarns together when you change colour, but be gentle – although the yarns are encased, making it easier to achieve an even tension, they will still pucker the fabric if you pull them too tightly.
Step 2
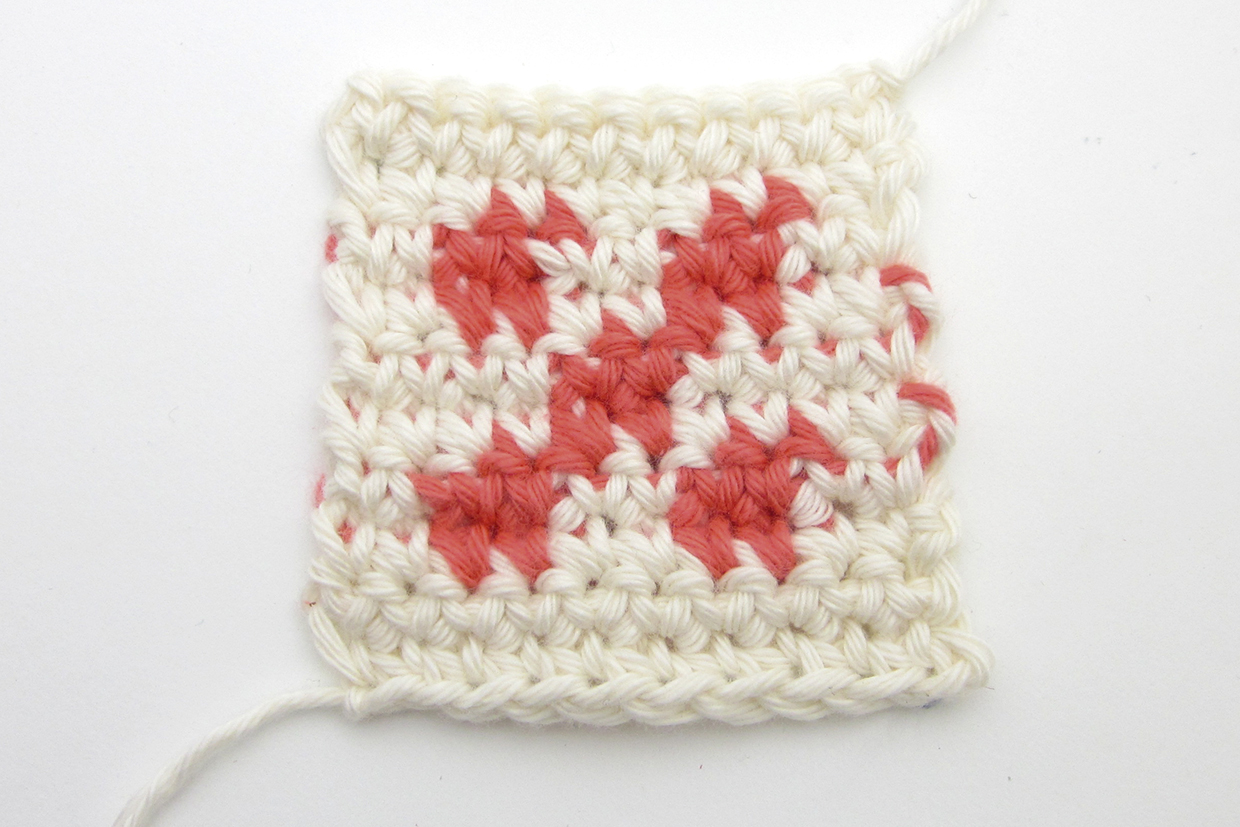
Turn and continue to follow the chart using the tapestry crochet technique in the same way on subsequent rows. When you’ve finished, your fabric should look like this on the right side…
Step 3
… and like this on the wrong side.
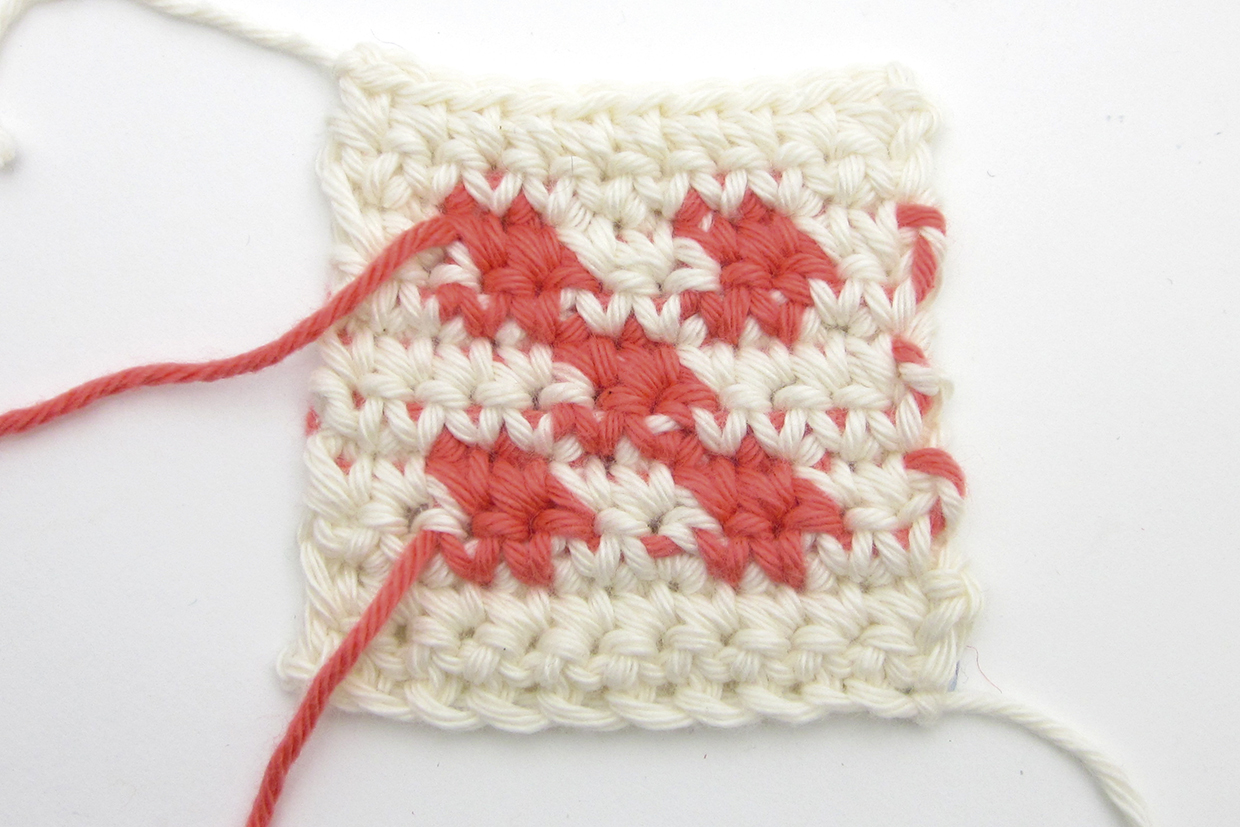
You can use tapestry crochet, which also creates thick fabrics, to encase an unused yarn for as many stitches as you like before using it again. But encasing more than one yarn at a time is tricky, so tapestry is best for two-colour patterns.
However, encasing the yarns creates ‘colour bleed’ – on our sample, you really notice the pink yarn through the cream stitches. You can use a smaller hook to reduce the gap between stitches, but this can create tension issues. The best solution is to use two yarns that look good together
With no obvious right side, tapestry fabric is reversible, which is great for projects like scarves where both sides will be seen.
How to do Intarsia crochet
Intarsia crochet is different to both Fair Isle and tapestry crochet, which share similarities. With intarsia crochet you use separate balls of yarn for each colour section. To prepare an intarsia crochet sample, wind two small balls in pink yarn and three small balls in cream yarn. Start a new practice piece, as before (2 rows of 10 dc in cream).
Step 1
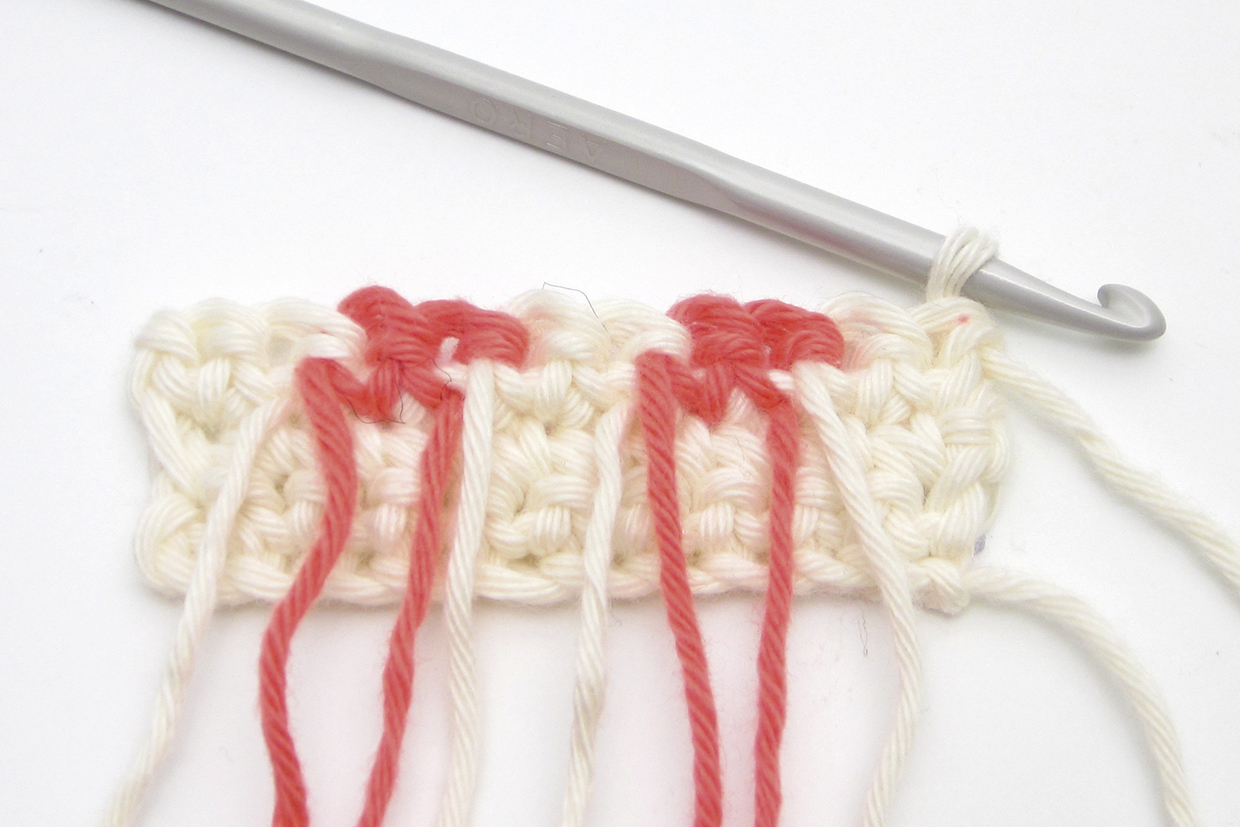
Work Row 3 as *2 dc in cream, 2 dc in pink; repeat from * to end. As you work, use a new ball for each colour change and twist the yarns together as before. Let the unused yarns dangle free on the WS. Turn and your work should look like this on the WS.
Step 2
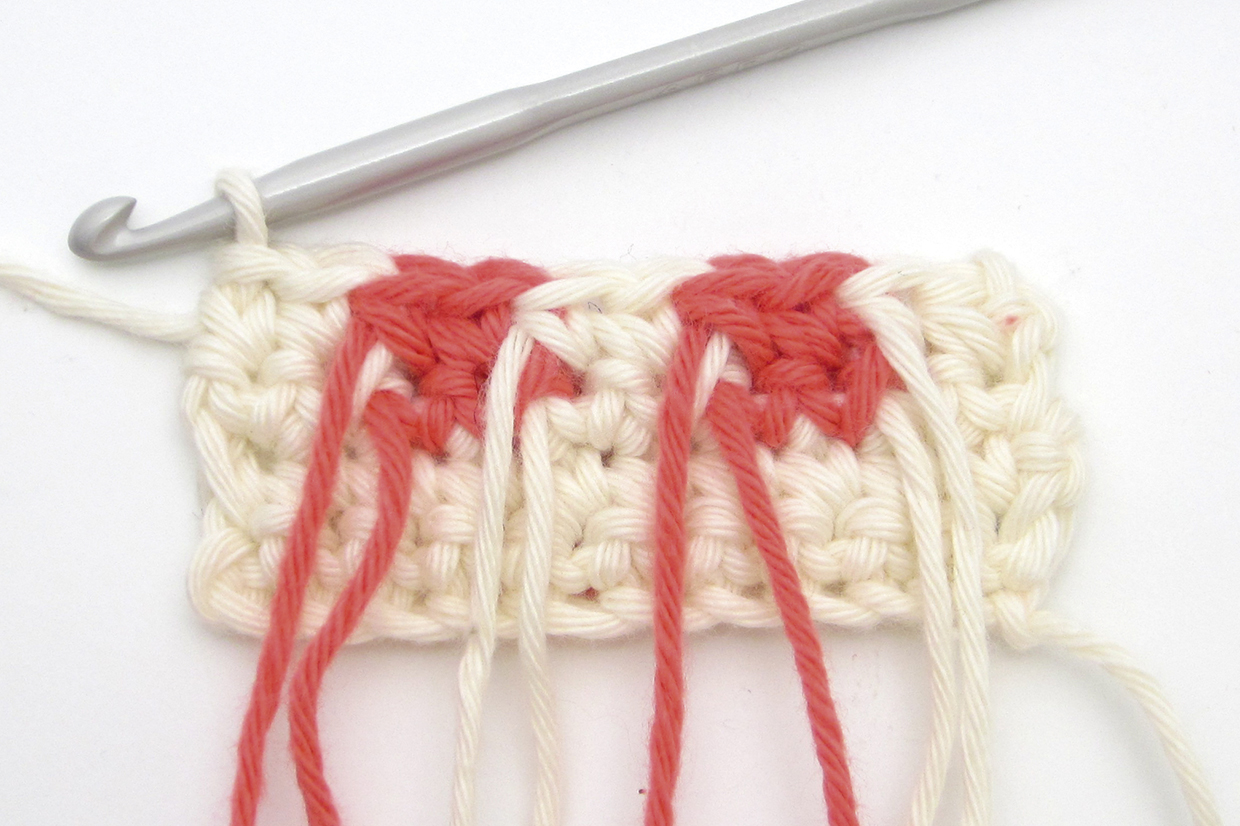
Follow the chart for Row 4, using the relevant ball of yarn for each 2 dc colour section. Since this is a WS row, keep the unused yarn dangling free at the front of the fabric. Your finished row should look like this (on the WS).
Step 3
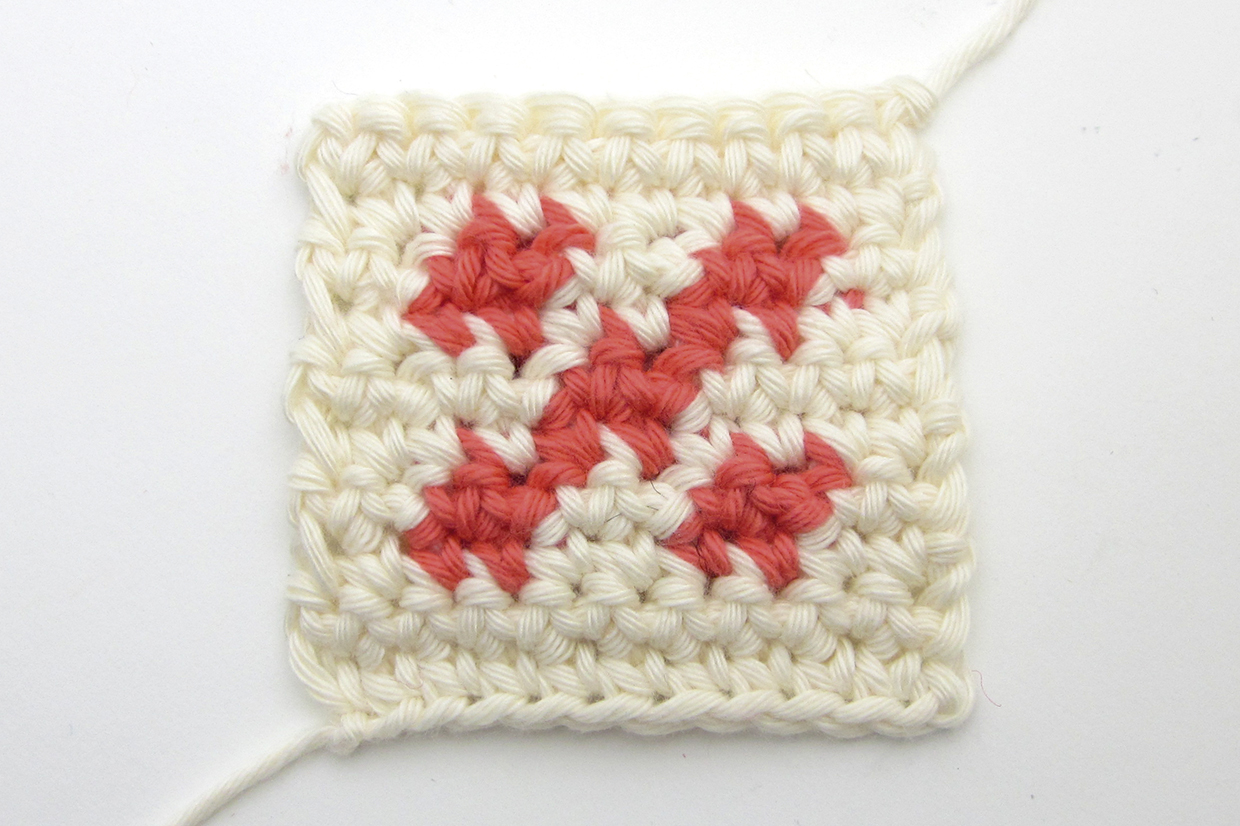
Turn and continue to follow the chart using the intarsia crochet technique. Your finished fabric should look like this on the right side…
Step 4
… and like this on the wrong side.
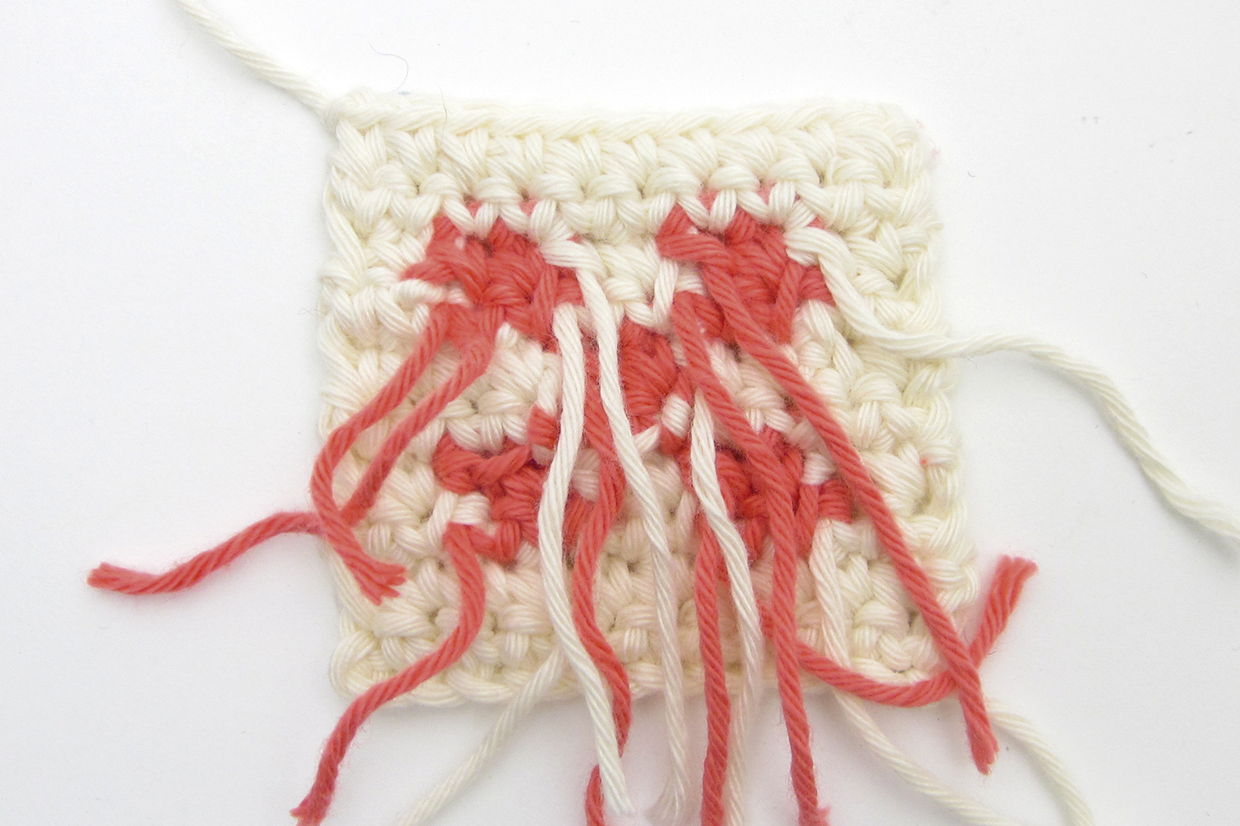
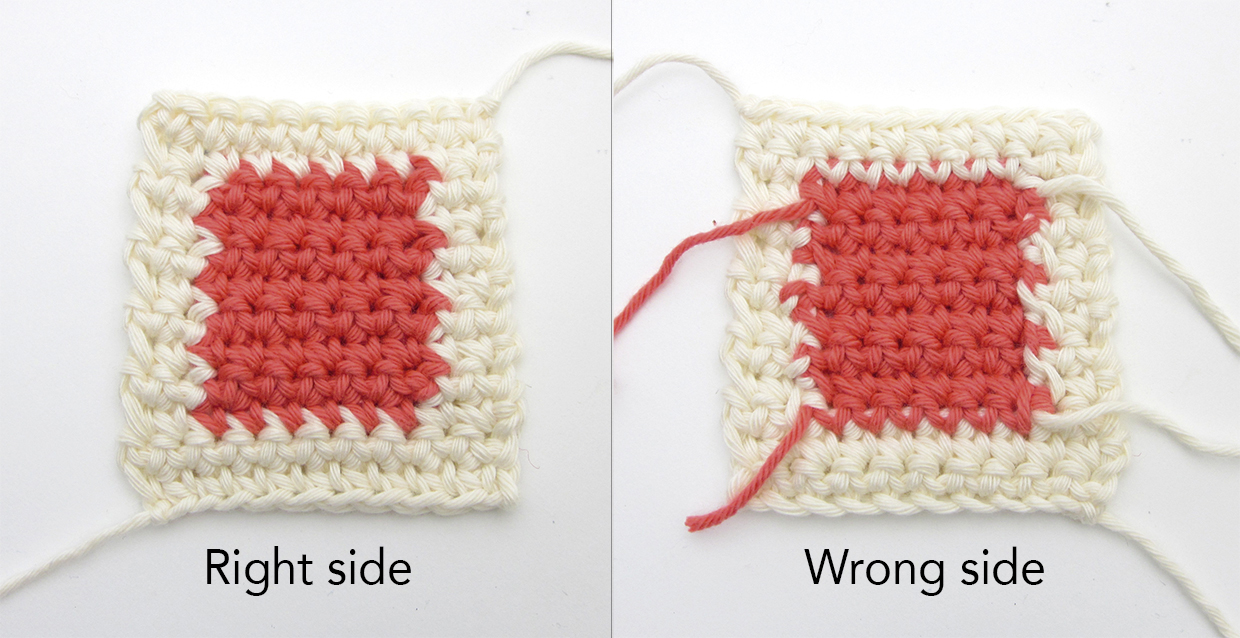
With intarsia crochet, you can use as many colours as you like, but lots of small balls can be tricky to control and creates ends to weave in. You could weave in starting tails as you go or stick to projects where the ends can be left, like a stuffed toy. But generally, intarsia crochet is best for patterns where you have just a few large areas of colour, such as a motif. To show you this, we made a new swatch (below) with one large area of pink (6dc) within a cream fabric. This uses only two balls of cream and one of pink, which are manageable and creates only six ends to weave in.
