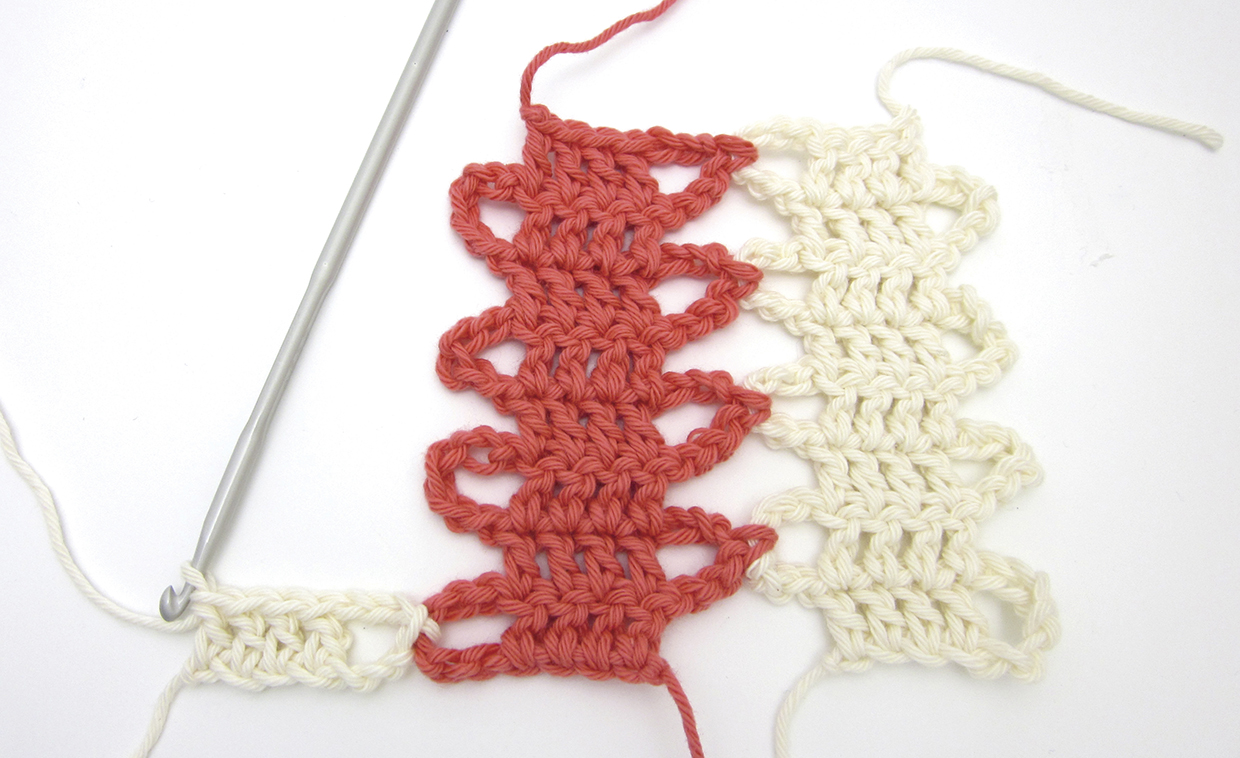
Getting started - working the foundation row
Step 1
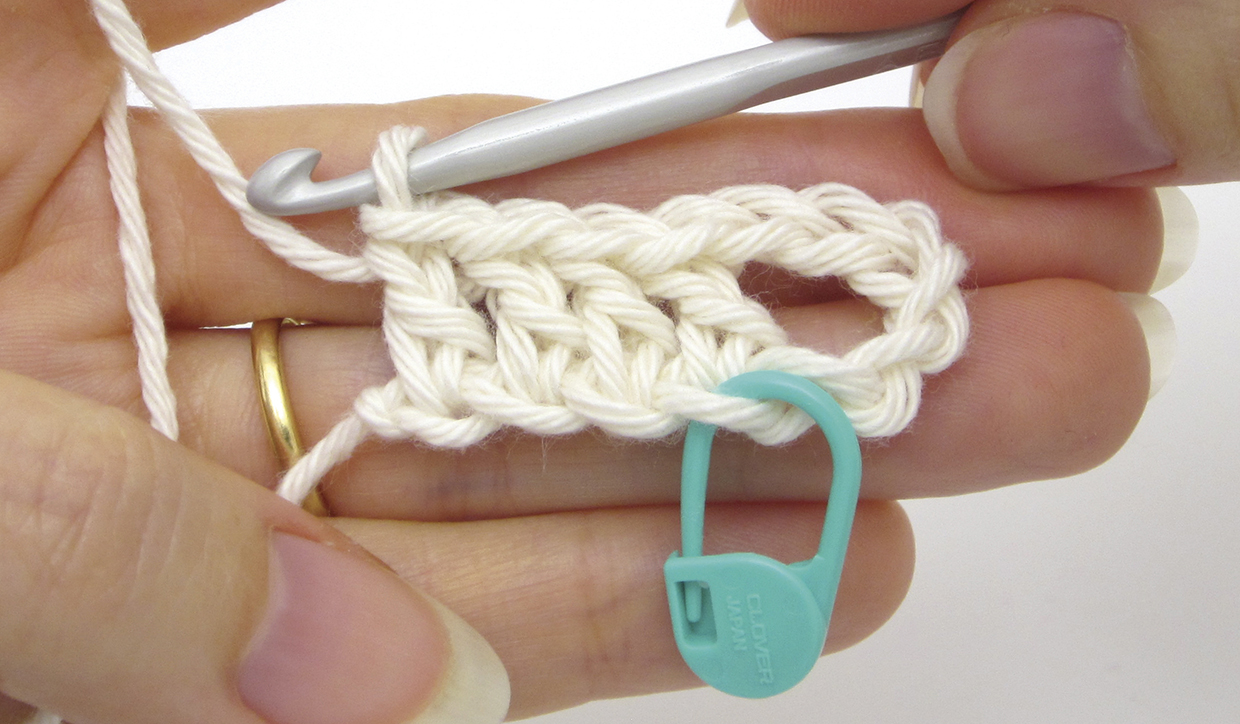
Start by making four chains, or make one chain for each stitch you want to have in the row. You can have as many stitches as you like, but for our example, we’re going to use four stitches. It will help you with the next few steps if you place a stitch marker in the fourth chain you made.
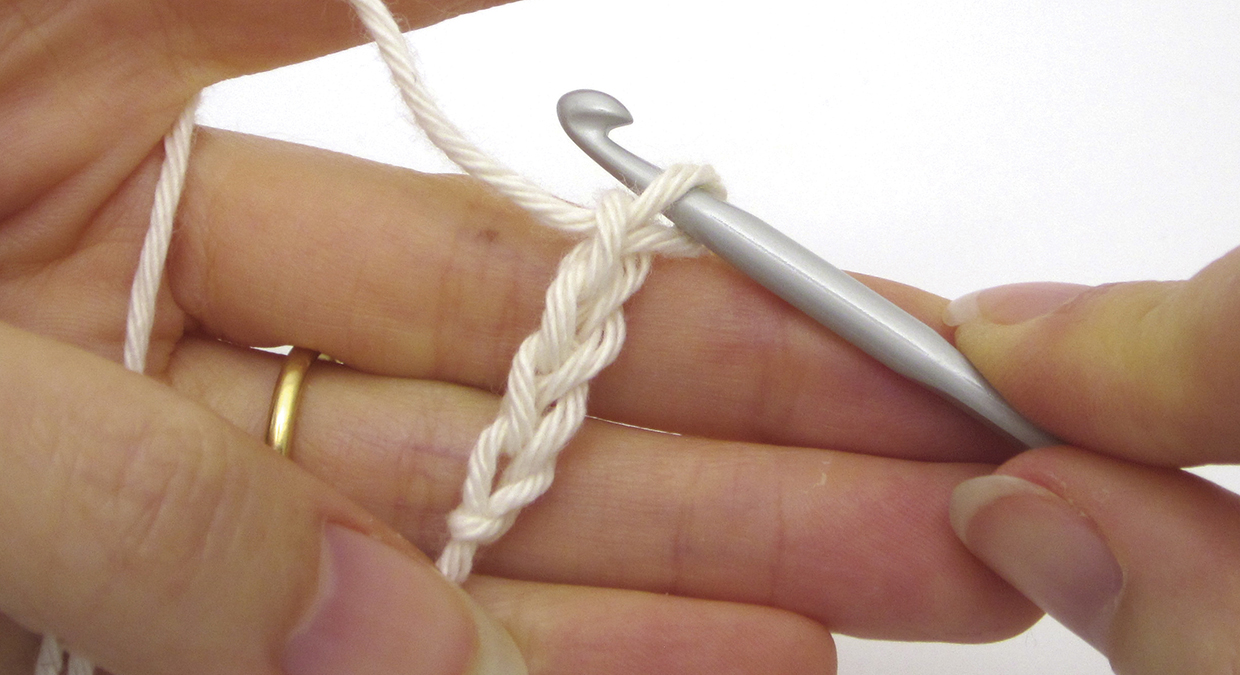
Step 2
Now you need to make six more chains – this will form the chain loop of the first row. You can have as many chains as you like in this loop, but for our example we’re using six chains.
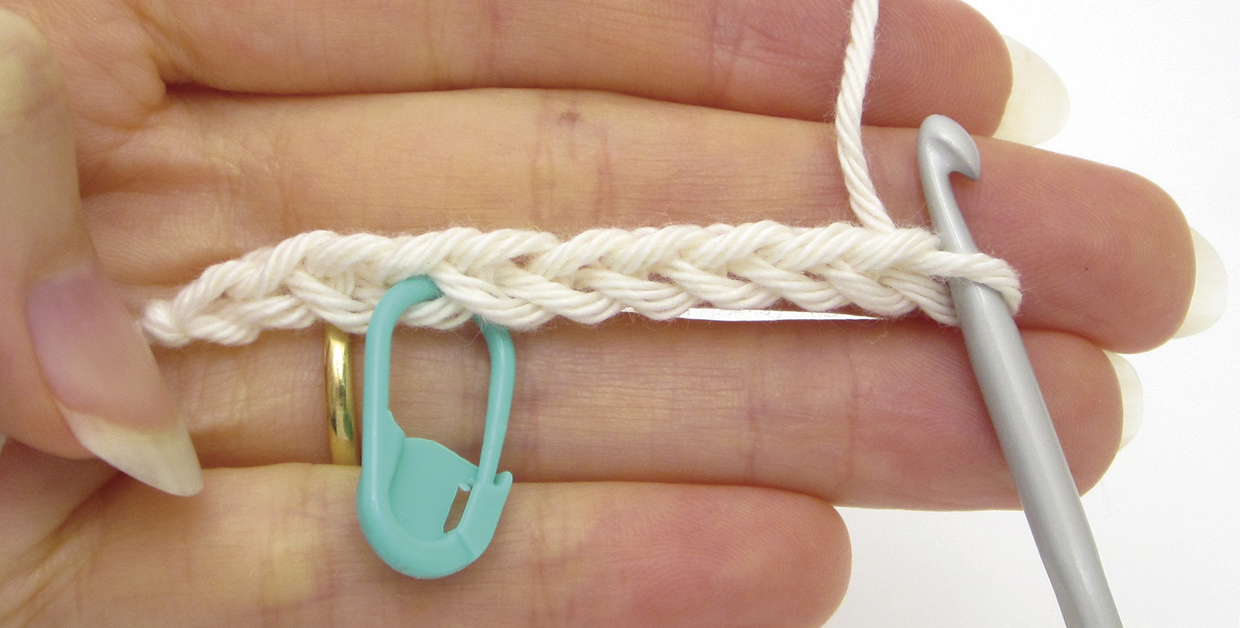
Step 3
Next, work a treble crochet into the seventh chain from the hook – if you placed a stitch marker during Step 1, this will be the marked chain.
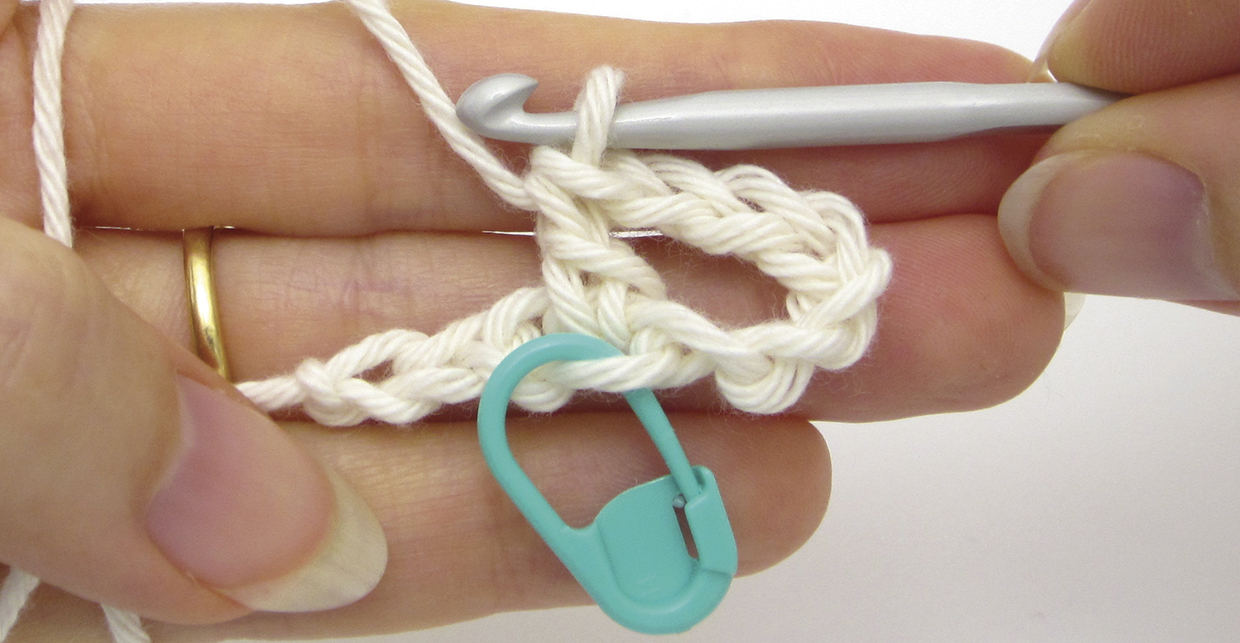
Step 4
Work three more treble crochet stitches, making one in each of the remaining three chains. You should now have 4tr and one ch-6 loop – this completes the Foundation Row 1 (a RS row). Remove the stitch marker.
Next steps - working the second row and beyond
Step 1
The next row is very similar to the first row and just as easy. We’ll show you how to work Row 2 below – this forms the pattern row that you can repeat until your tape is as long as you want.
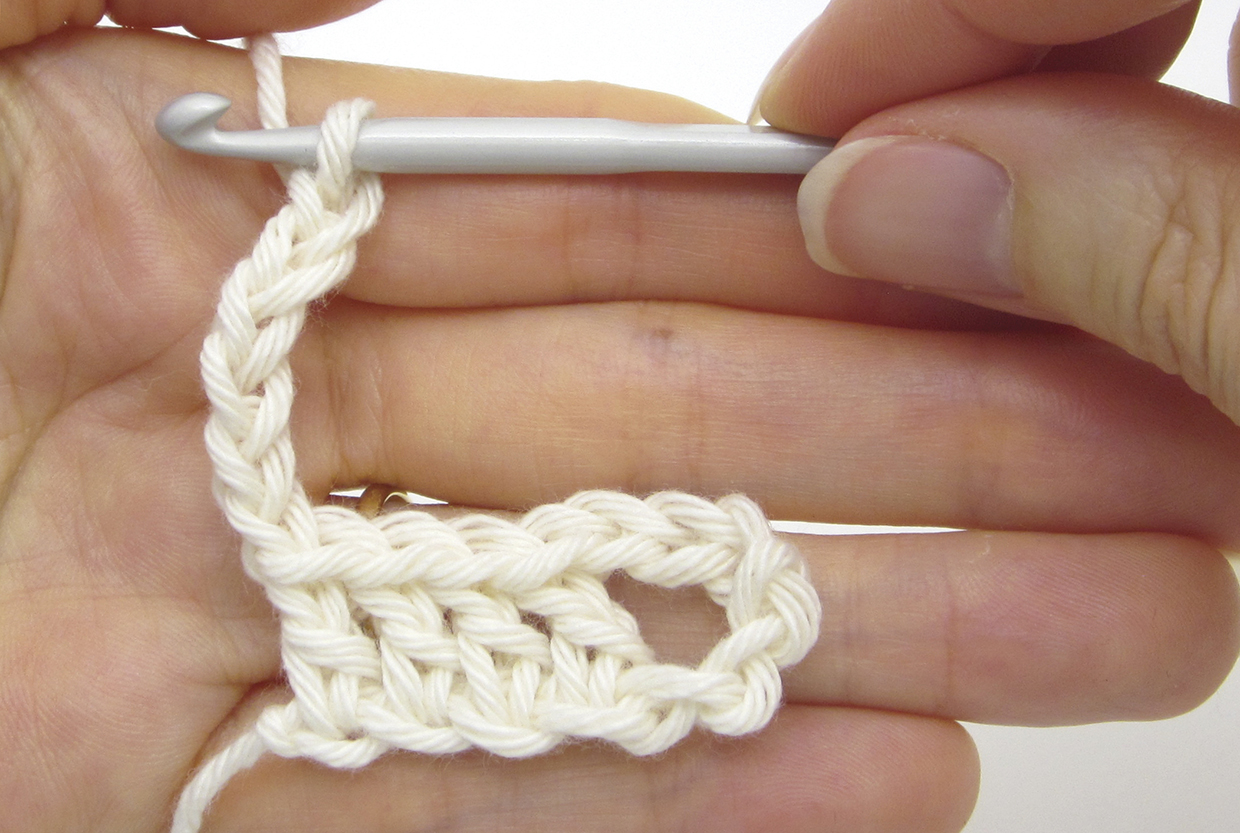
To begin Row 2, and every row of the Bruges tape, you need to make the chain loop. So make six chains, then turn the work.
Step 2
Next, work a treble crochet into the first treble crochet of the row. You don’t need to make a turning chain because the chain loop will have already taken you to the right height.
Step 3
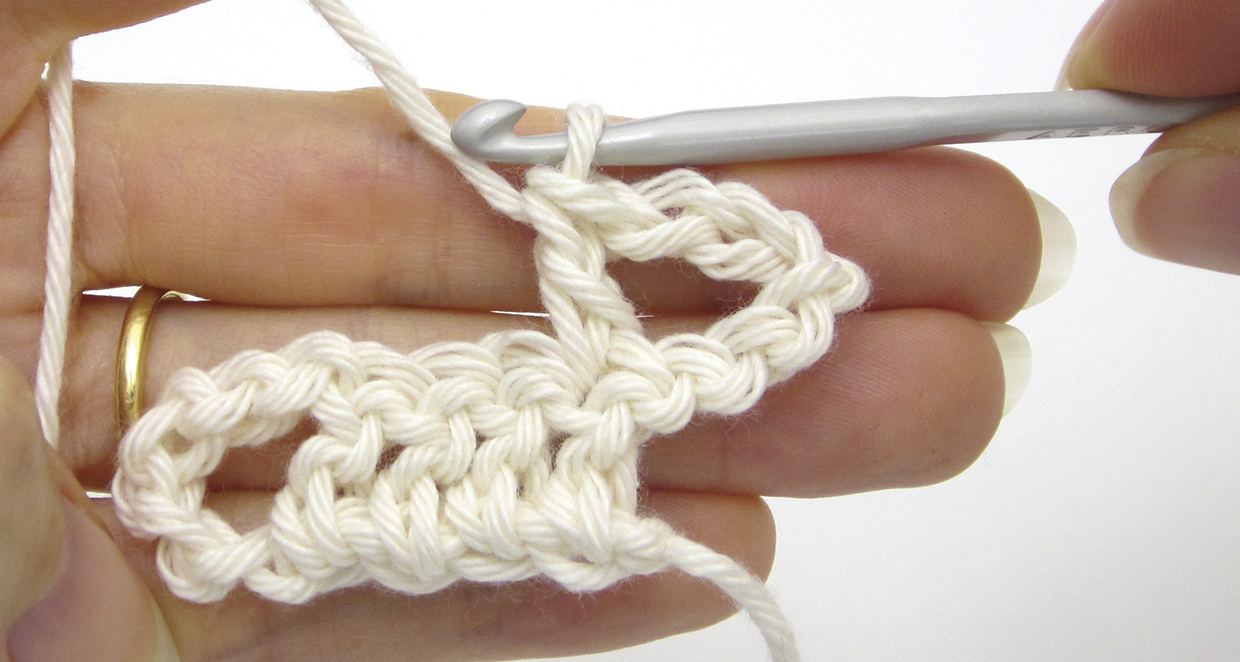
Work three more treble crochet stitches, making one in each of the remaining three treble stitches. You should now have 4tr and one ch-6 loop – this completes Row 2.
Step 4
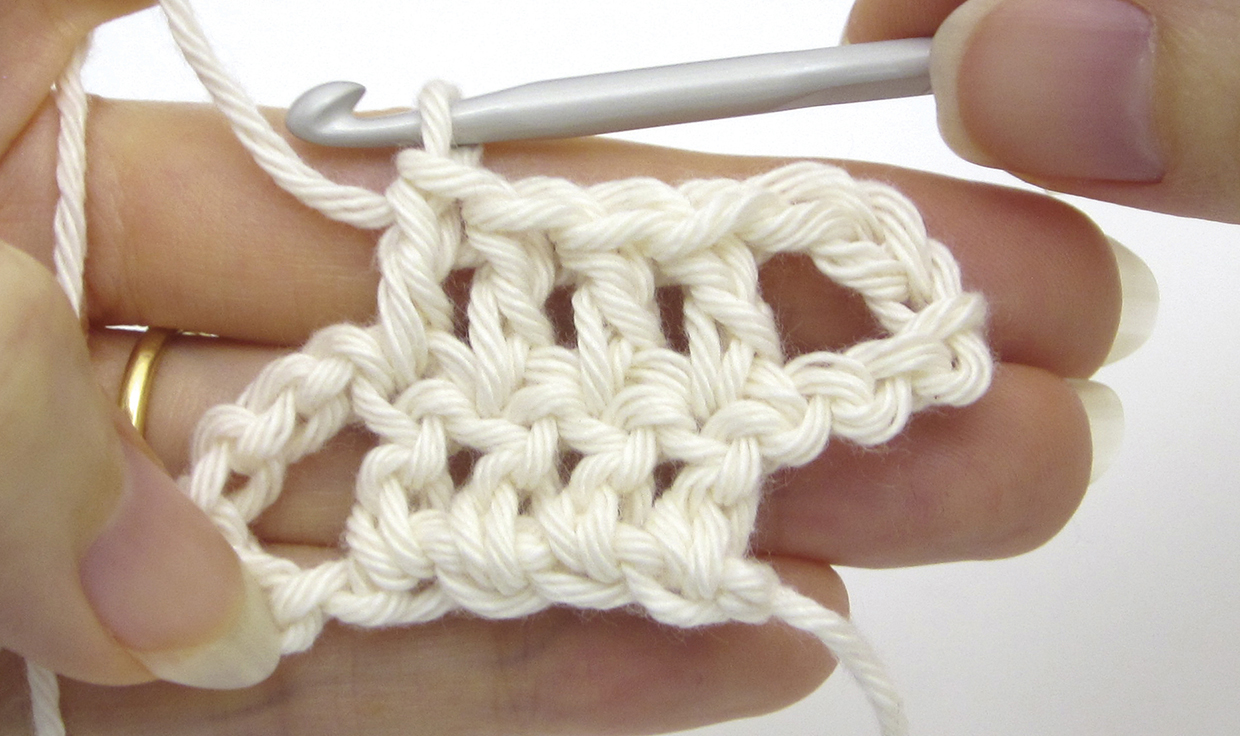
Repeat Steps 1-3 to work more rows of Bruges crochet and create a tape that’s as long as you want. For our example, we worked a total of eight rows.
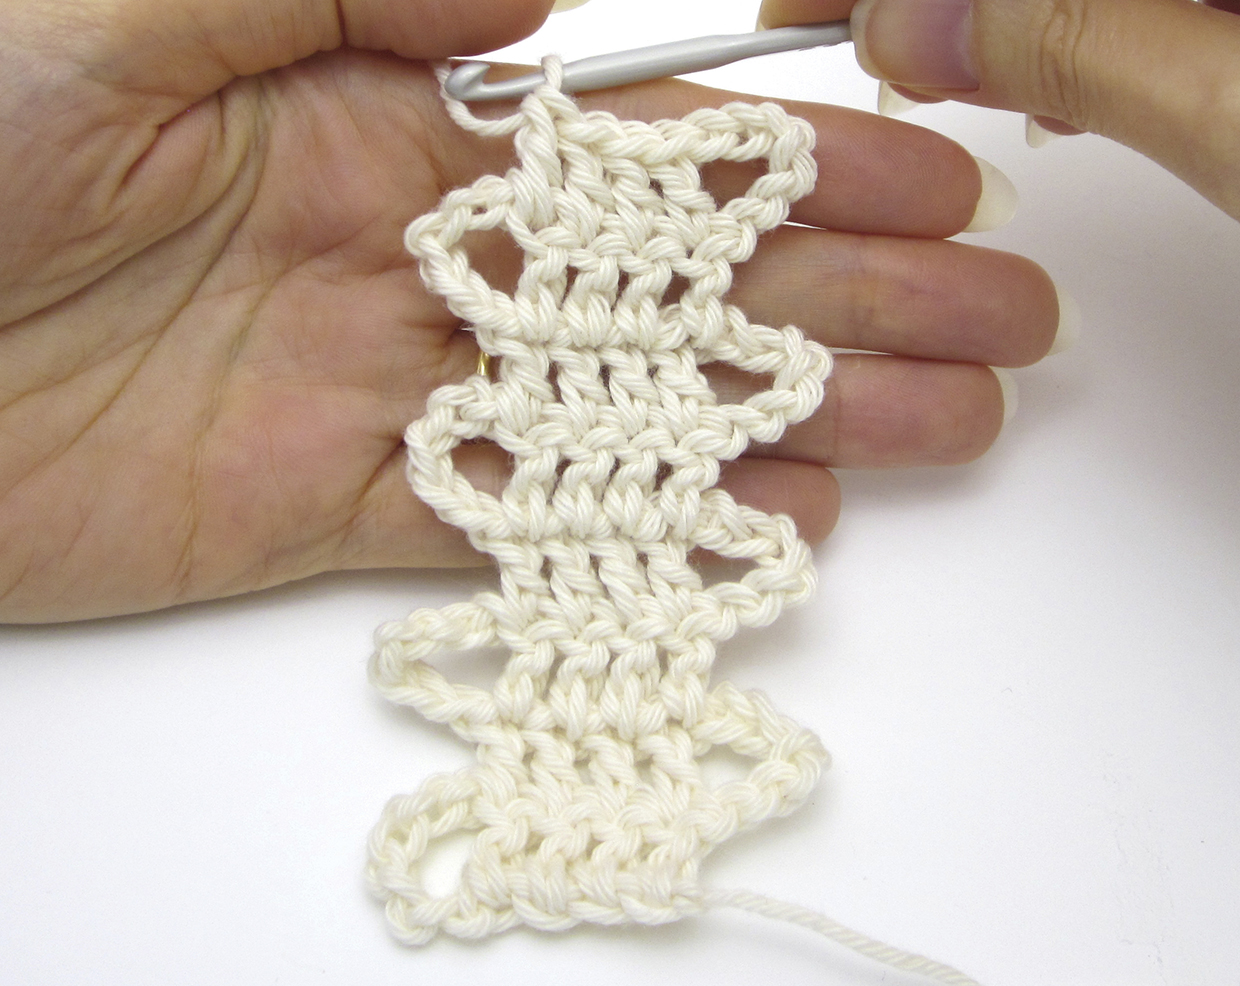
How to work joins
Step 1
The key to working Bruges crochet is joining the chain loops as you work. We’ll show you how to start off the joining fun with a simple joining row. You’ll need the tape you just made and a DK yarn in a contrasting colour.
Using the contrasting colour, make a Foundation Row 1 as before, following the instructions at the start of this tutorial.
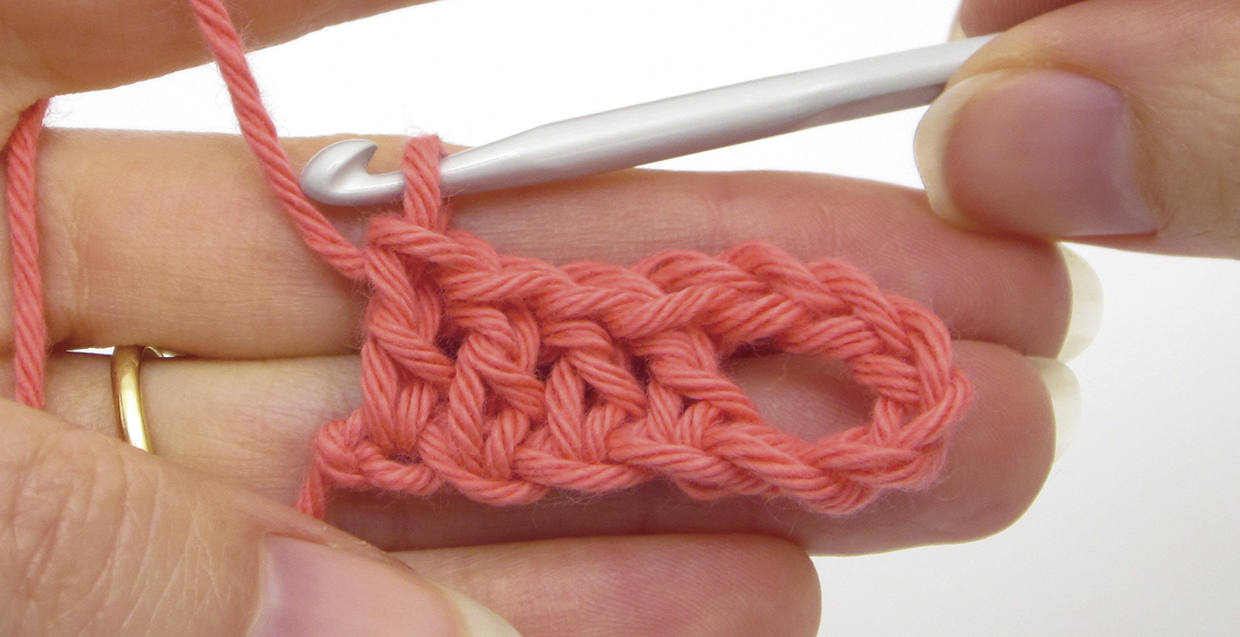
Step 2
Then start Row 2 by working half the number of chains in your chain loop. Our chain loops are six chains, so we worked three chains.
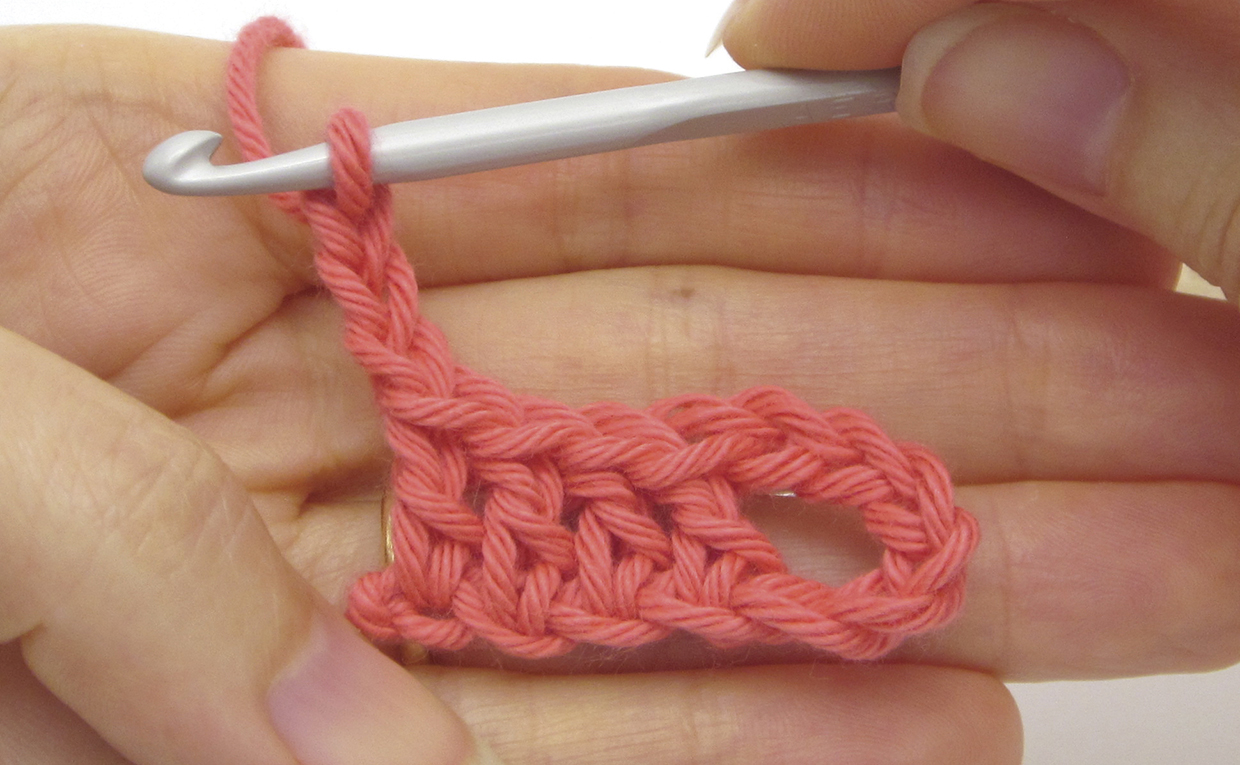
Step 3
Take the first Bruges tape you made (in the first colour) and place it WS up (the Foundation Row 1 should be on the WS). Next to it, on the right-hand side, position your new tape in the contrasting yarn. You’ll see how the chain loops will align where the tapes meet. Align Row 2 of the first tape (on the left) with the start of Row 2 on the new tape.
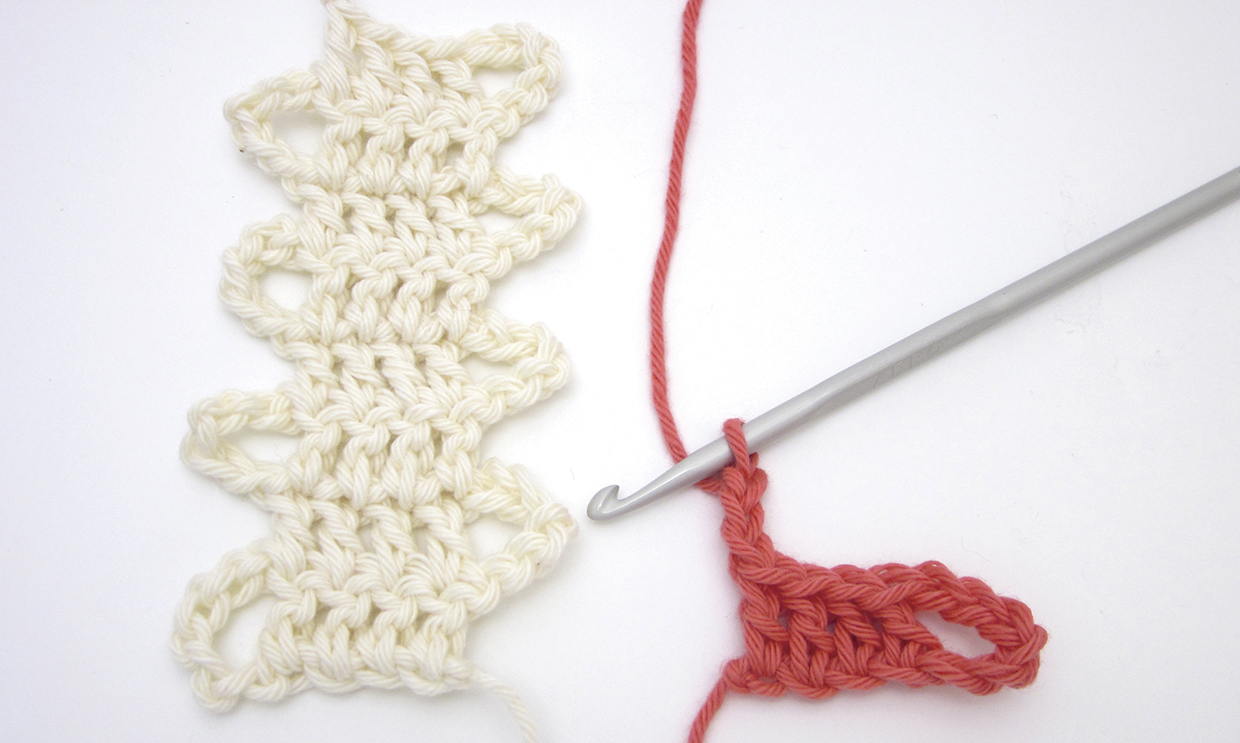
Step 4
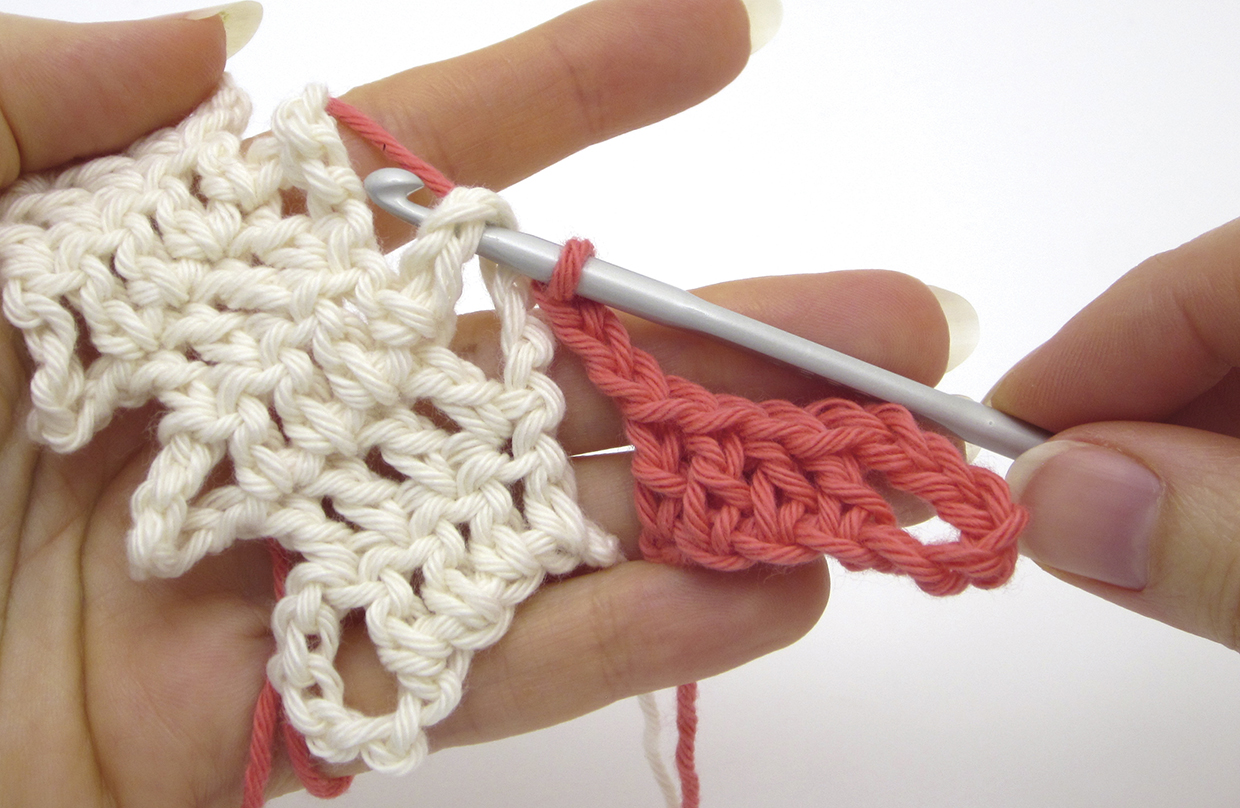
To join the new tape to the first tape, you’re going to slip stitch into the adjacent chain loop of the first tape. To do this, insert the hook from front to back into the chain loop of Row 2 on the first tape.
Step 5
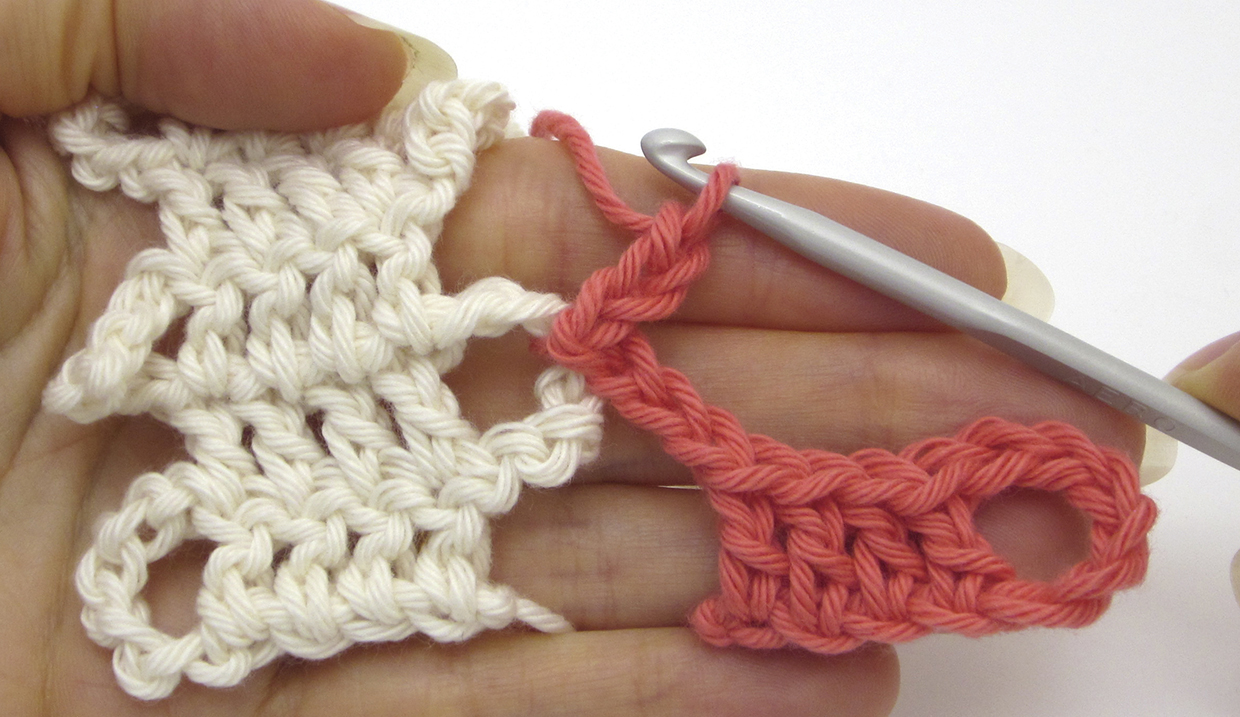
Yrh and pull up a loop. Pull this loop through the first loop on the hook to complete a slip stitch and join the two tapes. To continue Row 2, work the remaining half of the chain loop – ch3 in our example.
Step 6
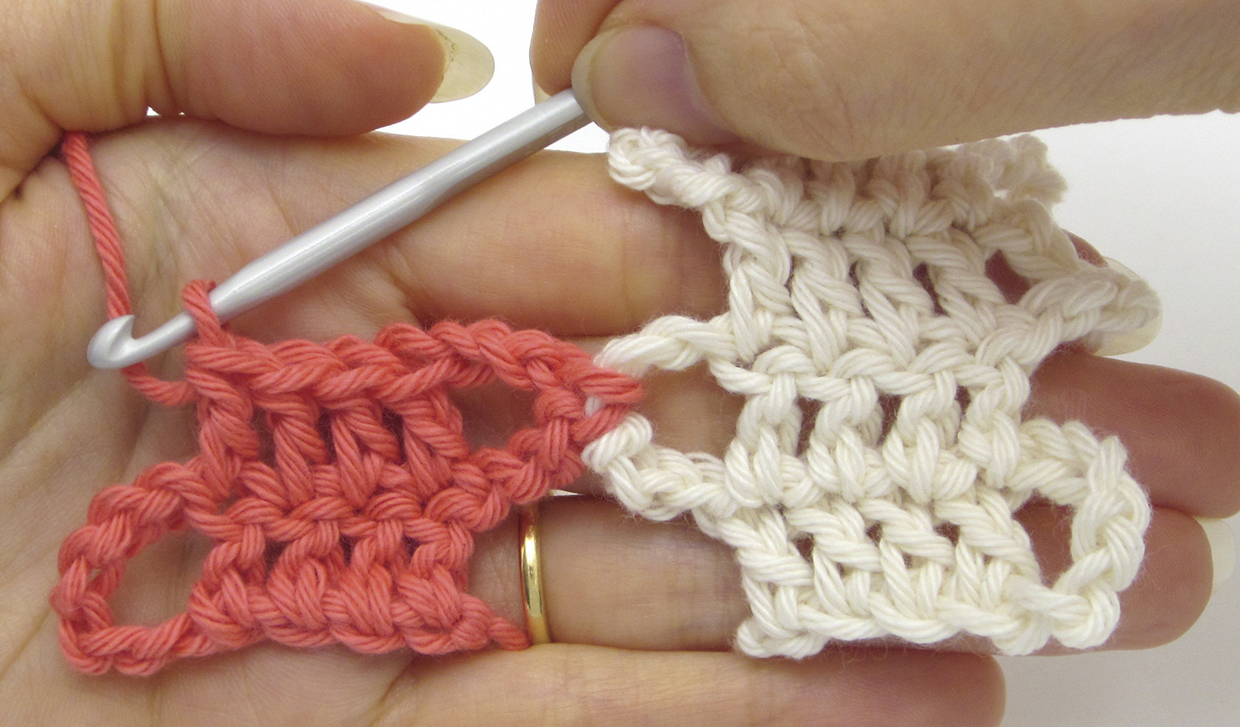
Turn and treble into each treble across the row. In this joining row, you should have 4tr and one chain loop made up of 3ch, 1ss and 3ch.
Step 7
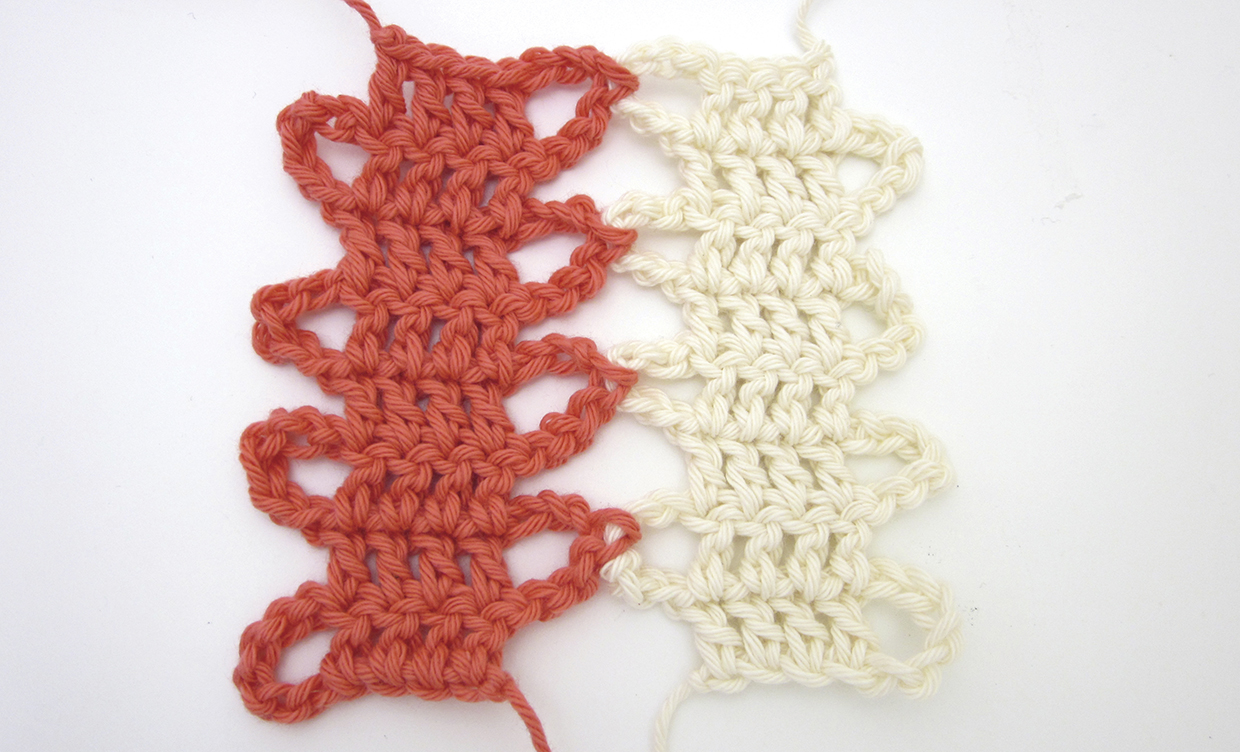
To continue making this tape and joining it to the first tape, work a standard Row 2 (as shown previously) alternated with a joining row (repeat Steps 2-6 above). On each joining row, slip stitch into the next empty chain loop. You’ll see how the chain loops join to create a lacy effect in between the rows of stitches.
How to carry on with further tapes
Step 1
To add another tape to the right-hand side of this pair, you’ll need to work the foundation row of the third tape slightly differently. To do this, turn the existing piece so the first tape (cream) is RS up and the second tape (pink) is WS up.
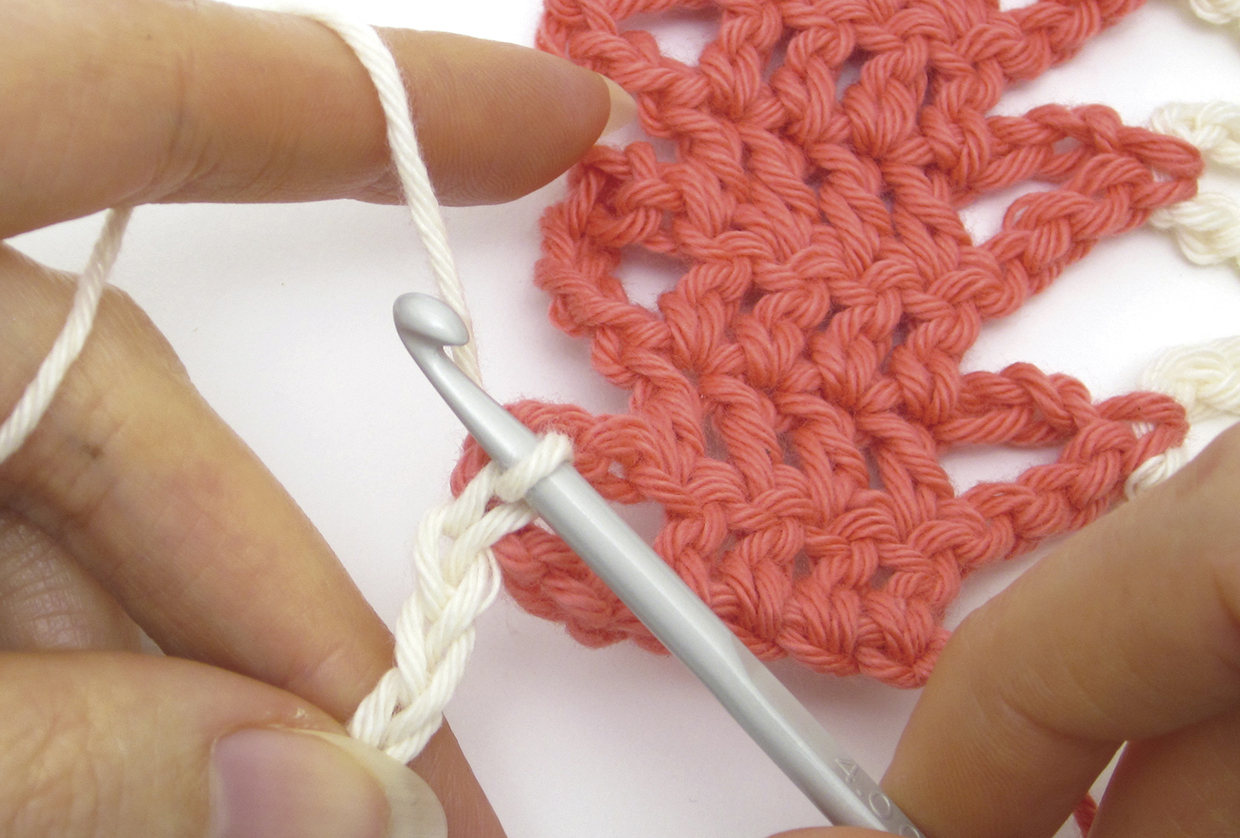
Using the next yarn colour, start the foundation row as usual: ch4 and mark this chain. Now make half the chains for the chain loop: ch3. Position the existing piece to the right of your new tape and slip stitch to the chain loop of the first row on the second tape.
Step 2
Now make the remaining three chains for the chain loop and continue the foundation row as usual: treble into marked chain and each remaining chain (4tr). Your foundation row will be complete and you can continue by alternating a pattern row and a joining row. Work this style of foundation row on alternating tapes as needed.
