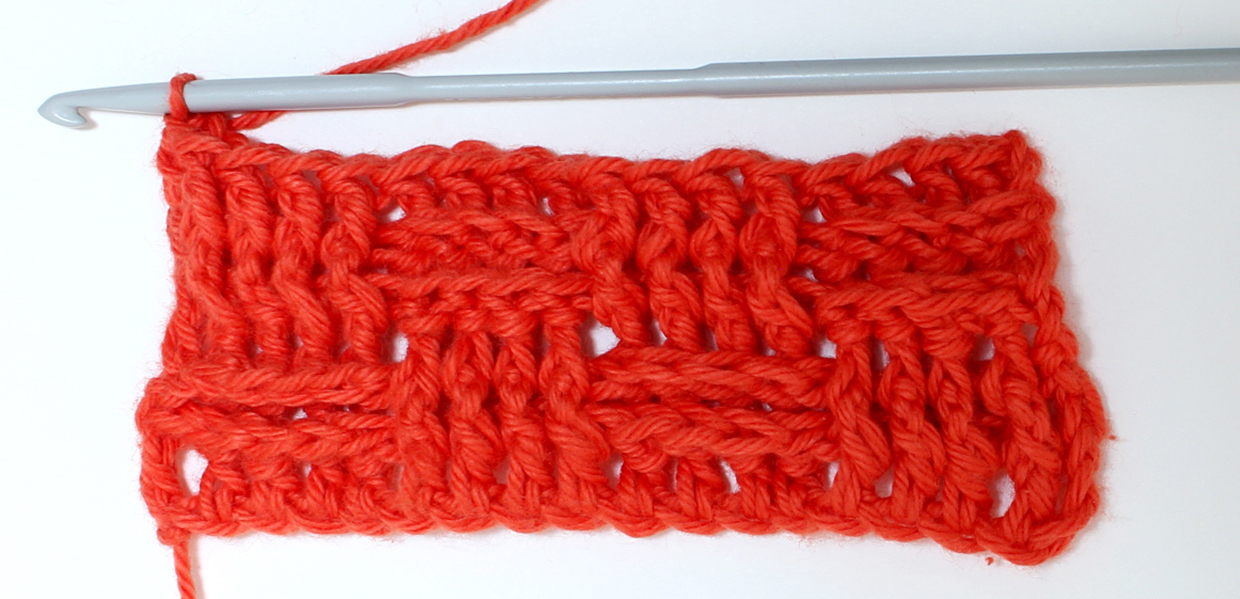
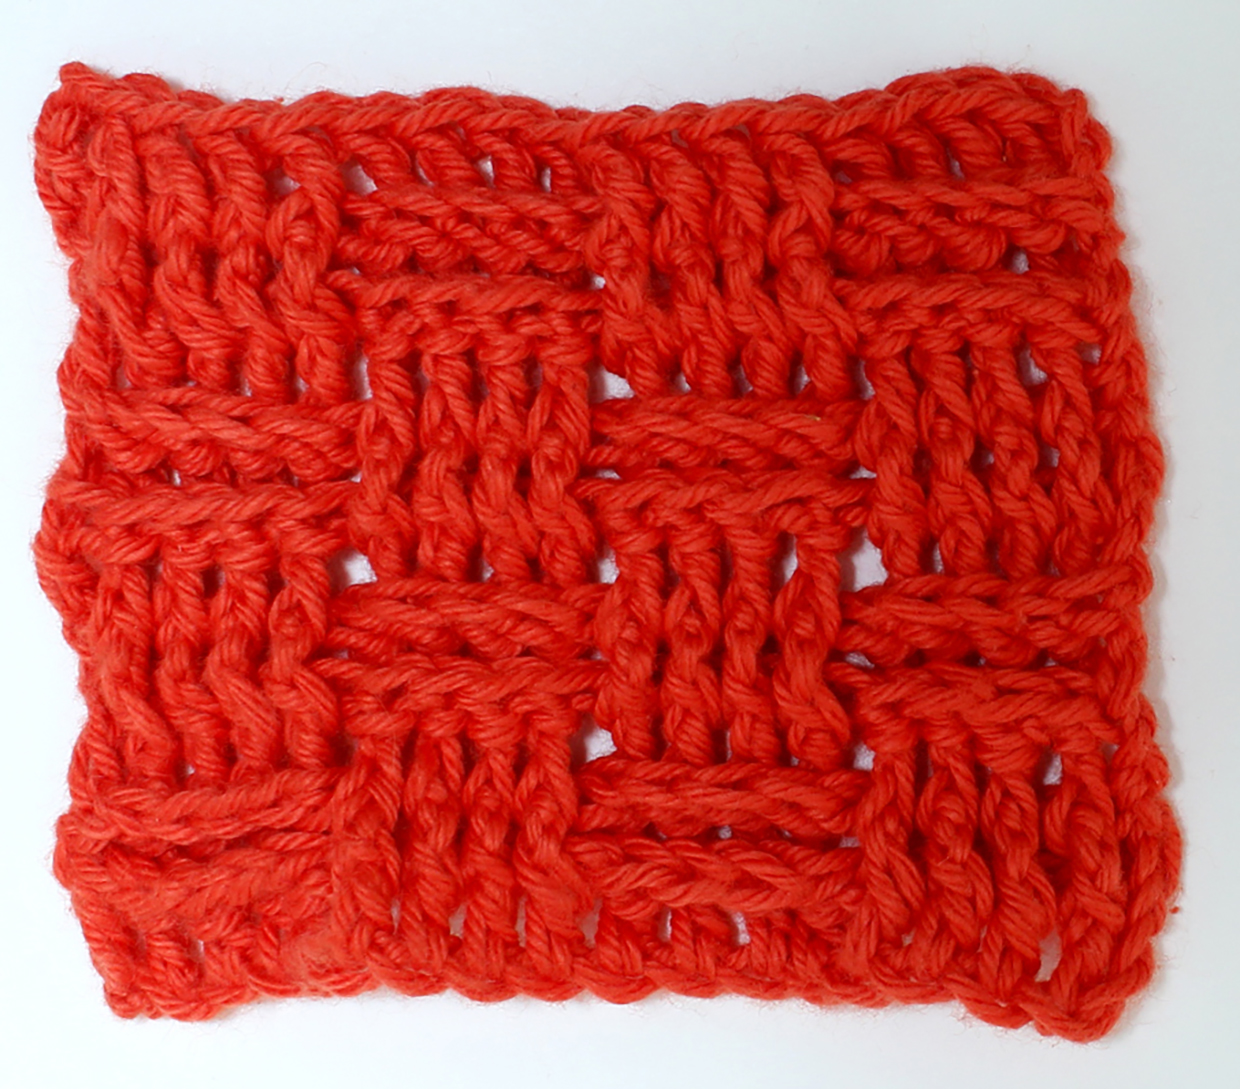
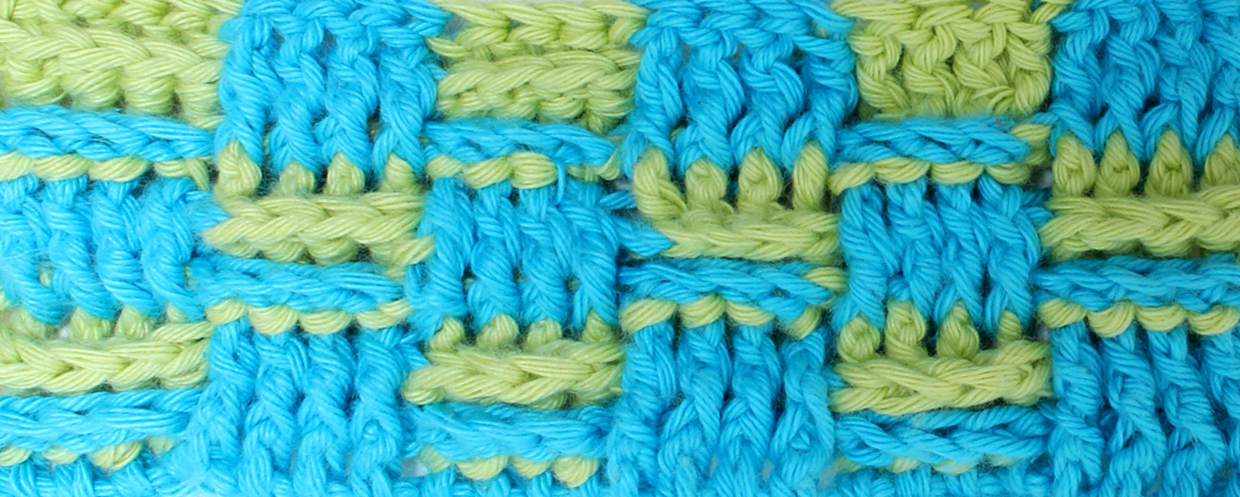
How to crochet basket weave stitch
Step 1
In this basket weave crochet pattern we are going to be making our pattern in an even number of blocks of 4 stitches, so you will need to make a chain length of multiples of 8 + 2 (plus an extra 3 for your turning chain).
In this example, we are starting with a ch21.

Most basket weave crochet patterns will start with a row of normal treble stitches, so go ahead and treble into the 4th chain from your hook and in each chain along. (17tr + 3ch turning-chain)

Step 2
Row 2 To start row 2 (which is your first row of basketweave stitch, and we will refer to this as a Right Side row), we’re going to chain 2 to make our turning chain.
This chain 2 counts as a treble stitch – in this pattern each row will start with a regular 2ch turning chain and a regular treble at the end to help make your sides solid. If you’re wondering why it’s a chain 2 rather than a chain 3 for these treble stitches, it’s because the nature of post stitches means the stitch is slightly further down than normal so is not quite as tall.
For your first stitch, you will make a FPtr (front post treble). To do this, wrap your yarn around hook (yrh), insert hook from the front, around the back of the post of the stitch, back out the front, then complete your treble stitch as normal – yrh, pull through stitch, yrh, pull through 2 loops, yrh, pull through 2 loops.
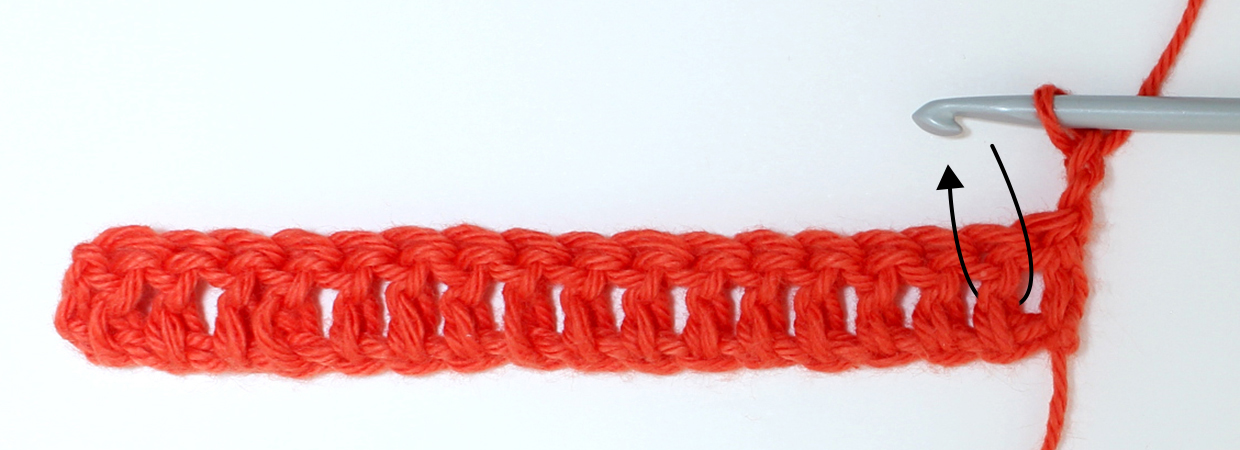

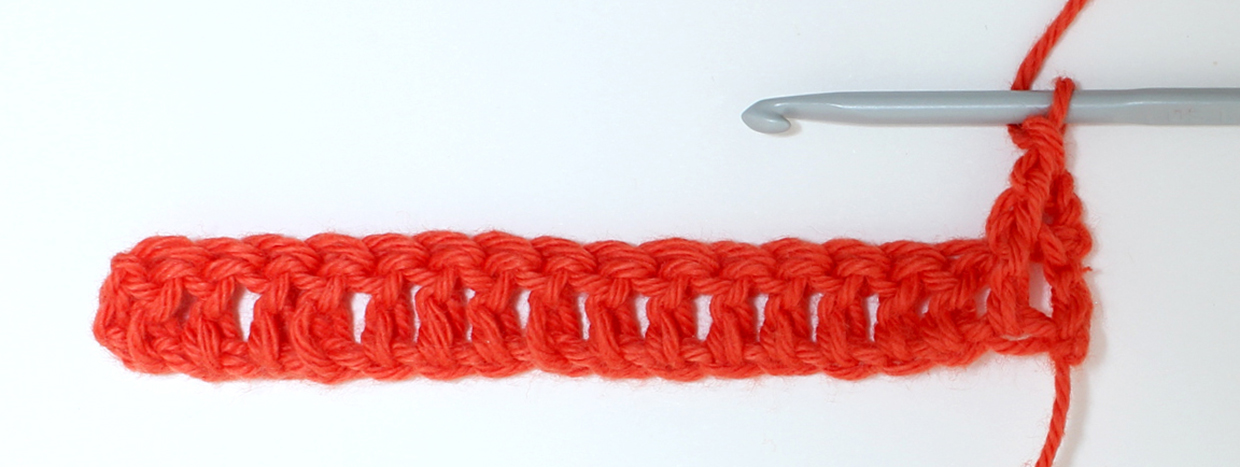
You’ll notice that once you’ve made this first stitch, it will be slightly raised in a vertical way. Now continue making FPtr stitches in the next 3 stitches.
Step 3
Once you’ve made your 4FPtr stitches, we’re now going to switch to making BPtr (back post treble stitches) stitches.
It’s essentially the same as a FPtr, but from the opposite direction. So, insert your hook from the back (or Wrong Side) of your work, around the front of the post of the stitch, then back out the back – and complete your treble stitch as normal.

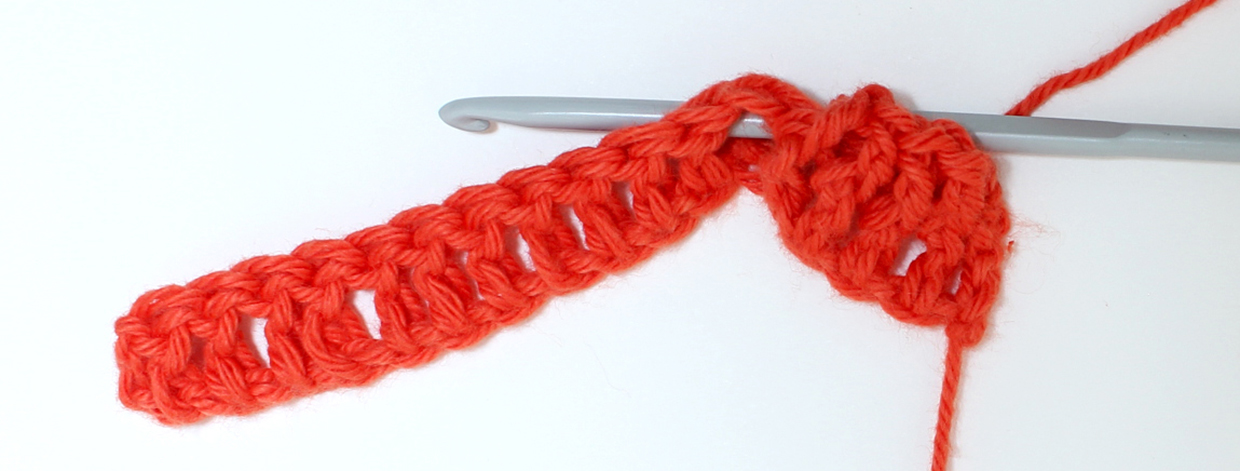

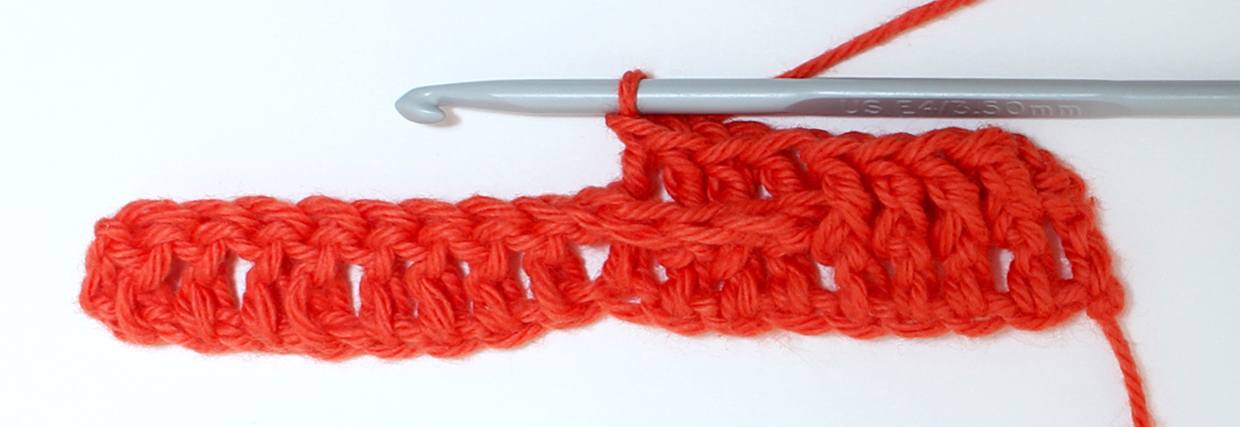
It’s a little tricky to see after just one stitch, but by making a BPtr you’ve made the top loops of the previous row raised in a horizontal way (this will become clearer as you do more stitches).
Like before, make another 3BPtr so that you’ve made 4 in total.
Step 4
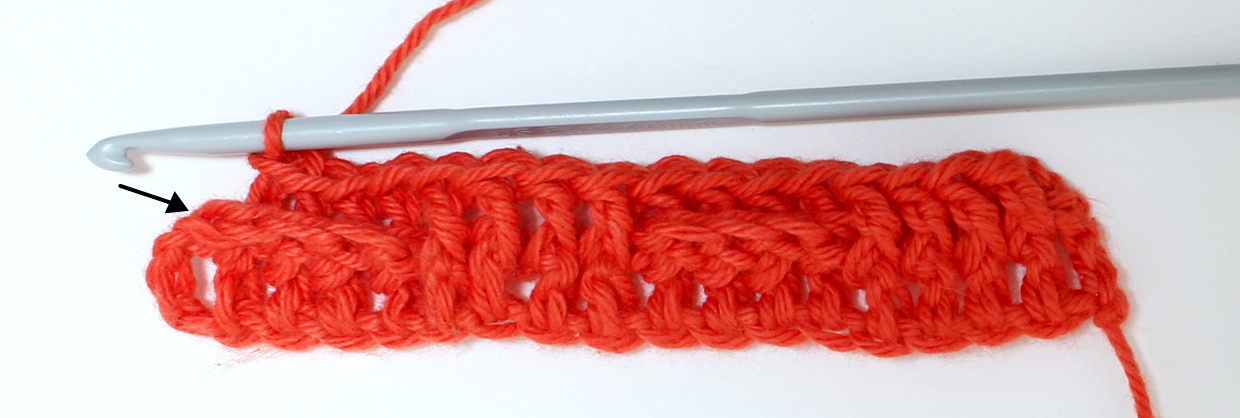
Now just repeat what you did for a second repeat of the basketweave pattern, making another 4 FPtr stitches followed by 4BPtr stitches.
When you come to the end, you will need to make a normal treble crochet stitch into the top of your starting ch3 of row 1 (this will be in the top of your ch2 on all subsequent rows)

Step 5
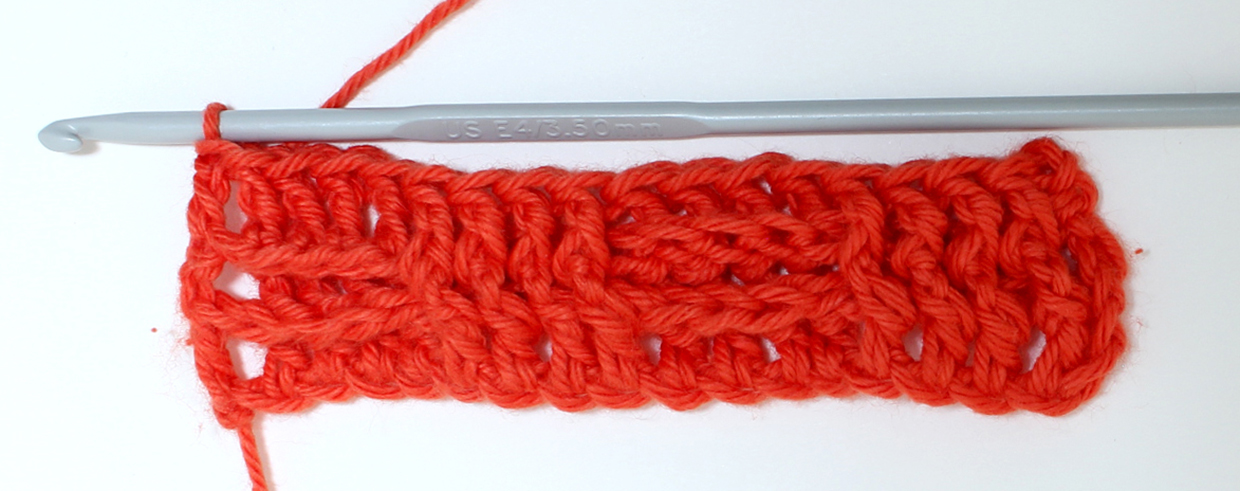
Row 3 For row 3 we’re going to repeat row 2, but it’s easy to get a little confused here.
Because Row 3 is a Wrong Side row and the work is flipped, even though we ended row 2 with BPtr stitches they’re now turned round. So when we work our first set of FPtr stitches the stitches on both rows will match. We’ll go through it again just to be clear.
Ch2 to start the row, then FPtr in the next 4 stitches…
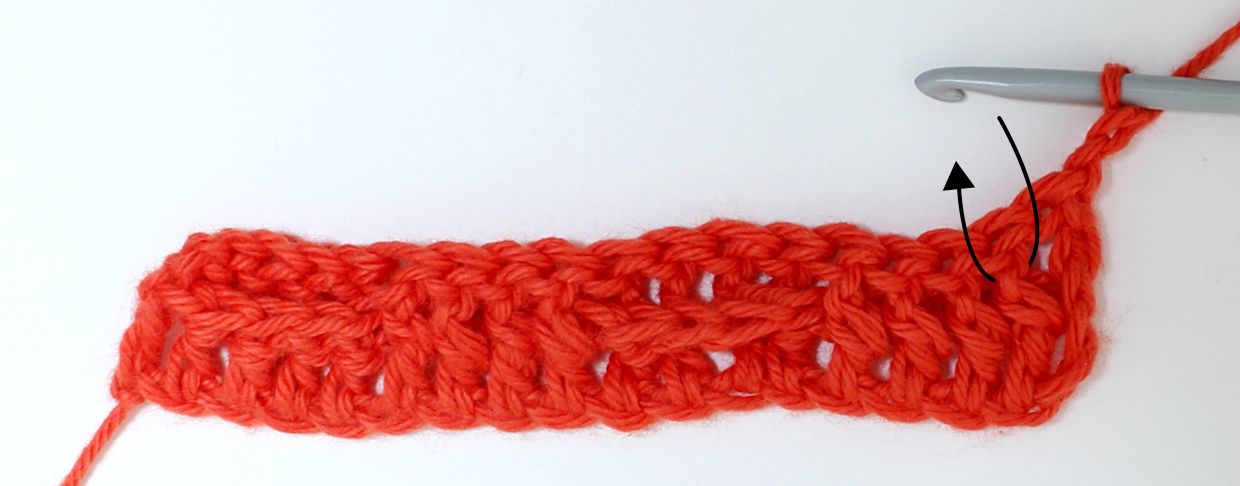
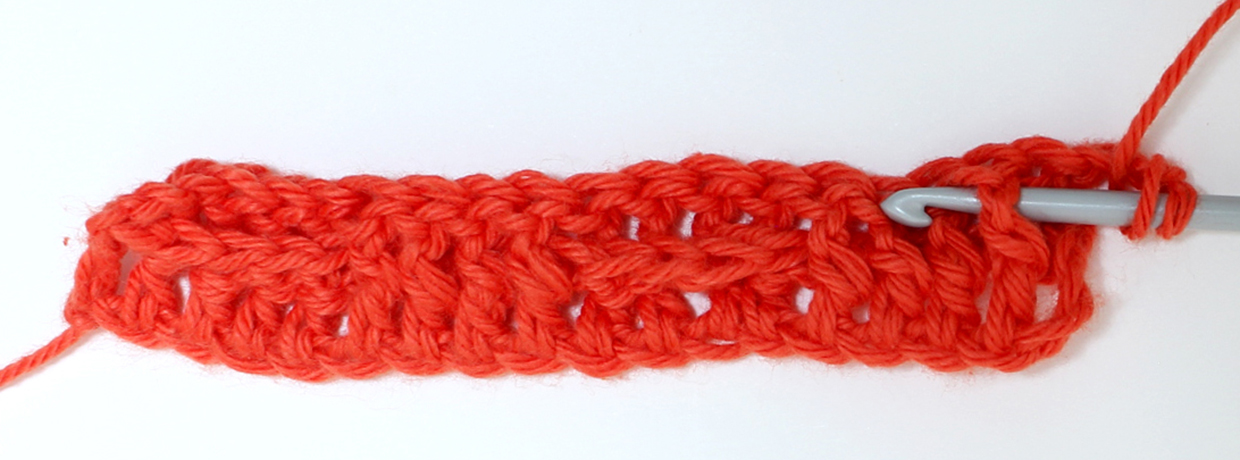
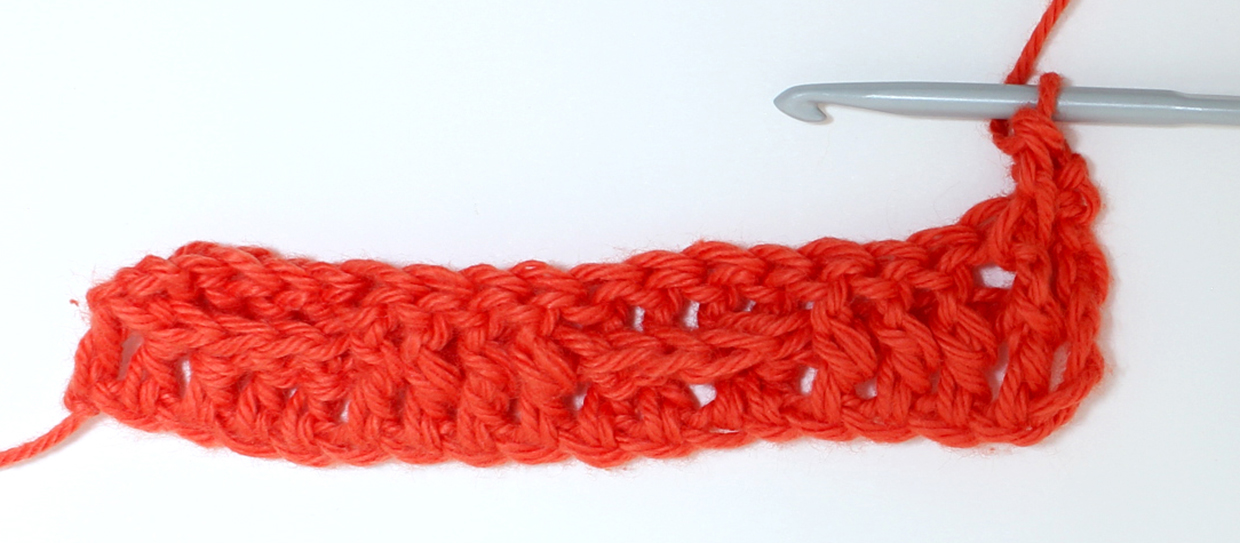
…Then BPtr in the next 4 stitches….
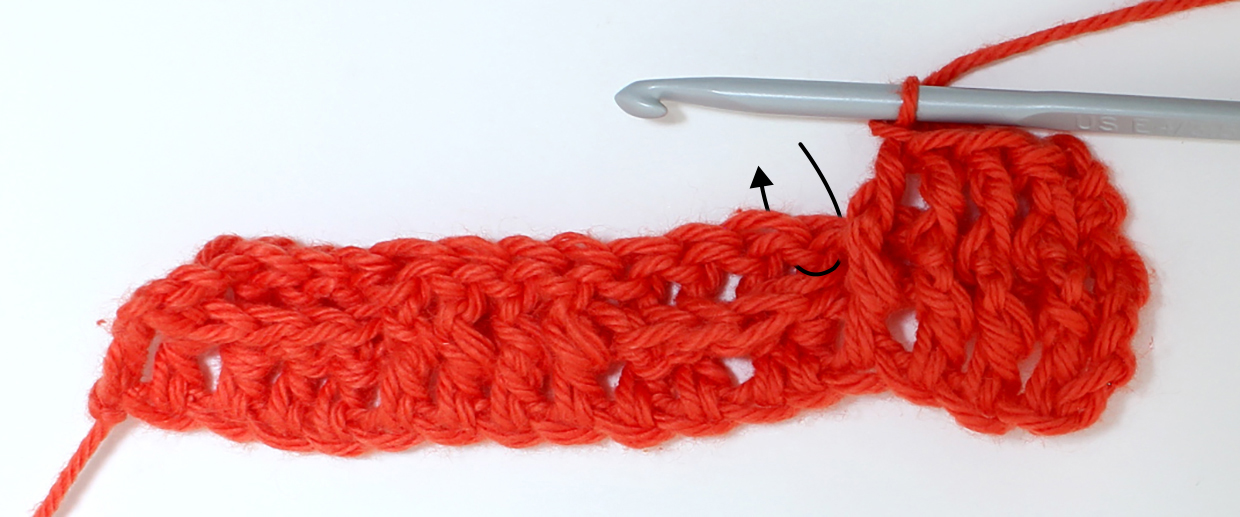
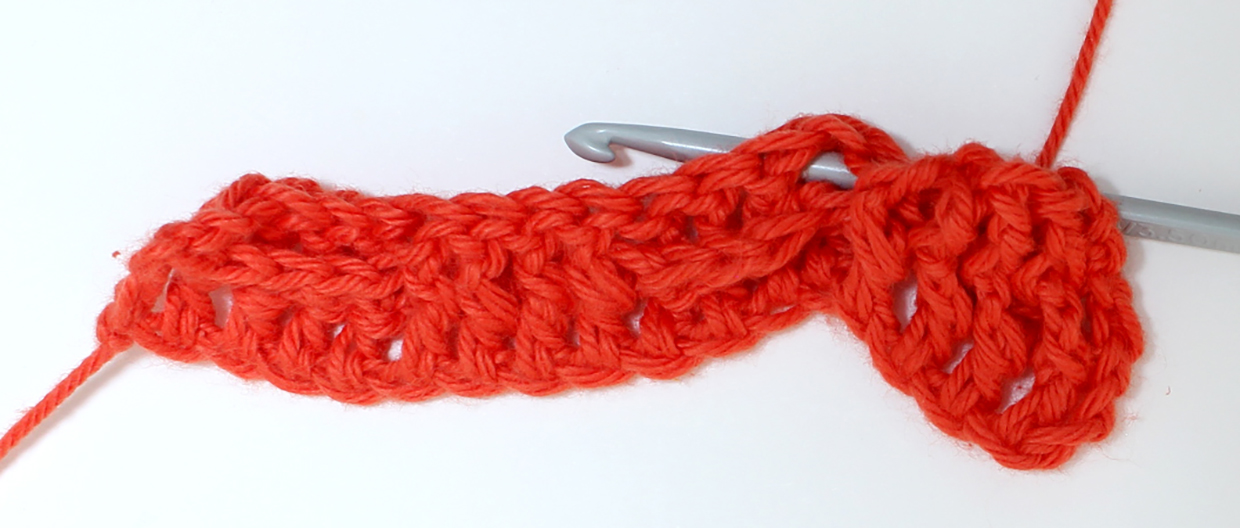
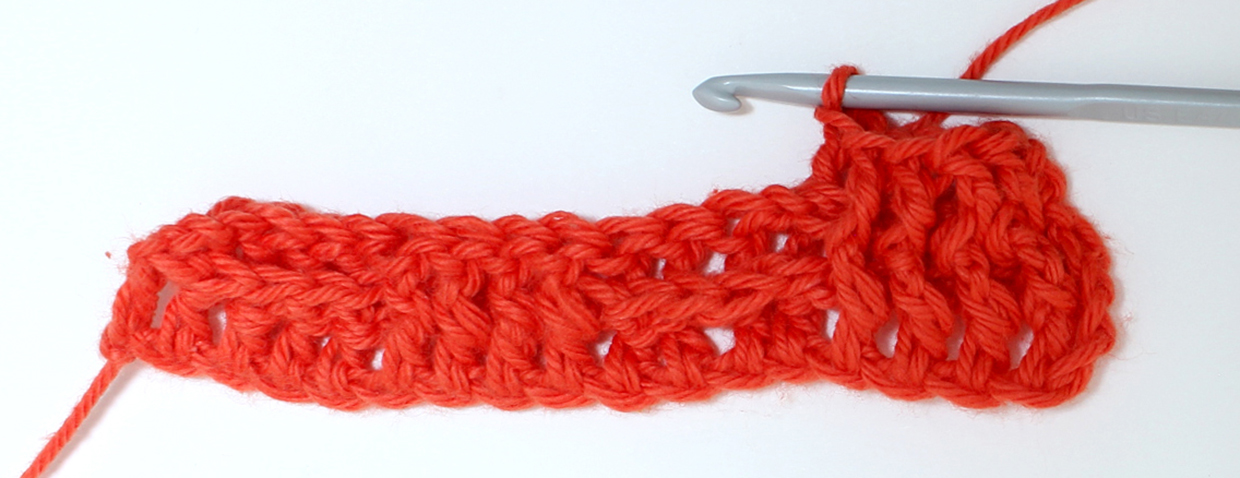
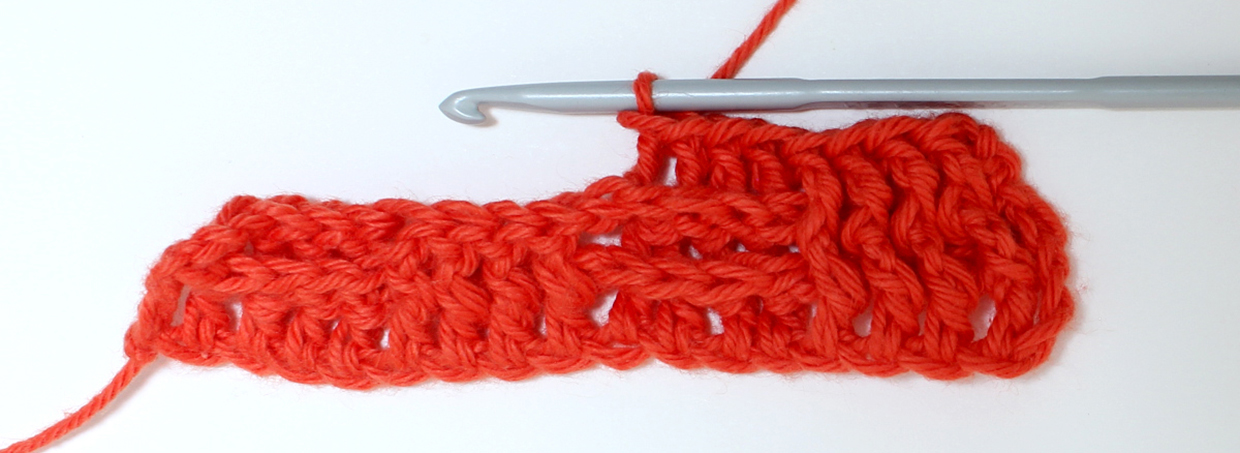
…and again repeat 4FPtr then 4BPtr to the end, finishing with a normal tr into the top of the turning 2-ch.
Step 6
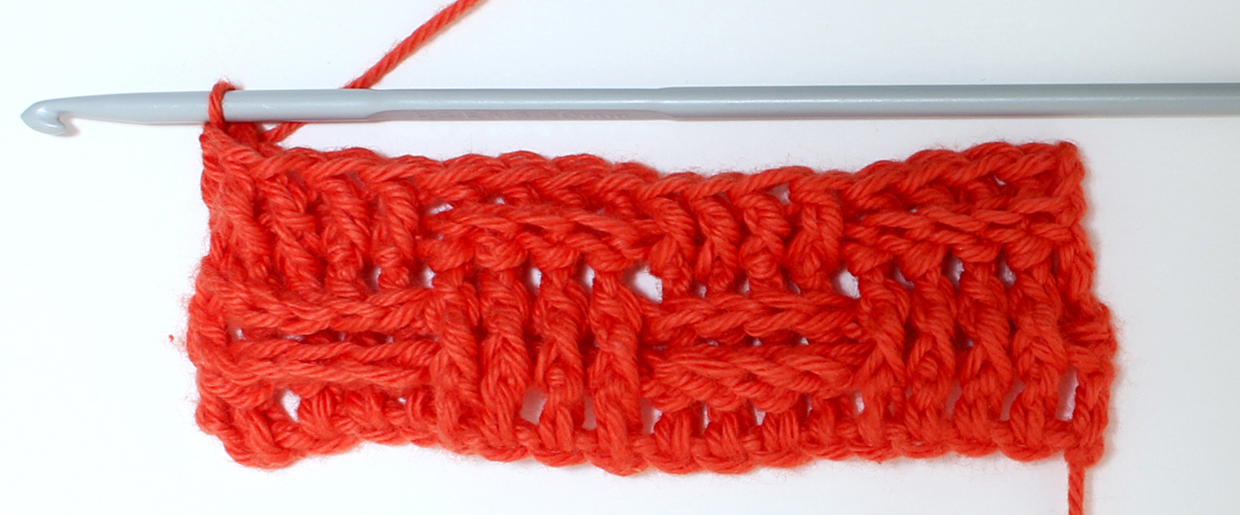
Row 4 Now that we’ve done 2 rows, we’re going to alternate the pattern to create the checkerboard effect of crochet basketweave. Essentially, we’re just reversing the pattern from the previous 2 rows.
So as usual, start with a ch2. Then we’re going to BPtr into the next 4 stitches…
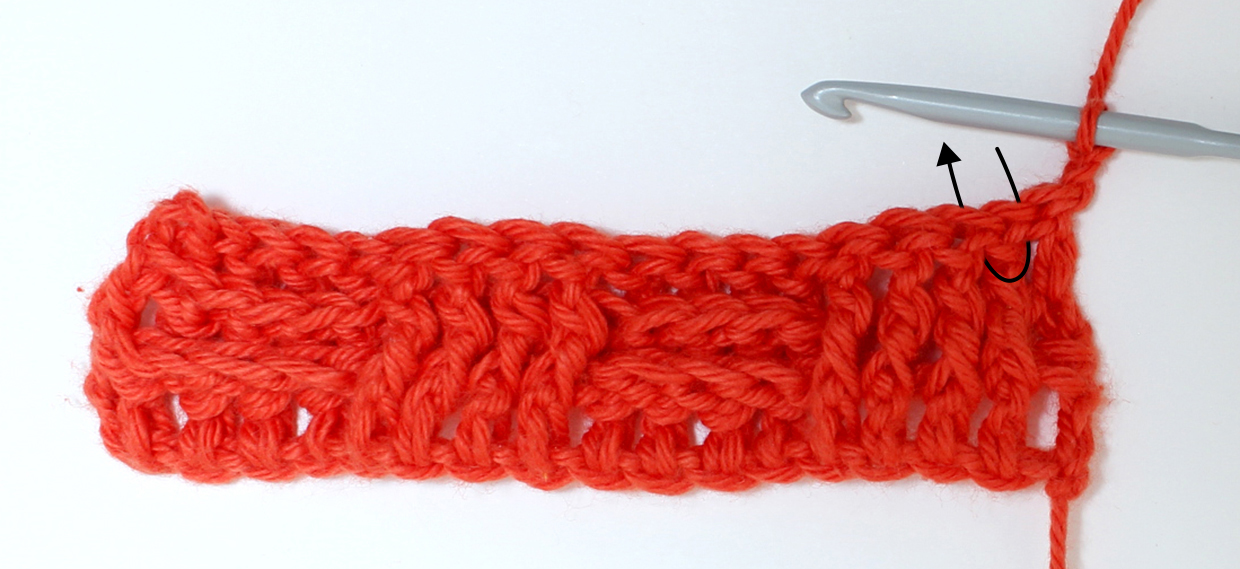
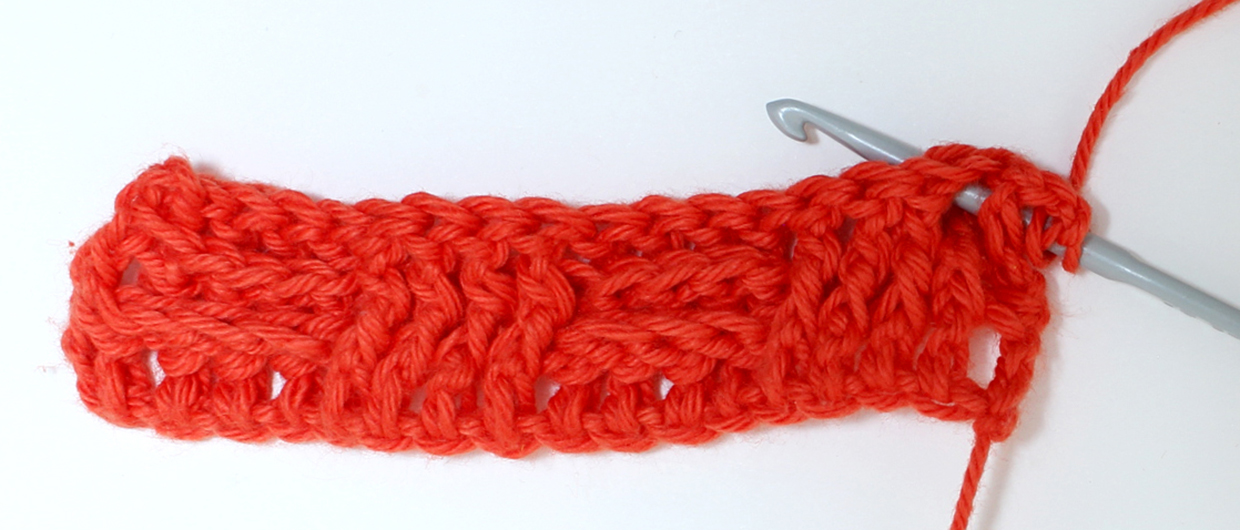
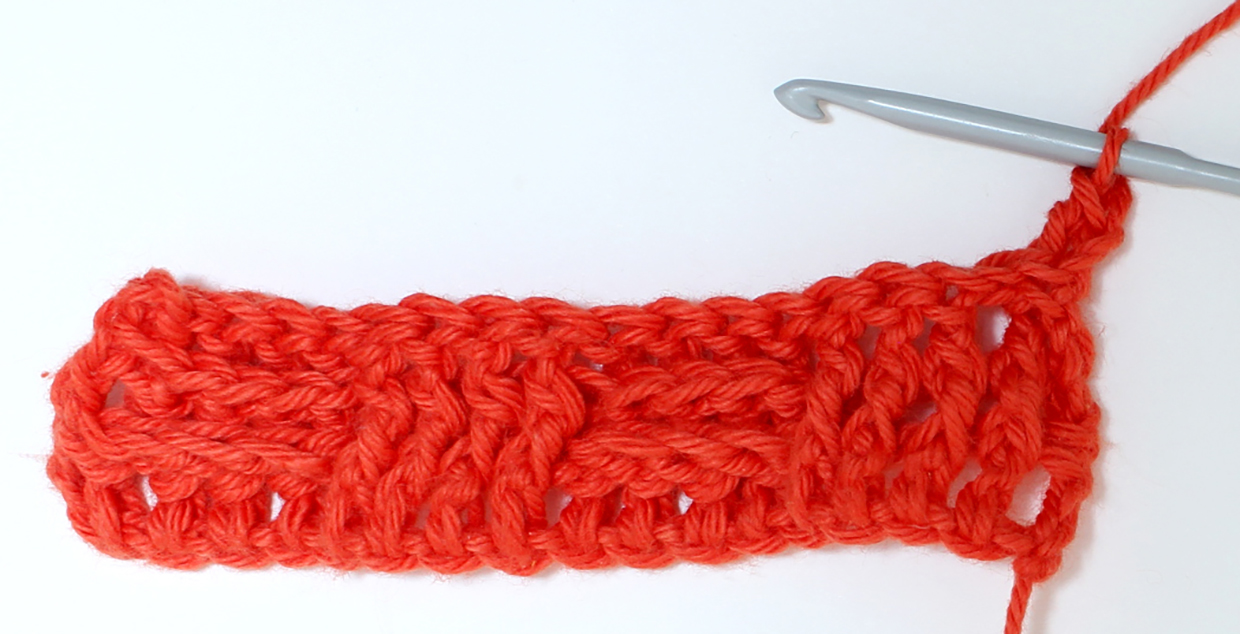
… then FPtr into the next 4 stitches…
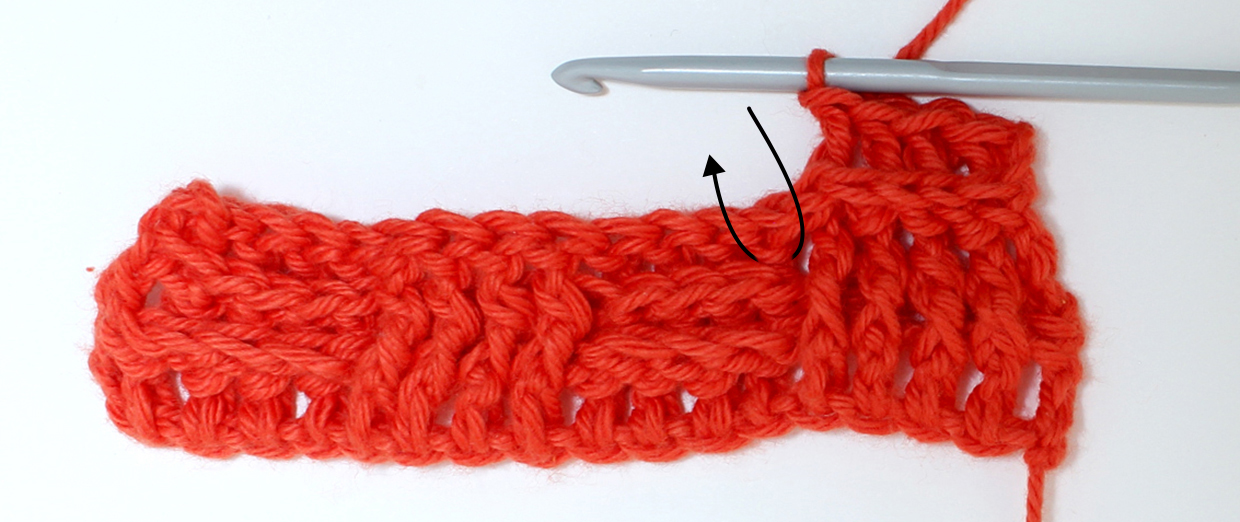
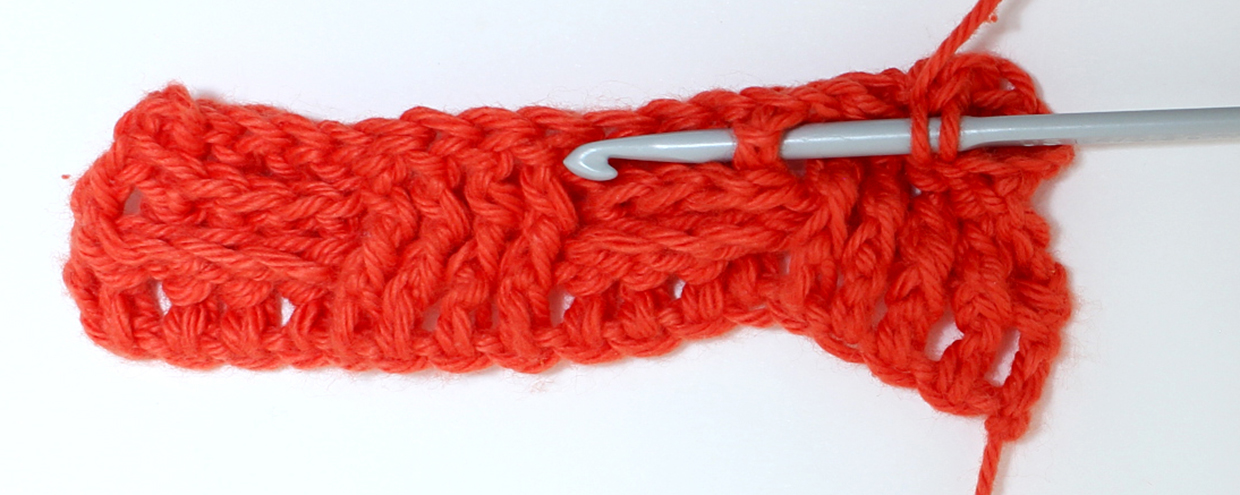
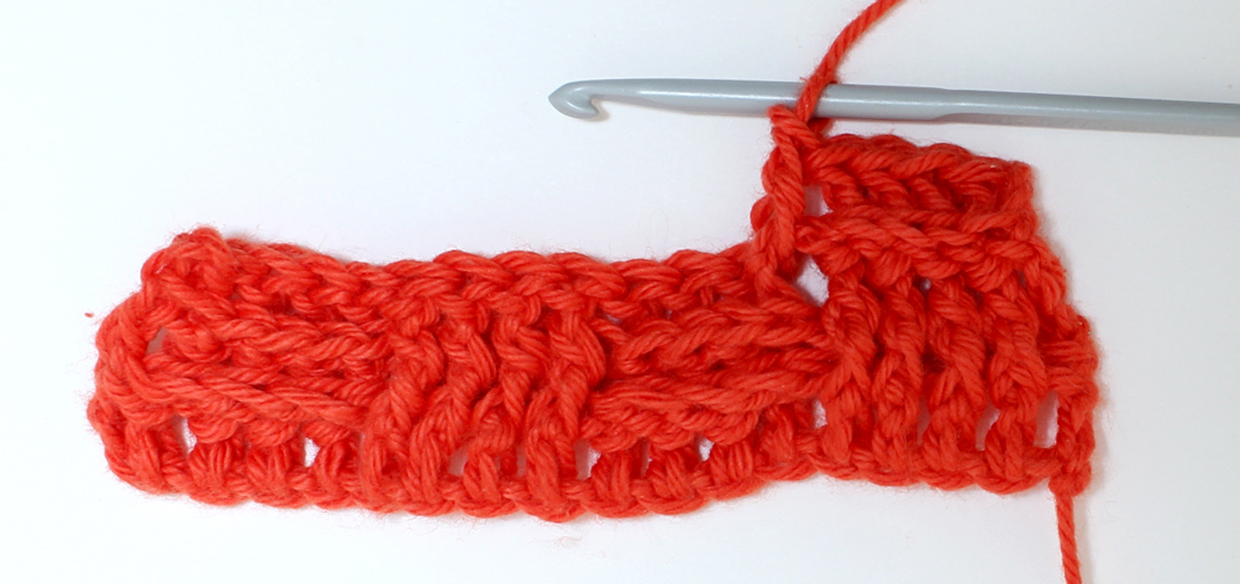
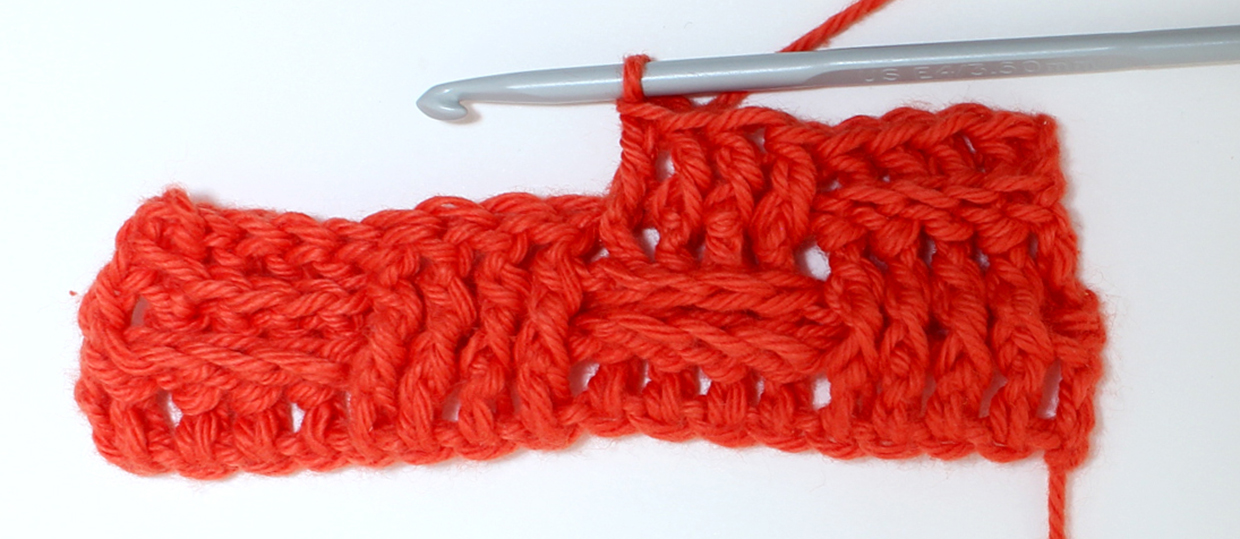
… You should be able to see that the textural pattern is starting to alternate now. As usual, just repeat to the end (4BPtr and 4FPtr) then finish with a normal treble in the top of the 2ch.
Step 7
Row 5 Again, we’re going to repeat the last row so that we have 2 rows of the same pattern. So ch2, BPTr in next 4 stitches…
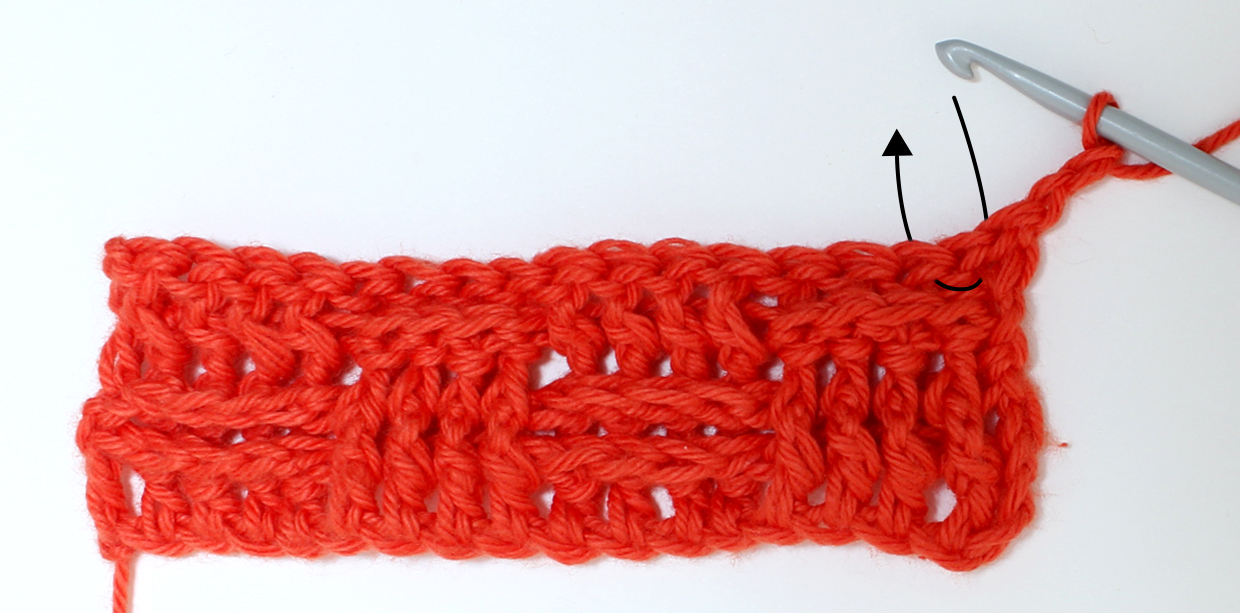
…followed by FPtr in the next 4 stitches….
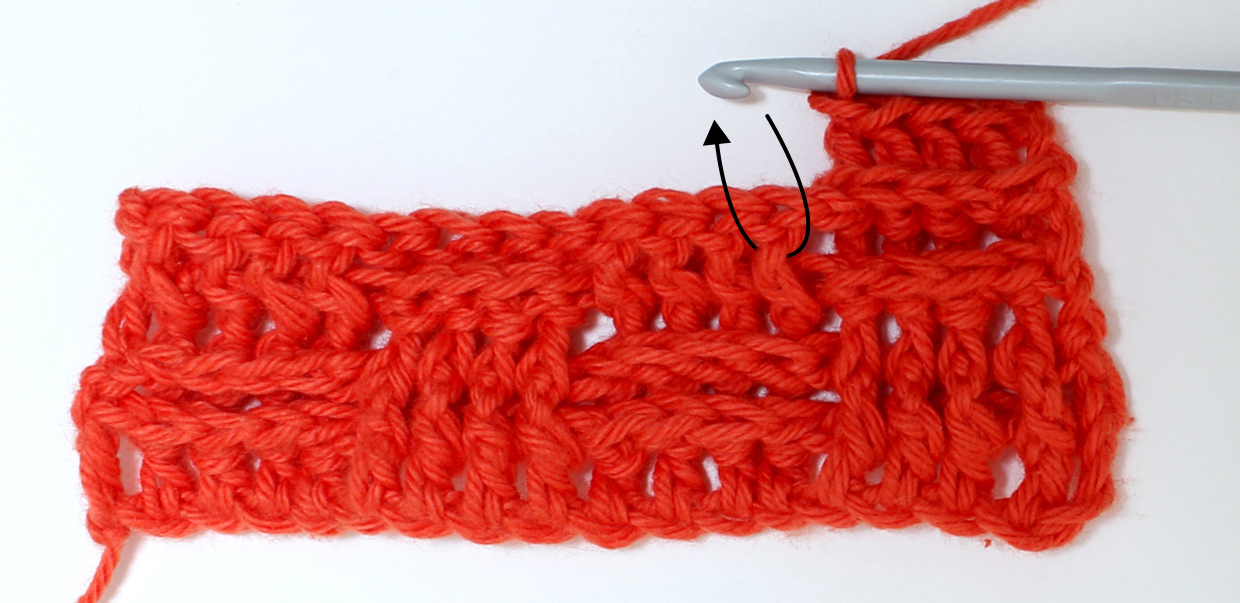
…then repeat 4BPtr and 4FPtr to the end, as usual finishing with a regular treble in the top of the 2ch.
