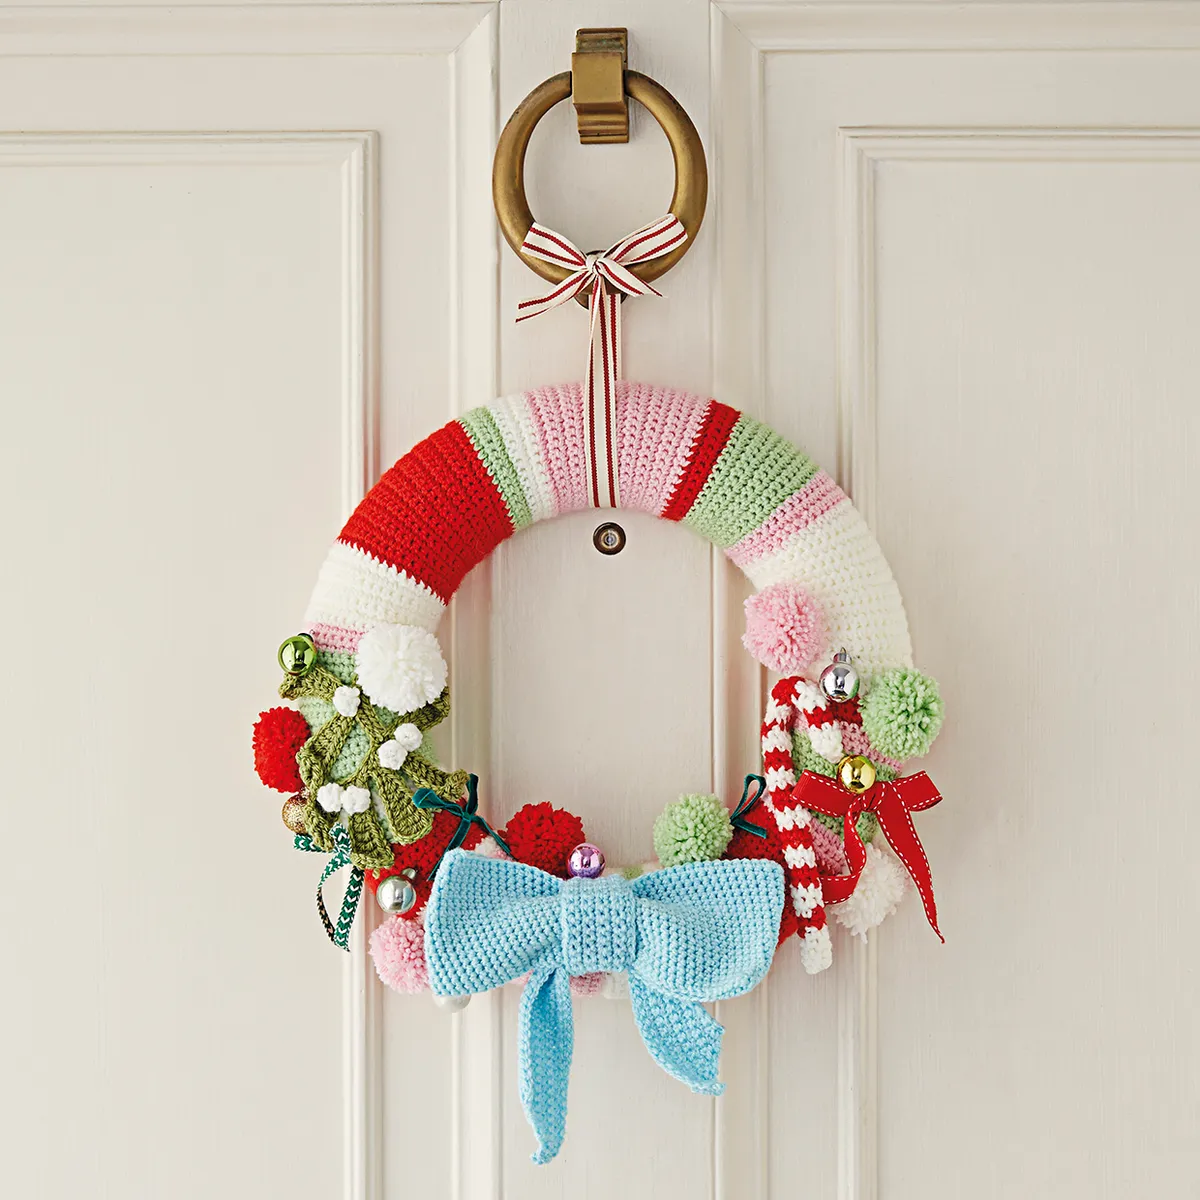
We love Kath Webbers less-than-traditional take on a classic crochet Christmas wreath pattern. It looks lovely in pretty pastel colours, but you can choose different shades to match you homes colour scheme.
As it mainly uses simple double crochet stitches, it's a project that even crochet beginners can try – plus you'll learn some useful new stitches on the mistletoe. As it's made up of individual elements and motifs, you can really get creative and add in other crochet shapes and decorations too.
More DIY Christmas wreaths
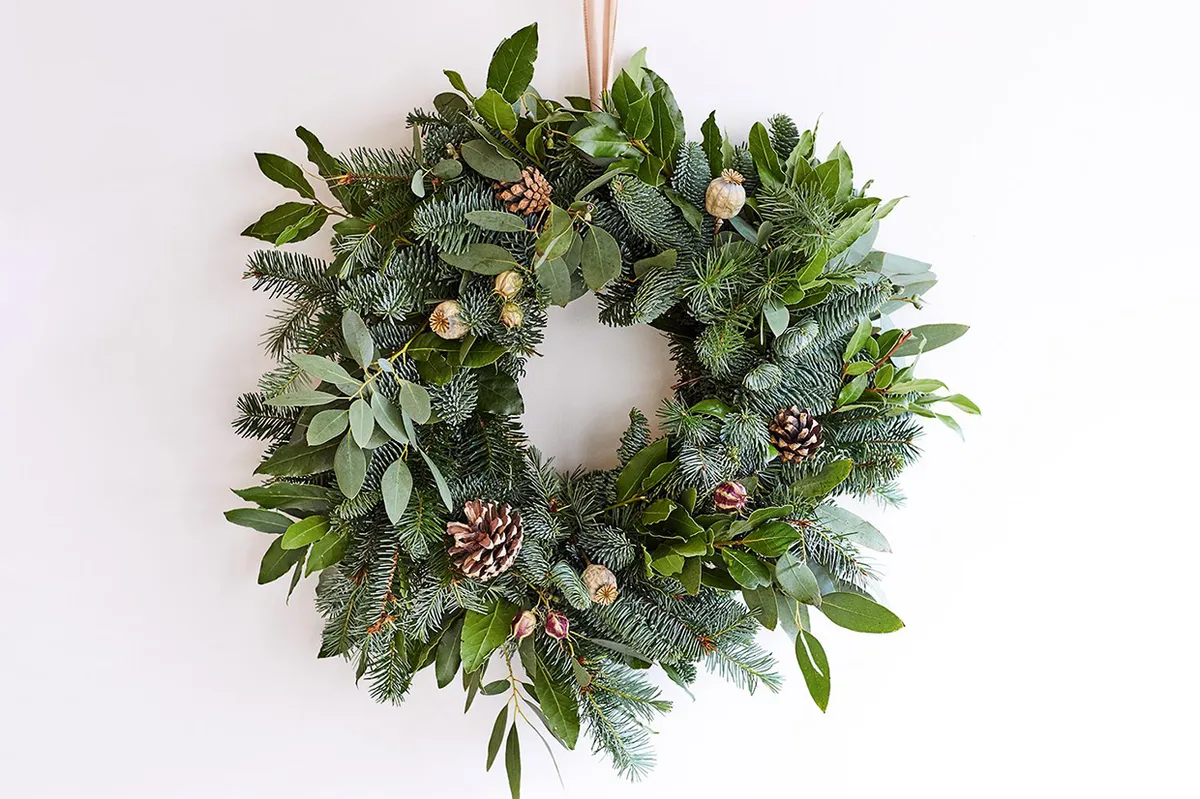
Looking for a more traditional wreath, or have lots of doors to decorate? We've got a range of crafty projects in our Make your own Christmas wreath pattern round-up
You will need the following materials
Paintbox Yarns Simply DK (100% acrylic, 100g/276m), or alternative dk yarn, 1 ball of each:
- Yarn A - Off White (Frost 70001)
- Yarn B - Red (Ruby 70006)
- Yarn C - Baby Pink (Rose 70038)
- Yarn D - Light Green (Peridot 70011)
- Yarn E - Light Blue (Blue Haze 70036)
- Yarn F - Fern Green (Olive 70013)
A 3.5mm (US E/4) hook A 30cm (12in) polystyrene wreath 35mm (1½in) pompom maker or cardboard rings Stitch marker Glass-headed pins Assorted ribbons Small glass baubles
Please note: This pattern was originally designed in Annell Rapido (100% acrylic, 50g/133m) yarn, which is unfortunately not widely available. Due to this, we have substituted it for a more readily available and suitable alternative, but due to this colours may differ slightly from those in the pictures.
Measurements of the crochet wreath
This pattern is designed to fit a 30cm (12in) polystyrene wreath
Stitch tension required for this project
22 stitches and 24 rows to measure 10x10cm (4x4in) in double crochet using a 3.5mm hook
Special stitches and abbreviations used in this pattern
You can find a full list of all abbreviations we use in our abbreviations and conversions guide. This free crochet wreath pattern is written in UK terminology but you can easily convert it to US terms using the guide.
Double Treble (Dtr) Yrh twice, insert hook in stitch, yrh and pull up loop, (yrh and draw through 2 loops) 3 times
Triple Treble (Ttr) Yrh three times, insert hook in stitch, yrh and pull up loop, (yrh and draw through 2 loops) 4 times
You can find more instructions on these special stitches in our how to crochet double treble stitches and beyond tutorial.
Free crochet Christmas wreath pattern
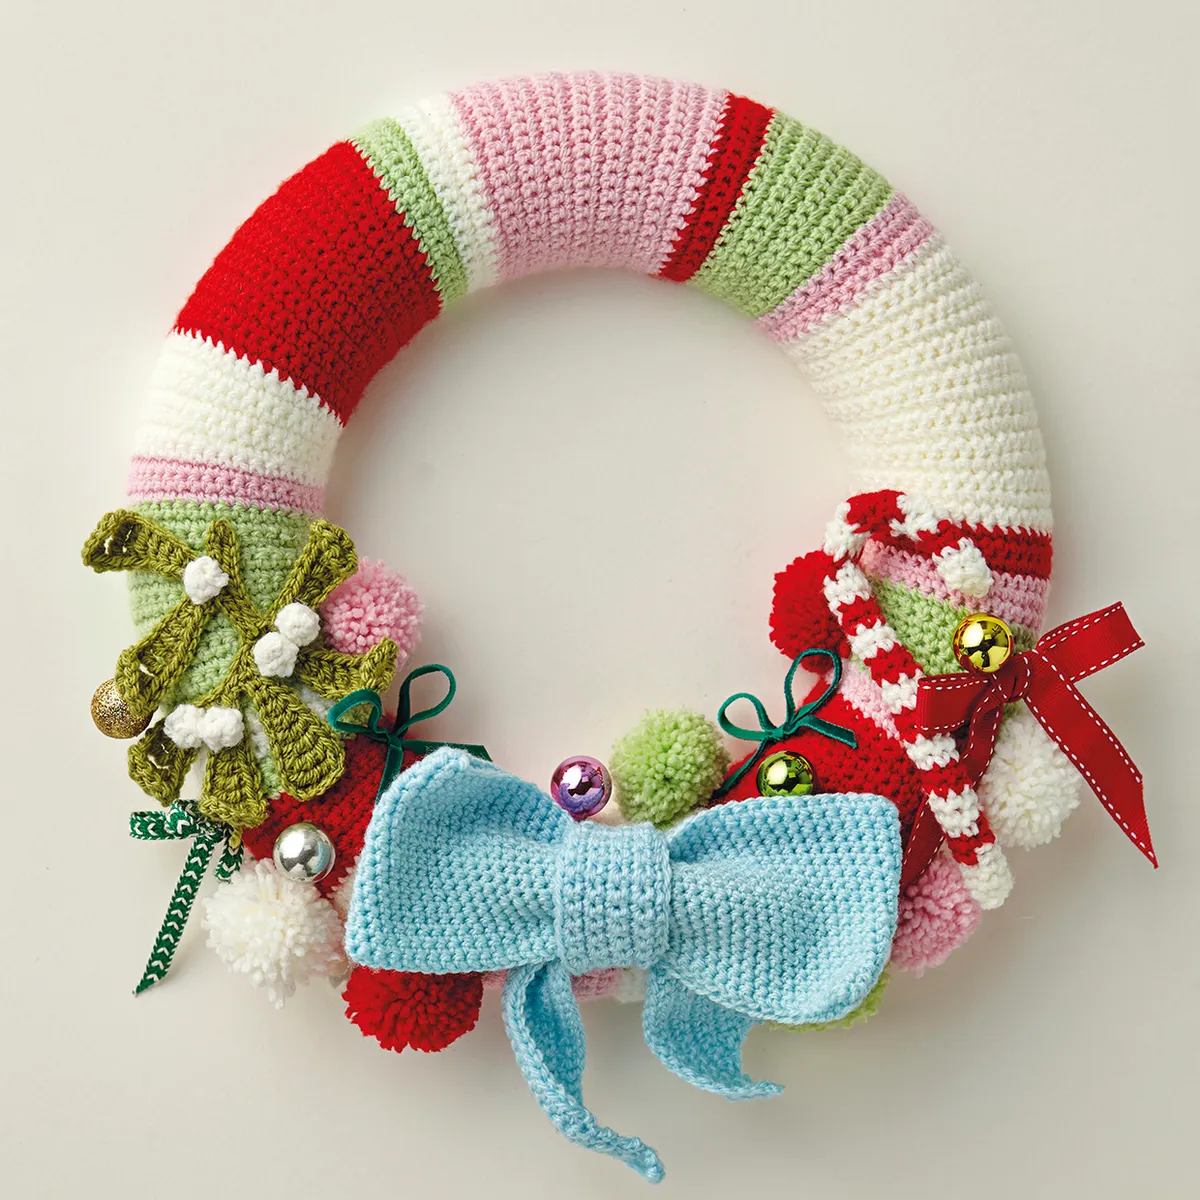
How to make the crochet wreath cover
Using Yarn A, chain (ch) 35.
Row 1 (RS) Double crochet (dc) in second ch from hook and each ch across to end, turn. [34 sts]
Row 2 Ch1 (does not count as stitch), dc into each stitch (st) across to end, turn.
Repeat Row 2 until piece measures approx 75cm, changing colour at row ends as desired and weaving in ends as you go.
Fasten off.
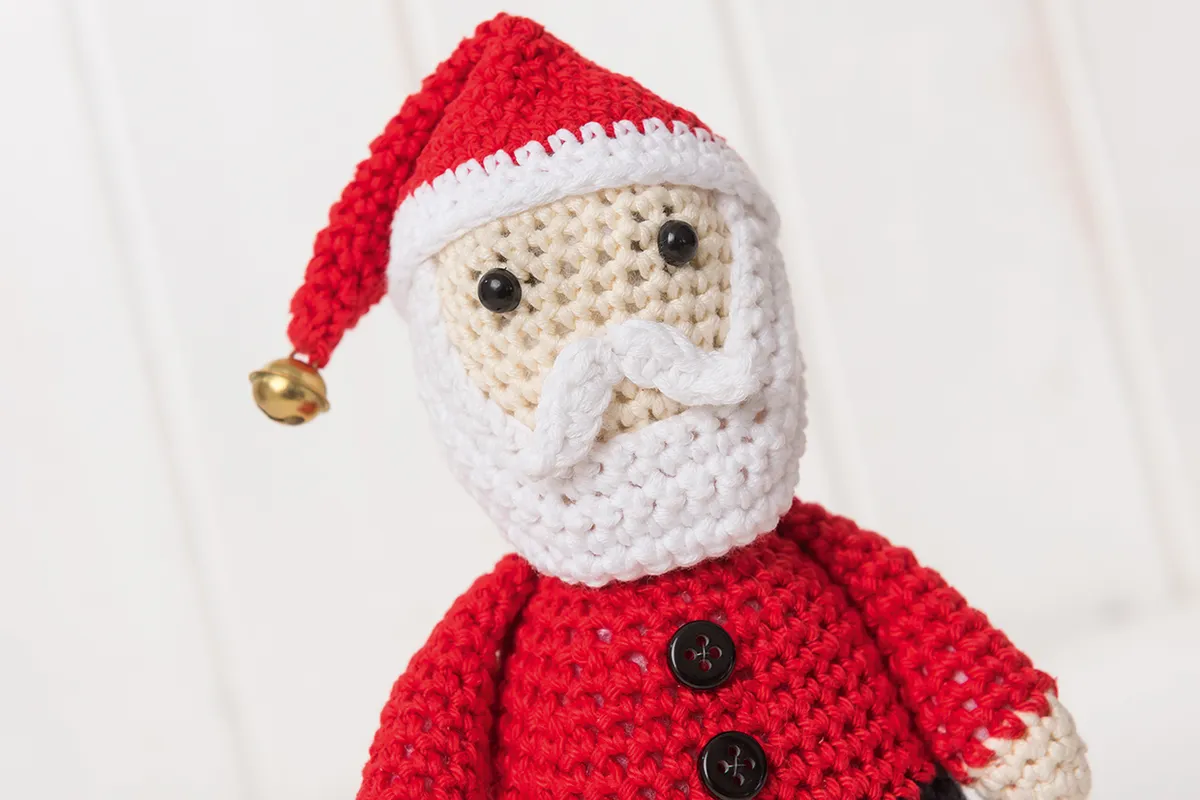
Ho-Ho-Hook your own Santa
When it comes to Christmas crochet projects, we love a bit of festive amigurumi. Our free amigurumi Santa crochet pattern is a fun make that would also make a sweet stocking filler!
Add a beautiful bow
The bow is worked in two pieces. Piece 1 is worked using the amigurumi method, where you work in a continuous spiral without closing off each round with a slip stitch. Piece 2 is worked in rows back and forth.
Piece 1
Using Yarn E, ch80, slip stitch to the first ch to form a ring, being careful not to twist.
Round 1 (RS) Ch1 (does not count as st), 1dc into each ch around, placing a st marker into the last st. [80 sts]
Rounds 2-19 Dc in each st around, moving the marker up at the end of each round.
Fasten off and weave in ends.
Piece 2
Using Yarn E, ch75.
Row 1 (RS) Dc in the second ch from the hook and each ch across to end, turn. [74 sts]
Row 2 Ch1 (does not count as dc), skip first st, dc into each st across to last 2 dc, skip 1 st, dc into last st, turn. [72 sts]
Rows 3-9 Repeat Row 2.
Fasten off and weave in ends.
To assemble, simply wrap Piece 2 around Piece 1, securing with a loose knot behind.

Time to make your crochet candy cane
The candy cane is worked using the amigurumi method, giving the twisted effect to the stripes. After placing the stitch marker as instructed, move the marker up as you work each round. Stuff the shape with the tails of the yarn after each colour change.
Using Yarn A, make a crochet magic loop.
Round 1 (RS) 6dc into magic loop, pull tail tightly to close.
Round 2 Ch1 (does not count as st), 1dc in back loop only of each st around, place st marker in last st. [6 sts]
Rounds 3-4 Dc into each st around.
Rounds 5-6 Change to Yarn B, dc into each st around, stuffing the candy cane with the tails of the yarn as you go.
Rounds 7-8 Change to Yarn A, repeat Rounds 3-4.
Work Rounds 5-8 four times more.
Round 25 Continuing with Yarn A, ss into each of the next 2 sts, 1dc into each of the next 3 sts, ss into last st.
Round 26 Change to Yarn B, ss into next two ss, 1htr into each of the next 3 dc, ss into last ss.
Round 27 Repeat Round 26.
Rounds 28-30 Change to Yarn A and work as Round 26.
Rounds 31-33 Change to Yarn B and work as Round 26.
Round 34-36 Repeat Rounds 28-30.
Round 37 Change to Yarn B and work as Round 25.
Round 38 Dc into each st around.
Rounds 39-40 Change to Yarn A, dc into each st around.
Round 41 (Dc2tog) 3 times.
Fasten off and weave in any ends.
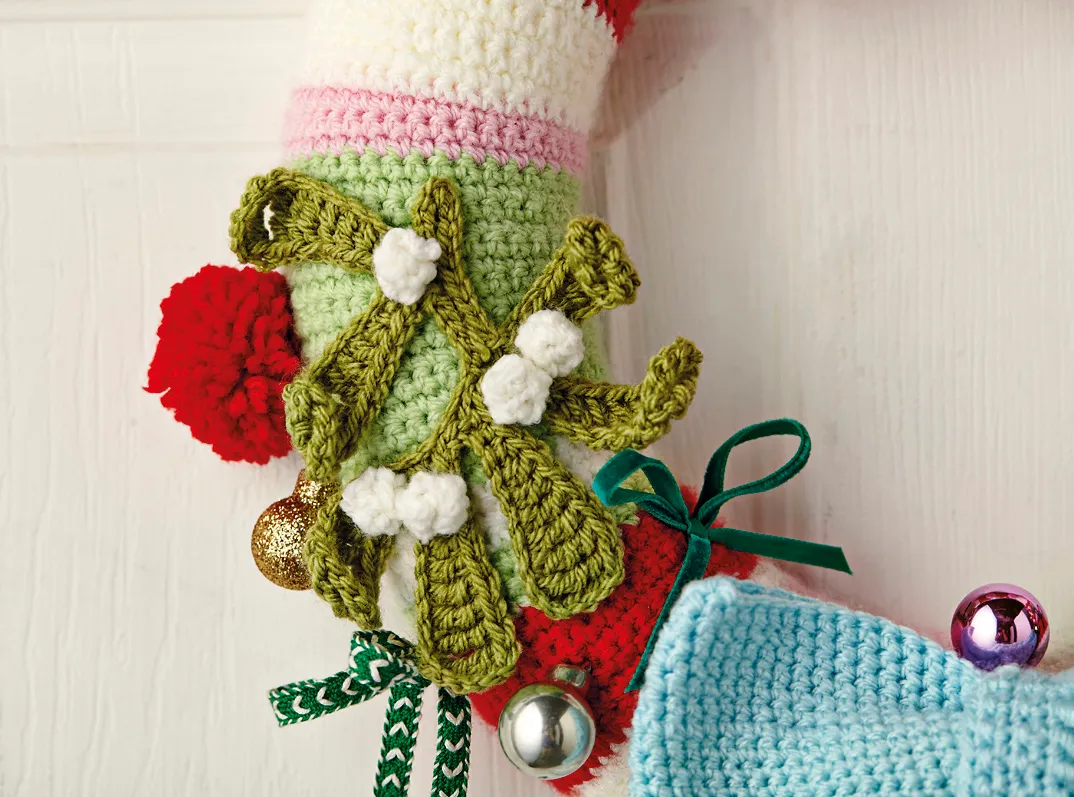
Don't miss the Mistletoe
Start with the Leaves
The leaves are all worked as one main piece. Block the leaves lightly to stop the petals from curling too much by pinning to a towel and spritzing with water. Leave to dry overnight before attaching to the wreath.
Using Yarn F, ch30.
First Leaf *1ttr into 6th ch from hook, 1ttr into next ch, 1dtr into each of the next 2 ch, 1tr into each of the next 2 ch, 1htr into next ch, 1dc into each of the next 2 ch*;
Second Leaf ch14, repeat from * to *, ss into each of the next 3 ch;
Third Leaf ch14, repeat from * to *, ss into each of the next 3 ch:
Fourth Leaf ch14, repeat from * to *:
Fifth Leaf ch14, repeat from * to *, ss into each of the next 10 ch, turn to work along the other side of the ch, ss into each of the first 5 ch;
Sixth Leaf ch14, repeat from * to *, ch14, repeat from * to *, ss into each of the next 4 ch.
Fasten off and weave in ends.
Then make 5 berries
With Yarn A, make a crochet magic loop.
Round 1 (RS) 4dc into loop, pull tail tightly to close.
Round 2 Dc into each dc around. [4 sts]
Round 3 Skip 1 dc, 1dc into the next st, skip 1 dc, 1dc into the next st.
Fasten off and stuff ends into berry using the end of your hook.
Now you just need to assemble your crochet wreath
Wrap the wreath cover around the polystyrene ring, stretching out any wrinkles or bunching and pinning firmly on the reverse as you go. Seam the two long edges around the back, and then the short edge.
Pin the bow into place, over the short edge seam, ensuring that the pins are pressed firmly into the polystyrene.
Attach the candy cane, again pressing the pins down all the way to conceal them and make sure they won’t fall off. Pin the mistletoe leaves into place, then add the berries, pushing the pins through the centre of the berries.
Using a pom-pom maker or small cardboard rings, make up two pom-poms in each colour and attach to the wreath.
Add any ribbons you choose, and finally add the baubles.
Attach the baubles using their wire loop, crossing the pins over and catching the yarn of the wreath piece as you do so to secure.
Try our crochet Christmas tree decoration
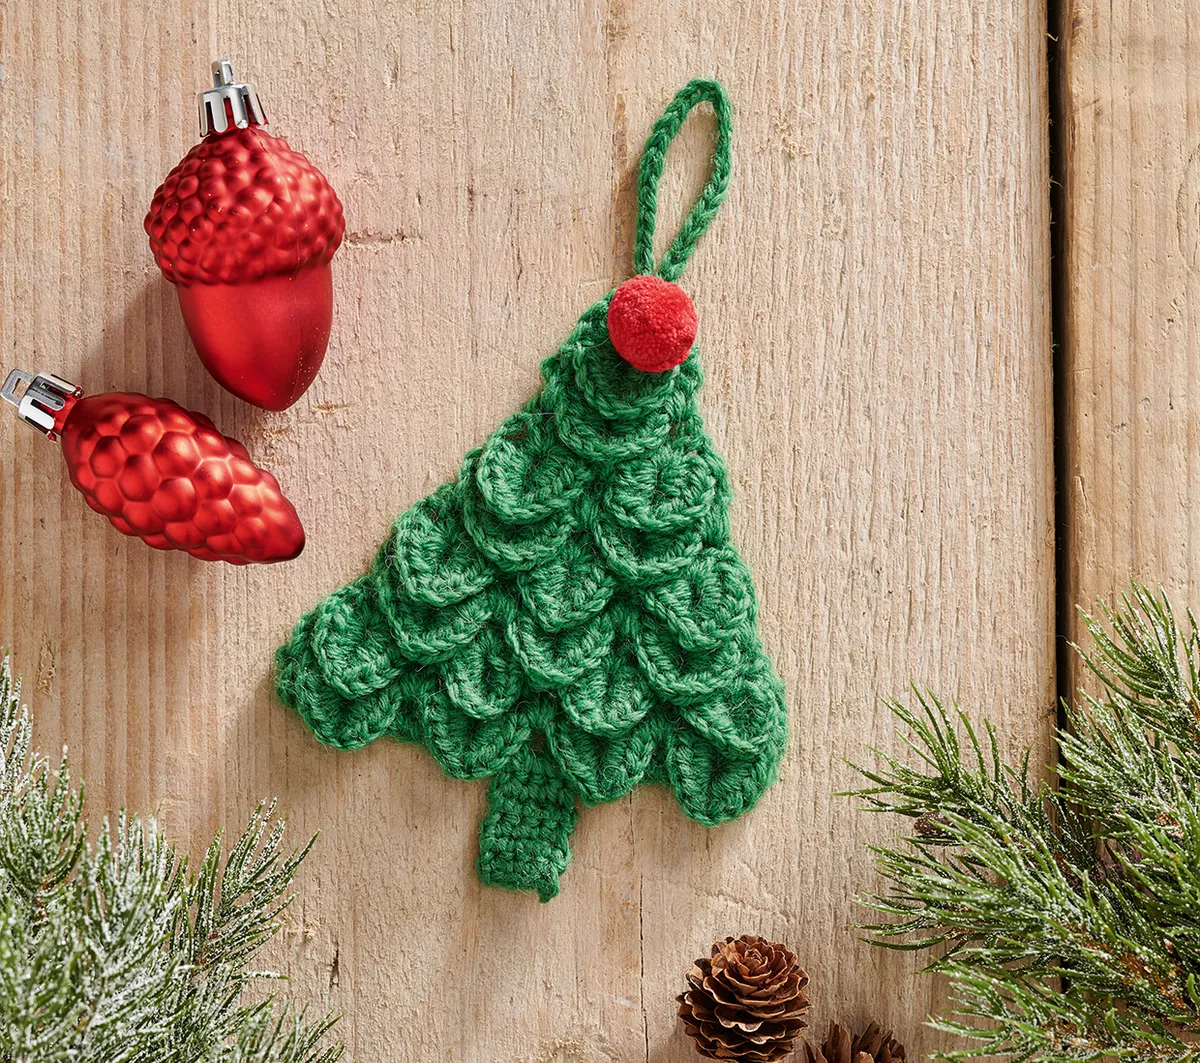
Once you've made our fab crochet wreath, why not try learning a new stitch with our Free Christmas tree decoration crochet pattern.
Display your crochet wreath with pride
Now that you've finished your crochet wreath, you need to show it off! Use the ribbon to hang it on your front door. If you don't have a door knocker to hang it from, it would look lovely displayed in a window or hanging above a fireplace.
More Christmas crochet decor
Once you've finished your wreath, it's time to start on your Christmas tree ornaments. You'll find loads of inspiration in Gathered's roundup of the best free crochet Christmas decoration patterns!