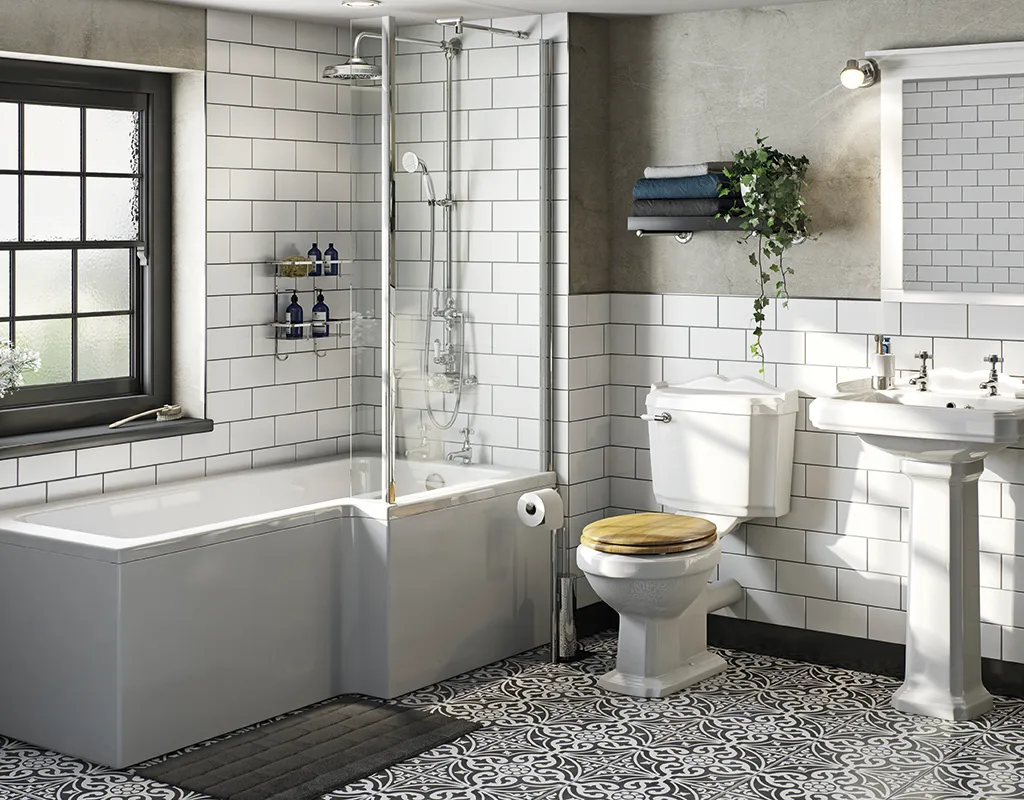
Whether you have invested in a complete bathroom makeover or are doing a partial renovation, bath panels are not to be overlooked. They serve the practical purpose of concealing unsightly plumbing work, but if chosen carefully, can greatly enhance your bathroom’s style and are essential for achieving a timeless bathroom aesthetic.
In fact, just fitting a panel to an existing bath is an easy and low-cost way to re-energise your décor. There is a range of materials, colours and finishes to choose from, and you might be surprised to find that bath panelling is not as difficult to install as you might think.
Bath panelling styles
First you need to make sure you are buying the right size and shape panel for your bathtub. Straight baths are the most popular design and require one front panel (the long one that runs down the side) and sometimes a shorter end panel too.
Slightly more unusual are shower baths with a side panel that extends out sideways to accommodate the extra width of the shower section, sometimes called L- or P-shaped panels. There are also space-saving corner baths that require a curved or angled panel.
Tight on space? Pick a bath panel with doors. As well as hiding away pipes and fittings, it will also give you an extra, hidden area to store less attractive bathroom items, such as chemical bottles and cleaning equipment. Check out the Hideaway Bath Panel from Argos, priced £90.

Acrylic bath panelling
These are perhaps the most commonly seen bath panels and for good reason – they are affordable, durable and easy to clean. Acrylic panels can be cut to size with a saw and fitted in just a few steps. Sleek and white, these will work well for a modern, minimalist look.
Wooden bath panelling
The benefit of wooden panels is that they come in a range of styles, such as panelled or tongue and groove. You can also buy plain MDF panels from your local builders’ merchants, and then paint them in your choice of colour. A natural product, wood panels are perfect for a rustic, Japandi, or period look.
Tiled bath panelling
Another way to integrate your bath with the rest of your bathroom décor is to tile your bath panel. You can buy ready-to-tile bath panels from various bathroom retailers. The panels are pre-formed with adjustable legs – you just add tiles to create a stylish wall-to-floor look.
Painting panelling tips
- Painting a wooden bath panel yourself is a great way to ensure it matches your existing colour scheme, as well as enabling you to create your own unique style.
- If you are painting an existing wooden bath panel a new colour, then you will need to do some preparation work. First sand it down to provide a ‘key’ (an uneven surface that the paint will stick to), then wash it with sugar soap and let it dry. If you have a new plain wooden panel, you can get stuck in with painting straight away!
- Apply Ronseal One Coat Cupboard Paint, a primer and paint in one, priced £15 for 750ml and available in a range of colours. Or use a primer for a base coat and then finish the panel with an interior woodwork paint, such as Dulux Quick Dry Wood Paint, from £20.84. Remember to coat all edges and ends to protect from moisture damage.

How to fit a wooden bath panel
You will need...
- Electric drill and screwdriver
- Saw
- Sealant gun
- Silicone sealant
- Tape measure
- Metal brackets
- Lengths of softwood batten
- Wood adhesive
- Wood screws
- Wood varnish (if panel or plinth requires trimming)
