Yarn hoop wall hanging

Yarn hoop wall hanging

Make a statement with Victoria Hayne's funky yarn hoop wall hanging.

Try 6 issues of your choice of craft magazine from just £9.99

Published: July 8, 2024 at 1:08 pm

Make a simple but effective yarn hoop wall hanging with our tutorial. This project was created by Victoria for Mollie Makes magazine – for more easy-make craft projects and creative inspiration, subscribe to Mollie or click here to find out more.

Materials

  • Paintbox Yarns Simply Chunky, 100% acrylic, 136m/149yd per 100g, one ball in Pansy Purple (Yarn A)
  • Stylecraft Special DK, 100% acrylic, 294m/322yd per 100g, one ball in Violet (Yarn B)
  • Small amount of cream DK yarn
  • Wooden embroidery hoop, 23cm (91/8") diameter
  • Wooden embroidery hoop, 16cm (63/8") diameter
  • Copper acrylic paint
  • Wooden beads
  • Paintbrush

Yarn hoop wall hanging

Step 1

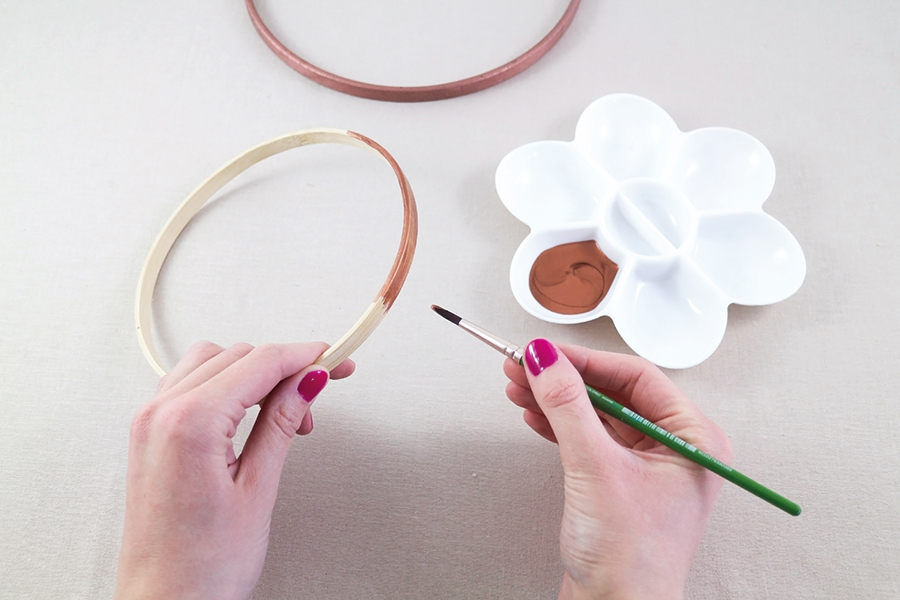
yarn hoop wall hanging Step1Separate the inner and outer parts of both embroidery hoops. Put aside the outer parts of the hoops as they won’t be used. Paint both inner hoop parts with copper paint and leave to dry.
Step 2

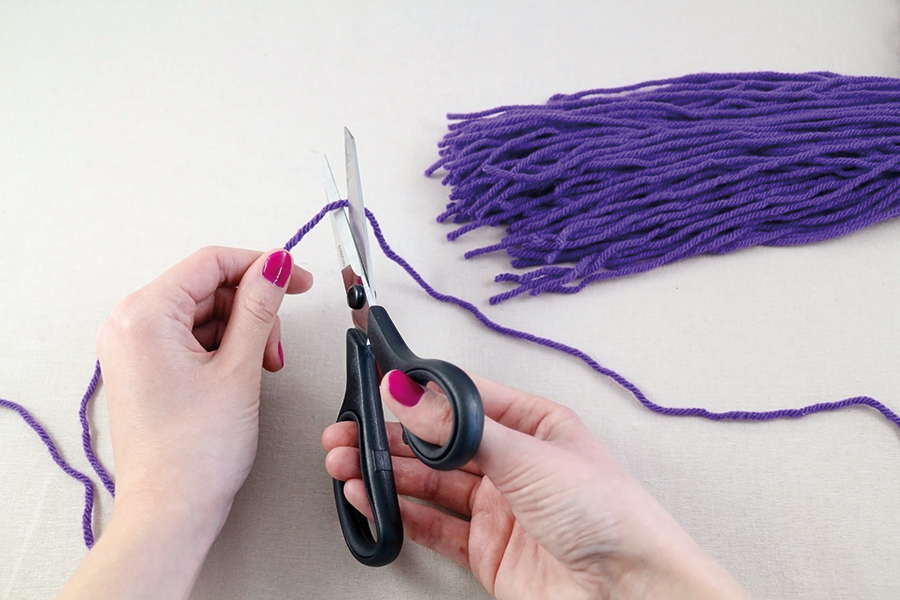
yarn hoop wall hanging Step2Next, cut lengths of yarn for the tassels. Cut 75 80cm (311⁄2") lengths from Yarn A, and cut 120 60cm (235/8") lengths from Yarn B.
Step 3

yarn hoop wall hanging Step3

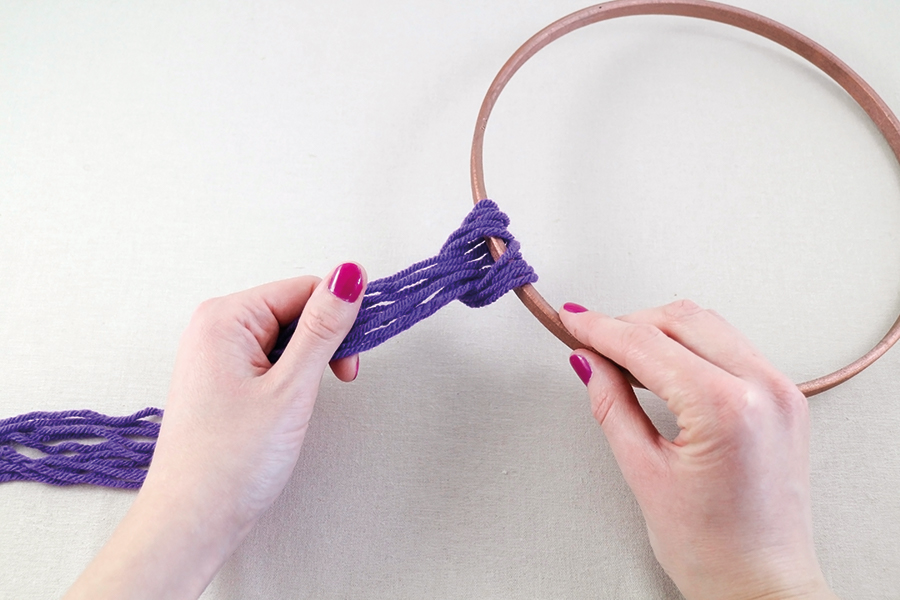
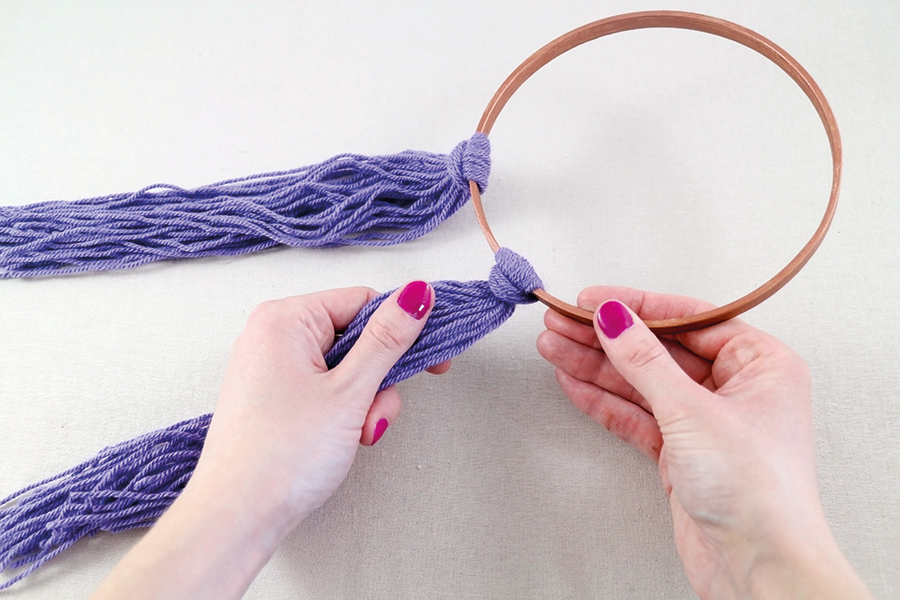
To make the tassels for the larger hoop, gather five lengths of Yarn A together and fold in half to make a loop. Pass the loop through the embroidery hoop from back to front, and pull the ends of the yarn through the loop, as shown. Repeat another 14 times with the remaining lengths of Yarn A.

Step 4

yarn hoop wall hanging Step4

To make the tassels for the smaller hoop, gather 20 lengths of Yarn B together and attach using the same method as per Step 3, stopping once you have six tassels in total on the hoop.

Step 5

yarn hoop wall hanging Step5

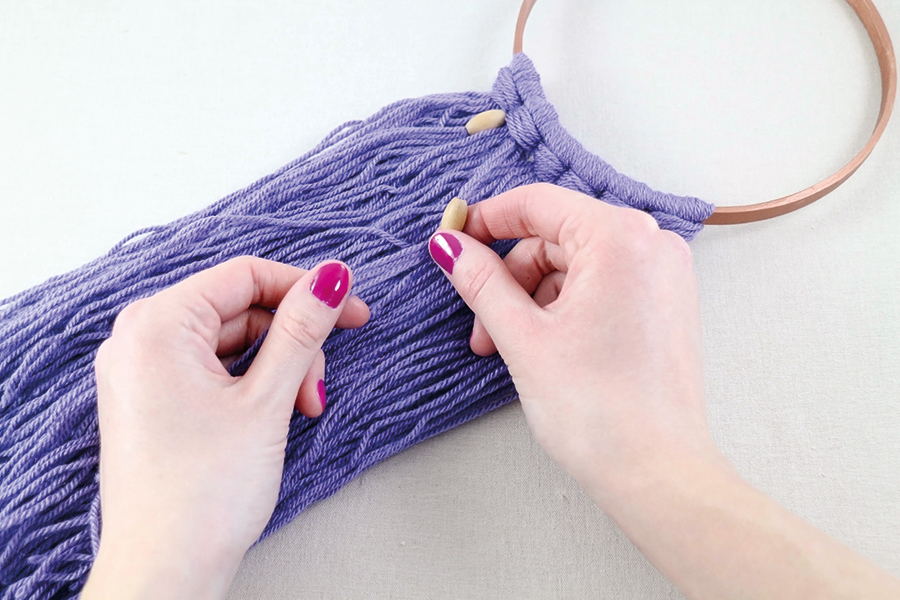
Add wooden beads to the smaller hoop by taking three strands from the centre of the first tassel and three strands from the next tassel, and threading on a bead. Push the bead to the top, then repeat for the remaining tassels.

Step 6

yarn hoop wall hanging Step6

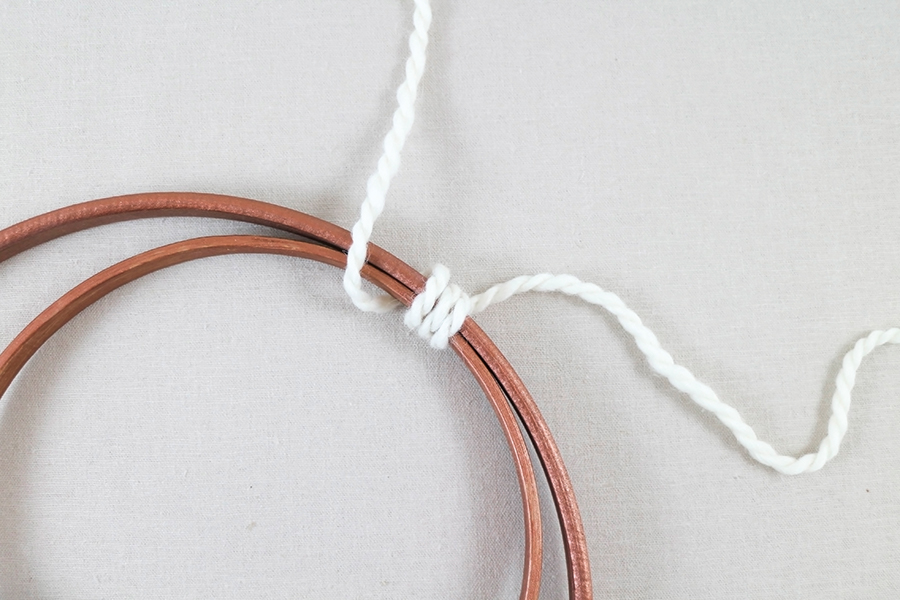
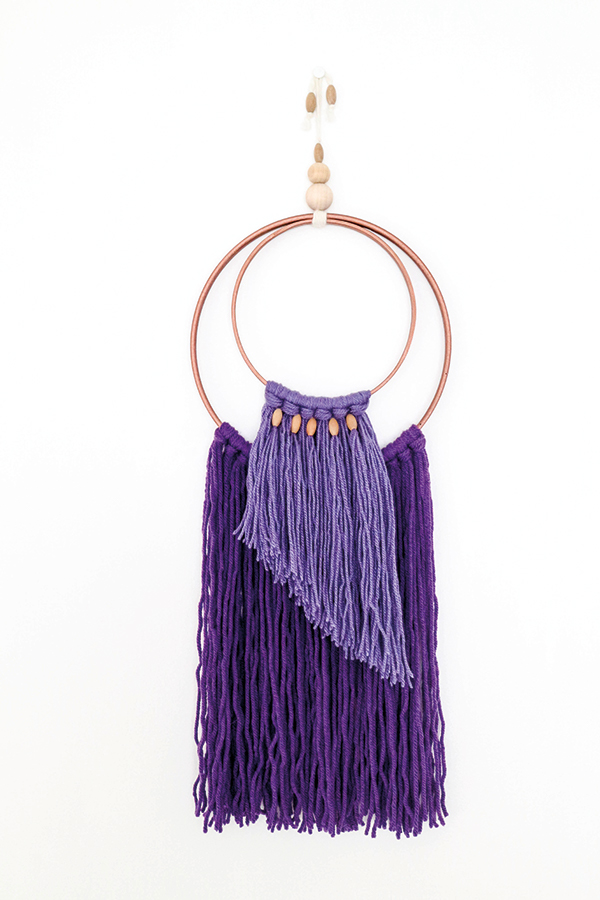
Join the two hoops together at the top by wrapping a length of cream yarn around both hoops and securing it with a knot. Thread on wooden beads, using the image as a guide, tie a knot and make a hanging loop. Trim the Yarn B tassels diagonally, as shown, to finish.

We hope you enjoyed making Victoria’s project. Share a picture of your yarn hoop wall hanging with us on Instagram using #molliemakers, and don’t forget to subscribe to Mollie Makes to get creative inspiration delivered to your door every month!

yarn hoop wall hanging