Step 1
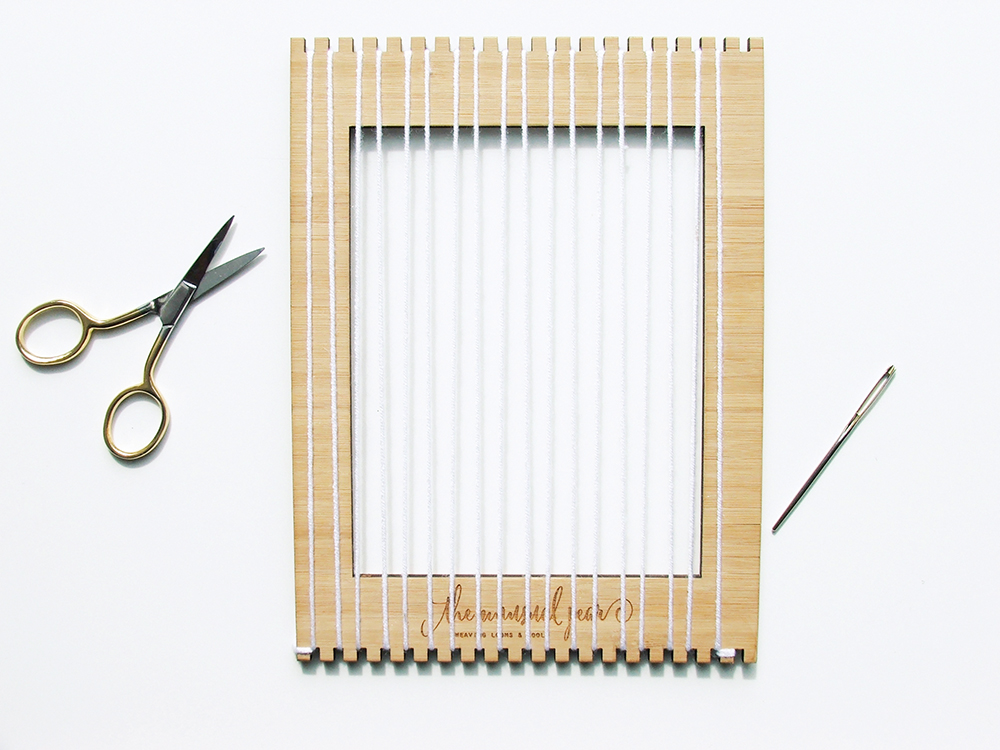
First, warp up your loom – this is the thread that will hold your weaving together. To do this, tie the thread in a knot on one end of the loom then hook it around and down. Once you’ve got to the end of the loom, tie it to the loom on the same side as the starting knot. The knots on the loom will be the bottom of the weave.
Step 2
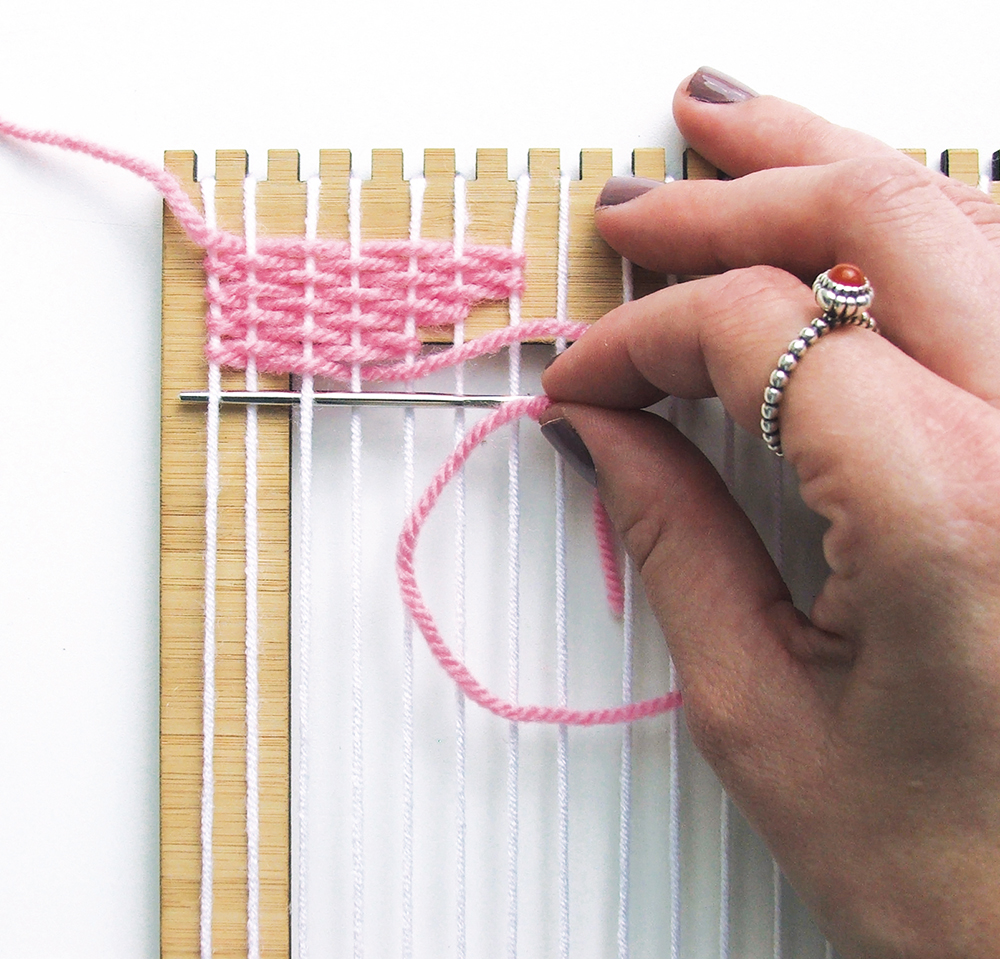
To start weaving, thread the yarn through your needle then weave over and under the warp. The start of the thread should have some overhang, which will be secured at the end. To create this design, you’ll need to weave across to just under half way where you’d like the shape to start. Then continue weaving below, making each row one less than the row above, until you’ve made a triangle shape at the corner. Repeat on the opposite side.
Step 3
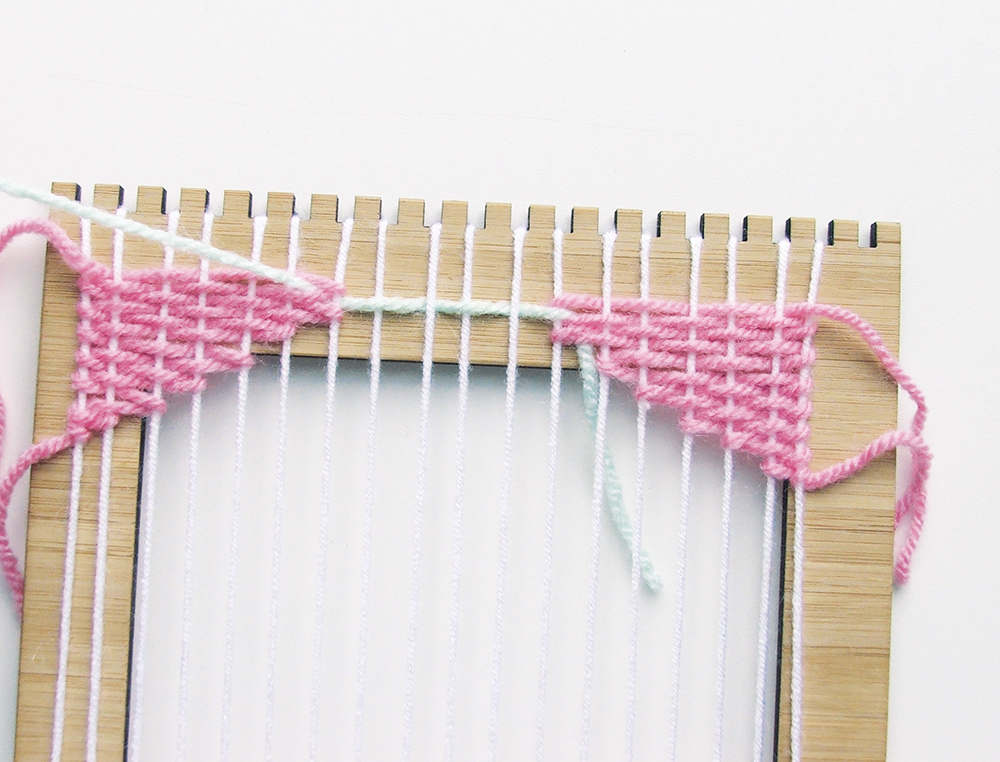
Now you need to weave in between these shapes. Start the weave through the gap in the top row, creating a link with the yarns. Weave across to the other side, then weave through the gap in the yarn on that top row to link the yarns again. Repeat this step.
Step 4
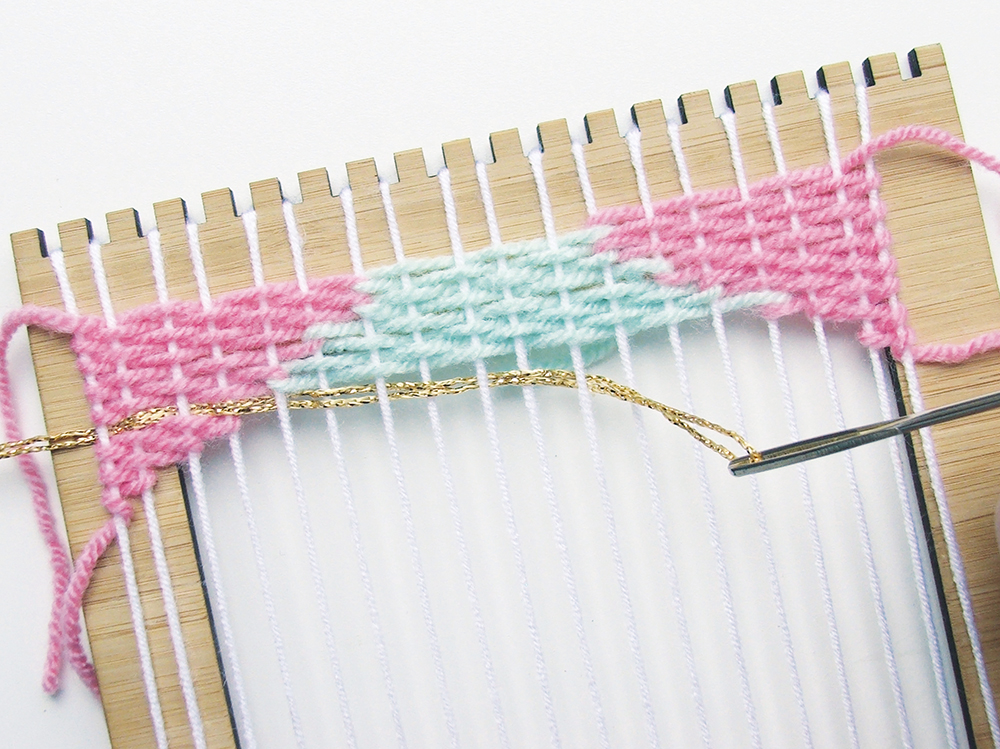
To add the line of gold across the weave, thread some gold yarn over and under the warp thread in between the weave rows you’ve already created. As this thread is thin, it won’t disturb the other rows.
Step 5
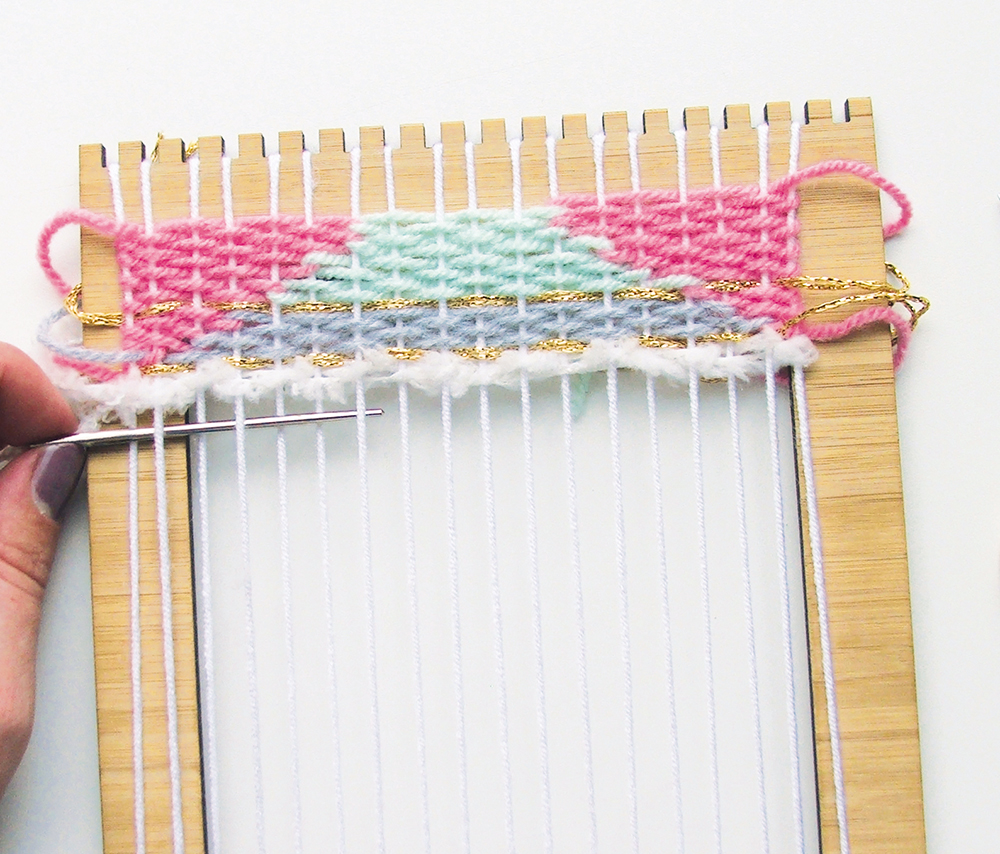
Now switch up your yarn variety to introduce some new colour and texture to the piece. Do the basic over and under weaving all the way across and back.
Step 6
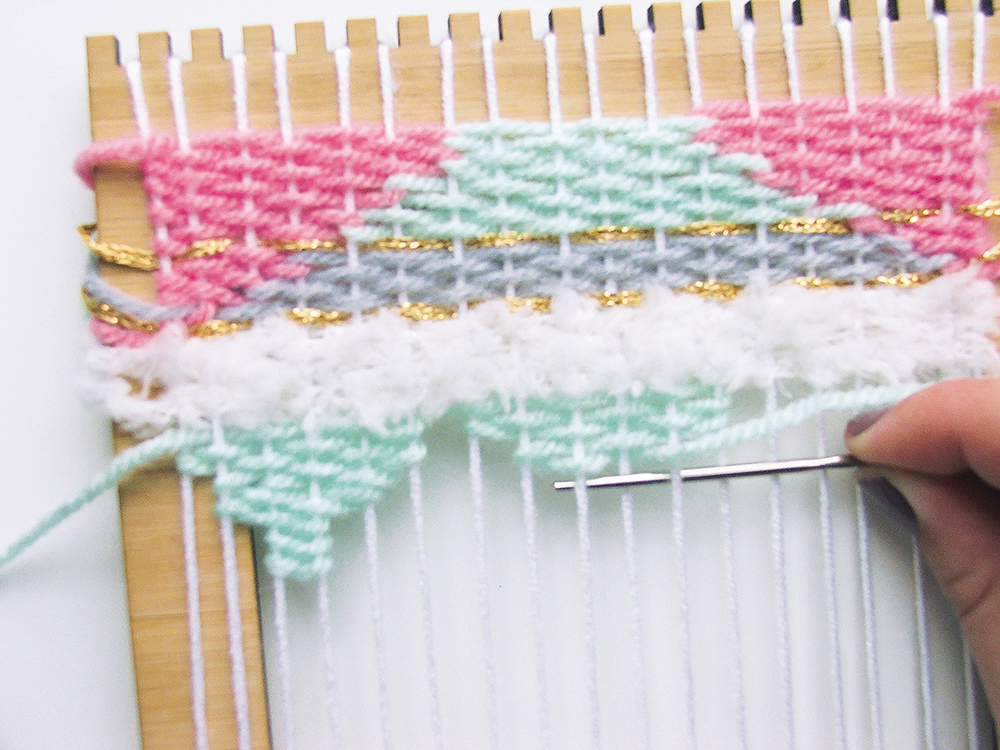
Create some mini triangles in a similar way to Step 2. Weave across to create the widest part of the triangle, then weave back and on yourself one less on either side each time, creating the gradual thinning of the shape. Repeat for the other triangles facing the same way.
Step 7
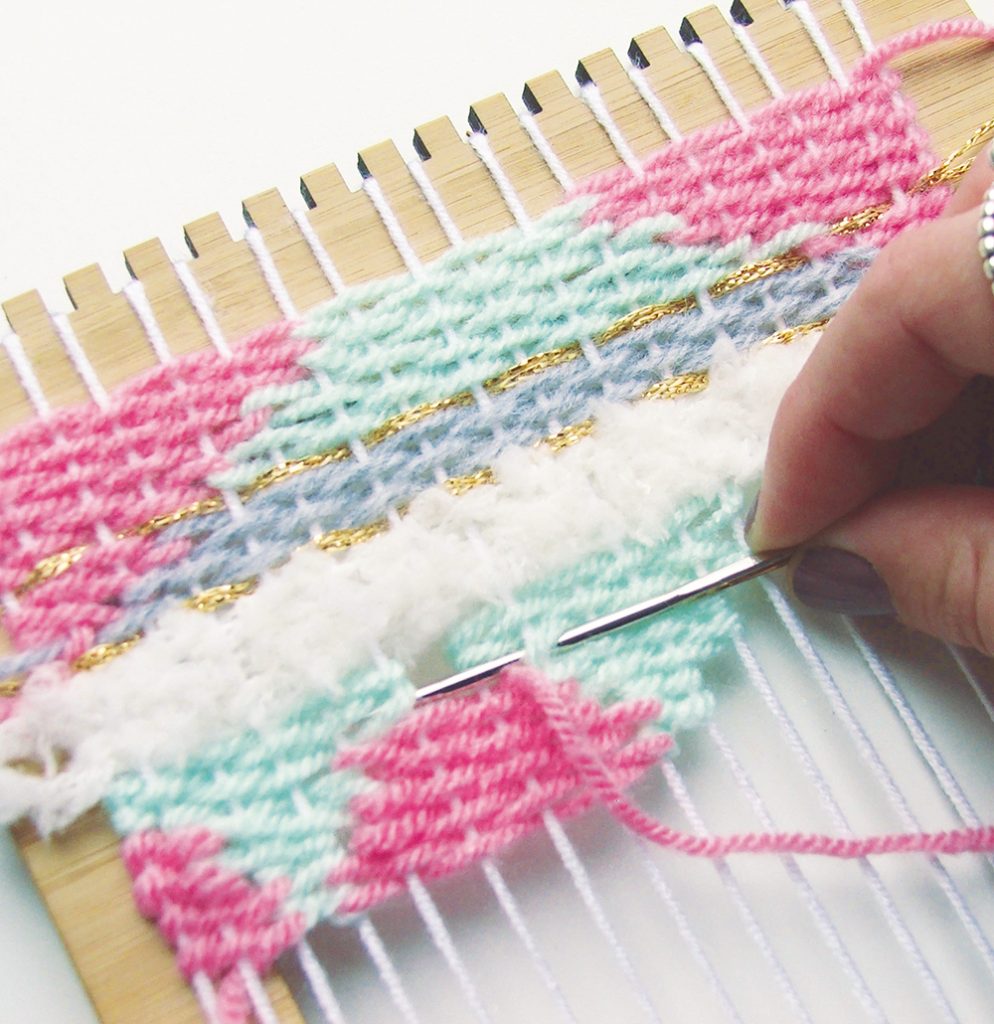
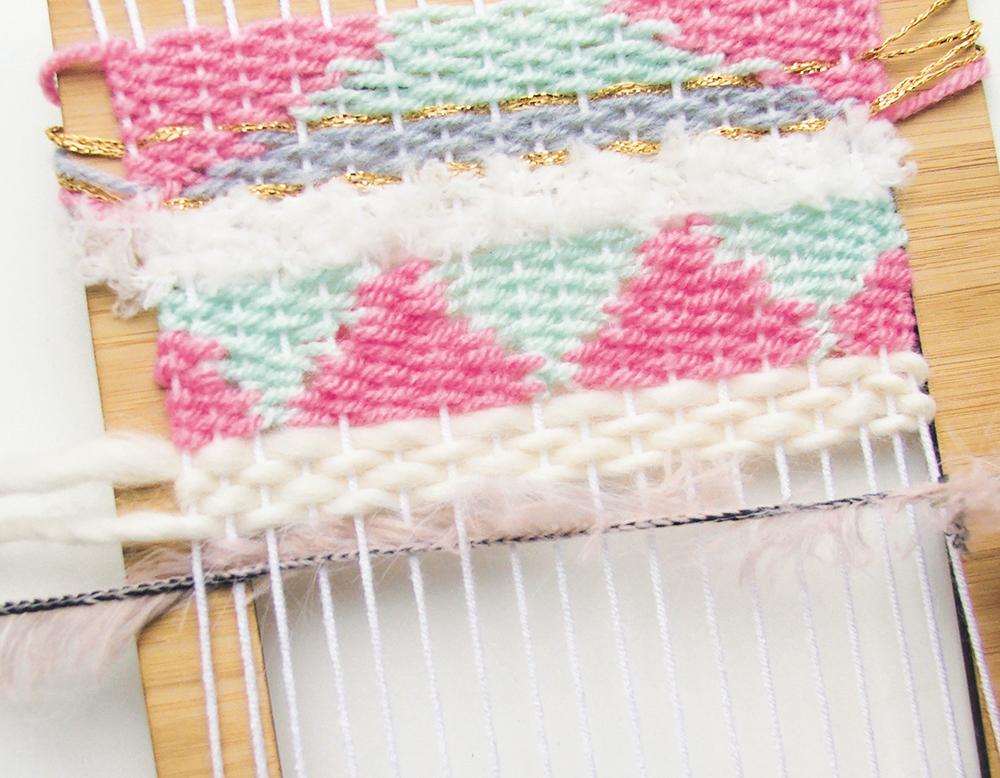
Fill in between the triangles, creating the same shape but the opposite way round. Link the weaving rows together to connect the yarns, like you did in Step 3. Thread through the yarn on the triangle then weave across and link through the end of the yarn on the other shape. Repeat in between each shape. Once you’ve completed the shapes, add some rows across the whole weave in different coloured and textured yarns, doing the under and over technique again.
Step 8
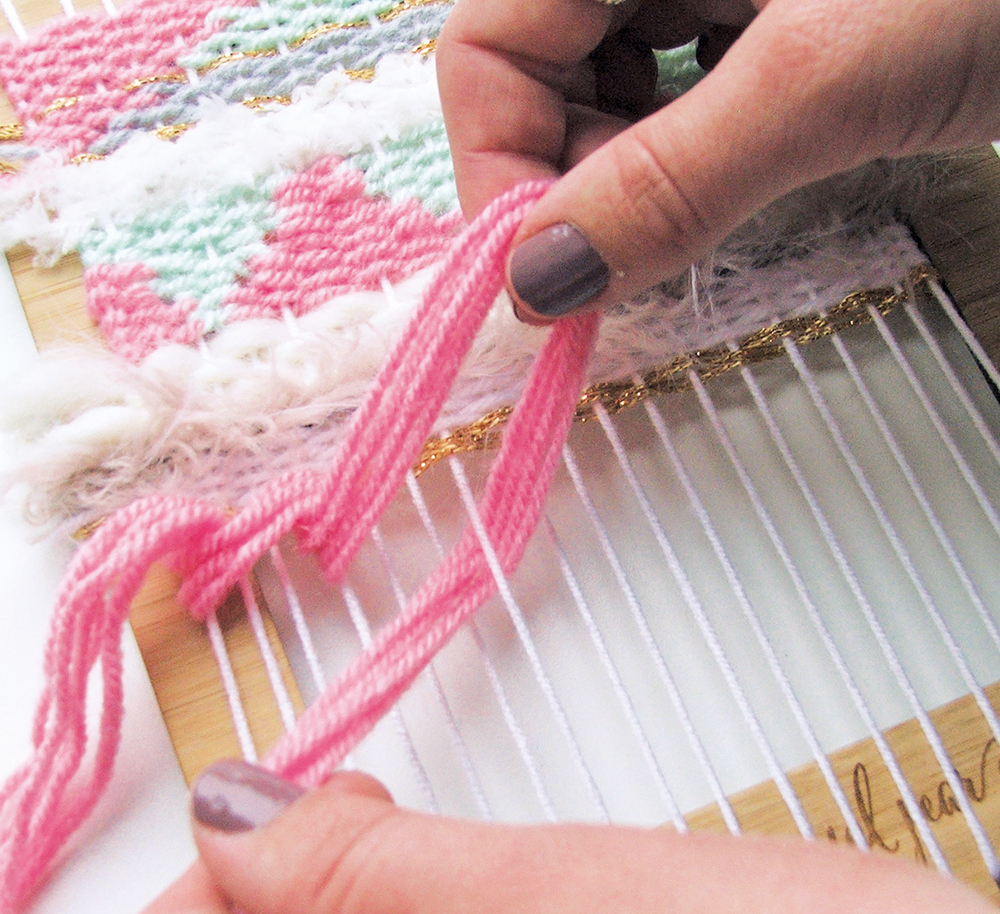
To create the braid effect (called a soumak), cut some yarn the length of the weave, plus an extra 2.5cm (1″). We cut eight pieces of yarn, to create a thick pattern. Pull these pieces over the first warp thread, then pull them back through the other side so they’re looped around the warp. Repeat this across the weave while leaving two warp threads in between, then repeat again underneath but pull the yarns in the opposite way around the warp. This creates the braid effect. Tuck your ends around the back of the weave and underneath the warp threads that were left free to secure it in place.
Step 9
Now create a mirror image of the Step 2 shape at the bottom. Start weaving through the first two warp threads then back on yourself, gradually weaving across one extra warp thread on each row. Repeat on the opposite side.
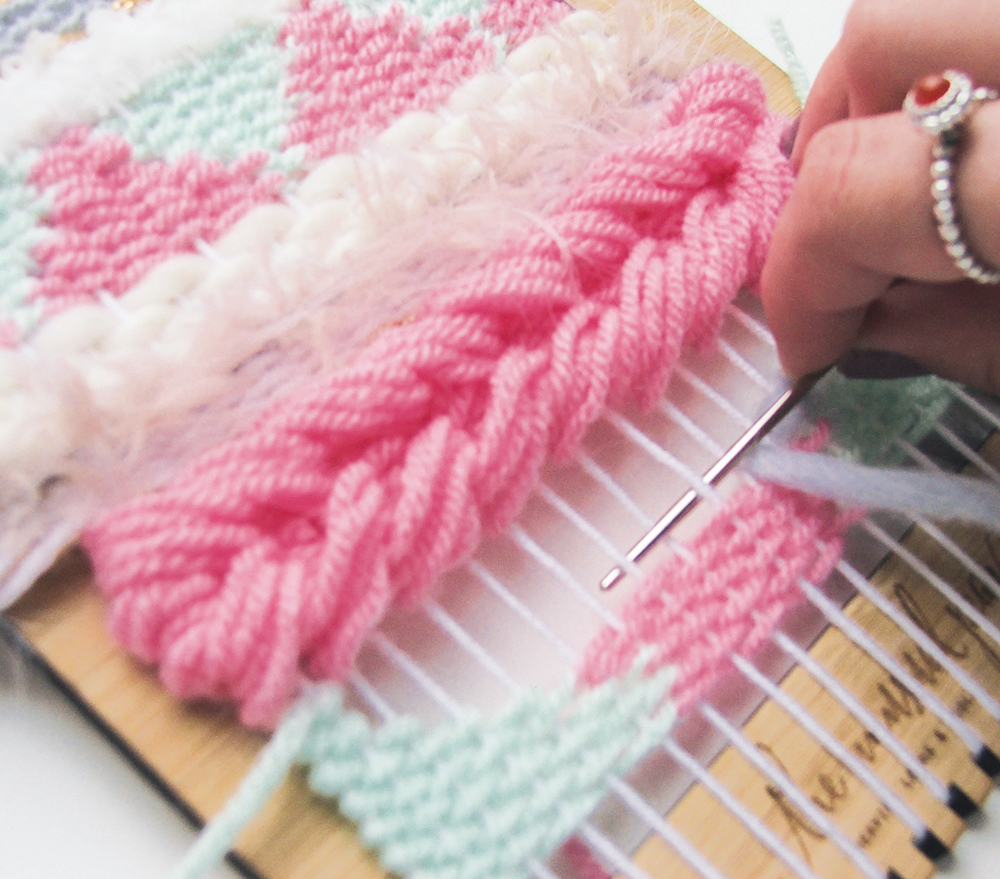
Fill in the space between these shapes. Remember to weave under and over, and loop your row through the yarn on the edge of the shape to link them together.
Step 10
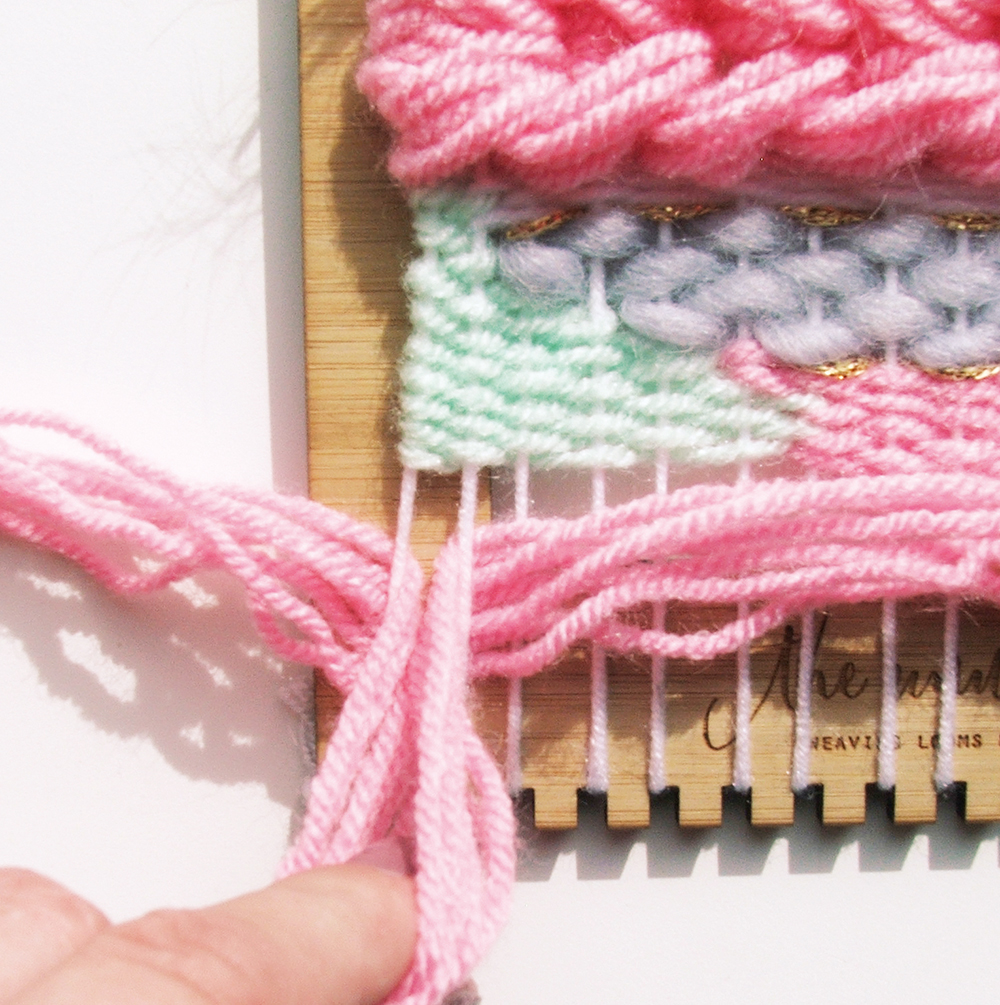
Add some tassels along the bottom. Measure out a piece of yarn underneath your weave to decide how long you’d like the tassels to be. Once you’ve got a length, double it and cut the yarn. You can use less or more yarn, depending on how thick you’d like your tassels – we used ten strands. Put your pieces of yarn underneath the first two warp threads and pull the middles in between the warp and towards you, creating a loop.
Step 11
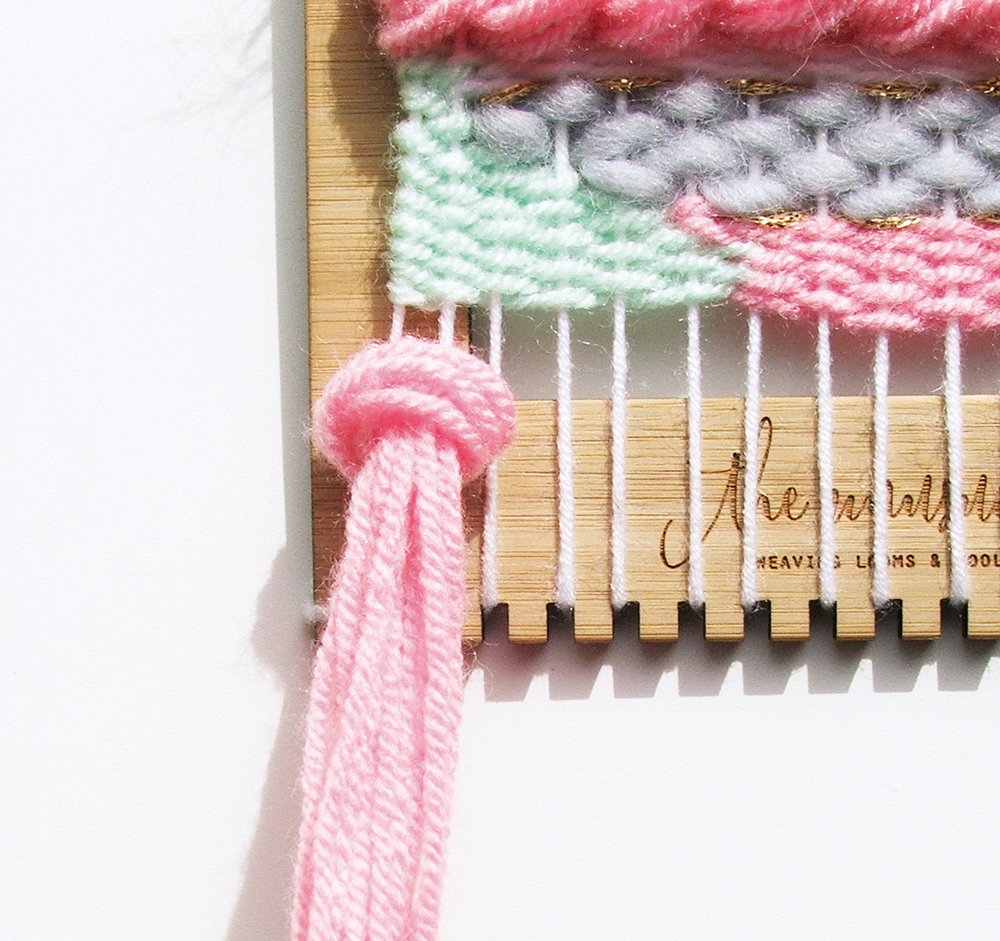
Pull the ends of the pieces around the warp threads and through the top of the loop you’ve just created. Pull again to create the tassel and push it up to the end of the weaving. Repeat all the way along your weave, using two warp threads at a time.
Step 12
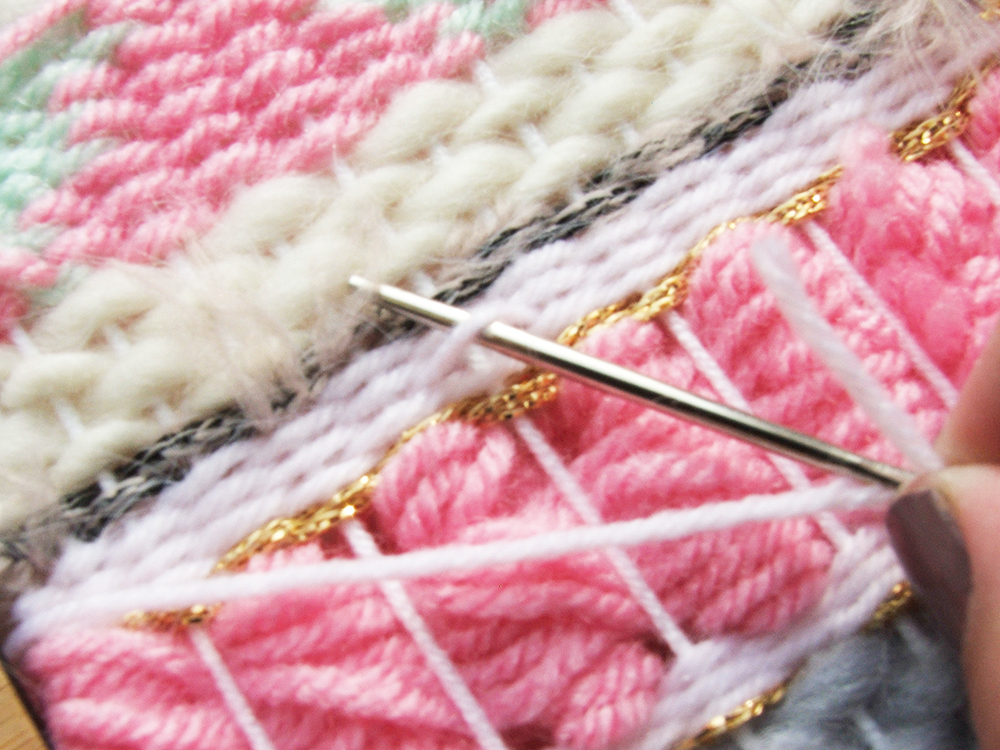
Turn your finished weaving over and simply thread the loose ends underneath the weaving rows to hide them away. To secure them a little more, tuck them through then tie the ends in knots. To remove your weaving, cut the warp thread at the bottom and tie them off in knots of two, then push your dowel through the warp loops at the top.
Making a DIY loom
Step 1
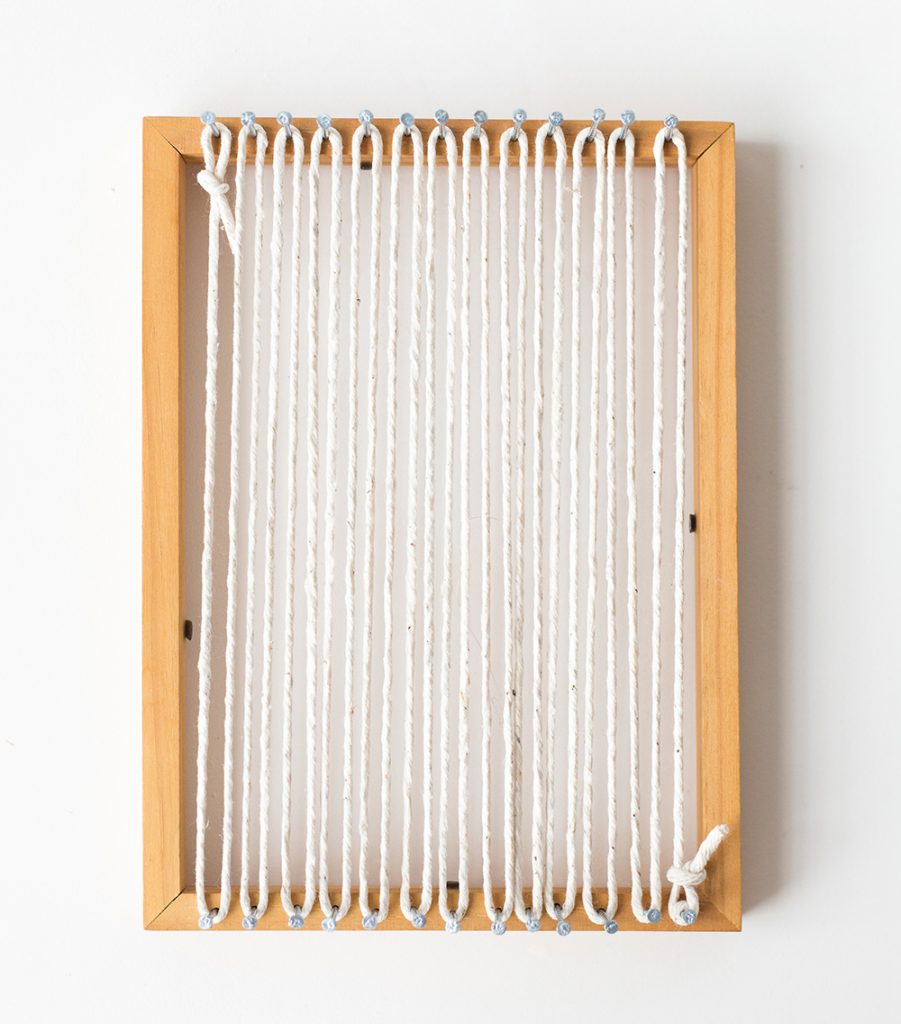
Inspired to start weaving straight away? No problem! Just grab an A5 picture frame (or pick one up on your next trip to the shops) and transform it into a loom with this easy trick by Francesca Stone.
Step 2
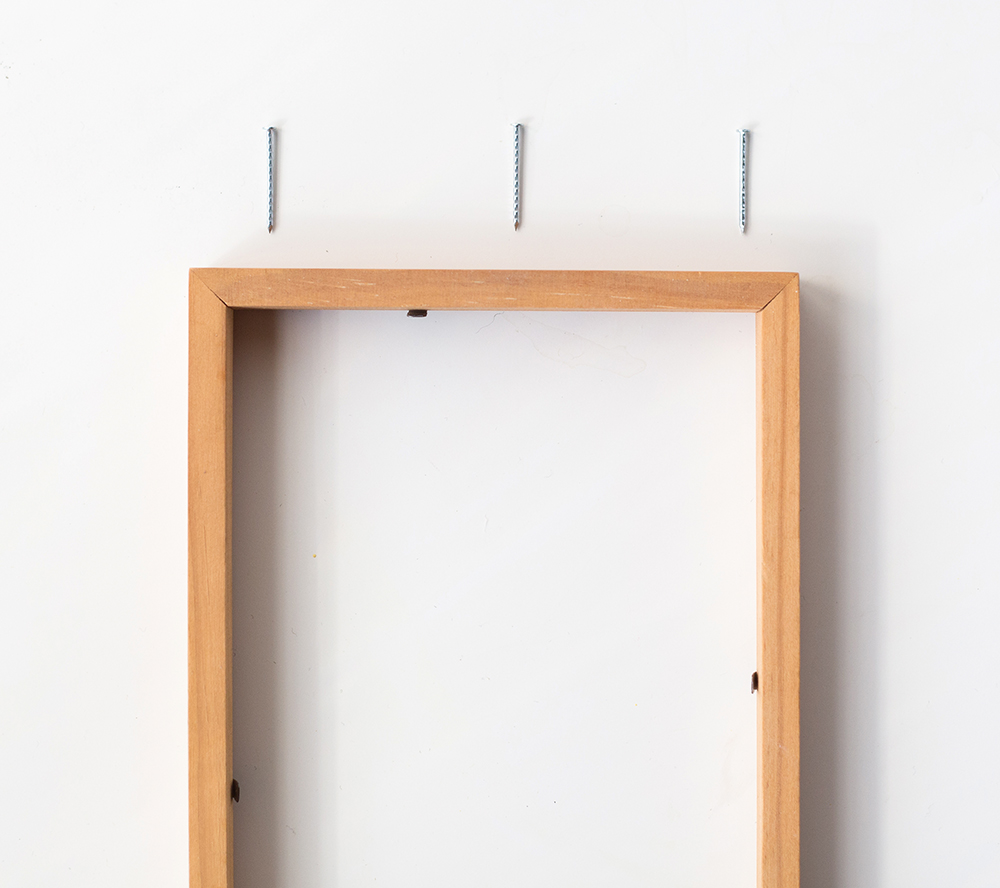
Lie the frame on a flat surface. Space out three of the tacks evenly along one of the shorter edges. Place one at each end, and one in the middle.
Step 3
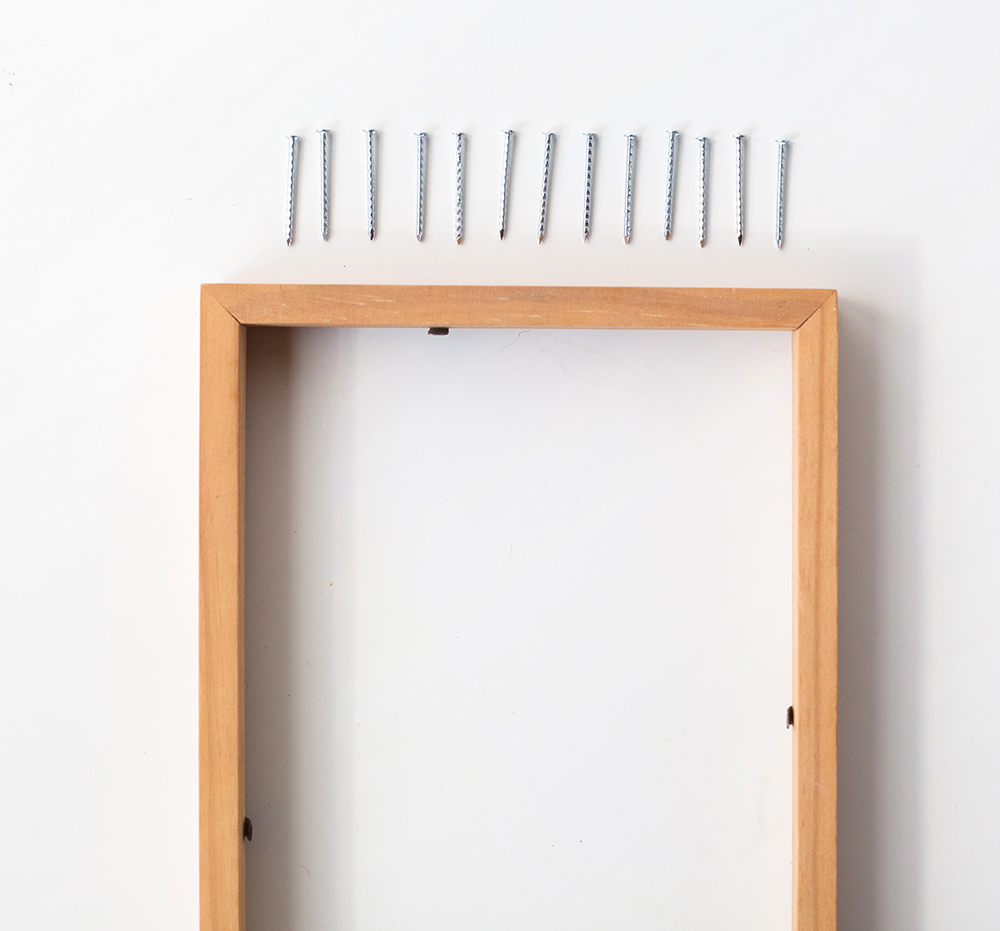
Space more tacks in between these, making sure you have the same number on each side.
Step 4
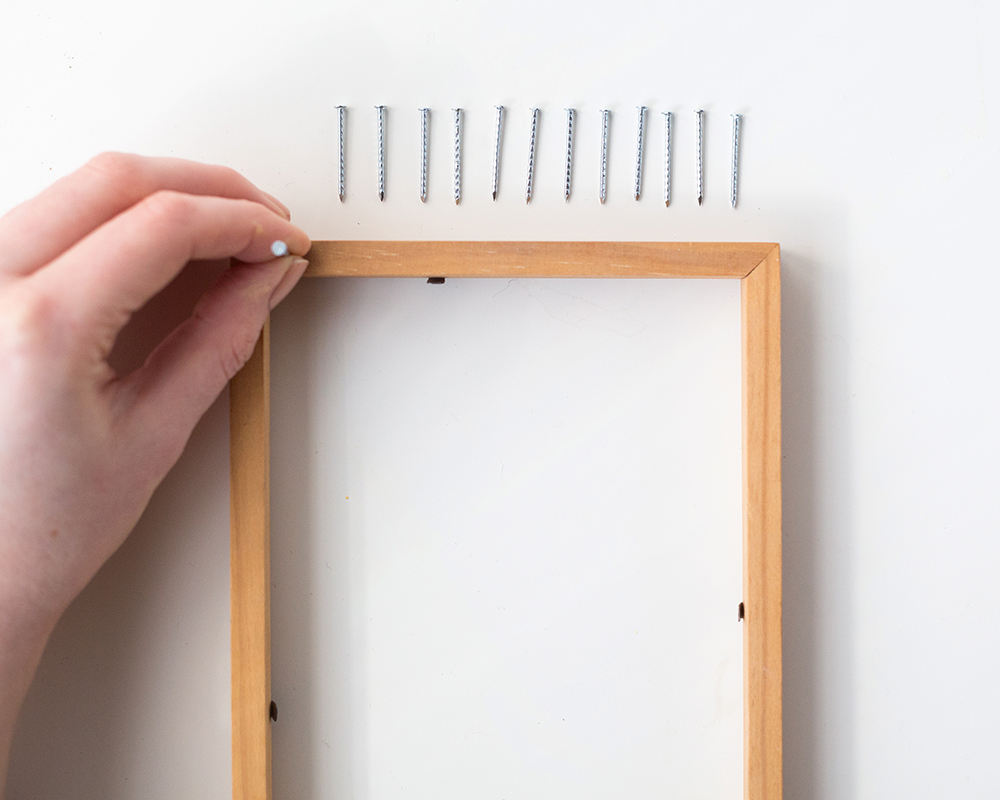
Take each of the tacks and hold them in place over the frame. Lightly tap them into the frame with the hammer until they are held securely in place.
Step 5
Hammer all the tacks in place along one side and then repeat on the other side. Now your loom is ready to warp.
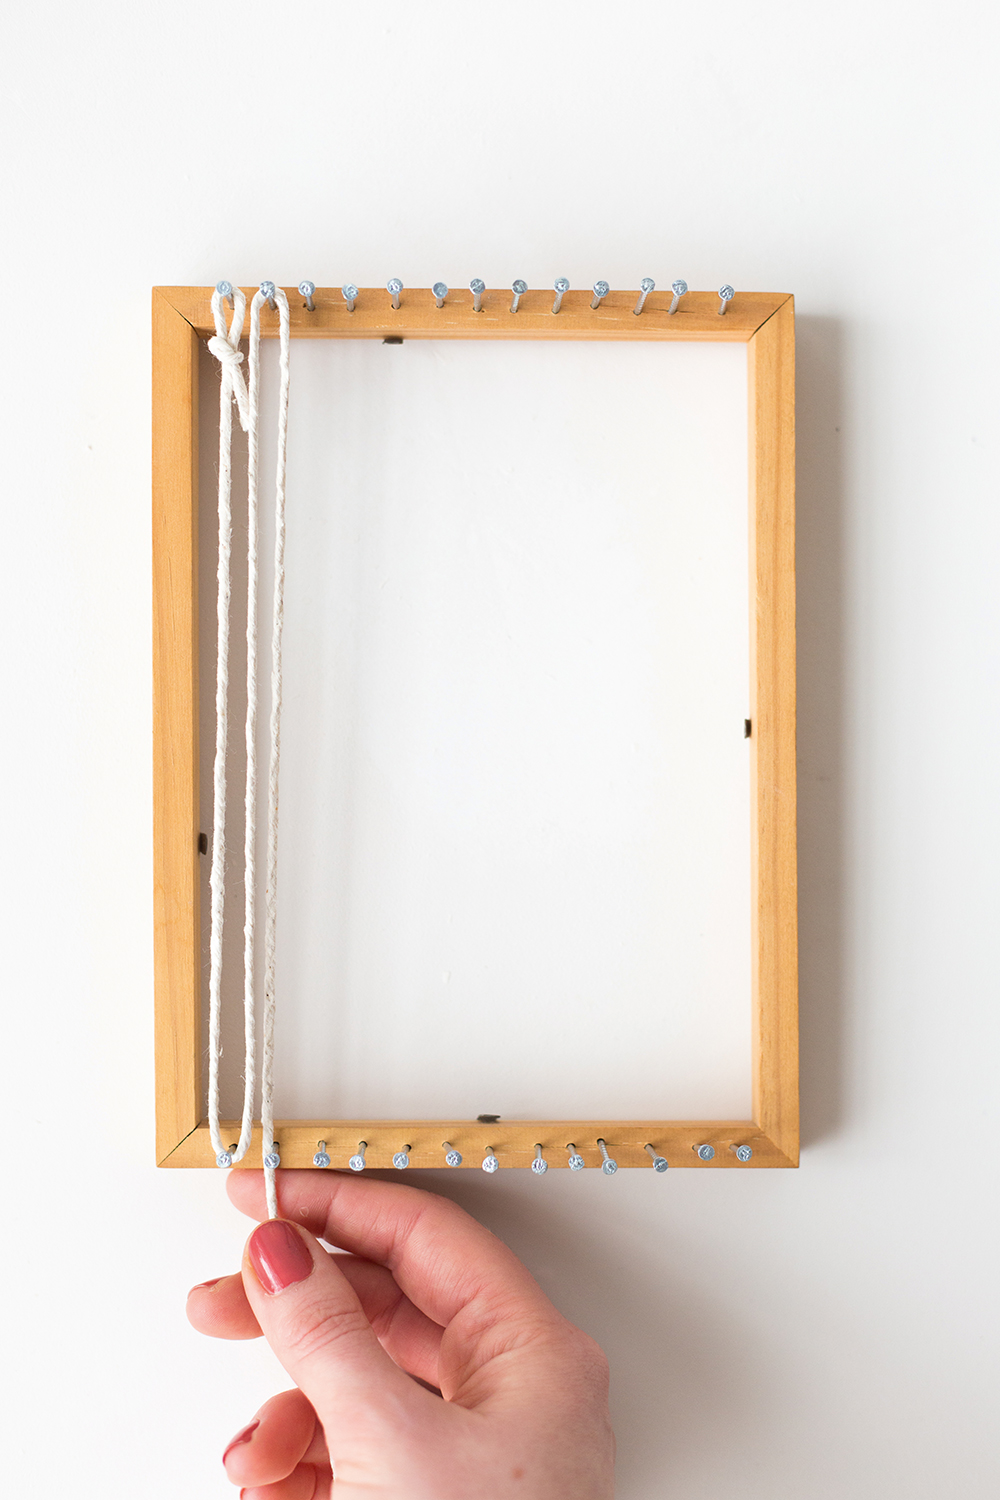
Tie a loop in the end of the warp thread and loop it onto the first tack. Pull the other end of the thread down and wrap it under the first tack on the opposite side. Bring the thread back up and over the next tack at the top of the loom. Keep repeating this until you reach the last tack and tie off. Now get weaving.


